
When you hear the term "ADA-compliant bathroom dimensions," it's easy to think of a rigid set of rules. But it’s much more than that. These dimensions are a detailed blueprint for creating a bathroom that’s genuinely safe and easy to use for everyone, especially those with mobility challenges.
They aren't just arbitrary numbers—they are carefully planned measurements for everything from toilets and sinks to showers and doorways.
Why ADA Bathroom Dimensions Matter
The Americans with Disabilities Act (ADA) created a framework that has become the benchmark for safety and independence in bathroom design. While these standards are the law for public spaces, they are an invaluable guide for residential projects, particularly for homeowners in Southwest Michigan who are planning to age in place or welcome a loved one with mobility needs.
Instead of seeing them as restrictive rules, think of ADA guidelines as a recipe for a perfect design. A baker uses precise measurements to get a cake just right; a skilled remodeler uses ADA dimensions to build a bathroom that functions beautifully for anyone who uses it.
More Than Just Measurements
Adhering to ADA standards is about turning a set of numbers on paper into real-world benefits. The ultimate goal isn't just to check a box, but to create an environment that feels secure and empowering.
Here’s what that looks like in practice:
- Enhanced Safety: With proper clearances, correctly placed grab bars, and non-slip floors, the bathroom becomes a much safer space. A major reason for following accessible design is to minimize the risk for falls, which is one of the biggest hazards in any home.
- Increased Independence: An accessible bathroom gives people the freedom to handle their daily routines without needing help. This simple act preserves dignity and fosters a powerful sense of self-reliance.
- Future-Proofing Your Home: A bathroom remodel is a major investment. By building to ADA standards now, you ensure the space will continue to meet your family’s needs for years, adapting as mobility changes over time.
A Blueprint for Safety and Inclusion
Signed into law on July 26, 1990, the Americans with Disabilities Act was created to help over 61 million Americans with disabilities navigate the world independently. The safety impact is undeniable: in compliant bathrooms, slip-and-fall injuries have been shown to drop by an incredible 40%. You can dig into the data and learn more about ADA-compliant shower specifications on IMIToday.com. This focus on prevention is what makes these guidelines so powerful.
When you translate these dimensions into a physical space, you're not just remodeling a room. You're investing in a higher quality of life and creating peace of mind for yourself and your family.
Navigating a remodel can feel like a lot, especially when you're trying to balance accessibility needs with your personal style and budget. If you're wondering what a project like this might cost, our instant pricing tool is a great starting point to help you get a ballpark estimate for your home.
The Foundation of an Accessible Bathroom Layout
Before you even think about tile colors or fancy fixtures, every accessible bathroom remodel has to start with one thing: clear floor space. Think of it as the non-negotiable "dance floor" for someone using a wheelchair. It’s the open area they need to get in, turn around, and use everything in the room without bumping into a vanity or the toilet.
Getting this foundational zone right is the very first step. It’s what ensures a person can actually navigate the space safely and independently. Without enough room to maneuver, even a bathroom filled with compliant fixtures will ultimately fail the real-world test of accessibility.
The Two Options for Turning Space
The ADA gives us two ways to create this essential clear floor space. Both options are designed to make sure a wheelchair user can perform a full turn.
- The 60-Inch Circle: This is the most common approach—a completely open circular area with a diameter of at least 60 inches.
- The T-Shaped Space: This layout provides a T-shaped clear zone that allows for a three-point turn, which can be a good solution in tighter spaces.
The code requires either a 60-inch diameter circular turning space or a properly dimensioned T-shaped area. This floor space has to be kept clear, and while certain fixtures can overlap its edges in specific ways, nothing can encroach on this core maneuvering zone. For a deeper dive into the specifics, you can explore more of these foundational ADA bathroom requirements at Ferguson.com.
This simple chart shows why getting these dimensions right is about so much more than just following rules.
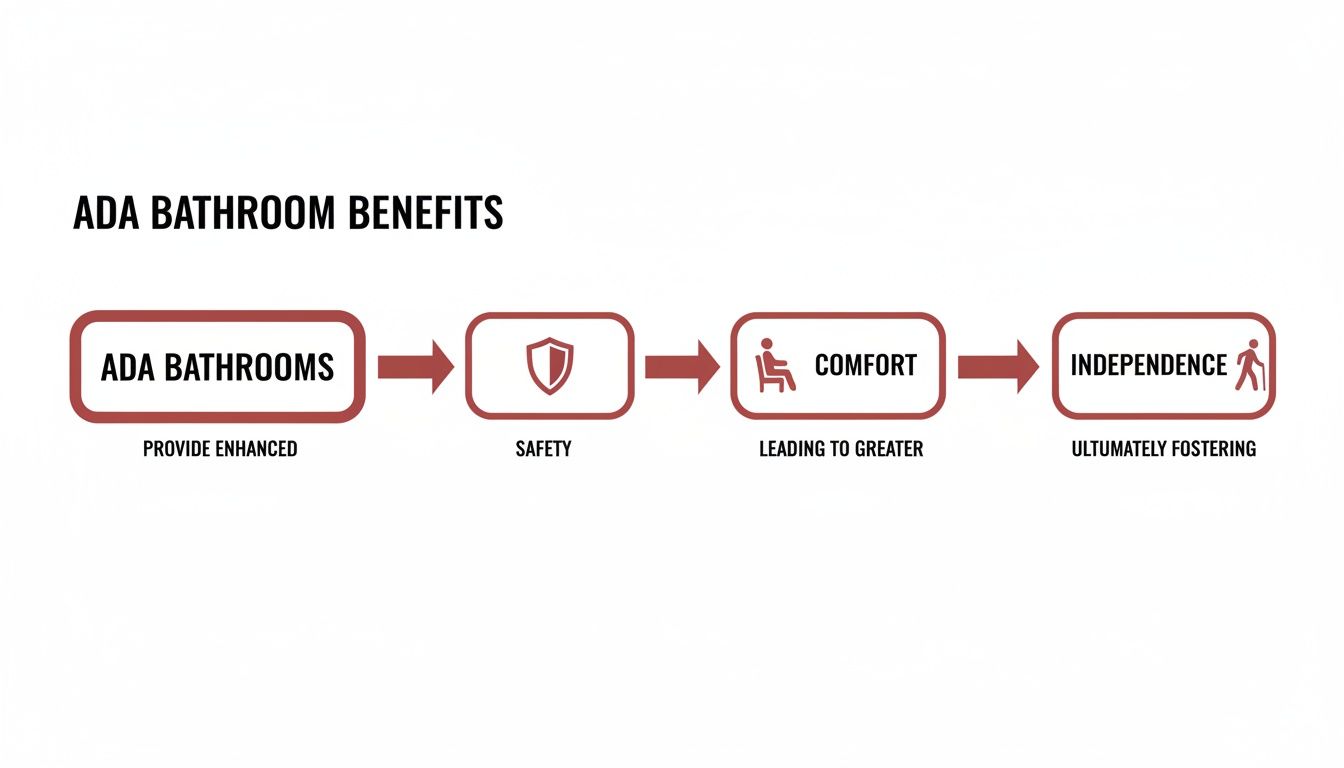
It all builds on itself—a safe layout leads to greater comfort, which ultimately fosters independence and confidence.
Securing the Entry Point
Once you have a plan for the interior floor space, the next logical step is the doorway. After all, a perfectly accessible bathroom is useless if you can’t get into it.
The doorway is the gatekeeper of accessibility. A door that is too narrow, too heavy, or has the wrong handle can create an immediate barrier for someone with limited mobility or strength.
The clear width of the doorway has to be at least 32 inches from the face of the door to the opposite stop, measured when the door is open 90 degrees. To get that clearance, you'll almost always need to install a 36-inch door, because the door slab and hinges eat up a few inches of the opening.
Details That Make a Difference
It’s not just about width, though. Small details about the door itself have a huge impact on how usable it is. A classic round doorknob, for instance, can be impossible for someone with arthritis or limited hand strength to operate.
- Door Handles: Always opt for lever-style handles. They can be opened with a closed fist or even an elbow, requiring very little force or dexterity.
- Door Swing: Pay close attention to which way the door swings. A door that swings into a small bathroom can trap someone if they fall or block the clear floor space you worked so hard to create. An outward-swinging door or a space-saving pocket door is a much safer, more practical choice.
Thinking through these foundational elements—turning space, door width, and hardware—is a critical part of the planning phase. If you're starting to budget for your remodel and want to see how these choices impact the overall cost, using our instant pricing tool can give you a helpful preliminary estimate.
Getting Toilet and Grab Bar Placement Right
When it comes to bathroom safety and independence, no area is more critical than the space around the toilet. Getting the placement right isn't just a matter of following rules; it's about creating a space where someone can safely transfer from a wheelchair to the toilet and back. The ADA guidelines for this zone are built on a few key measurements that all work together: the toilet's height, its distance from the wall, and the location of the grab bars that provide crucial support.
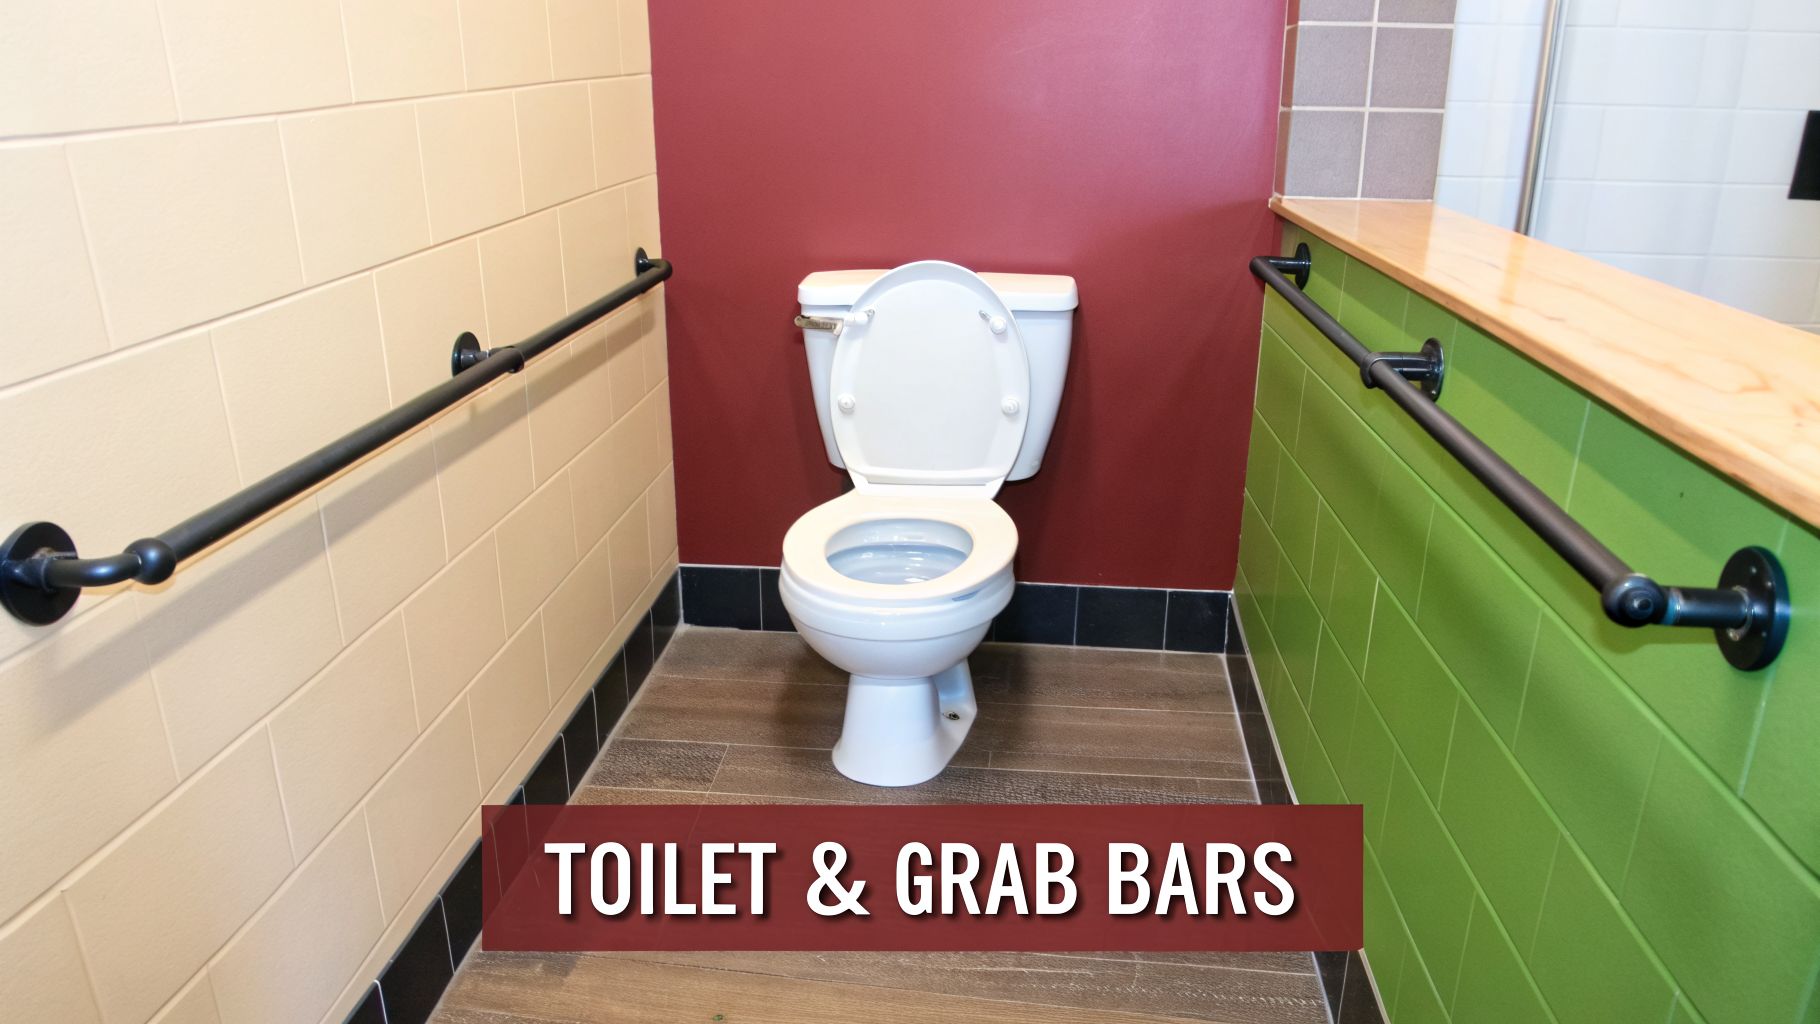
Think of these dimensions as a system. If one measurement is off, the whole setup can become awkward or even unsafe. This precision is what makes a bathroom truly accessible for someone with mobility challenges, and it all starts with the toilet itself.
Perfecting the Toilet Position
You can't just install an accessible toilet anywhere and call it a day. Its location is determined by two very specific dimensions that make it truly functional.
Toilet Height: The top of the toilet seat must be 17 to 19 inches from the finished floor. This is often called "comfort height," and it's higher than a standard toilet. The reason is simple: it aligns better with the seat height of most wheelchairs, which makes the transfer from one to the other much easier and safer.
Centerline Placement: This is one of the most important and frequently missed details. The centerline of the toilet bowl must be positioned exactly 16 to 18 inches from the nearest side wall. This specific gap gives a person enough room to position their wheelchair right next to the toilet for a lateral transfer, while still keeping the side grab bar comfortably within arm's reach.
If the toilet is too close to the wall, there's no room for the wheelchair. If it's too far away, the grab bar becomes useless for support. It's a delicate balance.
A correctly positioned toilet creates a predictable and secure environment. This consistency allows an individual to develop muscle memory for transfers, drastically reducing the physical and mental effort required for this daily task.
On top of this, the area needs a clear floor space of at least 60 inches wide and 56 inches deep (or 59 inches for floor-mounted models). This clearance is vital, as it allows a person using a wheelchair to approach from the front or the side, depending on what works best for them.
Installing Essential Grab Bar Supports
With the toilet properly located, the next step is installing the grab bars. These aren't just accessories—they are structural supports that must be anchored directly into the wall's framing to handle significant weight and force.
The ADA requires two grab bars around the toilet: one on the side wall and one on the rear wall. To be effective, they must be installed at a consistent height of 33 to 36 inches from the finished floor. This ensures they are easy to grab from a seated position and provide the right leverage during a transfer.
Here are the specific requirements for each bar:
- Side Wall Grab Bar: This bar needs to be at least 42 inches long. It should begin no more than 12 inches from the rear wall and extend out to a point at least 54 inches from the rear wall.
- Rear Wall Grab Bar: This one must be at least 36 inches long. When installed, it has to extend at least 12 inches on one side of the toilet's centerline and 24 inches on the other, giving the user multiple points to grip.
To help you keep these crucial numbers straight, here’s a quick-reference table.
Quick Reference ADA Toilet and Grab Bar Dimensions
This table summarizes the essential measurements for an ADA-compliant toilet area, including clearances, height, and grab bar specifications.
| Element | Required Dimension |
|---|---|
| Toilet Seat Height | 17" – 19" from finished floor |
| Toilet Centerline | 16" – 18" from the side wall |
| Clear Floor Space | 60" wide x 56"-59" deep |
| Grab Bar Height | 33" – 36" from finished floor |
| Side Grab Bar Length | 42" minimum |
| Side Grab Bar Start | 12" maximum from rear wall |
| Rear Grab Bar Length | 36" minimum |
| Rear Grab Bar Placement | Extends 12" one side of centerline, 24" on the other side |
Mastering these details is what separates a standard remodel from a truly accessible one. As you start planning your project, knowing how these requirements impact your layout and budget is the first step. For a better sense of potential costs for your home in Southwest Michigan, our instant pricing tool can give you a solid baseline to work from.
Creating a Usable Sink and Vanity Space
When we talk about an accessible sink, we're not just talking about the bowl itself. We're really designing the entire space around it so someone in a wheelchair can roll right up, get close, and use it easily and safely. It’s all about creating enough clearance underneath while keeping the faucet and mirror within arm's reach from a seated position. Getting these measurements right is what turns a standard vanity into a truly functional part of a person's daily life.
First things first, let's talk height. For a wheelchair user to be comfortable, the top edge of the sink or countertop can be no more than 34 inches off the finished floor. This simple measurement keeps the basin at a manageable height, so washing hands or brushing teeth doesn't involve awkward stretching.
Designing for Knee and Toe Clearance
While sink height is important, the real magic of an accessible vanity happens underneath. This is where we create space for knee and toe clearance. The best way to picture it is as a "parking spot" for the front of the wheelchair, allowing the user to get right up to the sink and faucet.
The ADA has very specific rules for this space to make sure a person’s knees and feet don't bump into plumbing or cabinet doors.
- Knee Clearance: You need a clear space that’s at least 27 inches high (from the floor to the bottom of the sink structure). This opening must also be at least 30 inches wide and 8 inches deep.
- Toe Clearance: Right below that knee space, you need an extra pocket of room for toes. This area needs to be at least 9 inches high off the floor and extend deeper, anywhere from 11 to 25 inches from the front of the vanity.
These aren't just suggestions; they're the critical dimensions that allow someone to use the sink properly. Without this open space, a person is forced to reach from a distance, which is not only frustrating but can also be unsafe.
Essential Details for Safety and Function
With the main clearances mapped out, a few other details are needed to make the sink area both safe and easy to use. This is where we look at the plumbing, faucet handles, and even the mirror.
One of the most important safety details is hidden under the sink. Hot water and drain pipes must be insulated or configured to prevent any contact. This is a non-negotiable step to protect a person's legs—which may have limited sensation—from accidental burns.
On top of that, a few other features complete the setup:
- Accessible Faucets: Look for faucet controls that are lever-operated, push-type, or motion-activated. They have to be usable with one hand and require no more than 5 pounds of force to operate—no tight gripping or twisting allowed.
- Mirror Placement: For a mirror to be useful from a seated position, its bottom edge can be no higher than 40 inches from the floor.
Putting all these pieces together correctly is a detailed process. If you’re thinking about an accessible bathroom remodel here in Southwest Michigan, understanding how these choices impact the budget is a key part of planning. To get a ballpark idea of what to expect, our instant pricing tool can give you a helpful starting point.
Designing a Safe and Accessible Shower
When we’re designing a truly accessible bathroom, the shower is where the details matter most. This isn't just about ticking boxes on a checklist; it's about giving someone the freedom and dignity to bathe safely and independently. The ADA lays out two paths for accessible showers, and the right one for your home depends entirely on the user's mobility: the Transfer Shower and the Roll-In Shower.
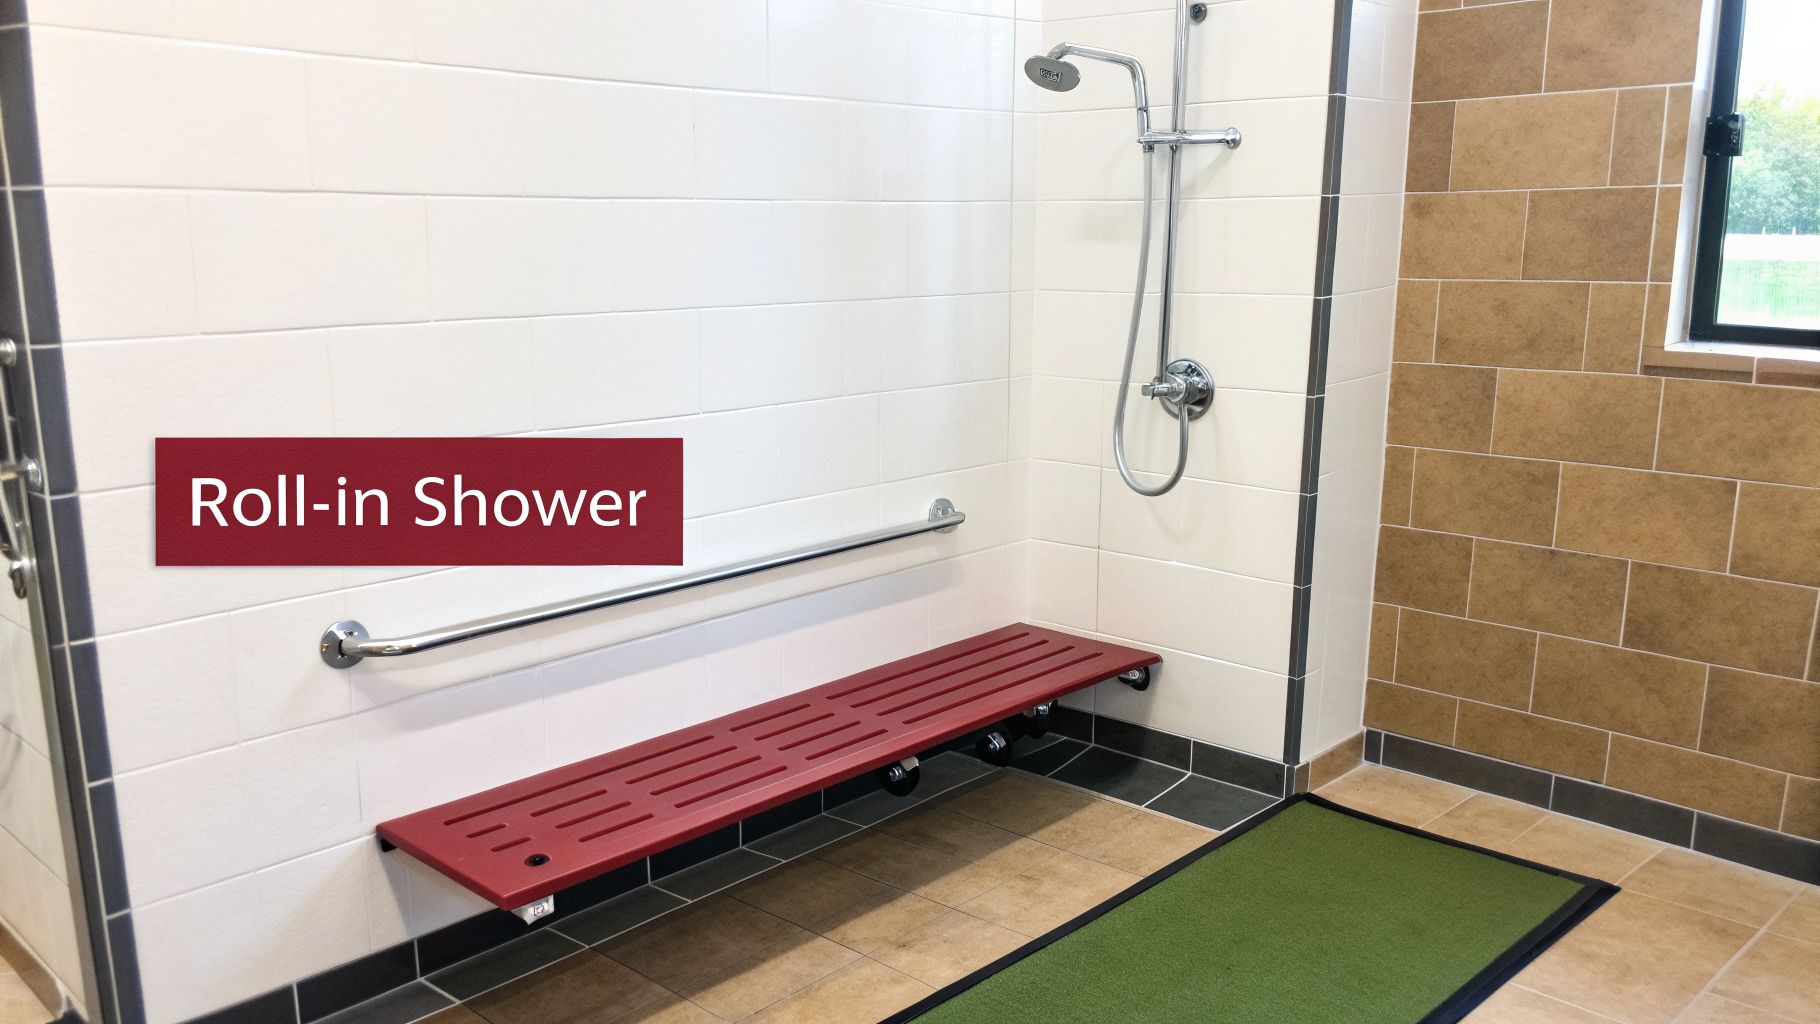
Let's break down the key differences, because this first decision shapes the entire layout of your bathroom. The core question is: can the person move from their wheelchair to a shower seat, or do they need to bring a shower-specific wheelchair into the stall with them?
Transfer Showers for Seated Bathing
A transfer shower is built for someone who has the upper body strength to shift from their wheelchair onto a shower bench. Since the wheelchair stays outside, the shower stall itself can be more compact.
The absolute minimum size for a transfer shower is a 36-inch by 36-inch interior. This gives a person enough elbow room to sit securely and reach the controls without feeling boxed in. A small curb or threshold is allowed here—up to 1/2 an inch high—because the user will be stepping or swinging their legs over it, not trying to roll a wheelchair past it.
Roll-In Showers for Direct Access
For anyone who needs to stay in their specialized shower wheelchair, a roll-in shower is essential. It does exactly what the name implies: it allows a person to roll right into the shower stall. Naturally, this requires a much larger footprint and a completely different approach to the entry.
A roll-in shower needs a minimum interior space of 30 inches wide by 60 inches deep to provide enough room to maneuver. The most important feature, though, is the curbless entry. There can be absolutely no threshold to block the wheels, creating a smooth, seamless transition from the bathroom floor into the shower.
A roll-in shower completely redefines the bathing experience for a wheelchair user. By removing the physical barrier of a curb, it eliminates a difficult and often dangerous transfer, promoting a profound sense of independence and safety.
These curbless, accessible showers can be as beautiful as they are functional. Considering modern options like frameless shower door installations can open up the space visually and make it feel less clinical while still meeting all the necessary safety standards.
Critical Components Inside the Shower
Whether you opt for a transfer or a roll-in design, the placement of the grab bars, seat, and controls is what makes the shower truly work. These aren't suggestions; they are precise measurements that ensure safety and ease of use.
Grab Bars
Properly anchored grab bars are the most critical safety feature in any shower. They provide the stable support needed to sit, stand, or shift position confidently.
- Transfer Showers: You'll need grab bars on all three interior walls.
- Roll-In Showers: Grab bars are required on the side and back walls, positioned to be easily reached from a seated position.
- Height: All grab bars must be installed between 33 and 36 inches from the shower floor.
Shower Seats
A sturdy, reliable seat is a must for stability and comfort.
- Transfer Showers: Require a folding or permanent L-shaped seat installed on the wall opposite the controls.
- Roll-In Showers: A permanent seat is optional (since a shower chair is often used), but if one is installed, it must be a folding type to keep the floor space clear when needed.
- Seat Height: The top of the seat must be 17 to 19 inches from the floor to align with a standard wheelchair seat height, making transfers easier.
Controls and Shower Wand
Everything needs to be within arm's reach from a seated position. No exceptions.
- Control Placement: Faucets and handles must be located between 38 and 48 inches from the floor. In a transfer shower, they go on the wall opposite the seat; in a roll-in, they are on the side wall next to the seat.
- Handheld Shower Wand: A handheld spray unit is required. Its hose must be at least 59 inches long, allowing it to be used as both a fixed, overhead shower and a flexible handheld wand.
Planning an accessible shower involves many precise measurements that all work together. Understanding how these choices will affect your budget is a key part of the process. To get an idea of the potential project costs for your home, you can use our instant pricing tool for a helpful preliminary estimate.
Planning Your Accessible Bathroom Remodel
Taking those ADA dimensions off the page and making them work in your actual home is where the real challenge begins. It’s one thing to know the numbers, but it's another thing entirely to apply them to an existing bathroom, especially when you're dealing with the quirks and constraints of a real-world floor plan.
This is where theory meets practice. You might have an awkwardly placed wall, or a bathroom that’s just a bit too tight for a standard 60-inch turning circle. Don't worry. This is where thoughtful design and a little creativity can make all the difference.
Creative Solutions for Common Challenges
Even if your bathroom layout feels restrictive, there are almost always proven strategies to open up the space and hit your accessibility goals. It’s all about rethinking how a bathroom can and should function.
Here are a couple of the most effective approaches we use all the time:
- Wall-Mounted Fixtures: Opting for a wall-mounted toilet and sink can be a total game-changer. By lifting these fixtures off the floor, you free up a surprising amount of open space for footrests and knees. This simple change often provides the extra inches needed to achieve the required turning radius.
- The Wet Room Concept: For smaller bathrooms, a wet room is an incredible solution. This design involves waterproofing the entire room and installing a floor drain, which means the shower area becomes part of the main bathroom floor. It completely eliminates the shower curb, creating one large, open, and roll-in-ready space.
I often tell homeowners that planning an accessible remodel is like solving a puzzle. Each piece—the toilet, the sink, the shower—has a specific place, and our job is to fit them together perfectly within your home's unique footprint.
The Importance of a Qualified Partner
While this guide gives you the critical ada compliant bathroom dimensions, every home in Southwest Michigan has its own story. You never know when you'll run into hidden plumbing, old wiring, or a load-bearing wall right where you planned to put a grab bar. That’s why working with a qualified contractor isn’t just a good idea—it's essential.
An experienced remodeler who specializes in accessible design brings so much more to the table than just measurements. They will:
- Navigate Local Codes: A good contractor knows the specific building codes for Portage, Kalamazoo, and the surrounding areas. They'll make sure your project is 100% compliant with both ADA standards and local rules.
- Provide Practical Solutions: They can look at your exact layout and suggest the right fixtures and design tweaks that fit your needs and your budget, often seeing possibilities you might have missed.
- Ensure Structural Integrity: This is the most important part. They know how to anchor grab bars securely into wall studs so they can safely support significant weight. It’s a detail that absolutely cannot be overlooked.
Budgeting for Your Project
Of course, a big part of any remodel is figuring out the costs. The choices you make, from a roll-in shower to the style of your sink, will shape your final budget. Having a realistic financial plan from the very beginning helps ensure the project goes smoothly without any last-minute stress.
As you start to picture your new bathroom, getting a sense of the investment is a great next step. Wondering what your specific project might cost? Our instant pricing tool can give you a solid estimate to help you budget effectively. It’s a simple way to explore your options and see how they line up with your financial goals, putting you on the right path for a successful remodel.
Answering Your Top ADA Bathroom Questions
Once you start digging into the world of accessible design, a lot of questions naturally come up. It's one thing to see the numbers and diagrams, but it’s another to figure out how they apply to your home. Let's tackle some of the most common questions we hear from homeowners just like you.
Does My Home Bathroom Have to Be ADA Compliant?
This is, without a doubt, the number one question we get. The short answer is no. The Americans with Disabilities Act (ADA) sets mandatory rules for public places and commercial buildings, not for private homes.
But here’s the thing: even though it's not legally required, we always recommend using the ADA standards as your blueprint. If you're planning to age in place or have family members with mobility challenges, following these guidelines is the single best way to create a bathroom that is truly safe, comfortable, and ready for the future.
Can I Still Have a Stylish Vanity?
Of course! The idea that an accessible bathroom has to look like a hospital room is completely outdated. Today, a huge range of beautiful, modern vanities are designed to meet ADA standards without sacrificing style.
The key is to choose a model that leaves enough open space underneath for a wheelchair user. You need at least 27 inches of vertical knee clearance. This is why "floating" or wall-mounted vanities are such a fantastic option. They provide that essential clearance while delivering a clean, contemporary look that homeowners love.
You never have to sacrifice great design for great function. With smart planning and the right products, your bathroom can be both stunningly beautiful and perfectly accessible.
Are There Rules for Accessories, Too?
Yes, and this is a detail that often gets overlooked. The placement of things like your toilet paper holder, towel hooks, and soap dispenser really does matter.
All accessories need to be installed within what’s called the "reach range," which is generally between 15 and 48 inches off the floor. More importantly, they have to be easily reachable from a seated position, without forcing someone to twist or strain. They also can't block any of the required clear floor space around the toilet, sink, or shower, ensuring everything in the room is simple and intuitive to use.
Planning an accessible bathroom remodel means getting a lot of details right, from the big-picture layout down to the smallest accessory. Here at Trademaster Construction, we specialize in helping homeowners across Southwest Michigan put all those pieces together.
If you're ready to start estimating the cost for your project, our instant pricing tool is the perfect next step. It’s a quick and easy way to get a solid estimate to help you plan your budget.

