
So, what exactly is an angled kitchen island? Simply put, it's a custom-built island where one or more corners are designed at an angle—usually 45 degrees—instead of the typical 90-degree boxy shape.
This isn't just a style choice; it's a clever design strategy. Breaking from the traditional rectangular island shape helps solve some of the most common kitchen layout headaches, improving traffic flow and creating a more dynamic, user-friendly workspace. It's a fantastic option for homeowners looking to blend high function with a unique look, especially in kitchens with less-than-perfect footprints.
Why an Angled Kitchen Island Might Be Your Best Choice
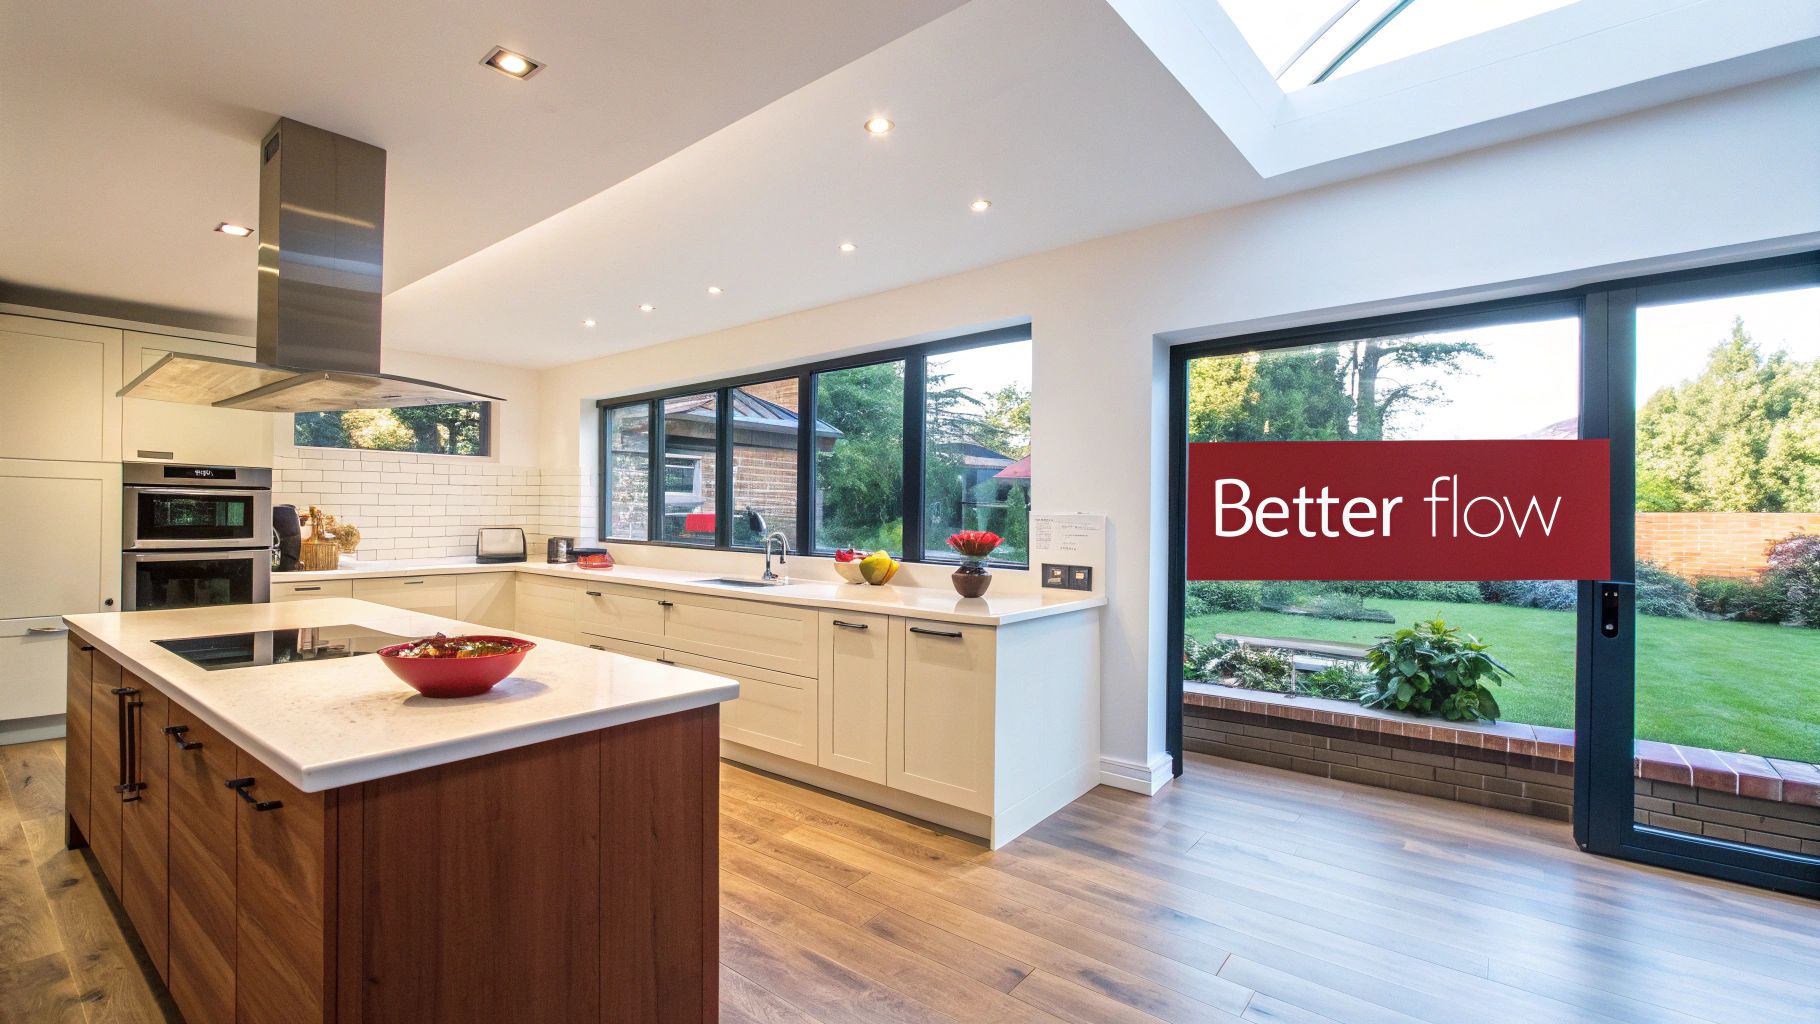
We've all seen plenty of beautiful rectangular islands. They're a classic for a reason. But they just don't work for every kitchen's layout or personality. That's where an angled kitchen island comes in, often proving to be a brilliant solution that’s about much more than just looks. It’s a functional workhorse designed to solve specific spatial problems while creating an inviting hub for your home.
This design really comes into its own in kitchens that don't fit the standard mold. I'm talking about L-shaped or U-shaped layouts where a standard rectangular island would create awkward bottlenecks or cramped corners. By angling one side, you can guide foot traffic seamlessly through the space, eliminating those frustrating traffic jams by the fridge or stove.
Kitchens have evolved, and so has island design. The global kitchen island market is currently valued at around $5.2 billion and is expected to nearly double. This surge shows a clear trend: people want multifunctional layouts where cooking, dining, and socializing all happen in one place. Angled islands are a perfect example of this evolution. You can discover more insights about this growing market and see how modern lifestyles are shaping kitchen design.
To help you visualize the difference, here's a quick comparison of what each island type brings to the table.
Angled vs. Standard Island Quick Comparison
| Feature | Angled Kitchen Island | Standard Rectangular Island |
|---|---|---|
| Traffic Flow | Excellent for directing traffic and easing bottlenecks in tight spaces. | Can create blockages or awkward paths in non-standard layouts. |
| Layout Suitability | Ideal for L-shaped, U-shaped, and large, open-concept kitchens. | Best suited for long, galley-style or very large, open kitchens. |
| Social Seating | Encourages conversation by allowing guests to face each other. | Seating is typically in a straight line, which is less conversational. |
| Work Triangle | Can effectively shorten distances between key work zones (sink, stove, fridge). | Can sometimes elongate the work triangle, making it less efficient. |
| Aesthetics | Offers a custom, dynamic look that adds architectural interest. | Provides a classic, timeless, and symmetrical appearance. |
| Space Perception | Makes a space feel more open by removing obstructive corners. | Can sometimes feel bulky or imposing, especially in smaller rooms. |
Ultimately, both have their place. An angled island just offers a more tailored solution when a one-size-fits-all approach won't cut it.
Solving Common Layout Puzzles
An angled island isn't just about looking different; it’s a problem-solver. From my experience, here are a few real-world scenarios where this design truly shines:
- Improving the Work Triangle: In kitchens where the sink, refrigerator, and cooktop are spread a bit too far apart, an angled island can neatly tighten up the work triangle. It shortens the distance you have to walk, making meal prep feel much more fluid and natural.
- Enhancing Open-Concept Flow: Got a big, open-plan space? An angled island is brilliant for creating a subtle visual break between the kitchen and the living or dining area. It acts as a gentle transition, defining the kitchen's zone without putting up walls.
- Creating a Social Hub: This is one of my favorite benefits. By angling the seating area, you instantly create a more social atmosphere. Instead of sitting shoulder-to-shoulder in a straight line, your family and guests can face each other more easily. It turns the island from a countertop into a real gathering spot.
A common misconception is that an angled kitchen island wastes space. In reality, a thoughtfully designed angle can make a kitchen feel more open and accessible by eliminating sharp, obstructive corners and directing movement more organically.
When an Angle Makes the Most Sense
So, how do you know if it's right for you? I always suggest considering an angled kitchen island if your space has tricky corners, an odd footprint, or a specific traffic flow issue.
For instance, if your main walkway from the hallway to the back door cuts right across the corner of your kitchen, a standard island becomes an obstacle you're constantly dodging. An angled design softens that corner, preserving precious clearance and making the whole room feel more intuitive to move through.
Choosing an angled island is about making your kitchen work smarter for your family's lifestyle. It’s a custom touch that shows you’ve really thought about how you live, cook, and gather in the most important room of your home.
Getting the Flow Right: Nailing Your Kitchen Layout and Clearances
Before you even think about picking out countertop samples or cabinet hardware, we need to talk about the floor plan. This is the bedrock of a good kitchen design. An angled island, in particular, lives or dies by how it relates to the space around it. Getting the layout and clearances right is what makes a kitchen feel effortless, not a daily source of frustration.
This isn’t just about what looks good; it’s about function. We lean heavily on the guidelines from the National Kitchen & Bath Association (NKBA) for a reason. They’ve spent decades studying how real people actually move and work in their kitchens. Sticking to these recommendations is the best way to avoid those little daily annoyances that can ruin an otherwise beautiful space.
The Magic Numbers for Work Aisles
The single most important measurement to get right is the work aisle—that's the space between the edge of your new island and your main perimeter counters. For a kitchen where usually only one person is cooking, the NKBA suggests a minimum of 42 inches. This gives you just enough room to open the oven or dishwasher door fully without boxing someone in.
But what if your kitchen is the heart of the home, with multiple people helping out?
In a two-cook kitchen, 48 inches is the gold standard for your work aisle. That extra space is a game-changer. It lets two people work back-to-back or easily slip past each other without doing that awkward kitchen shuffle.
Picture this: you’re at the sink rinsing vegetables while your partner needs to grab something from the fridge behind you. With only 36 or 42 inches, it’s a constant dance of "excuse me." With a 48-inch aisle, it’s a non-issue. Those few extra inches truly make a world of difference in how your kitchen functions every single day.
If you want to play around with these dimensions yourself, trying out some of the best kitchen design software can be a huge help. It lets you drop different island shapes into your floor plan to see exactly how those clearances will feel before you commit to anything.
Directing Traffic Like a Pro
Beyond the immediate cooking zone, you have to think about the main traffic pathways. These are the natural routes people take through the kitchen, not just in it. Think about the path from the garage door to the pantry, or from the living room out to the back patio.
This is where an angled island really shines. In a typical L-shaped kitchen, for example, a standard rectangular island can create a sharp, jutting corner right in the middle of a major walkway. It becomes an obstacle.
An angled island, on the other hand, softens that corner and gently directs foot traffic. It creates a much more natural flow, guiding people around the core work area instead of straight through it. This is huge when you’re carrying a hot pot from the cooktop to the sink and the kids are running through the house. It's one of the smartest, most underrated benefits of this design.
Making Room for Seating
If you're planning to have seating at your island, the clearance rules shift a bit. The space behind the stools isn't a work aisle; it's a walkway, and it needs its own set of measurements.
Here’s a quick guide to planning seating clearance:
- For a simple walkway: If people will just be walking behind the chairs occasionally, you need at least 36 inches from the island's countertop edge to the wall or other furniture.
- For a busy traffic path: If that walkway is a main thoroughfare, you’ll want to bump that up to 44 inches or more. This gives people plenty of room to pass by comfortably without asking anyone to scoot in.
And don't forget to account for the "scoot-back" space! When someone gets up from a counter-height stool, they push it back. You have to factor in that movement. A layout that only looks good on paper but feels cramped in reality is a design failure. We always plan for how you’ll actually live in the space.
Designing for Functionality and Flow
An angled kitchen island has to be more than just a striking architectural feature—it needs to be the hardworking hub of your kitchen. Getting the design right is all about a smart mix of size, angles, and clever integration of appliances and storage. When these details click, your island goes from a simple countertop to an ergonomic powerhouse.
The most popular choice, and for good reason, is a 45-degree angle. It’s a fantastic way to redirect foot traffic and soften the feel of the room without creating those awkwardly deep, unusable corner cabinets where Tupperware lids go to disappear. But this isn't a hard-and-fast rule. A custom angle, maybe a gentler 30 degrees or a more dramatic 60, might be the perfect solution for a unique layout. Just be aware that custom angles require extra thought to keep the interior storage practical and accessible.
The diagram below really breaks down how to think about the different pathways in your kitchen to keep things moving smoothly.
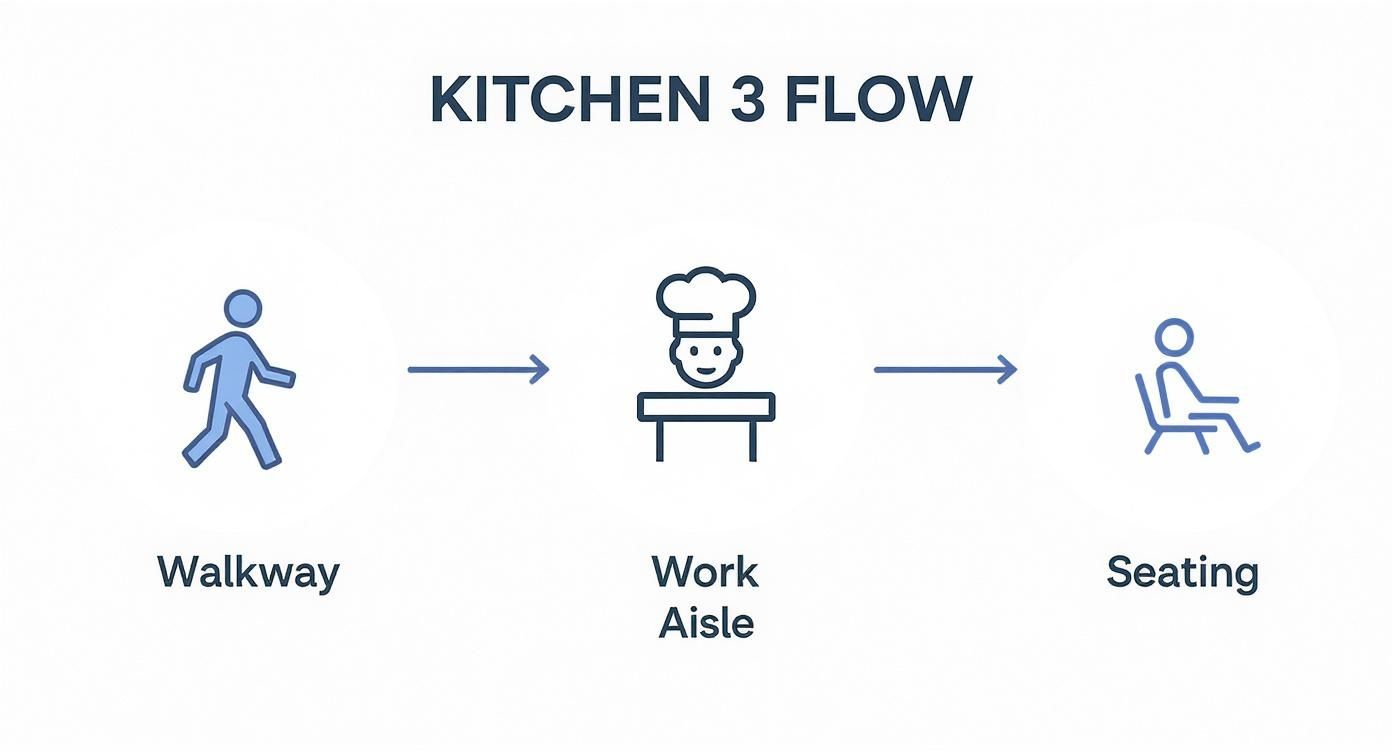
As you can see, planning for walkways, work zones, and seating areas each demand their own clearance measurements. Getting this wrong is how you create frustrating bottlenecks.
Smart Appliance and Feature Integration
Where you place things on your angled island can make or break its workflow. From my experience, placing a prep sink—or even the main sink—on the angled face itself is a game-changer. This simple move lets you face out into the room, so you can chat with family or guests while you work instead of having your back to everyone.
Here are a few strategic placements I often recommend:
- Prep Sink: Putting a small prep sink on that angled corner can revolutionize your workflow. It creates a super-efficient spot for rinsing veggies that’s perfectly situated between the fridge and the stove.
- Cooktop or Range: This is a less common but very sleek option. Placing a cooktop on the angle requires serious planning for ventilation. You'll almost certainly need a downdraft system to avoid a massive, view-blocking hood hanging in the middle of your room. It looks great but needs the right mechanical and electrical groundwork.
- Dishwasher: If your main sink is in the island, the dishwasher must go right next to it on one of the straight sides. This seems obvious, but it’s a critical detail for easy loading and unloading.
- Microwave Drawer: A microwave drawer is a fantastic way to reclaim counter space. I like to position it on a side that's easy to get to but doesn't interfere with the main cooking action.
Pro Tip: A common mistake is seeing the angled section as purely decorative. To really get the most out of it, use that angle to your advantage. Place a high-use item like a prep sink there—it naturally orients you toward the heart of your kitchen.
While you're zeroing in on the island, don't forget the bigger picture. It's worth exploring how interior design creates a functional and fabulous kitchen to make sure every element works together seamlessly.
Planning for Power and Storage
In today's world, an island without enough power is a huge missed opportunity. You have to think beyond just meeting code; you need to plan for how you’ll actually use the space every single day.
Think through your electrical needs from the start:
- Workstation Outlets: Plan for outlets on at least one or two sides. Pop-up outlets that sit flush with the countertop are a brilliant solution for keeping the lines clean while giving you power right where you need it for a stand mixer or laptop.
- Charging Stations: I love integrating a dedicated charging drawer with built-in USB ports. It gets all the phones and tablets off your valuable countertop, cutting clutter and protecting them from the inevitable spills.
- Appliance Power: Any built-in appliance, like a microwave drawer or wine fridge, needs its own dedicated circuit. This has to be planned from the very beginning.
Storage in an angled island also needs a custom touch. That tricky angled cabinet is the perfect spot for a multi-tiered lazy Susan, making it a breeze to get to items in that deep corner. For the straight sections, I always recommend deep drawers for pots and pans. They are so much more ergonomic than base cabinets where you have to crouch down and dig for what you need.
By marrying thoughtful appliance placement with detailed electrical and storage planning, your angled kitchen island will become the functional, beautiful centerpiece your home deserves.
Selecting Materials to Define Your Style
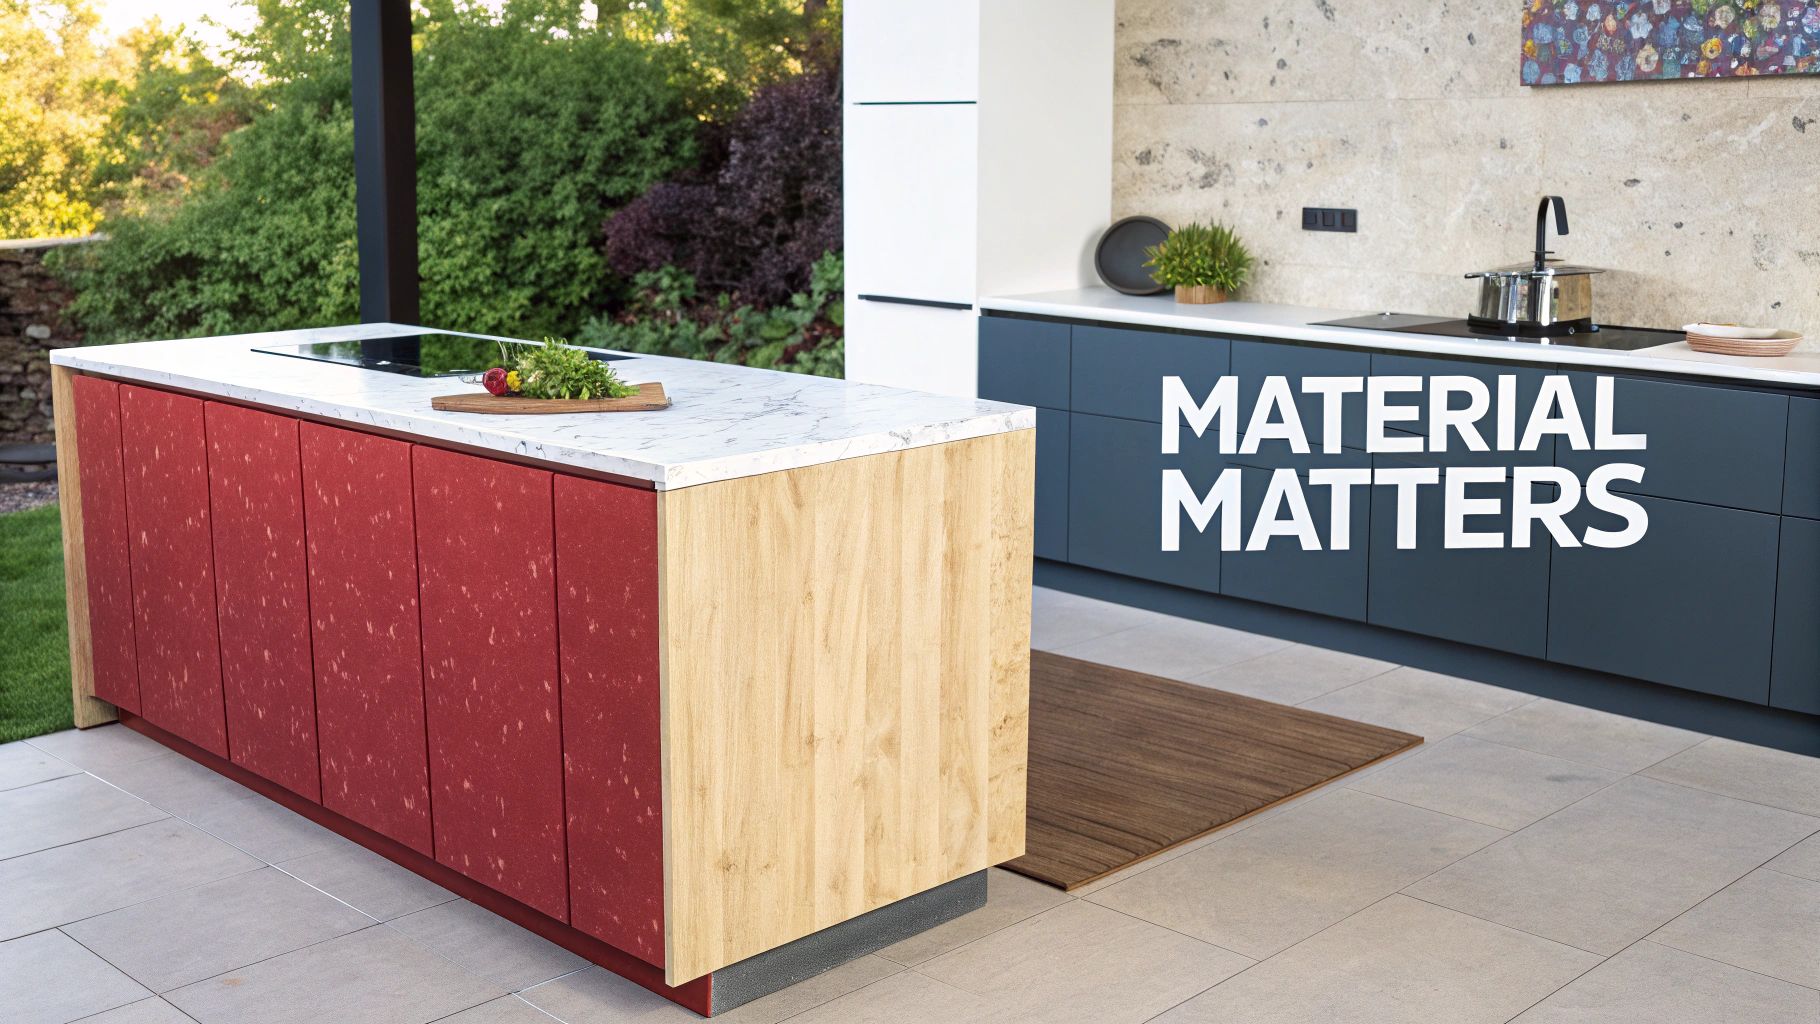
This is where the fun really starts—the point where your vision truly begins to take shape. Choosing the right materials for your angled kitchen island is about so much more than just looks. It's a careful balance of durability, maintenance, your budget, and the specific vibe you want to create in your home. These choices will solidify the island as the room's undisputed focal point.
The countertop is usually the first decision we tackle, simply because it carries the most visual weight and takes the most daily abuse. It really sets the tone for everything else. From there, your cabinetry provides the foundational structure and color palette, while hardware and finishes are the final details that tie the entire design together.
This whole process of material selection is part of a bigger trend we're seeing everywhere: homeowners want spaces that are deeply personal. It's no surprise that the North American market for kitchen islands is the largest in the world, largely driven by the open-concept layouts where the island is a central hub for everything from meal prep to homework. This demand shows a clear shift toward kitchens that are as beautiful as they are functional. You can actually read the full research about kitchen island market trends to see just how much this design element has evolved.
Choosing the Perfect Countertop
The countertop for an angled kitchen island isn't just a work surface; it's a statement piece. Because of the custom cuts needed to create that angle, your material choice will have a real impact on both the final look and the overall cost.
Here’s a quick rundown of the popular options we work with most often:
- Quartz: This engineered stone is a top contender for good reason. It’s incredibly durable, non-porous (so it won’t stain from that spilled glass of red wine), and comes in a massive range of colors and patterns. You can get anything from a solid bright white to a look that mimics natural marble almost perfectly. It's a true low-maintenance workhorse.
- Granite: For anyone who loves the unique beauty of natural stone, granite is a fantastic choice. Each slab has a one-of-a-kind pattern. It's also highly durable and heat-resistant, but it does require periodic sealing to keep it from absorbing spills.
- Butcher Block: A wood countertop brings an undeniable warmth and an organic, sometimes rustic, feel to a kitchen. It’s fantastic for a prep area but does require more care—think regular oiling to protect it from water damage and scratches. The upside? It can always be sanded and refinished to look brand new again.
A fantastic design strategy we love for angled islands is the waterfall edge. By extending the countertop material down the angled side of the island, you create a seamless, high-impact look that feels incredibly modern and luxurious.
Cabinetry and Finishes that Make a Statement
The base of your island is a golden opportunity to inject some personality and color into your kitchen. While matching your perimeter cabinets creates a cohesive, traditional look, going with a contrasting color for the island is an incredibly popular and effective design move.
Think about one of these approaches for your island base:
- A Bold Contrast: Painting the island a deep navy, a rich forest green, or even a dramatic black can transform it into a stunning centerpiece, especially in an otherwise neutral kitchen.
- Warm Wood Tones: A stained wood island, like a rich walnut or a lighter white oak, can add incredible warmth and texture that beautifully complements painted perimeter cabinets.
- Custom Features: Consider incorporating open shelving on one of the straight ends to display cookbooks or decorative pieces. It’s a great way to break up a large mass of cabinetry and add a personal touch.
The style of the cabinet doors—whether you go for Shaker, flat-panel, or a traditional raised panel—also plays a huge role in the final look. We find that the simple, clean lines of Shaker or flat-panel doors work exceptionally well with the modern geometry of an angled kitchen island.
Finishes are the last piece of the puzzle. Think of your hardware—the pulls and knobs—as the jewelry for your kitchen. Finishes like matte black, brushed brass, or polished nickel can dramatically change the feel of the space. It’s a small detail that has a massive impact, allowing you to tie together other metallic elements in the room, from your faucet to the light fixtures overhead.
Budgeting for Your Angled Island Project
Let's talk numbers. Before we get lost in the fun of choosing countertops and finishes, setting a realistic budget is the single most important thing you can do for a stress-free kitchen renovation. An angled kitchen island isn't an off-the-shelf item; it’s a custom piece, and the price will reflect that level of specialized work.
So, what should you expect to invest? The final cost has a huge range, but I can give you some ballpark figures from my experience. For a simpler angled island using semi-custom cabinets and a mid-range countertop like laminate or a common granite, you might be looking at a starting point around $4,000 – $7,000.
However, if you're envisioning a fully custom build with high-end appliances, premium quartz, and custom electrical work for outlets and lighting, the cost can easily climb to $15,000 or more.
Your budget is a roadmap, not a restriction. It's about empowering you to make smart, value-driven decisions on where to invest for the long haul and where you might find some savvy savings.
Key Cost Components to Consider
Breaking down the costs helps you see exactly where your money is going. It's not just one lump sum; it's a combination of materials, appliances, and the skilled labor needed to bring it all together.
Here’s a rough breakdown of how a typical project budget gets allocated:
- Cabinetry (30-40%): This is usually the biggest piece of the pie. The custom angles, unique finishes, and interior fittings will cost more than standard rectangular cabinets.
- Countertops (20-30%): The material you choose is one factor, but the complexity of fabricating and finishing the angled cuts is another. Quartz and natural stone are fantastic choices, but they require expert fabrication.
- Labor (20-25%): This covers the installation of everything—cabinets, countertops, electrical wiring, and any plumbing for a prep sink. Custom work simply takes more skilled hours to get right.
- Appliances & Fixtures (10-15%): A prep sink, a new faucet, or a built-in microwave drawer all get factored into this part of the budget.
These angled, built-in islands continue to dominate the market over portable carts because homeowners want a seamless, integrated look. It's a trend backed by market analysis, which shows a strong consumer preference for curated, fixed designs. You can learn more about kitchen island market segmentation and see how these preferences are shaping the industry.
Where to Invest and Where to Save
A smart budget isn't about going for the cheapest option across the board. It’s about being strategic. Some elements are absolutely worth the upfront investment for their long-term value and daily function.
Splurge-Worthy Investments:
- Durable Countertops: This surface will see the most action in your kitchen. Putting your money into a high-quality, non-porous material like quartz pays you back every day in durability and easy maintenance.
- Deep Drawers: I always recommend deep, full-extension drawers over standard cabinets in an island. They are so much more ergonomic for storing heavy pots and pans—no more digging around in a dark lower cabinet.
- Professional Installation: An angled kitchen island demands precision. Skilled labor is not the place to cut corners. A flawless, professional installation ensures your island is perfectly level, secure, and built to last for decades.
Areas for Potential Savings:
- Cabinet Hardware: You can find gorgeous, high-quality knobs and pulls at all sorts of price points. This is an easy place to save without sacrificing style.
- Lighting Fixtures: Pendant lights make a huge statement, but you don’t have to break the bank. There are countless affordable options that look just as stunning as designer fixtures.
- Backsplash: If the budget is feeling tight, consider a classic subway tile for the main kitchen backsplash. It’s timeless, budget-friendly, and always looks clean and sharp.
Common Questions About Angled Kitchen Islands
Even with a solid plan, you're bound to have some questions. That's completely normal. An angled kitchen island is a pretty specific custom feature, and you want to be sure you've covered all your bases before breaking ground.
Let's walk through some of the most common things homeowners ask us when they're thinking about this unique design. Getting these answers sorted out will give you the confidence to move forward, knowing the end result will be a kitchen you absolutely love.
Does an Angled Kitchen Island Waste Space?
This is probably the biggest misconception we run into. The short answer? Not if it's designed with purpose.
On paper, a simple rectangle looks like the most efficient use of square footage. In reality, a thoughtfully designed angled island can work wonders for a cramped or awkward kitchen. It can solve traffic flow issues and make the whole room feel more open.
By "clipping" a corner, you create a more natural path for people to walk. This is a game-changer in L-shaped kitchens or any space where you've got a tricky traffic pattern. The trick is to make sure the angle is there for a reason—to improve workflow or open up a view—not just for looks.
Is an Angled Kitchen Island More Expensive?
Yes, you should budget for a higher price tag. The custom nature of an angled island means more intricate work for both the cabinet maker and the countertop fabricator. They aren't just making straight cuts on standard pieces.
Your countertop fabricator, for example, can't just slice off a rectangular slab. They have to carefully measure and execute precise cuts to match the angle perfectly. That extra labor and skill for both the cabinets and the countertop adds to the final cost. How much more depends on your materials, how sharp the angle is, and whether you're adding a sink or cooktop.
While an angled island costs more upfront due to custom labor, its ability to solve fundamental layout problems often delivers a higher return on investment in daily functionality and home value.
What Is the Best Angle for a Kitchen Island?
Nine times out of ten, a 45-degree angle is the go-to. There's a good reason for this: it's incredibly effective at redirecting foot traffic without creating weird, unusable dead space inside the island cabinets. It just works.
That said, the perfect angle is the one that works for your kitchen. It all comes down to the room's specific layout and what you're trying to achieve. A seasoned designer can map out your space and help you figure out if a sharper or softer angle would be a better fit for how you use your kitchen.
Ready to explore how an angled kitchen island could transform your home? The team at Trademaster Construction has the expertise to design and build a custom island that perfectly fits your space and lifestyle. Visit us online to get started.

