
Thinking about adding a bathroom to your basement? It’s a game-changer. You’re not just adding convenience; you’re transforming underutilized space into something truly valuable, whether it's for a new guest suite, a family rec room, or just to make a finished lower level more functional.
Your Blueprint for a High-Value Basement Bathroom
A basement bathroom remodel isn't quite like any other project in your house. Down here, we're dealing with a different set of rules. We have to think seriously about plumbing that often fights gravity, the constant potential for moisture, and a lack of natural light.
Getting the planning right from the start is non-negotiable. Especially for us here in Southwest Michigan, where damp basements are a common headache, proper ventilation and waterproofing aren’t just nice-to-haves—they're essential for a healthy, long-lasting space.
This guide is your roadmap. We’ll break down every step, from the first sketch to the final polish. Knowing what’s coming helps you budget realistically, choose the right pros, and make smart choices. When creating your blueprint for a high-value basement bathroom, the shower is often the star of the show. You can find some top shower design ideas for your bathroom remodel to get your own creative juices flowing.
Key Project Phases and What to Expect
Let's walk through the major stages of the project to give you a clear picture of the road ahead. Each step has its own timeline and requires specific expertise.
A well-planned project prevents scope creep and budget surprises. Knowing who to hire and when is half the battle in any successful remodel. This initial planning phase ensures your vision aligns with practical realities from day one.
To make this even clearer, we've outlined the core stages of the process in a table. Think of this as the basic framework for a smooth and successful renovation.
Basement Bathroom Remodel Project Phases
This table summarizes the key stages of the project, how long they typically take, and which professionals are needed to get the job done right.
| Project Phase | Typical Duration | Key Professional Needed |
|---|---|---|
| Initial Design & Budgeting | 1-3 Weeks | Designer / General Contractor |
| Permitting & Material Sourcing | 2-4 Weeks | General Contractor |
| Demolition & Framing | 3-5 Days | Construction Crew |
| Plumbing & Electrical Rough-In | 4-7 Days | Licensed Plumber & Electrician |
| Waterproofing & Finishing | 1-2 Weeks | Tile Setter / Painter / Contractor |
| Fixture Installation & Final Touches | 3-5 Days | Plumber / Electrician / Contractor |
Seeing the project broken down this way helps you understand the flow and appreciate why each step is so critical to the final outcome.
Budgeting Your Remodel Without Sticker Shock
Let’s talk about the money. Before you get lost in tile samples and faucet designs, you have to nail down a realistic budget. It’s the foundation of any successful remodel, and honestly, it’s what keeps the project from becoming a nightmare. A basement bathroom isn't like adding one upstairs; you're dealing with concrete, specialized plumbing, and a constant battle against moisture, all of which have their own price tags.
The biggest chunk of your budget? Labor. It's not glamorous, but getting the right people on the job is everything. Expect skilled labor to make up 40-65% of your total project cost. From there, the complexity of your plumbing and the level of finishes you choose will dictate the rest.
Deconstructing the Costs of a Basement Bathroom
So, what’s the real number? While national averages are a decent starting point, what matters is the cost right here in Portage and Kalamazoo. The good news is that adding a bathroom to your basement is a fantastic investment that adds real value to your home, especially in Southwest Michigan where finished basements are a huge selling point.
Nationally, you could be looking at anything from $3,000 for a simple half-bath to over $25,000 for a spacious, high-end bathroom that requires significant concrete and plumbing work. That shakes out to about $200 to $250 per square foot for a new bathroom built within your existing basement. For a deeper dive into these numbers, you can explore a full cost analysis of a basement bathroom project.
Your final costs will pivot on a few critical choices:
- Plumbing Systems: The big question is how you'll handle drainage. Do you need a sewage ejector pump, or can you get by with an up-flush toilet? Ejector pumps mean breaking up the concrete floor—a major job—but they are the gold standard for reliability.
- Fixtures and Finishes: This is where you have the most control. A simple pedestal sink and a standard toilet will be much easier on the wallet than a custom floating vanity with a quartz countertop and a sleek, wall-mounted toilet.
- Tile and Surfaces: That intricate mosaic tile you fell in love with for the shower? It will cost a lot more in both materials and installation time compared to classic, large-format porcelain tiles.
This infographic gives you a clear visual of where the work—and your money—goes during the project.
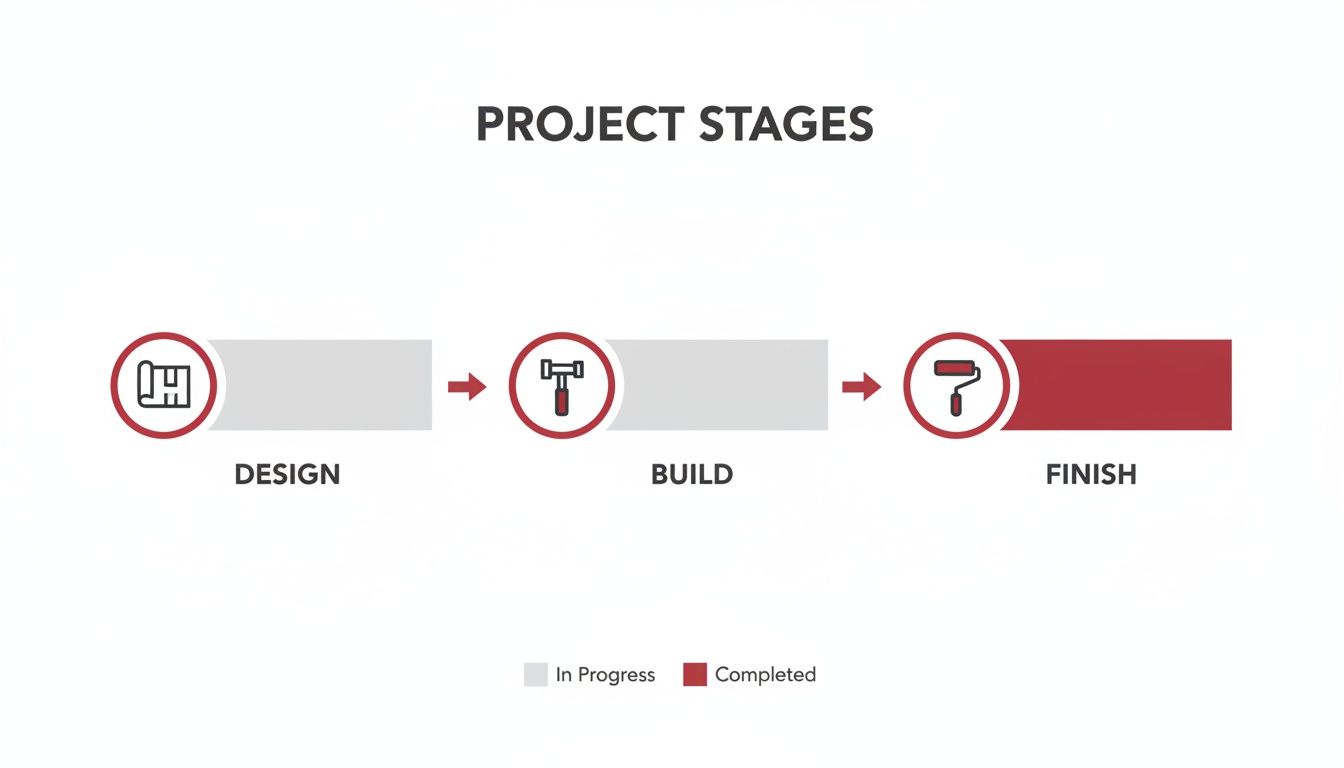
As you can see, the "Build" phase is the beast. This is where all the heavy lifting happens—plumbing, electrical, framing—and it naturally commands the largest part of your budget.
Where to Save and Where to Splurge
Smart budgeting isn’t about going cheap on everything. It's about being strategic. You need to know where you can find savings and where you absolutely must invest in quality to avoid headaches later.
Areas to Potentially Save Money:
- Fixtures: You can find great-looking, high-quality toilets, sinks, and faucets from trusted brands that won't break the bank. Stick to standard sizes.
- Vanity: A stock vanity from a home improvement store can be transformed with some stylish new hardware. Nobody will know it wasn't a custom piece.
- Lighting and Mirrors: There are countless affordable and beautiful options for lights and mirrors online or at local stores that deliver high style without the high price.
Pro Tip: Never, ever compromise on the things you can't see. Your waterproofing, ventilation, and plumbing are the skeleton of this project. Investing in quality materials and professional installation here will save you thousands in potential water damage and mold remediation down the line. It's the best money you'll spend.
Areas Worth the Investment:
- Waterproofing: This is completely non-negotiable in a basement. Professional-grade sealants, membranes, and proper drainage are what protect your entire investment from moisture.
- Ventilation Fan: A powerful, properly vented exhaust fan is your number one defense against humidity and mold in a closed-off, below-grade room. Go for a high-capacity model.
- Professional Labor: An experienced contractor like Trademaster Construction has seen it all. We know the local codes, understand the unique challenges of basement work, and have the expertise to do the job right the first time, preventing costly mistakes.
Getting a Reliable Estimate
To get past the ballpark figures and onto a real number, you need a detailed estimate. You can start by using tools like the Trademaster Construction Pricing Tool, which gives you a solid baseline for projects right here in the Kalamazoo area. It lets you plug in your specific ideas to get a preliminary cost breakdown. This is how you plan with confidence and avoid that gut-wrenching sticker shock when the real quotes come in.
Tackling Below-Grade Moisture and Ventilation
Let's be honest: basements are underground. This simple fact creates the two biggest hurdles for any basement bathroom project—moisture and air quality. If you don't get these right from the very beginning, you're setting yourself up for a damp, musty space that’s a breeding ground for mold, mildew, and some seriously expensive water damage down the road.
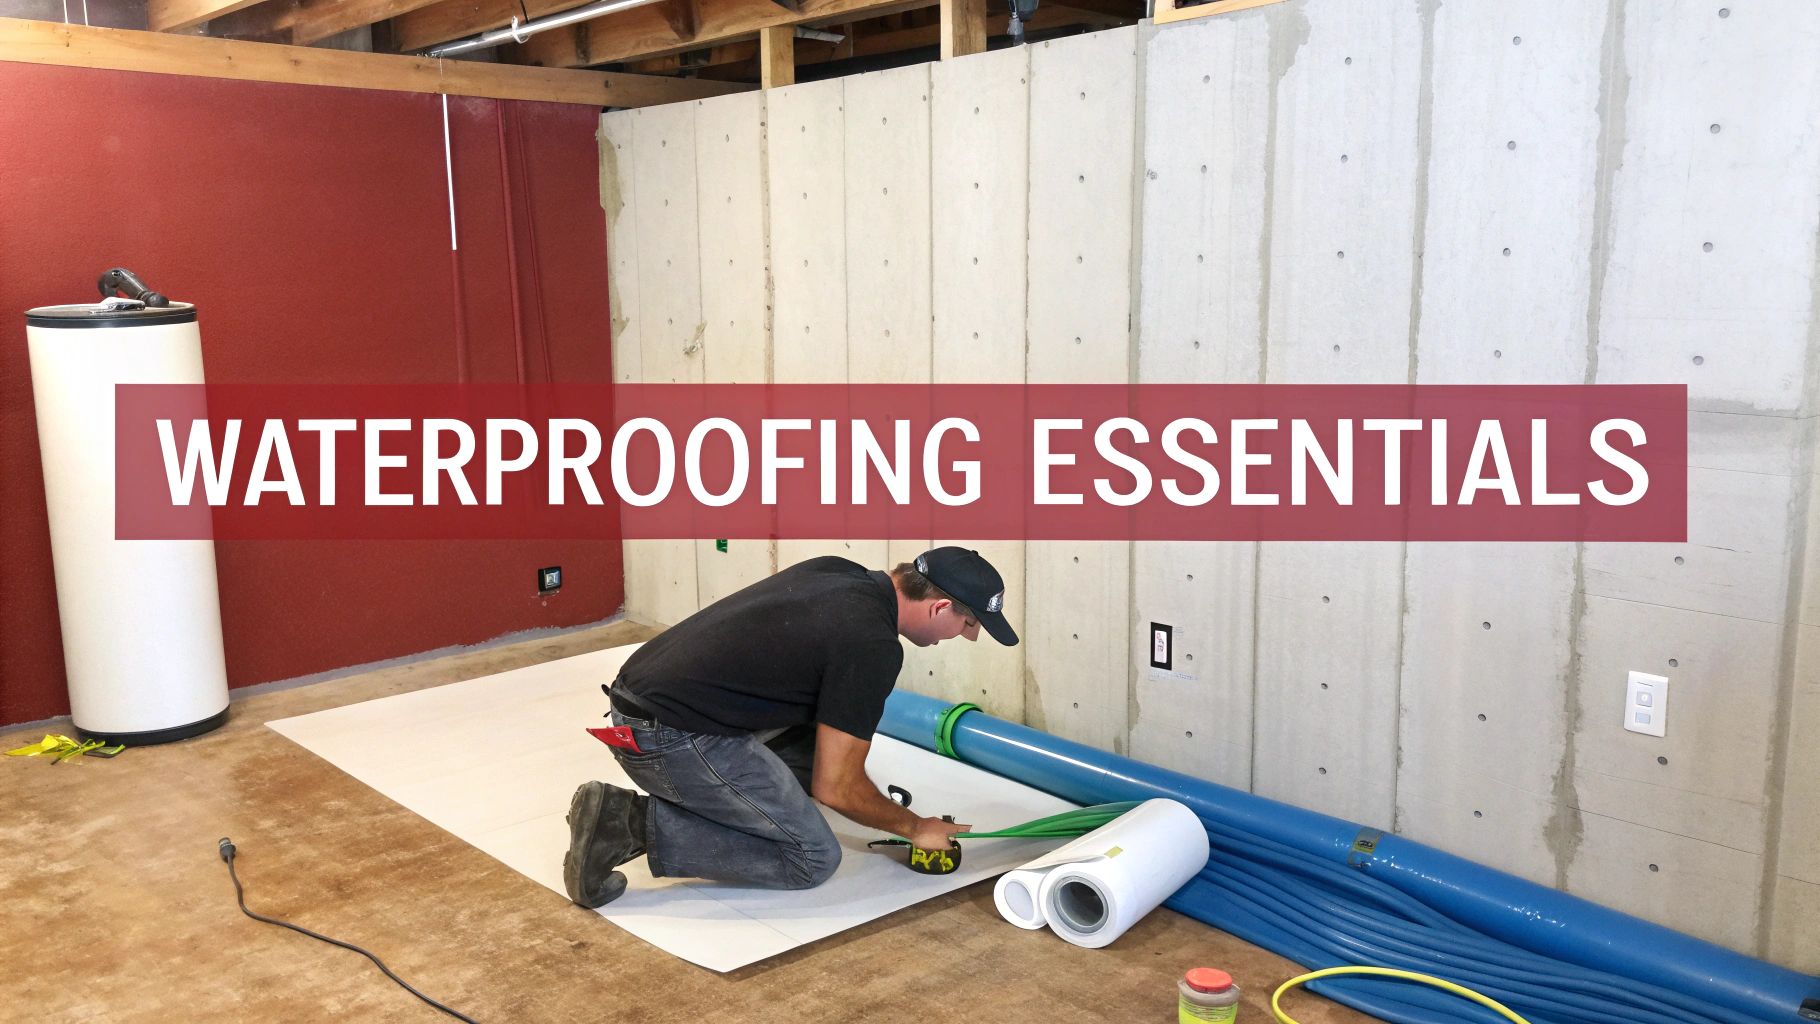
Your basement is basically a concrete box sitting in damp soil. That groundwater is always pushing against your foundation—a force called hydrostatic pressure—and it's constantly looking for a way in. This is why a robust, multi-layered waterproofing strategy isn't just a "nice-to-have." It's the single most important investment you'll make in this entire remodel.
Before you even think about framing, getting a handle on understanding basement water damage is essential. This knowledge is the bedrock of a successful renovation, especially for a room that's inherently wet.
Mastering Moisture Control From the Ground Up
Real moisture control starts long before the first tile goes down. To guarantee a dry, healthy basement bathroom, you need to think about solutions that tackle water from both the inside and the outside. Just slapping on a coat of "waterproof" paint from the hardware store is a temporary fix, not a real solution. It simply won't protect your investment.
A proper defense strategy has several key layers, and each one plays a unique role in keeping water out. This is where professional experience really pays off. A team like ours at Trademaster Construction can diagnose your home's specific vulnerabilities and put together the right combination of solutions.
Your game plan should include these essential layers of protection:
- Exterior Waterproofing: This is your absolute first line of defense. It involves digging down to the foundation to apply a waterproof membrane or a specialized sealant directly to the outside walls. This stops water before it even has a chance to touch the concrete.
- Interior Drainage Systems: If digging up your yard isn't an option, an interior system can be incredibly effective. A French drain installed around the inside edge of the basement floor will catch any water that seeps in and channel it safely to a sump pump.
- Vapor Barriers: Think of this as a raincoat for your interior walls. Installed against the concrete before the studs go up, a high-quality vapor barrier stops moisture from wicking through the porous concrete and into your wall cavities where mold loves to grow.
- Crack Repair: Even tiny, hairline cracks in your foundation are like open doors for water. They need to be professionally sealed with epoxy or polyurethane injections to create a permanent, watertight bond.
Choosing Materials That Can Handle a Damp Environment
Once your waterproofing is buttoned up, your material choices are the next critical line of defense. In a below-grade bathroom, every single thing you install—from the subfloor to the paint on the ceiling—has to be moisture-resistant.
I've seen it time and time again: homeowners try to save a few bucks using standard drywall or pretty wood baseboards, and it's always a mistake. Even with a good fan, the ambient moisture will cause those materials to swell, warp, and eventually harbor mold.
Choosing moisture-resistant materials from the studs out is completely non-negotiable. It’s like building an insurance policy directly into the walls. The small extra cost for mold-resistant drywall or waterproof flooring is nothing compared to the nightmare of tearing everything out to fix a mold problem later.
Here’s a quick rundown of smart choices versus materials you should absolutely avoid.
| Feature | Recommended Materials | Materials to Avoid |
|---|---|---|
| Walls | Mold-resistant drywall ("green board") or cement board for the shower and other wet areas. | Standard paper-faced drywall. |
| Flooring | Luxury Vinyl Tile (LVT), porcelain tile, or ceramic tile. | Hardwood, engineered wood, standard laminate. |
| Trim | PVC or other composite baseboards and trim that won't absorb water. | MDF or any solid wood trim. |
| Paint | High-quality acrylic paint with a dedicated mold and mildew-resistant primer. | Standard flat or eggshell paints without the right prep. |
The Unsung Hero: Proper Ventilation
A basement bathroom is an enclosed space with a huge source of humidity—the shower. Without a powerful, properly installed exhaust fan, all that steam just sits there, seeping into your walls, ceiling, and fixtures. It creates the perfect humid environment for mold and mildew to thrive, leading to health issues and rot.
That little fan you have in your upstairs bathroom? It won't cut it down here. You need a fan with a high CFM (Cubic Feet per Minute) rating, which is the measure of its air-moving power. Critically, that fan must be ducted directly to the outside of your house—never into the basement ceiling or another part of the home.
Proper ventilation is so important that it's a major focus of building codes. Any experienced contractor will know how to size the fan correctly for your bathroom's square footage and ensure the ductwork is sealed and insulated. This isn't just about keeping the space fresh; it's about making sure your project passes final inspection without a hitch.
Navigating Basement Plumbing and Drainage
Let's talk about one of the biggest hurdles in a basement remodel: the plumbing. Upstairs, gravity is your best friend, pulling all the wastewater down and out of your home. Down in the basement, though, you’re usually below the main sewer line. That means you have to fight gravity, and you need a special system to give wastewater the boot.
Choosing the right plumbing setup is a huge decision. It's going to have a major impact on your budget, the amount of construction dust you'll deal with, and how well your new bathroom works for years to come. Let's break down the two main ways we tackle this unique challenge.
The Ejector Pump: A Powerful and Permanent Solution
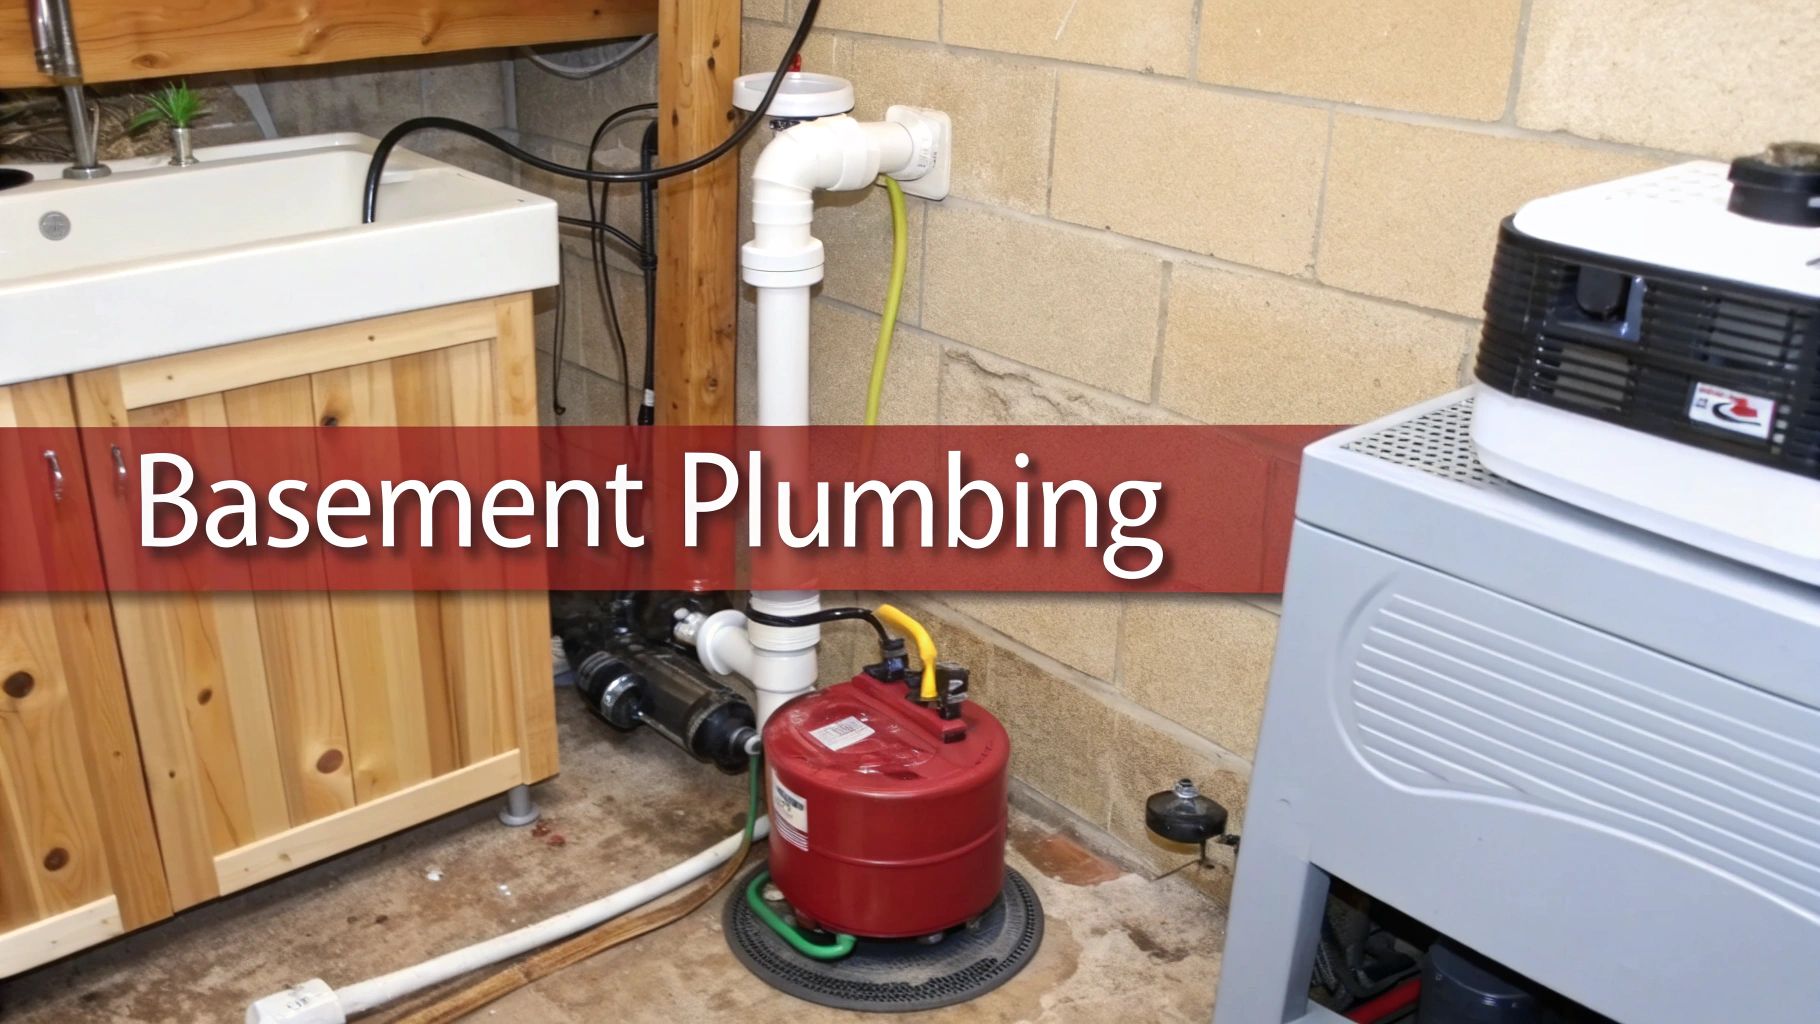
The most common and bulletproof way to handle basement sewage is with a sewage ejector pump. Think of it as a heavy-duty sump pump specifically designed for waste. To make this work, we have to cut into the concrete floor and install a sealed pit that collects everything from the toilet, sink, and shower.
When the wastewater in that pit hits a certain level, a float switch kicks on a powerful pump. This pump grinds up any solid waste and forcefully shoots the slurry up through a pipe until it connects with your home's main sewer line.
- Pros: This is a rock-solid, reliable system that can handle a full bathroom without breaking a sweat. It's a permanent, fully integrated setup that makes your basement bathroom function just like any other in your house.
- Cons: The installation is a big deal. It involves jackhammering your concrete floor, which is dusty, loud, and labor-intensive. It's not a small job.
- Best For: Homeowners building a full bathroom that will get a lot of use. If you want the most dependable, long-term solution and you're ready for the initial cost and construction mess, this is the way to go.
An ejector pump is the gold standard for a true basement bathroom. Yes, the upfront work is significant, but the result is a seamless, worry-free system that adds real value and functionality to your home.
Up-Flushing Toilets: A Less Invasive Alternative
If the thought of jackhammering your basement floor is a total non-starter, there's another great option: an up-flushing toilet system. You might also hear it called a macerating toilet. This clever setup uses a special pump unit that sits right behind the toilet or can be hidden inside the wall.
When you flush, everything goes into this macerating unit instead of down a traditional drain. Inside, powerful blades turn the waste into a fine slurry, which is then pumped up through a small pipe. This pipe is much easier to run through existing walls to tie into the main sewer line above.
- Pros: The installation is way less invasive—no concrete breaking required. This makes the whole process faster and usually more affordable than putting in an ejector pump.
- Cons: They can be a bit louder than a standard toilet and are more sensitive to what gets flushed. They also need electricity, so if the power goes out, so does your toilet (unless you have a generator).
- Best For: Projects where breaking concrete is out of the question, for bathrooms that will see lighter use, or for anyone looking for a more budget-friendly and less disruptive installation.
Vents and Drains: The Unseen Essentials
No matter which system you pick, proper venting is absolutely critical. This isn't something you can skip. Every single drain in your new bathroom—sink, shower, and toilet—needs to be tied into a vent pipe.
This pipe is what allows air into the system, preventing a vacuum from forming that would stop water from draining. More importantly, it stops gross sewer gases from bubbling up into your new bathroom.
Your contractor will handle the complex job of making sure all the vents are sized and routed correctly, usually connecting them to your home's existing vent stack. Getting this right is crucial for a bathroom that works properly and, just as importantly, passes local building code inspections here in Southwest Michigan. This is exactly the kind of complex job where the professional expertise of a team like Trademaster Construction becomes invaluable.
Designing a Bright and Spacious Bathroom Underground
Let's be honest: designing a bathroom for a basement comes with its own set of hurdles. You're often working with little to no natural light, lower ceilings, and maybe even a stray support column right where you don't want it. The goal is to overcome all that and create a space that feels bright and open—not like an afterthought tucked away underground.
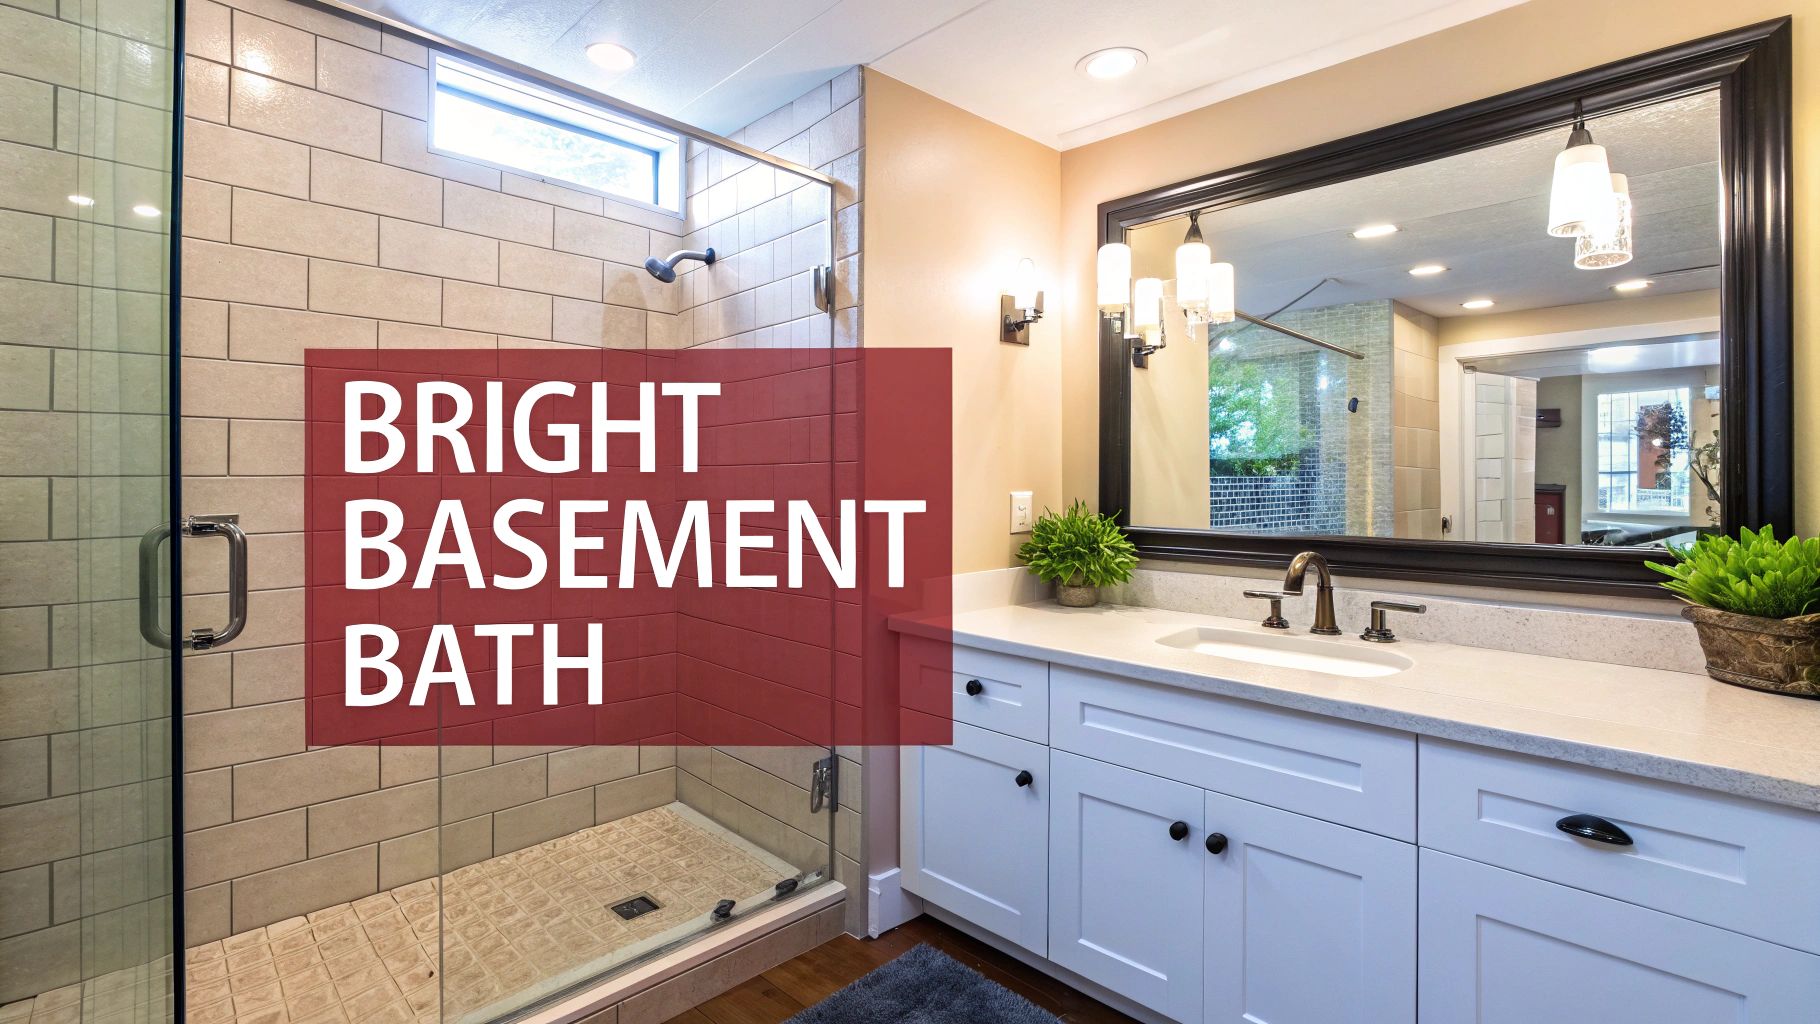
Success here isn't just about picking a nice vanity. It’s about a deliberate combination of layout planning, smart lighting, and the right materials to completely transform the feel of the room. When you get these things right, you can turn a dark, functional space into a genuinely inviting retreat.
Maximizing Every Square Foot with Smart Layouts
When you're dealing with a tight footprint, the layout is everything. Every single inch counts, and the primary goal is to make the room function smoothly without feeling like you're in a closet. This is your chance to get creative.
Here are a few of my go-to space-saving strategies:
- Corner Showers: Instead of a bulky rectangular shower, a neo-angle or rounded corner unit can really open up the floor. It cuts the corner, literally, giving you more room to move around.
- Wall-Mounted Fixtures: I can't recommend wall-mounted toilets and floating vanities enough. Lifting everything off the floor creates a clean, unbroken line of sight for your flooring, which is a classic designer trick for making a room feel significantly larger.
- Pocket or Barn Doors: Think about a standard door's swing—it can easily eat up 10 square feet of precious real estate. A pocket door vanishes into the wall, and a stylish barn door slides alongside it. Both options give you that space back instantly.
These aren't just practical moves; they also push the design toward a clean, modern look that naturally feels more spacious.
Smart design isn't about making the room physically bigger—it's about making it feel bigger. Every choice, from the door swing to the vanity style, should be aimed at creating an open, uncluttered environment.
The Power of Layered Lighting
A single light fixture in a windowless room is a recipe for a dreary, shadowy cave. To get that bright, welcoming vibe, you need to think in terms of layered lighting. This just means using multiple light sources, each with a specific job, to wash the room in even, functional light.
A solid lighting plan needs three layers:
- Ambient Lighting: This is your main, room-filling light. Think recessed "can" lights spaced evenly across the ceiling or a modern flush-mount fixture. Aim for a warm color temperature (around 3000K) to keep things from feeling sterile.
- Task Lighting: This is your focused, functional light. The most critical spot for this is at the vanity. Sconces placed on either side of the mirror are far better than a single light from above, as they cast even light on your face without creating weird shadows.
- Accent Lighting: This is where you add a little personality. A small, waterproof spotlight in a shower niche looks fantastic. So does running a subtle LED strip under the edge of a floating vanity. These touches add depth and a hint of luxury.
Using Color and Materials to Create an Illusion of Space
The colors and materials you choose have a huge effect on whether the room feels expansive or enclosed. In a basement, lighter and brighter is almost always the right answer, but that doesn't mean you're stuck with plain white.
You want to choose finishes that bounce light around and trick the eye.
- Light Paint Colors: You can't go wrong with soft grays, pale blues, or warm off-whites. A great pro tip is to paint the ceiling the same light color as the walls—it blurs the boundary and makes the ceiling feel higher than it is.
- Large-Format Tiles: Fewer grout lines make a surface look bigger. Using large tiles, like 12×24 inches or even larger, on the floor and in the shower creates a clean, continuous look that visually expands the room.
- Strategic Mirror Placement: A big, simple mirror over the vanity is your secret weapon. It will bounce light all over the room and create an illusion of depth, effectively making the bathroom feel twice its size. It's one of the oldest and most effective tricks in the book.
Finding the Right Contractor in Southwest Michigan
Hiring the right team for your basement bathroom remodel is probably the single most important decision you'll make in this entire process. You're not just hiring someone to install a toilet. You're bringing in an expert who needs to understand the tricky business of below-grade construction, from wrestling with complex plumbing to ensuring the space stays bone-dry for years to come.
Think of a great contractor as your project quarterback. They're the one calling the plays and coordinating the plumbers, electricians, and tile setters so everyone is on the same page. Here in Southwest Michigan, you need a team with real, local experience—someone who knows the specific building codes in Kalamazoo and Portage and has a portfolio of finished basements to prove it.
Vetting Your Potential Partners
Before you even think about signing a contract, you have to do your homework. A true professional will welcome your questions and be completely transparent about their process and credentials. If you get a vague or dismissive vibe, that’s a huge red flag.
I always recommend starting with a shortlist of local remodelers. From there, it's time to dig in with some direct questions. A thorough vetting process is the best way to protect your investment and avoid headaches down the road.
Here are the non-negotiable questions you absolutely have to ask:
- Licensing and Insurance: "Are you a licensed contractor in Michigan? Can you provide proof of both general liability insurance and workers' compensation?" This is non-negotiable. It protects you from being on the hook for any accidents that happen on your property.
- Basement-Specific Experience: "Can you show me examples of basement bathrooms you've completed right here in the area?" You want to see that they get the unique challenges of working below ground.
- The Permitting Process: "How do you handle pulling permits with the city?" A pro, like us at Trademaster Construction, will manage all the paperwork and inspections. You shouldn't have to worry about it.
- Timeline and Communication: "What's the realistic timeline for this project, and how will you keep me in the loop?" A clear communication plan is the secret to a low-stress project.
Understanding the Contract and Process
A handshake deal won't cut it. A detailed, written contract is your best friend. It should spell out the entire scope of work, the payment schedule, allowances for materials, and a clear timeline. There should be zero room for misinterpretation.
A professional remodeling process is built on clarity and trust. From the initial design consultation to the final walkthrough, every step should be clearly defined. This structured approach is what prevents projects from going over budget and past their deadlines.
Basement projects are more popular than ever, which means you need a partner who can manage costs effectively. Nationally, adding a full bathroom to a basement can tack on $12,000 to $25,000 to the total cost. Most of that comes from the complex plumbing and waterproofing—which is especially critical here in Kalamazoo, where so many older homes battle foundation water issues. You can read more about the costs and returns of basement finishing.
At Trademaster Construction, we've designed our entire process to eliminate surprises. We kick things off with an in-depth consultation to really get a feel for your vision. From there, we provide detailed proposals and use collaborative tools like our Idea Book to make sure we're perfectly aligned on style. That upfront commitment to planning is how we ensure your finished basement bathroom is a high-quality space you'll love for years to come.
Answering Your Top Basement Bathroom Questions
Even the most well-thought-out plans can leave a few lingering questions. As you get closer to breaking ground on your basement bathroom, you're bound to have some "what ifs" pop up. We hear them all the time from homeowners in Portage and Kalamazoo, so let's clear up a few of the most common ones.
Do I Really Need a Permit for This?
Yes, you absolutely do. This isn't just a simple cosmetic update; you're adding significant new plumbing and electrical systems, and sometimes even altering the structure of your home.
Your local building department requires permits to ensure all that work is done correctly and safely. Trying to skip this step is a recipe for disaster—it can lead to failed inspections, fines, and serious headaches when you eventually sell your home. A professional contractor like Trademaster Construction will handle the entire permitting process, from application to scheduling inspections, so you don't have to worry about it.
What's the Best Flooring for a Basement Bathroom?
Down here, waterproof isn't just a feature—it's a requirement. Basements are naturally damp environments, so your flooring choice is one of your most important decisions for long-term durability.
We almost always recommend one of two options for our projects:
- Luxury Vinyl Tile (LVT): This stuff is fantastic. It's 100% waterproof, tough as nails, and the designs that mimic real wood and stone are incredibly convincing.
- Porcelain or Ceramic Tile: You can't go wrong with a classic. Tile is completely impenetrable to water, a breeze to clean, and offers timeless style.
Steer clear of any wood-based products like hardwood, engineered wood, or most laminate flooring. They simply can't handle the moisture and will eventually warp, swell, and fail.
Think of waterproof flooring as an investment in your peace of mind. Getting it right the first time saves you from the massive expense and hassle of tearing out a ruined floor down the road.
How Long Is This Actually Going to Take?
This is the big question, isn't it? For most of the basement bathrooms we build, you can expect the project to take anywhere from 4 to 8 weeks. That timeline covers everything from demolition and cutting concrete for the new plumbing to all the rough-ins, inspections, drywall, tile work, and final fixture installation.
The final duration really hinges on the complexity of your specific project, but that's a realistic window to plan for.
Ready to stop wondering and start building? The team at Trademaster Construction has the expertise to bring your vision to life. Start planning your project with us today.

