
When you're dreaming of turning your basement into a cozy family room or a much-needed home office, the first thing to think about isn't the paint color—it's the ceiling height. The magic number, according to the building code, is 7 feet.
The 7-Foot Standard for Livable Basements
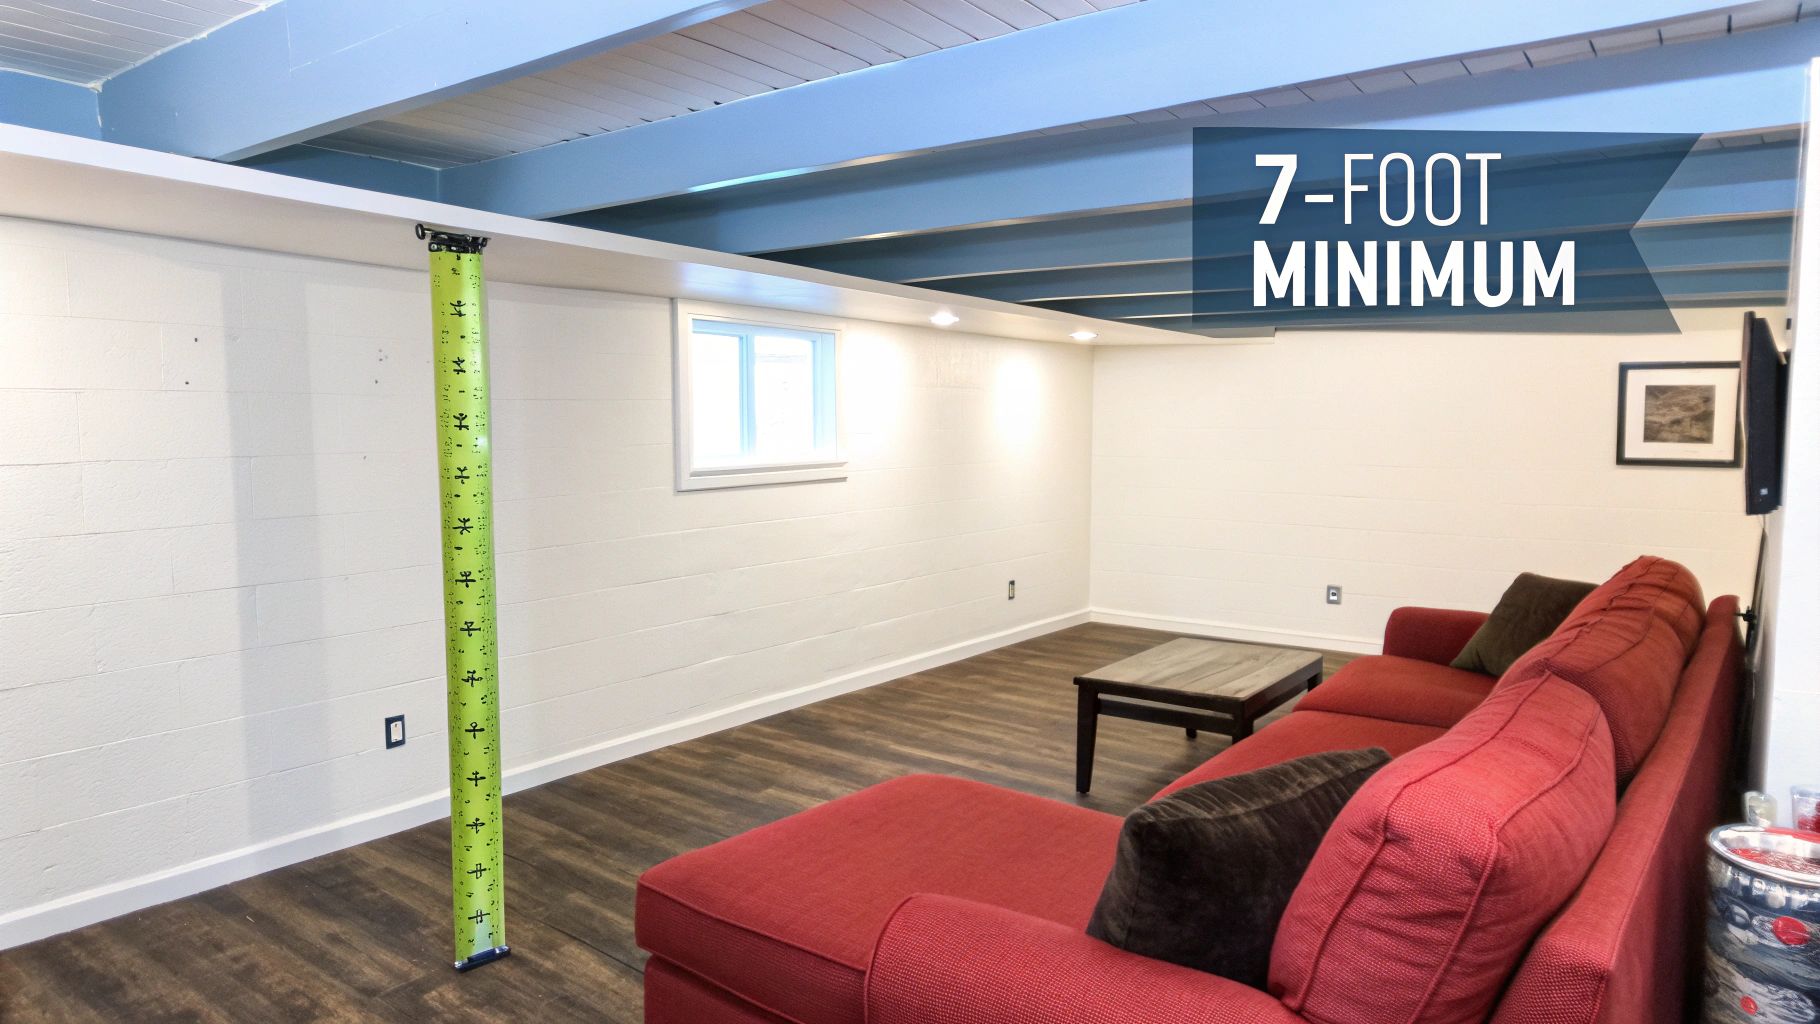
Getting the ceiling height right is about more than just avoiding bumping your head. It’s what legally transforms a concrete box into valuable, livable square footage for your home. The code is designed to ensure any new living space is safe, comfortable, and functional.
Think of it like this: a basement bedroom has to meet the same basic safety and comfort criteria as one on the main floor. That headroom isn't just a suggestion; it’s a core part of what makes a space officially "habitable" in the eyes of an inspector.
Habitable vs. Non-Habitable Space: What's the Difference?
The International Residential Code (IRC), which sets the standard for most of the country, splits your basement plan into two categories. Knowing the difference is your first step to a smart layout.
- Habitable Space (7-Foot Minimum): This is where you'll actually live and hang out. We're talking about bedrooms, living rooms, home offices, and playrooms. For these areas, the finished ceiling must be at least 7 feet high.
- Non-Habitable Space (A Little Less Headroom): Think of these as the "utility" or "pass-through" areas. Bathrooms, hallways, and laundry rooms get a little more flexibility, which we'll dive into later.
The All-Important Exception: Beams and Ductwork
Let's be real—most basements are a maze of pipes, support beams, and HVAC ductwork hanging below the floor joists. The good news is that the building code gets it. It's built for the real world, not a perfect blueprint.
The International Residential Code (IRC) provides a critical exception for the unavoidable stuff. While the main ceiling needs to be 7 feet, the area under beams, ducts, or other obstructions can be as low as 6 feet 4 inches.
This little rule is a lifesaver for countless basement projects. That one pesky duct running across the middle of the room won’t kill your dream of a home theater, as long as the rest of the ceiling hits that 7-foot mark. This practical exception gives you the flexibility to design around your home’s infrastructure without violating code.
To help you keep these numbers straight, here’s a quick summary of the IRC’s requirements.
IRC Basement Height Requirements at a Glance
This table breaks down the standard height requirements and the common exceptions you'll encounter when finishing your basement.
| Area Type | Minimum Required Height | Common Examples |
|---|---|---|
| Habitable Space | 7 feet (2.13 m) | Living rooms, bedrooms, dens, home offices, playrooms |
| Obstructions | 6 feet 4 inches (1.93 m) | Underneath beams, girders, ducts, and pipes |
| Bathrooms | 6 feet 8 inches (2.03 m) | Main bathroom area (exception for fixtures) |
| Hallways | 7 feet (2.13 m) | Corridors connecting habitable spaces |
Remember, these are the minimums. More height is always better for creating an open, airy feel, but these numbers are what the inspector will be measuring.
Why Your Local Building Code is the Only One That Matters
Think of the International Residential Code (IRC) as the national guideline for construction—it sets a solid baseline. It’s a great starting point, but it's not the final word. The rulebook that really matters is the one enforced by your local city or county building department.
Your local code is the law of the land for your project. Municipalities frequently adopt the IRC but then add their own amendments to suit regional conditions. Following these local rules isn't optional; it's the only way to pass inspections, avoid hefty fines, and prevent the nightmare scenario of having to tear out finished work.
Your Location Writes the Rules
So, why would a town in Southwest Michigan have different rules than one in, say, Arizona? It all comes down to local factors like climate, soil, and even the age of the housing stock. A city that gets heavy lake-effect snow might have stricter rules that indirectly affect basement construction.
Likewise, areas with high water tables or clay-heavy soil often have specific requirements for foundation depth and waterproofing. These aren't random rules—they’re designed to make sure your home is safe and built to last in its unique environment. This is precisely why you can't just Google the IRC standard and call it a day.
The Bottom Line: Your first and most important move is to connect with your local building department. They are the ultimate authority on the basement ceiling height requirements for your specific address.
How to Get the Official Answer
Figuring out municipal codes can feel a little intimidating, but it's usually more straightforward than you think. You just need to know who to ask and what to say. The goal is simple: get a clear, official answer on ceiling height before you start planning.
Here’s a quick guide to get you there:
- Find Your Local Building Department: A quick search for "[Your City Name] Building Department" or "[Your County] Building Inspector" will get you to the right place. If you're in Portage or Kalamazoo, this is your starting point.
- Pick Up the Phone: Call the department and ask to speak with a permit technician or building inspector. Don't be shy—their job is to help homeowners like you navigate the rules.
- Ask the Right Questions: Go into the call prepared. Clear, direct questions will get you the clear, direct answers you need.
What to Ask Your Building Inspector
When you get someone on the line, vague questions won't cut it. The more specific you are, the more helpful they can be.
Try asking these exact questions:
- "What is the minimum ceiling height you require for a habitable basement space?"
- "Are the height requirements different for areas like bathrooms or hallways?"
- "What's the lowest allowable height under obstructions like beams, ductwork, or pipes?"
- "Have you made any specific amendments to the International Residential Code for basement finishing projects that I need to know about?"
Taking this step does more than just keep your project legal. It shows the inspectors you’re serious about doing things the right way and starts your project off on the right foot.
Local codes can vary in surprising ways. For example, some jurisdictions stick to the standard 7-foot minimum, while others might have their own unique take. In Ontario, Canada, the building code requires a minimum ceiling height of just 6 feet 11 inches for basement living spaces. That one-inch difference might not sound like much, but it’s a perfect example of how regional standards can differ from the national baseline. You can learn more about how local codes affect basement headroom from Yorkland Homes.
How to Measure Your Ceiling Height Correctly
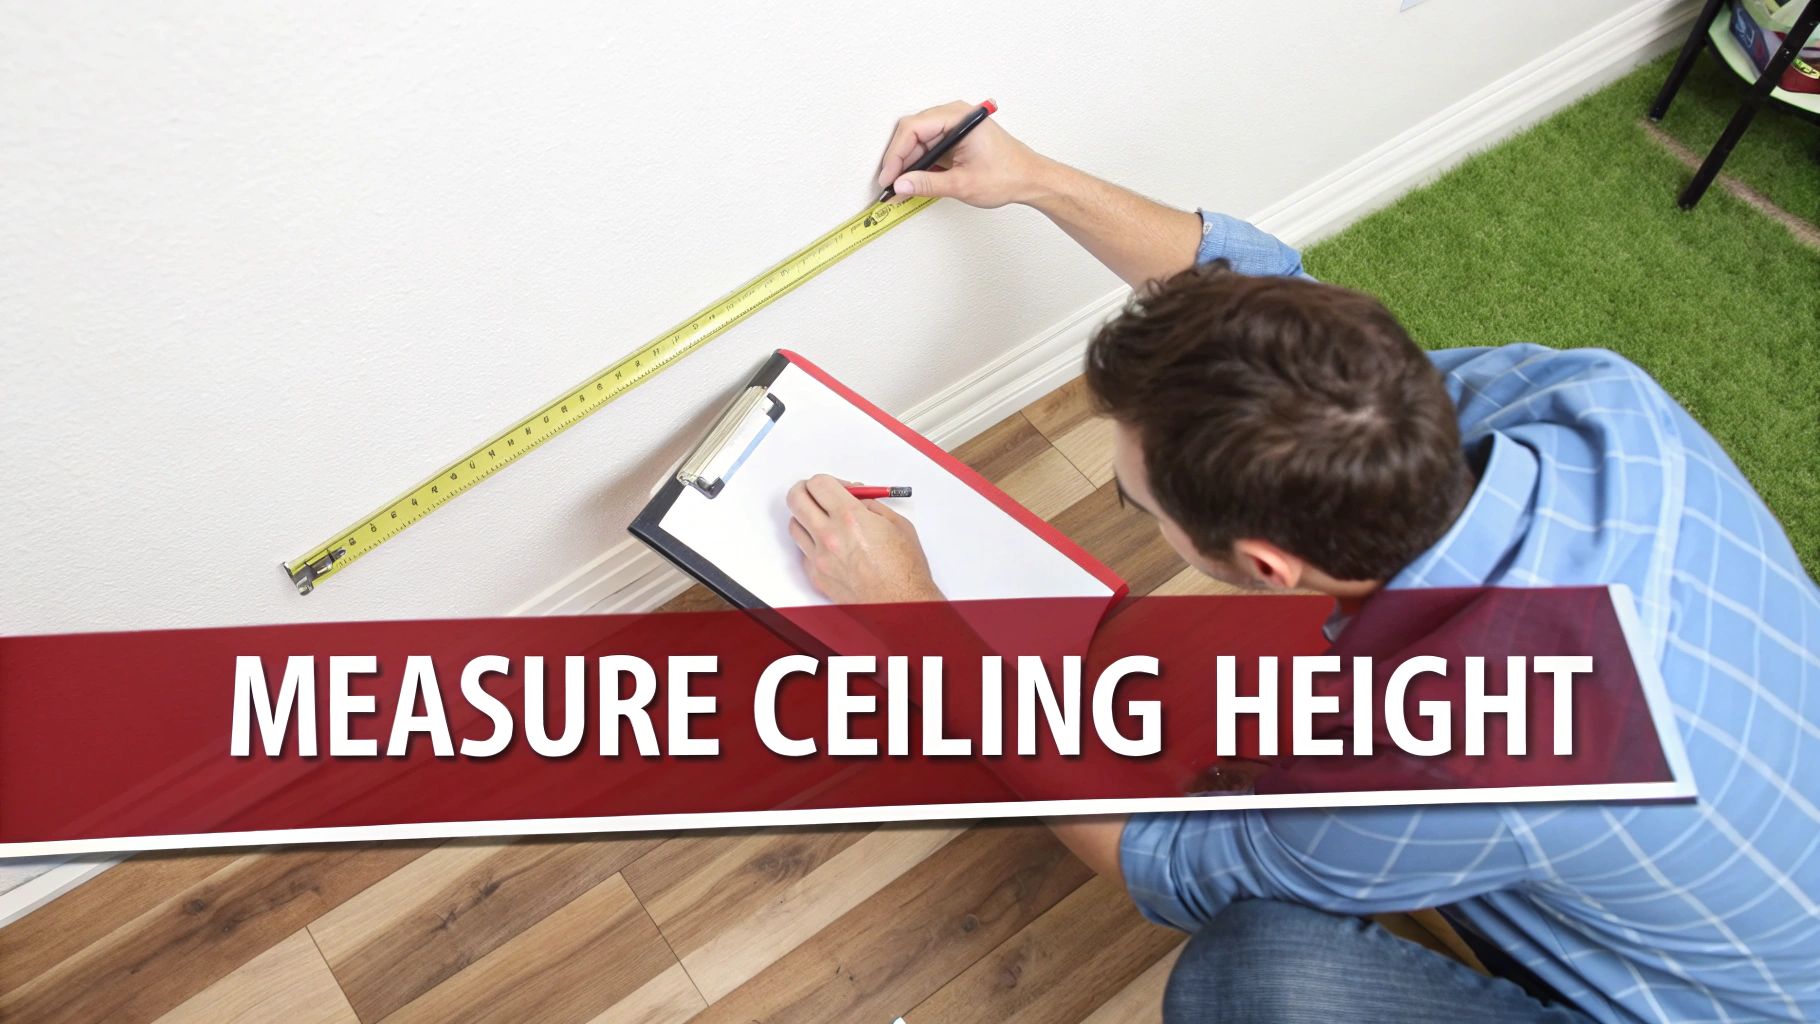
Getting an accurate measurement is the absolute bedrock of a successful, code-compliant basement finish. Before you start dreaming about wall colors or flooring options, you need to know exactly what you’re working with. A mistake here isn't just a minor oops—it can lead to a failed inspection and having to tear out finished work.
Think of it this way: a tailor measures from precise points to get a suit to fit perfectly. Your building inspector does the same thing. They don't just eyeball your headroom; they take out a tape measure and check the distance from the finished floor to the finished ceiling. Getting your head around that one concept is half the battle.
Your Step-by-Step Measurement Guide
To get a number that will hold up under scrutiny, you need to measure like a pro. So grab a good tape measure, a notepad, and maybe a friend to hold the other end of the tape—it makes a world of difference.
Here’s how to get it right:
-
Figure Out Your Finished Floor: The measurement has to start from the top surface of the floor you plan to install. If you're looking at bare concrete right now but want to put in plank flooring with a padded underlayment, you have to account for that added thickness. For instance, if your new floor will add ¾ of an inch, you need to measure from that imaginary line, not the concrete itself.
-
Measure to the Ceiling Structure: Pull your tape straight up to the bottom of the ceiling joists. Now, do the same thing you did for the floor, but in reverse. If you're putting up ½-inch drywall on the ceiling, you need to subtract that from your joist measurement to get your real finished height.
-
Go on a Low-Point Hunt: You're not done yet. Now it's time to play detective and find the lowest-hanging culprits in the room. Methodically measure the clearance under every single HVAC duct, plumbing line, and support beam. These are the make-or-break spots that determine if your plan is even possible.
Just remember, the code cares about the lowest point of clearance in the main living space. That one big duct running right down the middle of the room? That’s exactly where an inspector is going to measure, not the wide-open space next to it.
Common Pitfalls to Avoid
I've seen plenty of homeowners make simple mistakes at this stage that turn into massive headaches later on. Knowing what to watch out for is key to meeting basement ceiling height requirements and avoiding a costly surprise.
Steer clear of these common measurement traps:
- Measuring from Bare Concrete: This is the most common mistake. Always, always account for the thickness of your future flooring.
- Forgetting Ceiling Thickness: The same goes for the ceiling. That ½-inch or ⅝-inch of drywall makes a real difference when you're already tight on space.
- Ignoring a Sloped Floor: Many older basements were poured with a slight slope toward a floor drain. Be sure to measure in several different spots to find your true high and low points.
- Assuming All Obstructions Are the Same: Don't just measure under one beam and call it a day. Take the time to check every single duct and pipe. You might be surprised to find one is a full inch lower than the rest.
Taking the time to carefully measure and document everything gives you a real-world map of your basement's potential. This "map" will be pure gold when you start talking to contractors and drawing up plans for your permit application.
The Real Value of a Code-Compliant Basement
Following building codes isn't just about jumping through hoops for an inspector. Honestly, it's one of the smartest financial moves you can make as a homeowner. A properly permitted, code-compliant basement renovation is a true investment—one that pays you back in safety, usability, and a serious boost to your home's resale value.
Think of it this way: to an appraiser, a basement finished without permits is little more than a nicely decorated storage room. But a legally finished basement that meets all the basement ceiling height requirements becomes official, valuable living space. That distinction is everything when it’s time to sell.
From Concrete Slab to Valuable Asset
The magic term that unlocks all this value is Gross Living Area (GLA). This is the official measurement of a home's habitable square footage that real estate agents and appraisers use to calculate market value.
Even though basements are below grade, a finished space that checks all the boxes for local codes—ceiling height, egress, ventilation, you name it—can be officially listed and valued as finished square footage. This has a direct and powerful impact on your property's bottom line. When an appraiser can legally add your new 800-square-foot family room to their report, your home's value jumps.
A finished basement is one of the best home improvement projects for return on investment. On average, homeowners can expect to recoup over 70% of what they spend, and that number climbs even higher if the renovation includes a legal bedroom.
In other words, a big chunk of the money you put into creating a safe, comfortable living area comes right back to you in the form of home equity.
The Financial Power of a Legal Bedroom
This is where the financial return really takes off. Adding a legal bedroom in the basement requires meeting several strict criteria, most notably a minimum ceiling height and a proper egress window for fire safety. But the payoff for doing it by the book is huge.
A home listed as a four-bedroom with a finished basement is far more valuable—and marketable—than a three-bedroom home with a "bonus room" downstairs. That one simple distinction can add tens of thousands of dollars to your sale price and open the door to a much larger pool of potential buyers.
The High Cost of Cutting Corners
On the flip side, ignoring the basement ceiling height requirements and other codes is a gamble with serious financial risks that can follow you for years. These aren't just minor headaches; they're liabilities that can cost you way more than you'd save by skipping a permit.
Just consider what you're up against:
- Denied Insurance Claims: If a fire starts or a pipe bursts in an unpermitted basement, your insurance company has every right to deny your claim. You could be left holding the entire bill for repairs.
- Forced Teardown: If the city discovers the unpermitted work, they can issue a "stop work" order. In a worst-case scenario, they can force you to rip out everything—drywall, ceilings, flooring—to prove the electrical and structural work behind it is safe.
- Major Problems at Closing: When you go to sell, you’re legally required to disclose any work done without permits. This is a massive red flag for buyers, can kill a mortgage approval, and often forces you to either fix everything on a tight deadline or slash your asking price.
Ultimately, investing in a code-compliant basement is about more than just having a nice space. Market analysis shows that homes with code-compliant basements appreciate 15-25% more than similar properties with substandard heights. With some studies showing that every dollar spent can generate up to $1.50 in property value, doing it right is the smartest financial play you can make. You can dig into more insights on how ceiling height impacts property value on Coohom.com.
What To Do If Your Basement Ceiling Is Too Low
So, you’ve measured your basement and discovered the ceiling is just shy of that magic 7-foot mark. It’s a gut-sinking feeling, but don’t throw in the towel on your renovation plans just yet. A low ceiling isn't a dead end; it's just a problem that needs a creative solution.
From clever design tricks to heavy-duty construction, there's a path forward for nearly every basement and budget. The trick is to start with the simplest, least expensive fixes first. You don't bring in an excavator when a paintbrush might do the trick.
Creating the Illusion of More Space
Before you call a contractor, let's talk about visual tricks. Sometimes, making a space feel taller is all you need, especially if you're only an inch or two below code or simply want to reduce that "cramped" feeling. These strategies won't change what a tape measure says, but they can dramatically change how the room feels.
Here are a few classic go-to methods I’ve seen work wonders:
- Paint it All One Color: This is my favorite first step. Painting the walls, trim, and the ceiling itself—joists, ducts, and all—the same light color (like a bright white or very light gray) blurs the boundaries. Your eyes don't know where the walls stop and the ceiling begins, making the entire space feel more open and airy.
- Use Low-Profile Lighting: Get rid of any bulky, hanging light fixtures. They just draw attention to how low the ceiling is. Instead, install sleek recessed can lights or other flush-mount options. This keeps the ceiling plane clean and maximizes every single inch of headroom.
- Draw the Eye Upward: Anything that encourages people to look up will create the illusion of height. Think about installing vertical shiplap on an accent wall, using tall, skinny bookshelves, or hanging curtains from the absolute highest point possible, well above the window frame.
Tackling the Real Headroom Killers: Ducts and Pipes
More often than not, it's not the main ceiling joists that are the problem. It's the big, clunky HVAC ductwork or the plumbing drain lines that hang down right in the middle of your main living space. Dealing with these obstructions is usually the most practical and cost-effective way to gain actual, measurable inches.
Rerouting an HVAC run is a very common project. A good HVAC professional can often move a duct that cuts across the middle of a room to run along a perimeter wall, where it's less obtrusive. It’s not a small job, but it’s far less disruptive than major structural work.
The same goes for plumbing. A skilled plumber can assess if pipes can be reconfigured to tuck up tighter between the joists. Sometimes, just a few inches are all you need to clear that 6-foot-4-inch threshold for obstructions.
When you're staring at a low-hanging duct, remember the goal is strategic relocation, not total elimination. Spending a few thousand dollars to move a duct run can easily save you from a tens-of-thousands-of-dollars project like digging out your foundation.
The Heavy Hitters: Major Structural Solutions
If visual tricks and rerouting pipes won't cut it, you'll have to consider more serious structural changes. These are big, dusty, and expensive projects that absolutely require professional engineers and specialized contractors. This is what you do when you need to gain several inches—or even a few feet—of headroom.
You’ve really only got two main options here: lower the floor or raise the house.
Lowering the Basement Floor
This is the most common method for adding serious height. Known in the industry as underpinning or a "dig out," the process involves breaking up the existing concrete floor, excavating dirt to your desired new depth, and then pouring a brand-new slab and footing extensions.
- The Upside: You can gain a significant amount of headroom—a foot or even more is possible. It’s also a great opportunity to install a modern interior drainage system and a proper vapor barrier.
- The Downside: It’s an incredibly labor-intensive, messy, and expensive job. Most importantly, it requires careful engineering to ensure you don’t compromise the structural integrity of your home’s foundation. This is not a DIY project.
Lifting the Entire House
It sounds extreme, but sometimes lifting the whole house is a viable, if less common, solution. Using powerful hydraulic jacks, a specialized crew literally lifts your entire home off its foundation. They then add new rows of concrete blocks to increase the foundation wall height before carefully lowering the house back down.
- The Upside: This can add a lot of height, and it's often less disruptive to the inside of the basement during the actual lift.
- The Downside: This is a highly specialized, high-stakes procedure. It’s very expensive and carries enormous risk if not handled by a crew with extensive experience in house-lifting.
Comparing Low Ceiling Solutions
Deciding between these options can feel overwhelming. To make it a bit clearer, here's a breakdown of the common approaches, from the simplest fixes to the most complex structural overhauls. This table gives you a ballpark idea of what to expect in terms of cost, difficulty, and the headroom you can realistically gain.
| Solution Method | Estimated Cost | Project Complexity | Potential Height Gain |
|---|---|---|---|
| Visual Tricks & Paint | $ – $$ | Low (DIY-friendly) | 0" (Illusion of height) |
| Low-Profile Lighting | $$ | Low to Medium | 1-4" (vs. hanging fixtures) |
| Reroute Ducts/Pipes | $$$ | Medium (Requires Pros) | 3-8" (In specific areas) |
| Lowering the Floor | $$$$ | Very High (Requires Eng.) | 6" to 24"+ |
| Lifting the House | $$$$$ | Extremely High (Specialists) | 8" to 24"+ |
Ultimately, the right solution depends entirely on your home's construction, your budget, and exactly how many inches you need to find. Your first call should always be to a reputable, experienced contractor like Trademaster Construction to walk through the possibilities and get a professional assessment.
Finding a Contractor and Navigating Permits
Once you have a solid game plan for your basement, it’s time to bring in the pros. Choosing the right contractor and navigating the permit process are the final, crucial steps to turn your vision into a legal, safe, and truly valuable living space. This isn't just about hiring a crew; it’s about finding a partner who can guarantee your project meets all basement ceiling height requirements.
Think of a building permit as your project's official seal of approval. It’s not just red tape—it's your best safeguard. The permit process means a licensed professional has signed off on your plans, and an inspector will verify the work as it's being done. This protects your home, your investment, and you.
Vetting Your Remodeling Partner
Picking a contractor is easily the most important decision you'll make for this project. You need someone with proven, hands-on experience in basement renovations, especially in our local area. A general handyman might be fine for odd jobs, but a project involving ceiling heights, ductwork, and potentially structural changes requires a specialist.
When you start interviewing potential contractors, don't hold back. A real professional will expect and appreciate your detailed questions.
- Ask for local references: "Can you give me the contact info for a few recent basement jobs you've finished right here in the Kalamazoo or Portage area?"
- Inquire about their experience: "How many basements have you finished where you had to solve low ceiling or ductwork problems?"
- Verify their process: "Do you handle the entire permit application for me, including creating the necessary drawings?"
- Confirm code compliance: "Will our contract guarantee that the finished project passes all final inspections?"
A confident "yes" to all of these is a fantastic sign you're on the right track.
Decoding the Permit Process
After you've chosen your contractor, they should take the lead on securing the building permit. This usually kicks off by submitting a detailed set of plans to your local building department. These drawings have to clearly show everything—the proposed layout, finished ceiling heights, where any obstructions are, and any structural work you’re planning.
An approved building permit is your green light. It’s the city’s way of saying your plans meet the code and you’re authorized to start. Trying to work without one is a huge risk that can lead to stop-work orders, fines, and even having to tear out finished work.
This infographic lays out a simple decision tree to help you see which solution might be the best fit for your specific ceiling height challenge.
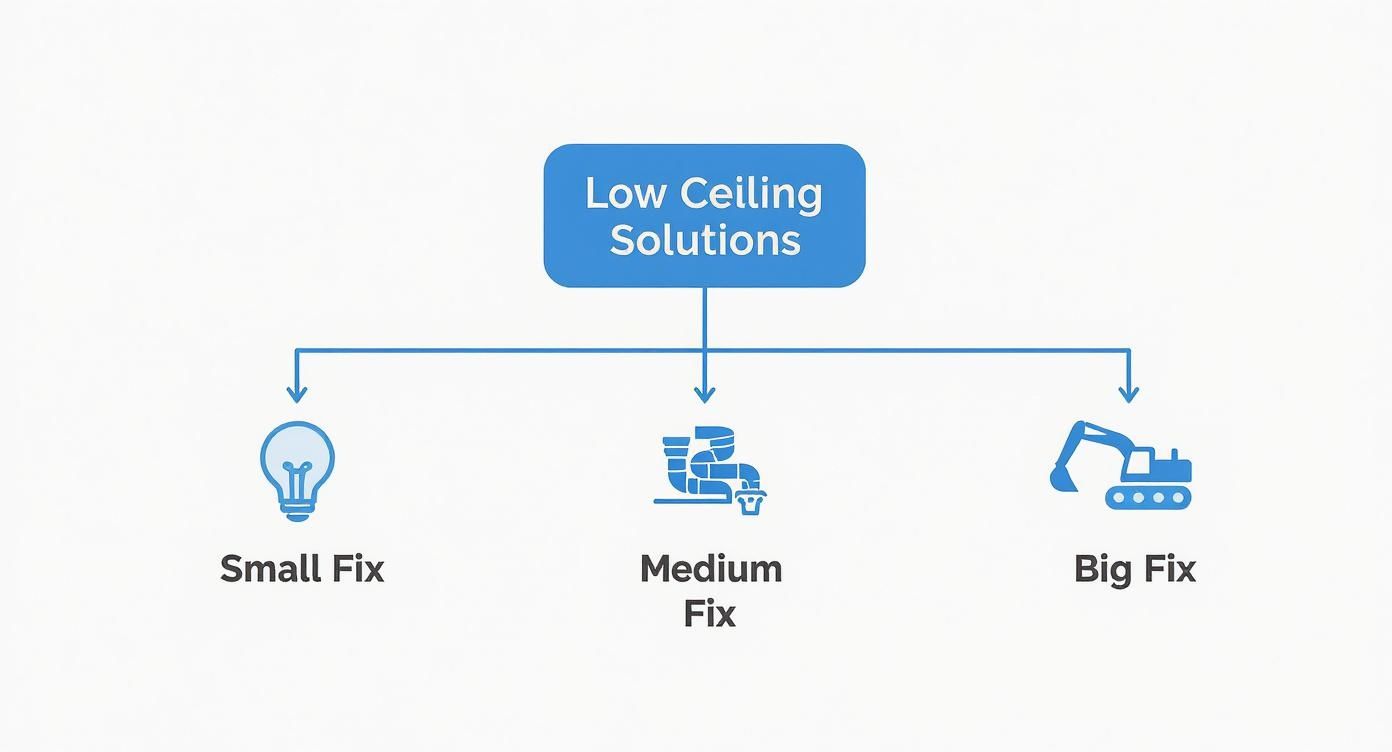
This visual guide breaks down your options by how much work is involved, from easy cosmetic fixes to major structural overhauls. When you partner with an experienced contractor like Trademaster Construction, you can move through both the planning and permitting stages with confidence, knowing your finished basement will be a beautiful, safe, and fully compliant part of your home.
Common Questions About Basement Ceilings
When you start digging into the details of a basement remodel, a few common questions always seem to pop up, especially around ceiling height. Let's tackle some of the ones we hear most often from homeowners.
Do Bathrooms and Laundry Rooms Have Different Height Rules?
Yes, and this little exception can be a real problem-solver. The building code is a bit more forgiving for spaces that aren't considered primary living areas.
While the main parts of your basement need that 7-foot clearance, the code often allows you to go down to 6 feet 8 inches in bathrooms and laundry rooms. That small bit of wiggle room can make all the difference when you're trying to fit everything around existing pipes and ducts. Just remember, your local building inspector has the final say, so always double-check with them.
Can I Just Finish My Basement Without a Permit If the Ceiling Is a Little Low?
Tempting, I know. Especially if you're just an inch or two shy, like at 6 feet 10 inches. But trust me on this one—finishing a basement without a permit is a gamble you don't want to take, no matter the ceiling height.
Think about the fallout: Your homeowner's insurance could deny a claim if there's a fire or flood. The city could hit you with fines and, in the worst-case scenario, make you rip everything out. Plus, it becomes a huge red flag when you eventually sell the house, potentially killing a deal or forcing you to drop your price.
The peace of mind that comes with a properly permitted and inspected project is worth far more than any shortcuts you might be tempted to take. It protects your investment and, more importantly, your family.
What Does It Cost to Lower a Basement Floor?
This is the big one. Lowering a basement floor, a process called underpinning, is a massive undertaking and easily the most expensive way to gain more headroom.
The price tag can swing wildly depending on your home's foundation, the soil you're on, and where you live, but a typical range is anywhere from $20,000 to $70,000. It's a complex, structural job that involves digging out the old floor, excavating underneath the existing foundation walls, and pouring new footings and a new slab. It's a powerful solution, but definitely not a budget-friendly one.
At Trademaster Construction, we've helped countless homeowners in Southwest Michigan work through these exact challenges. If you're ready to turn your basement into a space that's not just beautiful but also safe and fully compliant, we're here to guide you. Contact us today to discuss your project.

