
When most of us think about basement interior design, we're not just talking about putting up some drywall and calling it a day. It's about completely transforming that underused lower level into a genuinely livable, even luxurious, part of your home. We're seeing clients create everything from stunning home theaters and private guest suites to dynamic family hubs, adding serious lifestyle points and real equity to their property.
The secret is to stop seeing the basement as a storage unit and start seeing it for what it is: a blank canvas.
Rethinking Your Basement: From Storage to Statement Space
For years, the basement was the forgotten floor—a repository for holiday decorations, hand-me-down furniture, and boxes you haven't opened since you moved in. But that's all changing. Smart basement interior design can unlock a massive amount of square footage, turning what was once dead space into one of the most versatile rooms in the house.
In fact, we've seen a 45% increase in basement remodel inquiries recently as families crave more space to work, play, and unwind without building a costly addition.
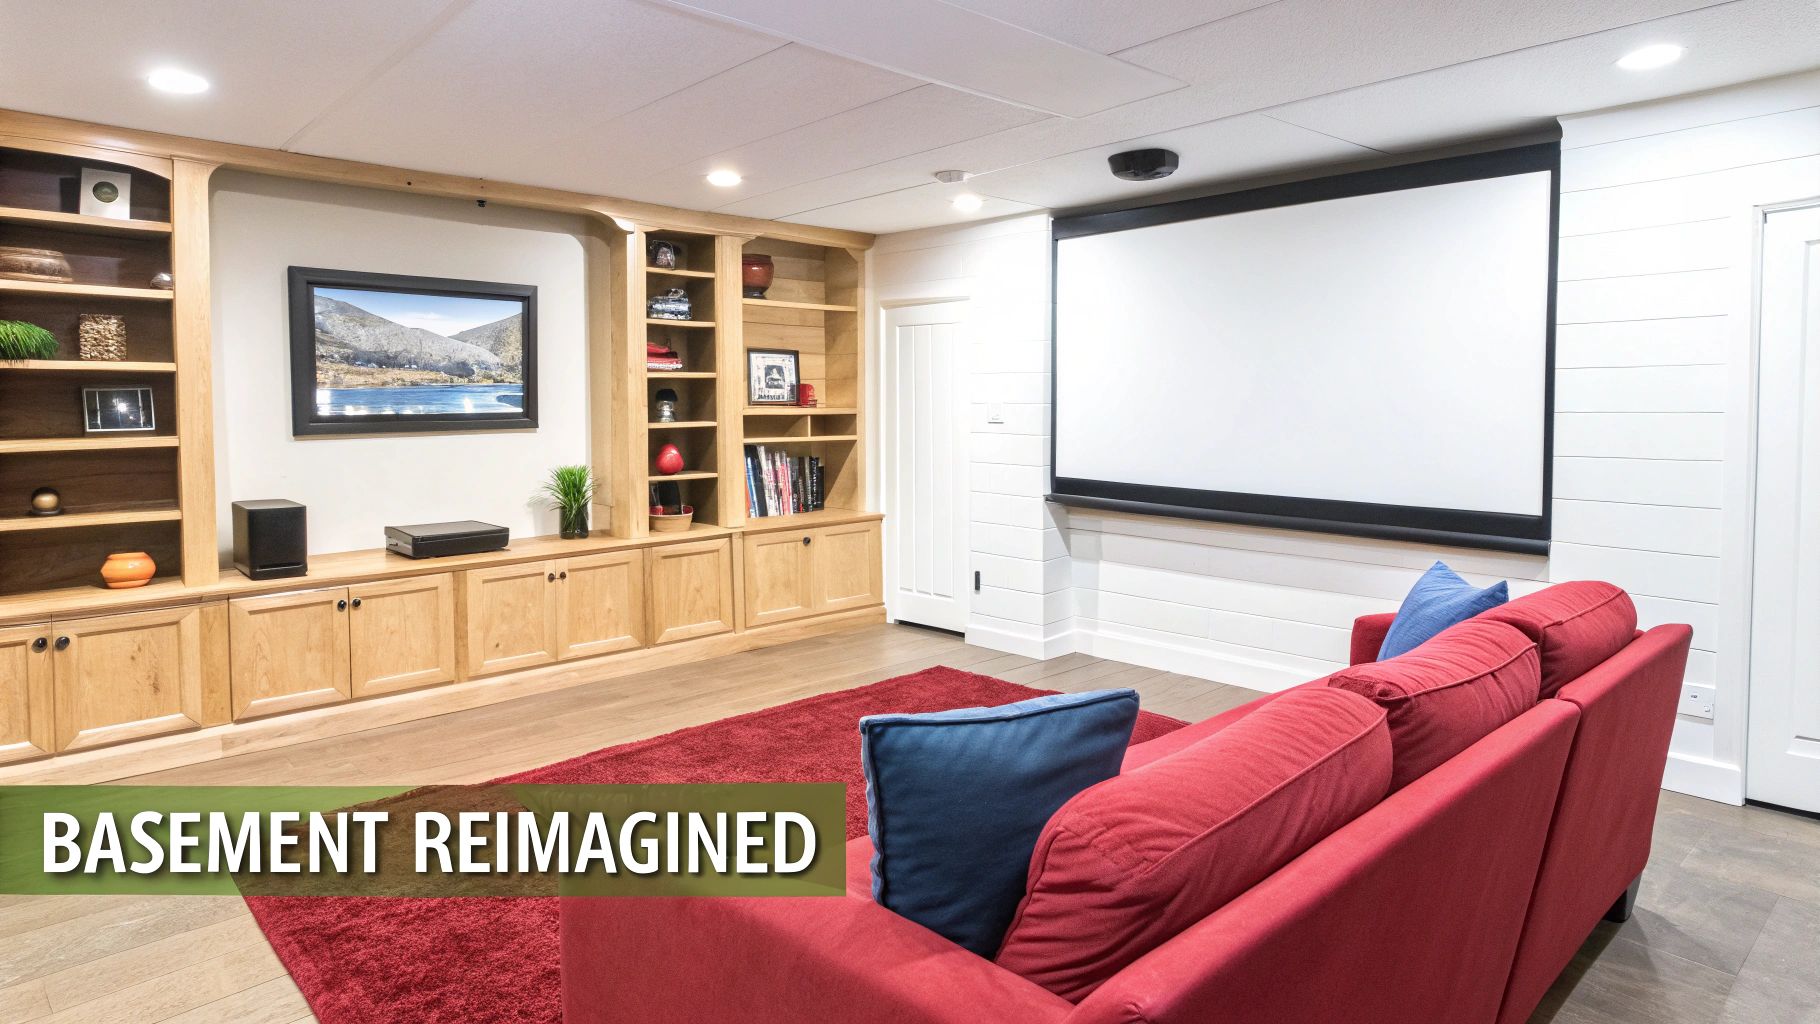
This shift is about more than just a rec room with a foosball table. Today's basements are thoughtfully designed, fully integrated extensions of the main home.
Maximizing Your Home's Potential
Your basement is basically a wide-open opportunity. Because it often has fewer structural walls and constraints than the upper floors, it gives you incredible flexibility to create a space that’s a perfect match for your family’s lifestyle. What could you do with all that room?
- A dedicated entertainment zone: Think bigger than a TV on a stand. We're talking a custom home theater with built-in surround sound and plush, comfortable seating.
- A private guest or in-law suite: Imagine giving visitors their own space with a bedroom, a full bathroom, and maybe even a small kitchenette.
- A wellness retreat: You could finally have that home gym, a quiet yoga studio, or even a personal sauna to escape and relax.
- A productive home office: Get away from the chaos of the main floor with a quiet, dedicated workspace that lets you focus.
By thoughtfully designing this lower level, you’re not just tacking on another room. You are fundamentally improving how your home works for you and significantly boosting its market value. A well-finished basement can deliver a return on investment of over 70%.
Planning for Success
The very first step—before you even think about paint colors or flooring—is to decide on the space's purpose. How are you really going to use it? Answering that question honestly will guide every single decision that follows, from the floor plan and lighting design to the materials you choose. A clear vision is what separates a pretty room from a practical, well-loved space.
Before you get lost in the fun stuff, though, it's critical to nail down the project's scope and budget. Understanding the potential costs early on keeps expectations realistic. A great way to get a ballpark figure is by using an instant pricing tool. It gives you a valuable baseline to start with, helping you align your dream basement with a budget that actually works.
Building a Foundation for Flawless Design
Before we even think about paint colors or where the big-screen TV will go, we need to talk about what’s behind the walls. Every truly great basement design project starts from the ground up—literally. It’s a bit like baking a cake; you’d never dream of putting on the frosting before the layers are perfectly baked and stable. A beautiful basement is no different—it needs a solid, dry, and safe foundation to last.
This initial work is, without a doubt, the most important investment you'll make in your lower level. Get it right, and you prevent a world of headaches down the road. It’s what makes the difference between a space that's healthy and comfortable and one that becomes a costly problem. Tackling these technical pieces first isn't just a good idea; it's non-negotiable for a flawless result.
Taming Moisture: The Unseen Enemy
Let's face it: your basement is basically a concrete box sitting in the damp Michigan earth. If you ignore that fact, you're setting yourself up for trouble. Water and persistent dampness are the number one threats to any finished basement, leading to musty smells, mold, mildew, and even structural damage.
This is why professional moisture control isn't just a nice-to-have, it's an absolute must. Basements used to be just for storage, but we've seen a 45% surge in basement remodel inquiries nationwide as families look to capture more living space. Protecting that investment is critical, especially when you consider that robust moisture control can prevent the 20-30% of basements that flood annually from wrecking your beautiful new room.
Understanding how to prevent mold in your basement is the first step toward creating a healthy foundation for the design to come.
A couple of the most effective strategies we rely on are:
- Interior Drain Tile Systems: Think of this as a hidden gutter system that runs along the inside perimeter of your foundation. It expertly collects any water that might try to seep in and directs it to a sump pump, keeping your floors bone-dry.
- Vapor Barriers: This is a special waterproof membrane we apply directly to the concrete walls before any framing goes up. It acts as a shield, stopping moisture from wicking through the concrete and into your drywall and insulation.
Navigating Building Codes and Safety Standards
Beyond keeping things dry, your basement remodel has to be up to code. These aren't just bureaucratic hoops to jump through; they are crucial safety standards designed to protect you and your family. A design that cuts corners on code is not only illegal but can be genuinely dangerous and will almost certainly cause headaches when it's time to sell your home.
This is where working with an experienced contractor really pays off. We live and breathe local building codes, so we can manage the entire permitting and inspection process, ensuring every single detail is handled correctly from the very start.
A common mistake we see is homeowners assuming codes are suggestions. In reality, requirements for things like electrical wiring and egress windows are strictly enforced for safety. Getting this right from the beginning saves you from the nightmare of expensive and disruptive tear-outs later on.
Here are a few of the non-negotiable code requirements to have on your radar:
- Egress Windows: If you're planning on adding a bedroom, the law requires an egress window. This isn't just any window; it's a large, designated escape route in case of a fire.
- Ceiling Height: Most building codes specify a minimum ceiling height—typically around 7 feet—for a space to be considered legally "livable."
- Electrical Standards: All wiring has to be installed by a licensed electrician to meet strict safety codes. This includes using the proper type of wiring, installing GFCI outlets near any water sources, and making sure your electrical panel can handle the added demand.
Before you dive into the design details, it's wise to get a handle on these foundational necessities. The table below summarizes the key technical checks that should happen before any creative work begins.
Essential Pre-Design Checklist for Basements
| Consideration | Why It's Critical | Best Practice |
|---|---|---|
| Moisture Assessment | Water is the #1 enemy of a finished basement, causing mold, rot, and structural damage. | Conduct a thorough inspection for leaks, cracks, and dampness. Install a professional-grade waterproofing system. |
| Code Compliance | Ensures the safety of your family and the legality of the space, protecting your home's resale value. | Work with a licensed contractor who understands local requirements for egress, ceiling height, and electrical. |
| Structural Integrity | The foundation, support posts, and floor joists must be sound before adding the weight of a finished space. | Have a professional inspect for any cracks, bowing walls, or signs of settling. |
| Radon Testing | Radon is an invisible, odorless gas that can seep in from the ground and is a known health risk. | Test for radon levels. If high, a mitigation system should be installed before finishing the space. |
Building a solid, dry, and safe foundation might not be the most glamorous part of the process, but it’s the bedrock upon which every amazing basement is built. Getting a handle on what these foundational elements might cost is a smart first step. To get a preliminary idea, using an instant pricing tool can provide a helpful estimate and clear the path for the fun part: creative planning.
Mastering Light and Layout for an Open Feel
Let's be honest: the biggest hurdle in any basement design is fighting that "underground" feeling. Without a smart plan, even the most beautifully furnished space can end up feeling dark and cramped. Our goal is to trick the senses, creating a lower level that feels bright, expansive, and just as inviting as the rest of your home. The secret lies in a masterful blend of lighting and layout.
Think of light not just as a utility, but as your most powerful design tool. One sad, lonely light fixture in the middle of the ceiling is a recipe for a gloomy, cave-like atmosphere. Instead, we approach it like an artist, using a layered lighting strategy to build depth, warmth, and character. This means combining three different types of light that all work together.
Of course, before you can even dream about fixtures and paint colors, you have to nail the fundamentals.
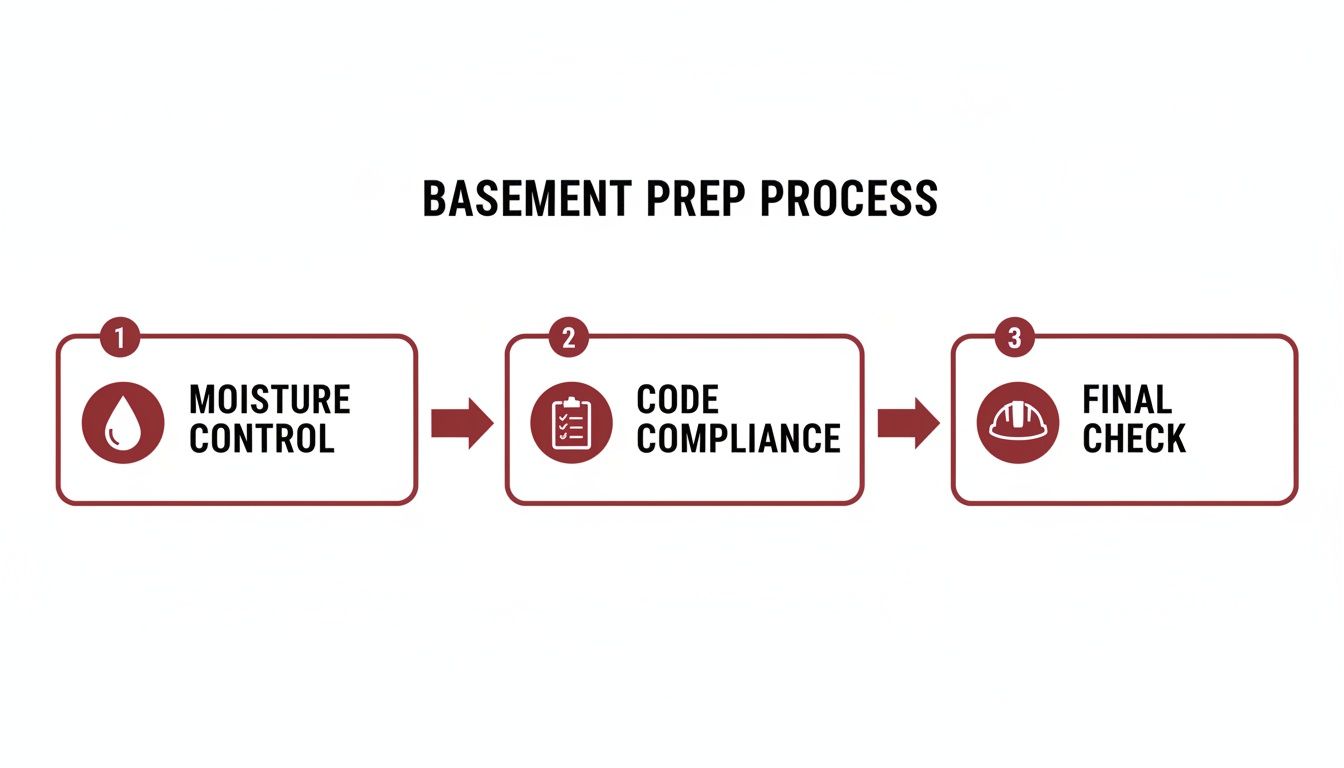
This process is non-negotiable. A stunning design is only as good as the solid, dry, and safe foundation it's built on.
The Power of Layered Lighting
To get that bright, welcoming vibe, we need a mix of lighting sources, each with its own job. This approach banishes dark corners and makes the entire space feel bigger and more dynamic.
Here’s how the three layers come together:
- Ambient Lighting: This is your foundation—the general, all-over light that fills the room. We love using recessed LED can lights for this. They provide clean, even illumination without dropping down from the ceiling, which is crucial for preserving every precious inch of headroom.
- Task Lighting: This is your focused, functional light for specific activities. Think about the direct light you'd want over a wet bar for mixing drinks, under-cabinet strips for a kitchenette counter, or a stylish pendant light hanging over a game table.
- Accent Lighting: This is the fun part—the "jewelry" of your lighting plan. Accent lights draw attention to the details you love, like cool architectural features or a favorite piece of art. Wall sconces that wash light up and down can create the illusion of taller ceilings, while picture lights add a gallery-like touch of class.
A well-executed layered lighting plan does more than just brighten a room—it creates mood, defines zones, and adds a professional polish. It's the difference between a functional space and an inviting one.
Crafting an Open and Smart Layout
Beyond lighting, the physical floor plan is a game-changer. The old way of thinking—carving a basement up with traditional walls—instantly blocks light and makes the whole area feel disconnected and small. The modern approach is all about embracing an open-concept plan.
An open layout doesn’t mean you can’t have dedicated spaces. The trick is to define these zones without putting up solid walls.
Strategies for Defining Space Without Walls
Here are a few of our favorite ways to create distinct functional areas while keeping sightlines clear and letting the light flow freely:
- Partial or Half Walls: These are perfect for creating a subtle separation between, say, a home gym and a TV lounge. You get a clear sense of two different spaces, but the light can still spill over the top.
- Glass Doors and Partitions: Need a truly separate room, like a home office or music studio? Glass is the answer. It provides excellent sound insulation while keeping things visually connected and airy.
- Strategic Furniture Placement: You can work wonders with furniture. A large area rug instantly anchors a living room setup. Turning a sofa so its back faces another area creates a powerful psychological boundary—no construction required.
Finally, don’t ever underestimate the power of color and reflection. Lighter paint colors are your best friend down here. Soft whites, pale grays, and light, airy blues will reflect light rather than absorb it, making any room feel bigger. We also love to incorporate mirrors and other reflective surfaces, like a glossy backsplash at the wet bar, to bounce light around the room and amplify the effects of your lighting plan.
Thinking through these layout and lighting possibilities is one of the most exciting parts of the project. As you start to picture what your ideal basement looks like, you’ll naturally start thinking about the budget. For a helpful starting point, try our instant pricing tool to get a preliminary estimate for your project.
Choosing Smart Materials From Floor to Ceiling
In a basement, the materials you choose are pulling double duty. They obviously need to look great, but just as importantly, they have to stand up to the unique environment of a below-grade space. Think of it like this: you're not just picking out paint colors and flooring; you're engineering a space to last. The right materials are your first line of defense, protecting your investment and making sure the beautiful room you create today stays that way for years to come.
This is where the rubber really meets the road—where smart design and good looks have to work together. Every single surface, from the floor you walk on to the ceiling above, has to be selected with potential moisture, temperature swings, and durability in mind. Thankfully, modern materials mean you never have to choose between function and style.
Forgiving and Fabulous Basement Flooring
The floor is arguably the most critical surface in your basement. It’s on the front lines, dealing with the most foot traffic and the highest risk of dampness from the concrete slab below. Getting this choice right is one of the most important decisions you'll make for the entire project.
You’re looking for something tough, durable, and ideally, waterproof. Knowing your options for the best waterproof flooring for basements is key to avoiding headaches down the road. While you’ll have to say goodbye to traditional solid hardwood (it just can't handle the moisture), the alternatives are fantastic.
Here are our go-to recommendations:
- Luxury Vinyl Plank (LVP): Let’s be honest, LVP is the reigning champion of basement flooring, and for good reason. It’s 100% waterproof, tough as nails against scratches and dents, and the wood and stone looks are incredibly realistic. It gives you a warm, comfortable floor that’s a breeze to clean.
- Engineered Hardwood: If your heart is set on the authentic look and feel of real wood, engineered hardwood can be a great fit. Its layered construction makes it far more stable against moisture than solid wood. We just recommend it for basements that have a proven, top-notch waterproofing system already in place.
- Premium Carpet Tiles: Forget those musty basement carpets from your childhood. Today’s carpet tiles are made with synthetic fibers that resist mold and mildew. The best part? If you spill something or a section gets damaged, you can just pop out the single tile and replace it. Easy.
Creative and Functional Ceiling Solutions
Your basement ceiling is so much more than a lid on the room—it has a huge impact on how spacious and bright the area feels. Standard drywall is always a safe bet, but exploring some other options can solve common basement problems while adding a ton of character.
I always tell clients to think of the ceiling as the "fifth wall." Just slapping up drywall is a missed opportunity. A thoughtfully chosen ceiling can make a low room feel taller, add architectural interest, and—this is a big one—give you access to all the important stuff hidden up there.
Take a look at these popular approaches:
- Modern Drop Ceilings: These are not your old-school, flimsy office ceiling tiles. The new systems feature sleek, high-end panels in all sorts of textures and finishes. Their biggest advantage is the easy, tool-free access they provide to plumbing, wiring, and ductwork for any future repairs. It's a lifesaver.
- Exposed Joists: Want an industrial loft vibe or a rustic farmhouse look? Leaving the ceiling joists exposed is a bold move that pays off. We often paint them a dark, uniform color like black or charcoal. This clever trick makes the ceiling seem to recede, creating a powerful illusion of height.
Wall Finishes That Add Character and Peace of Mind
Finally, the walls are what tie the whole design together. Just like with the floors, moisture is the main enemy here. The absolute non-negotiable starting point for any basement wall is mold-resistant drywall. It’s specially treated to stop mildew in its tracks, giving you a solid, protected foundation.
Once that’s up, the fun begins. You can get creative with finishes that bring personality and texture into the space. An accent wall can become an incredible focal point. We’ve seen amazing results with rustic shiplap for a cozy vibe, stacked stone veneer to bring in an organic touch, or even textured paint to add depth and hide minor imperfections.
Each one of these material choices plays a part in the success of your finished basement. As you start thinking about what you like, it's also a good time to consider how these selections fit your budget. To get a ballpark idea of how different materials can affect the overall cost, check out our instant pricing tool for a quick estimate. It's a great first step in aligning your design dreams with a realistic financial plan.
Designing Multi-Functional and Wellness-Focused Zones
The modern basement has moved far beyond being just a rec room or a place for storage. Today, the most successful basement interior design projects create versatile, hard-working spaces that fit how we actually live. The secret is to think in "zones"—distinct areas carved out for specific purposes, whether it's for work, play, or personal well-being.
This approach lets a single open-concept basement serve multiple needs without feeling cluttered or chaotic. You can have a dedicated home office in one corner, a cozy media lounge for the family in another, and a quiet spot for exercise somewhere else. By planning these zones thoughtfully, you really unlock the full potential of your home's lower level.
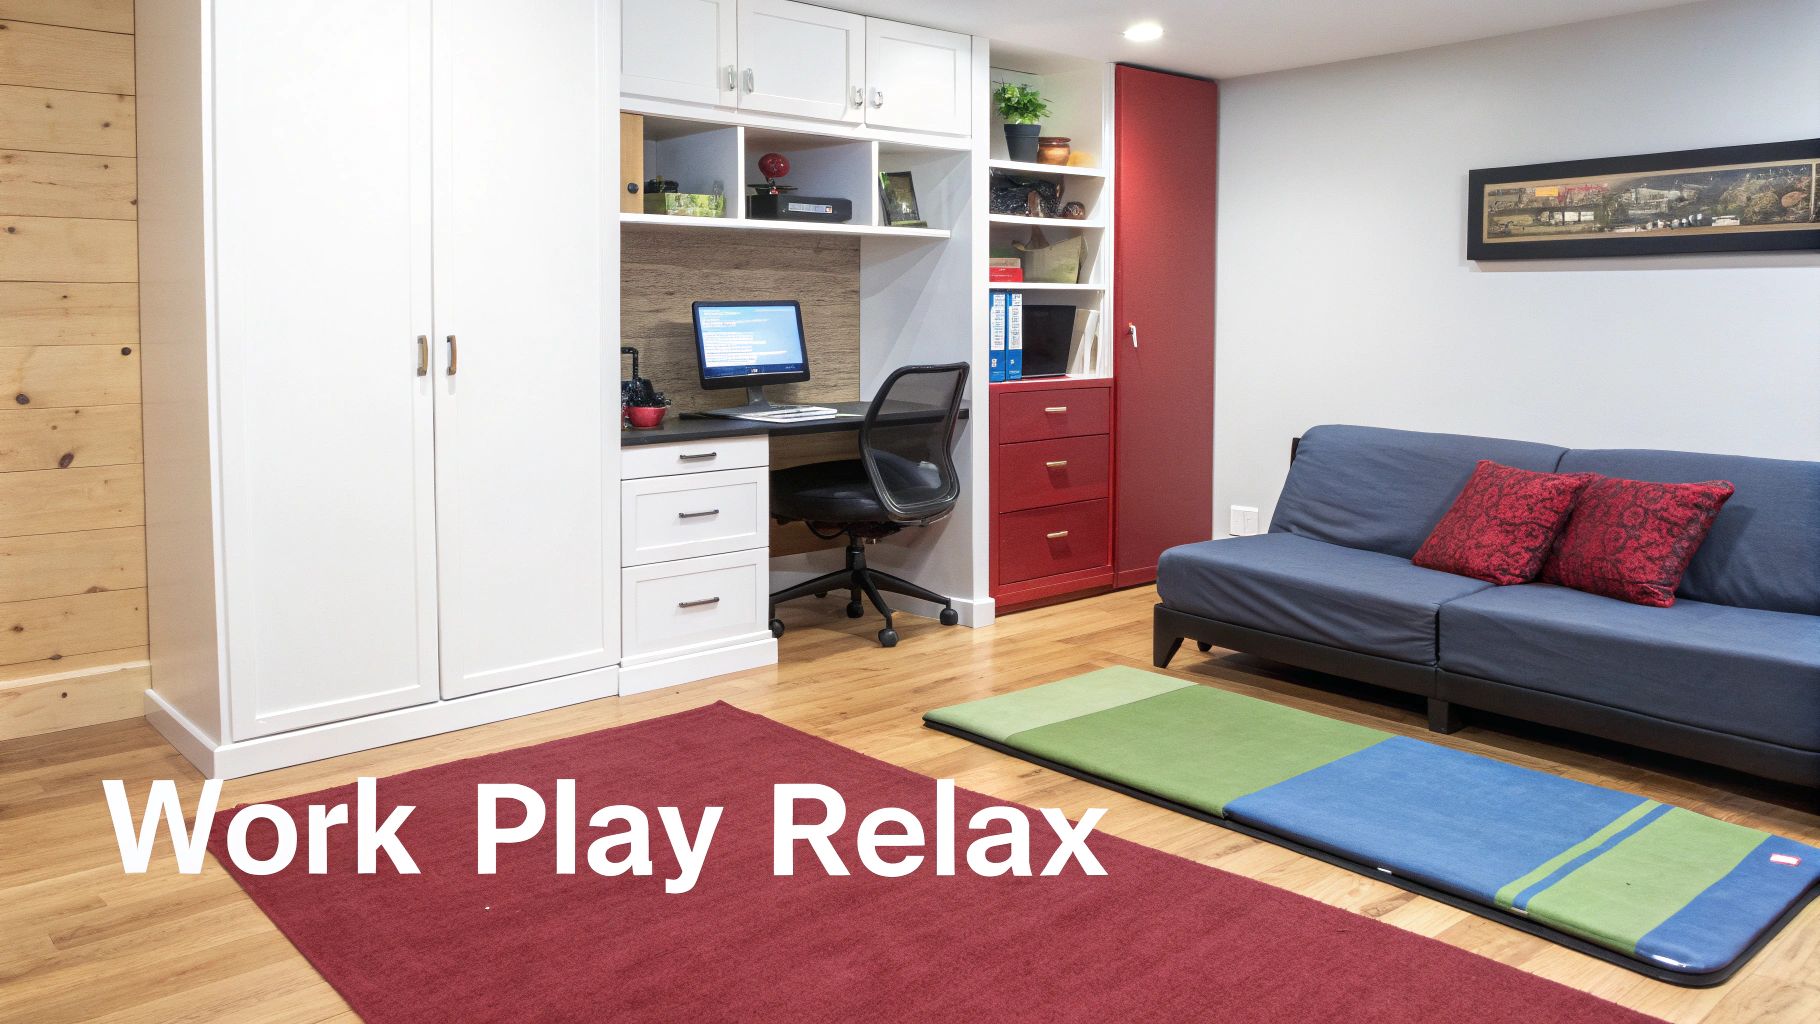
Creating Smart, Multi-Use Spaces
Flexibility is the name of the game in great basement design. A space that can adapt as your family’s needs change is one that provides lasting value. One of the most common requests we see is for a guest room that can pull double duty as a home office.
This is where a high-quality Murphy bed can be a total game-changer. It allows the room to function as a professional, organized workspace during the day, then quickly convert into a comfortable guest suite when friends or family stay over. It’s a brilliant solution that maximizes every square foot.
Another great combo is blending a home gym with an entertainment area. Instead of walling off an entire room just for fitness, you can seamlessly integrate workout equipment into a larger family room. Clever storage can hide weights and accessories, and specialized rubber flooring can define the gym zone while protecting the main floor.
Defining Zones in an Open Layout
You don't need walls to create the feeling of separate rooms. In an open-concept basement, visual cues are everything. They help establish boundaries and signal how each area is meant to be used, all while keeping that airy, spacious feel.
Here are a few tried-and-true techniques for defining zones without putting up a single wall:
- Area Rugs: A large rug is perfect for anchoring a seating area, visually separating it from a nearby play space or workout corner.
- Furniture Placement: Simply arranging a large sectional sofa to face a media wall creates a clear entertainment zone. The back of the sofa acts as a soft, low-profile barrier to whatever is behind it.
- Lighting Layers: Use different types of lighting for each zone. Think recessed lights for general play areas, a cool pendant light over a game table, and focused track lighting in a workout space.
By using design elements like these, you're essentially creating psychological "rooms" within a single open space. It makes the whole basement feel more organized and purposeful, allowing different activities to happen at the same time without getting in each other's way.
The Rise of Basement Wellness Retreats
One of the biggest trends we're seeing in basement design is the creation of wellness-focused spaces. More and more, homeowners are transforming their lower levels into personal sanctuaries for health and relaxation. In fact, basement wellness zones have surged in popularity, with a 60% increase in home gym installations in basements since 2022. This is all part of a larger movement where 55% of homeowners now prioritize health-focused designs, turning concrete floors into serene retreats. You can discover more insights about these trends and how they're shaping modern homes.
Creating your own little wellness nook can be surprisingly straightforward. It might be a quiet corner with a yoga mat and some plants, a dedicated meditation space with floor cushions, or even a small personal sauna. The goal is to design a space that truly encourages you to unplug and recharge.
To really nail that tranquil vibe, pay attention to the sensory details. Dimmable lighting lets you set the mood, while natural textures like wood, stone, and soft linens bring in warmth and comfort. Good air circulation is also crucial for creating a fresh and inviting environment.
As you start dreaming about all these multi-functional possibilities, you might be wondering about the costs. To get a clear idea of how different features can impact your budget, our instant pricing tool is a fantastic resource for estimating project costs and planning your investment.
Planning Your Basement Remodel Budget
Let's talk money. A clear financial plan is the single most important tool for a smooth and successful basement project. Creating a budget isn't just about picking a final number; it's about understanding exactly where your investment is going so you can make smart decisions that bring your vision to life without breaking the bank. A well-thought-out budget is your roadmap, guiding the project, preventing nasty surprises, and making sure every dollar counts.
Think of your budget like a recipe. You have several key ingredients, and each one contributes to the final dish. For most projects here in Southwest Michigan, the biggest drivers of cost are professional labor, the materials you choose, and any special features you want to include.
Breaking Down the Costs
So, where does the money actually go? A typical budget is split into a few major categories. Understanding these helps you see how different choices can really impact the bottom line.
- Professional Labor: This is almost always the largest piece of the pie. It covers the skilled hands doing the framing, electrical, plumbing, and drywall. You're investing in quality craftsmanship that ensures your basement is safe, passes inspection, and is built to last for years.
- Materials: This bucket holds everything from the 2x4s and insulation to the flooring, paint, and light fixtures. The cost here can swing wildly depending on your taste. For instance, luxury vinyl plank has a very different price tag than custom-laid tile.
- Permits and Fees: Any remodel worth doing requires building permits. It's not the most exciting part, but it's a non-negotiable step to ensure everything meets local safety codes.
- Finishing Touches: This is the fun stuff! We’re talking about the elements that inject personality into the space—custom cabinets, wet bar appliances, stone countertops, or that cool backsplash you saw online.
Remember, the total investment is directly tied to the scope of your project. Adding a full bathroom or a kitchenette will significantly increase costs because of the complex plumbing and electrical work involved. A simple, open-concept family room will always be more budget-friendly than a multi-room suite with all the bells and whistles.
Understanding Investment Ranges
While every project is unique, it helps to have a ballpark idea of what to expect. A basic, quality finish for an average-sized basement will land in one price range. A more involved project that includes a bathroom and some nicer finishes will fall into a mid-tier category. And for a truly high-end, custom remodel with features like a full wet bar, a dedicated home theater, or a private guest suite, you’ll be looking at a premium investment.
To get a much clearer picture of where your project might fall, the best first step is to start playing with the numbers. For a personalized estimate based on your specific ideas, try using our instant pricing tool. It gives you a transparent starting point for your financial planning and lets you see how adding different features affects the overall budget, so you can move forward with confidence.
Your Basement Design Questions, Answered
Starting a basement finishing project is exciting, but it naturally comes with a lot of questions. From "how long will this take?" to "what kind of flooring can I even use down here?", getting solid answers is key to feeling confident about the process. We've been through this hundreds of times with homeowners, so we've put together answers to the questions we hear the most.
How Long Does a Typical Basement Finishing Project Take?
The timeline really depends on what you have in mind. For a relatively simple, open-concept space—think a big family room or play area—we're typically looking at about 6 to 8 weeks from the first day of construction to the final walkthrough.
If your vision is more complex and includes features like a new bathroom, a wet bar with custom plumbing, or intricate built-in shelving, the project will naturally take longer. A more detailed renovation like this usually falls in the 12 to 16 week range. This schedule covers everything: the initial design and permitting, all phases of construction, and the necessary inspections along the way. We'll always provide a detailed schedule upfront so there are no surprises.
Do I Really Need an Egress Window in My Basement?
This is a big one, and the short answer is: if you're adding a bedroom, yes, you absolutely do. It's a critical safety feature required by building codes to ensure there's a safe escape route in an emergency. It's not something you can skip.
But even if a bedroom isn't in your plans, we strongly recommend adding an egress window anyway. The difference it makes is huge. You get a flood of natural light that makes the basement feel less like, well, a basement. It also dramatically improves ventilation and officially adds legal living space, which is a direct boost to your home's resale value.
What Is the Best Flooring for a Basement?
For basements, Luxury Vinyl Plank (LVP) is almost always our top recommendation. There's a simple reason for this: it's 100% waterproof. That alone makes it perfect for a below-ground environment. On top of that, it's incredibly tough and stands up to scratches, dents, and heavy foot traffic. The best part is that modern LVP looks fantastic, beautifully mimicking real hardwood or stone, so you're not compromising on style.
Other great, moisture-friendly options include ceramic or porcelain tile and even polished concrete for a more industrial look. We generally steer homeowners away from solid hardwood, which can warp with temperature and humidity swings, and certain carpets that can hold onto moisture and become a breeding ground for mildew.
Choosing the right materials from the start is crucial for the longevity of your basement. Opting for waterproof or highly moisture-resistant finishes is one of the most effective ways to protect your investment and ensure a healthy, beautiful space for years to come.
How Can I Make My Low Basement Ceiling Feel Higher?
Ah, the classic low-ceiling dilemma! It’s a common challenge, but there are some tried-and-true design tricks that can create the illusion of height and make the space feel much more open and inviting.
Here are a few of our go-to strategies:
- Paint the ceiling a bright, clean white. This helps it visually recede, making it feel further away.
- Lean into vertical lines. Think tall, slender bookshelves, wallpaper with a subtle vertical stripe, or floor-to-ceiling curtains to draw the eye upward.
- Choose low-profile furniture. Couches and tables that sit closer to the ground create more space between the furniture and the ceiling.
- Stick with recessed lighting. Canned lights or other flush-mount fixtures keep the ceiling plane clean and uninterrupted, unlike hanging pendants that can make it feel lower.
- Use uplighting. Wall sconces that cast light upward can wash the walls in light, creating a sense of height.
As you start to picture the finished space, the next logical question is about cost. To get a clear idea of the potential budget for your specific project, try our instant pricing tool. It’s a great way to explore different scenarios and see how your vision aligns with your investment goals.
Ready to take the next step in creating your dream basement? The team at Trademaster Construction is here to guide you through every phase of the process. For a personalized cost estimate to help with your initial planning, try our convenient instant pricing tool today. It's the perfect first step for understanding your project's budget before we talk.

