
Let's be honest, for most of us, the basement is the land of forgotten things. It's the final resting place for holiday decorations, old photo albums, and that exercise bike you swore you'd use. But what if that cluttered, underused space could be one of your home's greatest assets?
By planning your storage strategically, you can do more than just tidy up. You can reclaim a huge chunk of your home's square footage, protect your belongings, and create a space that’s both organized and genuinely useful. This isn't about just throwing up a few shelves; it's about turning chaos into order.
Reclaiming Your Basement From Clutter
Picture your basement as a bright, organized, and valuable extension of your living space, not a dark pit you avoid. For many homeowners, the basement represents a massive amount of untapped potential. This guide is your blueprint for finally unlocking it.
Think of your basement as a blank canvas. With a smart approach and a clear plan, you can transform it from a source of stress into one of the most functional rooms in your house. We're moving beyond a jumble of plastic bins and getting serious about creating real, workable basement storage solutions.
Your Blueprint for an Organized Space
A successful project starts with understanding the unique challenges your basement presents. You can't just head to the hardware store and start building; you need a plan that accounts for your specific needs and the environment downstairs.
This guide will walk you through everything you need to know, from start to finish:
- Assessing Your Environment: Before a single shelf goes up, we need to tackle the basement's biggest enemy: moisture. I'll show you how to check for dampness and ensure you’re building on a dry, stable foundation.
- Choosing the Right Systems: We'll explore all the options, from sleek custom built-ins that look like they've always been there to heavy-duty industrial shelving perfect for bulk storage.
- Designing an Intelligent Layout: I'll teach you how to map out logical "storage zones"—a dedicated spot for holiday decor, another for sentimental keepsakes—so you can find anything you need in seconds.
The goal isn't just to hide stuff away. It's to create an intuitive system that makes your life easier. A well-organized basement protects your valuables, cuts down on clutter-induced stress, and can even add real value to your home.
Ultimately, I want to show you what's possible. Whether you're planning a small, organized corner or a completely finished storage room, the core principles are the same. Follow a structured process, and you’ll build a storage solution that’s as beautiful as it is practical. Ready to reclaim your space? Let’s dive in.
Preparing Your Basement for Storage Success
Before you even think about buying a single shelf or storage bin, let's talk about the foundation. Getting your basement ready is like the pre-flight check before takeoff—it’s the single most important step to make sure your project lands smoothly. If you skip this part, you're setting yourself up for costly headaches down the road.
Properly assessing and prepping the space protects your belongings from the two biggest threats lurking below ground: moisture and poor planning. A little due diligence now will ensure your investment in beautiful, functional basement storage solutions is one that truly lasts.
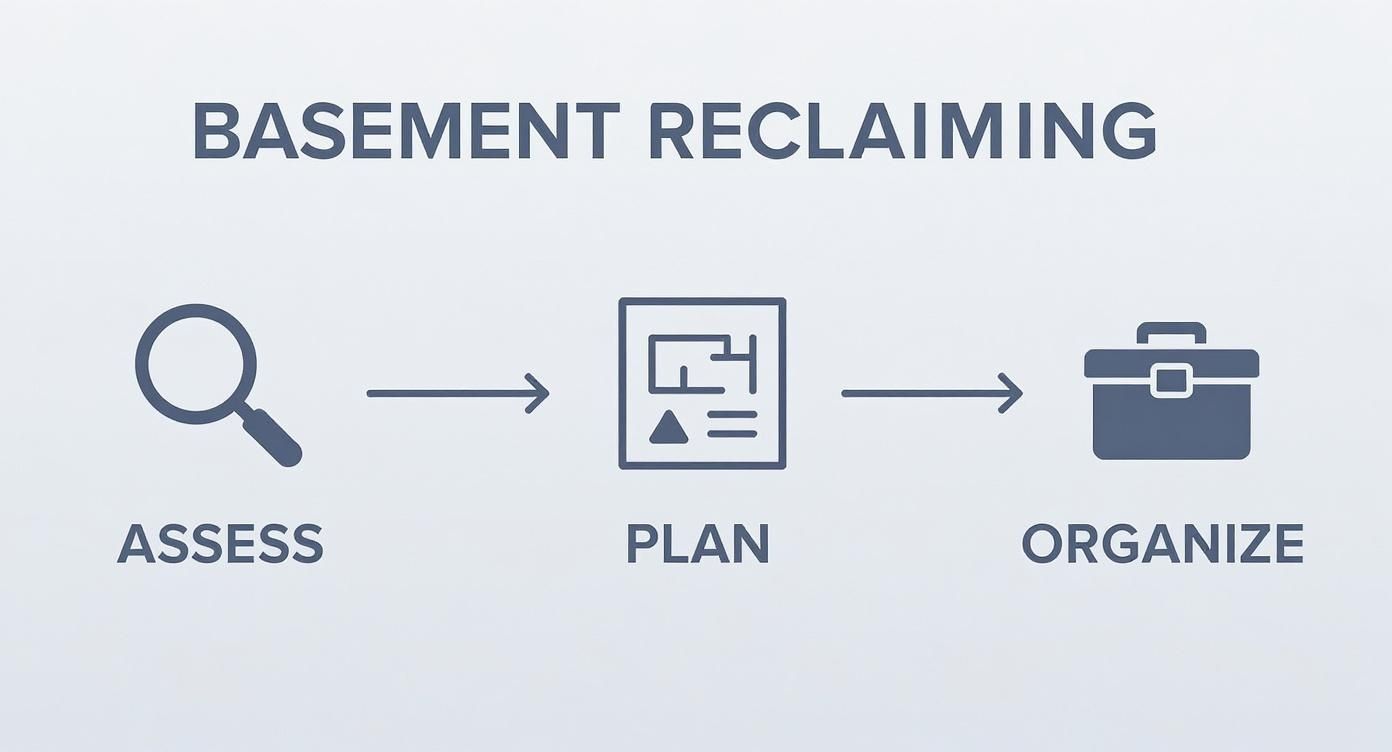
As you can see, the whole process breaks down into three key stages: Assess, Plan, and Organize. It's all about a logical, step-by-step approach. Let’s start with the first, and most critical, stage.
Confronting the Moisture Menace
Let’s be blunt: moisture is the number one enemy of any basement project. Even a hint of dampness can lead to mold, mildew, and ruined belongings, quickly turning your dream storage space into a musty, unusable nightmare. You absolutely have to confirm your basement is bone-dry before you do anything else.
There's a simple but surprisingly effective trick for this: the plastic sheet test. Just tape a 2×2 foot square of plastic sheeting to your concrete floor and another to an exterior wall, making sure to seal all four edges. Leave it for a few days. If you come back to find condensation on the underside of the plastic, you've got moisture seeping through the concrete.
Even if your basement feels dry, don't skip this. Humidity levels in a basement can swing wildly with the seasons. What seems fine in a dry winter can become a real problem during a humid summer. A good dehumidifier is almost always a non-negotiable part of the plan.
Mapping Your Space for Maximum Potential
Once you’re confident the space is dry, it's time to become a cartographer of your own basement. This isn't just about getting the wall-to-wall measurements; it's about truly understanding the canvas you're working with. Grab a tape measure, a notepad, and let’s get to it.
- Measure Everything: Get the total length, width, and ceiling height. No guessing!
- Identify Obstacles: Pinpoint the exact location of support columns, sump pumps, water heaters, low-hanging ductwork, and electrical panels. These are the fixed elements your design has to accommodate.
- Plan Your Pathways: Walk through the space and imagine where your storage will be. You need to leave clear, wide pathways—at least 36 inches is a good rule of thumb—to access everything without having to turn sideways and squeeze past boxes.
This detailed map is the blueprint for your entire storage design. It’s what stops you from buying shelves that are an inch too wide or building a closet that blocks access to your furnace.
The desire to reclaim and organize our homes is a massive trend. The global market for home storage is projected to hit approximately USD 10.97 billion by 2034, which just shows how many homeowners are recognizing the value of smart, efficient organization. You can see more on these trends over at Global Growth Insights.
Introducing Smart Storage Zoning
With your layout mapped out, you can start the fun part: planning. A brilliant concept to use here is storage zoning. It’s all about dividing your basement into specific areas based on how often you'll need to get to the things you're storing.
Think of it like a well-organized grocery store. The milk and bread are right near the front, while the bulk bags of rice are in the back aisles. Applying that same logic to your basement makes it incredibly intuitive and functional.
Before finalizing any plans, running through a quick checklist ensures you've covered all the environmental and structural bases. This helps catch potential issues early.
Basement Environment Pre-Checklist
| Assessment Area | What to Check | Simple Solution |
|---|---|---|
| Moisture & Dampness | Look for water stains, musty smells, or visible condensation. Perform the plastic sheet test. | Install a dehumidifier. For bigger issues, consult a waterproofing specialist. |
| Lighting | Are there dark corners? Is existing lighting adequate to see into storage areas? | Plan for additional overhead lighting, task lighting, or even motion-sensor lights. |
| Accessibility | How easy is it to get large items down the stairs and into the space? | Measure stairwell width and tight corners before planning for large built-ins. |
| Pests | Check for signs of insects or rodents, like droppings or nests. | Seal any cracks in the foundation or walls. Use professional pest control if needed. |
| Ventilation | Does the air feel stagnant? Is there any air circulation? | A small fan can help, or consider an air purifier for better air quality. |
This checklist is your final safety net, ensuring the environment is just as ready as your design. Once these fundamentals are handled, you're ready to start designing the perfect storage layout.
Choosing Your Ideal Basement Storage Systems
Now that your basement is prepped, it’s time for the fun part: picking out the systems that will bring your organized vision to life. Think of it like outfitting a kitchen. You wouldn't use just one type of cabinet or drawer; you need a mix of solutions for different needs—deep drawers for pots, narrow ones for utensils, and open shelves for everyday plates. Your basement is no different.
The trick to smart basement storage solutions is finding that sweet spot between raw function and the polished look of a finished living space. Let's get beyond the one-size-fits-all mindset and look at the options that will make your basement a model of efficiency and style.
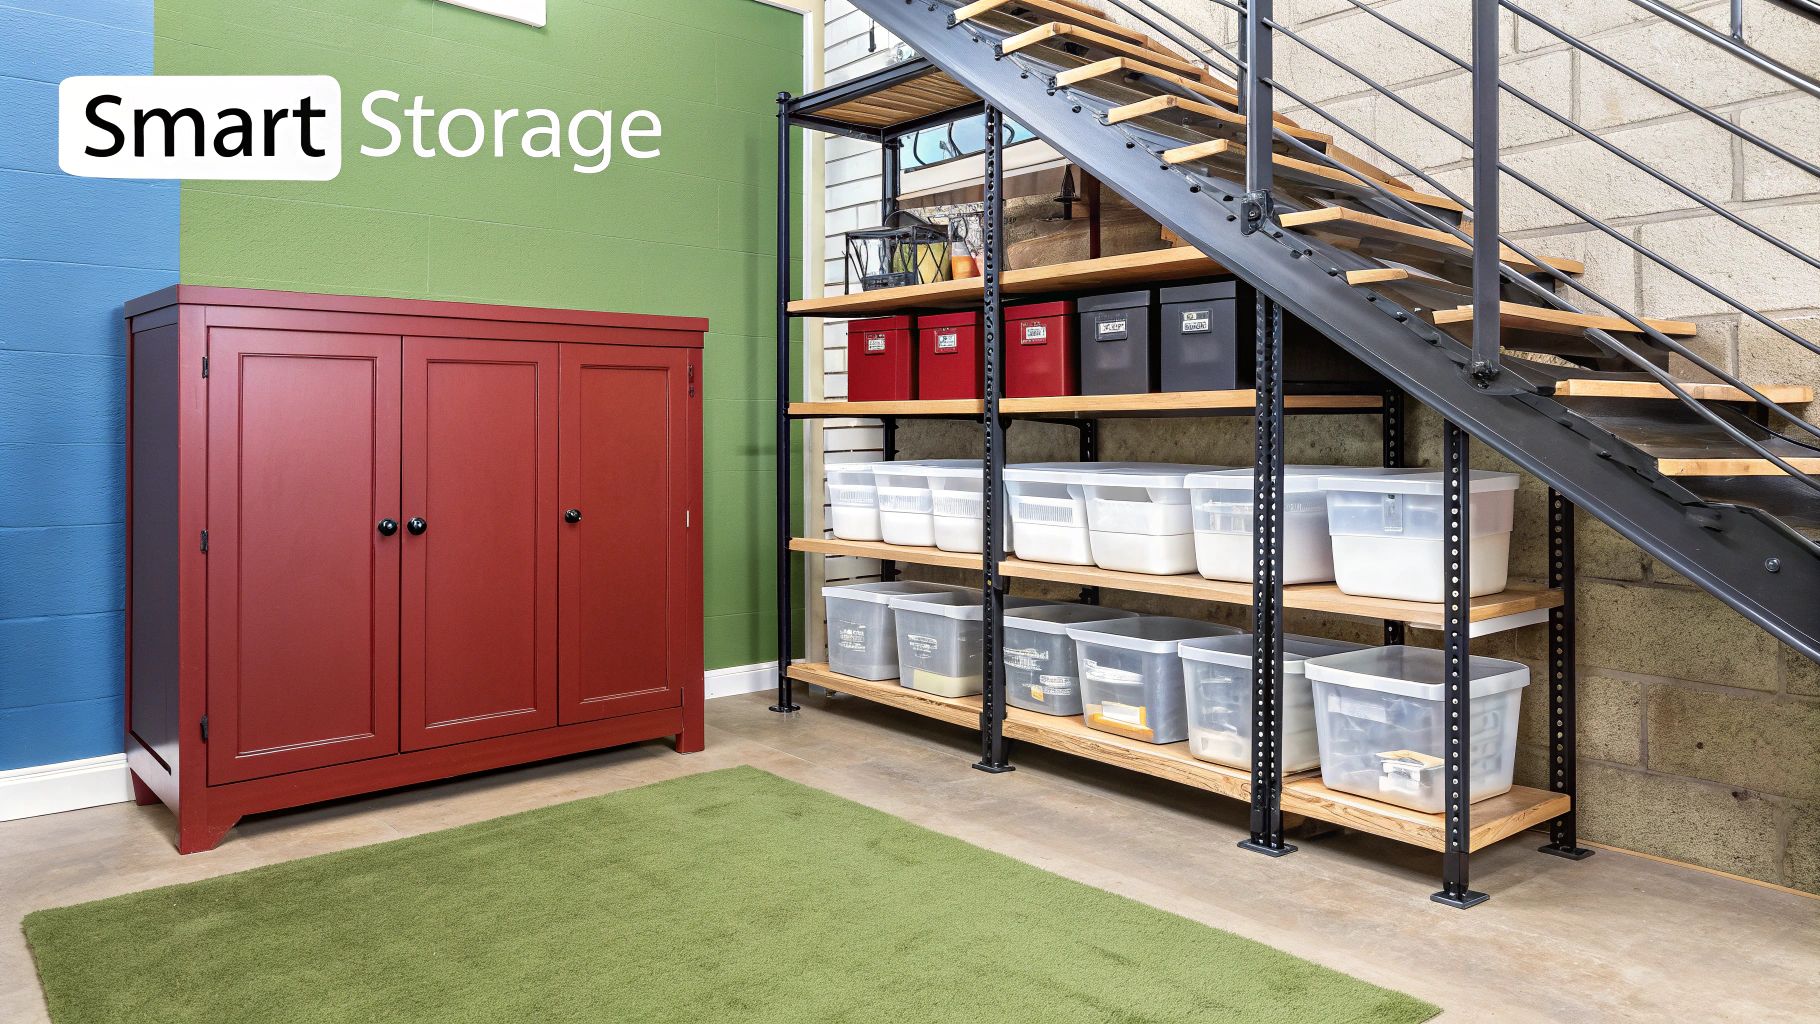
Custom Built-ins: The Seamless Solution
If you’re after a truly integrated, high-end look, nothing beats custom built-in cabinetry. These aren't just placed in the room; they're designed and built to fit your basement's exact dimensions, flowing with the architecture as if they were always meant to be there.
Imagine a full wall of floor-to-ceiling cabinets, blending open shelves for displaying treasured items with closed doors that make clutter disappear. Because they’re custom, built-ins can elegantly wrap around a support column or tuck perfectly into an odd-shaped alcove, turning wasted space into prime real estate.
Open Shelving: Accessible and Adaptable
Open shelving is the undisputed workhorse of basement storage. It’s all about accessibility and flexibility, making it the perfect choice for things you need to see and grab quickly—holiday bins, craft supplies, or extra pantry goods. The key, however, is choosing materials tough enough for the basement environment.
- Industrial Metal Shelving: This is the champion of durability. Powder-coated steel resists moisture, won't warp under pressure, and can handle a massive amount of weight. It’s ideal for heavy-duty boxes and equipment.
- Solid Wood Shelving: For a warmer, more finished appearance, solid wood is a fantastic choice. Just make sure it’s properly sealed with a quality moisture-resistant finish to protect it from the basement's natural humidity.
- Engineered Composites: Modern materials like cabinet-grade plywood or MDF (Medium-Density Fiberboard) are cost-effective, but they must be sealed with waterproof paint or laminate. Unsealed MDF will soak up moisture like a sponge.
A well-planned basement can feel like a secret weapon against household clutter. The right combination of systems not only adds immense functionality but also boosts your home’s usable square footage, making your entire living space feel larger and more organized.
Storage Closets: Conceal and Categorize
Sometimes, the best storage is the kind you don’t see. Building out dedicated storage closets is a brilliant way to hide bulky or less-than-beautiful items behind closed doors. A closet creates a designated zone for things like luggage, hockey gear, or out-of-season coats, keeping them dust-free and out of sight.
This strategy helps you maintain that clean, finished look in your main basement area while still providing a serious amount of organized space. You can easily outfit the interior with a mix of heavy-duty shelves and hanging rods to make every square inch count.
Under-Stair Storage: Unlocking Hidden Potential
That awkward, sloped space under the basement stairs is one of the most underutilized spots in any home. With a little clever design, this forgotten corner can become an incredibly efficient storage hub. It’s the perfect place for custom-fit solutions that work with every angle.
Consider a few of these smart ideas:
- Pull-Out Drawers: Imagine deep drawers built on heavy-duty sliders, creating a tiered pantry or cabinet that glides out for easy access.
- Modular Cubbies: A grid of custom-built cube shelves can perfectly house storage bins, baskets, or even a small wine collection.
- Rolling Carts: We can design custom carts on casters that fit the space perfectly. Just roll them out when you need something and tuck them away when you're done.
The demand for these kinds of smart, integrated systems is booming. The market for garage and basement organization, valued at $1.532 billion in 2025, is growing fast as homeowners seek out modular and customizable ways to blend function with design. You can learn more about this trend from Data Insights Market Research.
Ultimately, the best strategy is usually a hybrid one. You might opt for elegant built-ins along a main wall, practical open shelving in a utility area, and a discreet under-stair system to handle the rest. By mixing and matching, you create a layered, highly functional storage plan tailored perfectly to you.
Feeling inspired but not sure where to start? Check out our Inspiration Gallery to see how we’ve transformed other basements right here in Southwest Michigan.
Designing a Smart and Functional Storage Layout
Now that you've picked out the right storage systems, it's time to put them all together in a layout that actually works. This is where we go from just lining walls with shelves to thinking like a designer. A great storage space isn't just about cramming things in; it’s about being able to find and grab what you need, when you need it, without an archeological dig.
The whole point is to create a basement that feels intuitive, not like a self-storage unit you dread visiting. By creating logical zones and leaving clear pathways, you're building a system that’s not only easy to use but, more importantly, easy to keep organized.
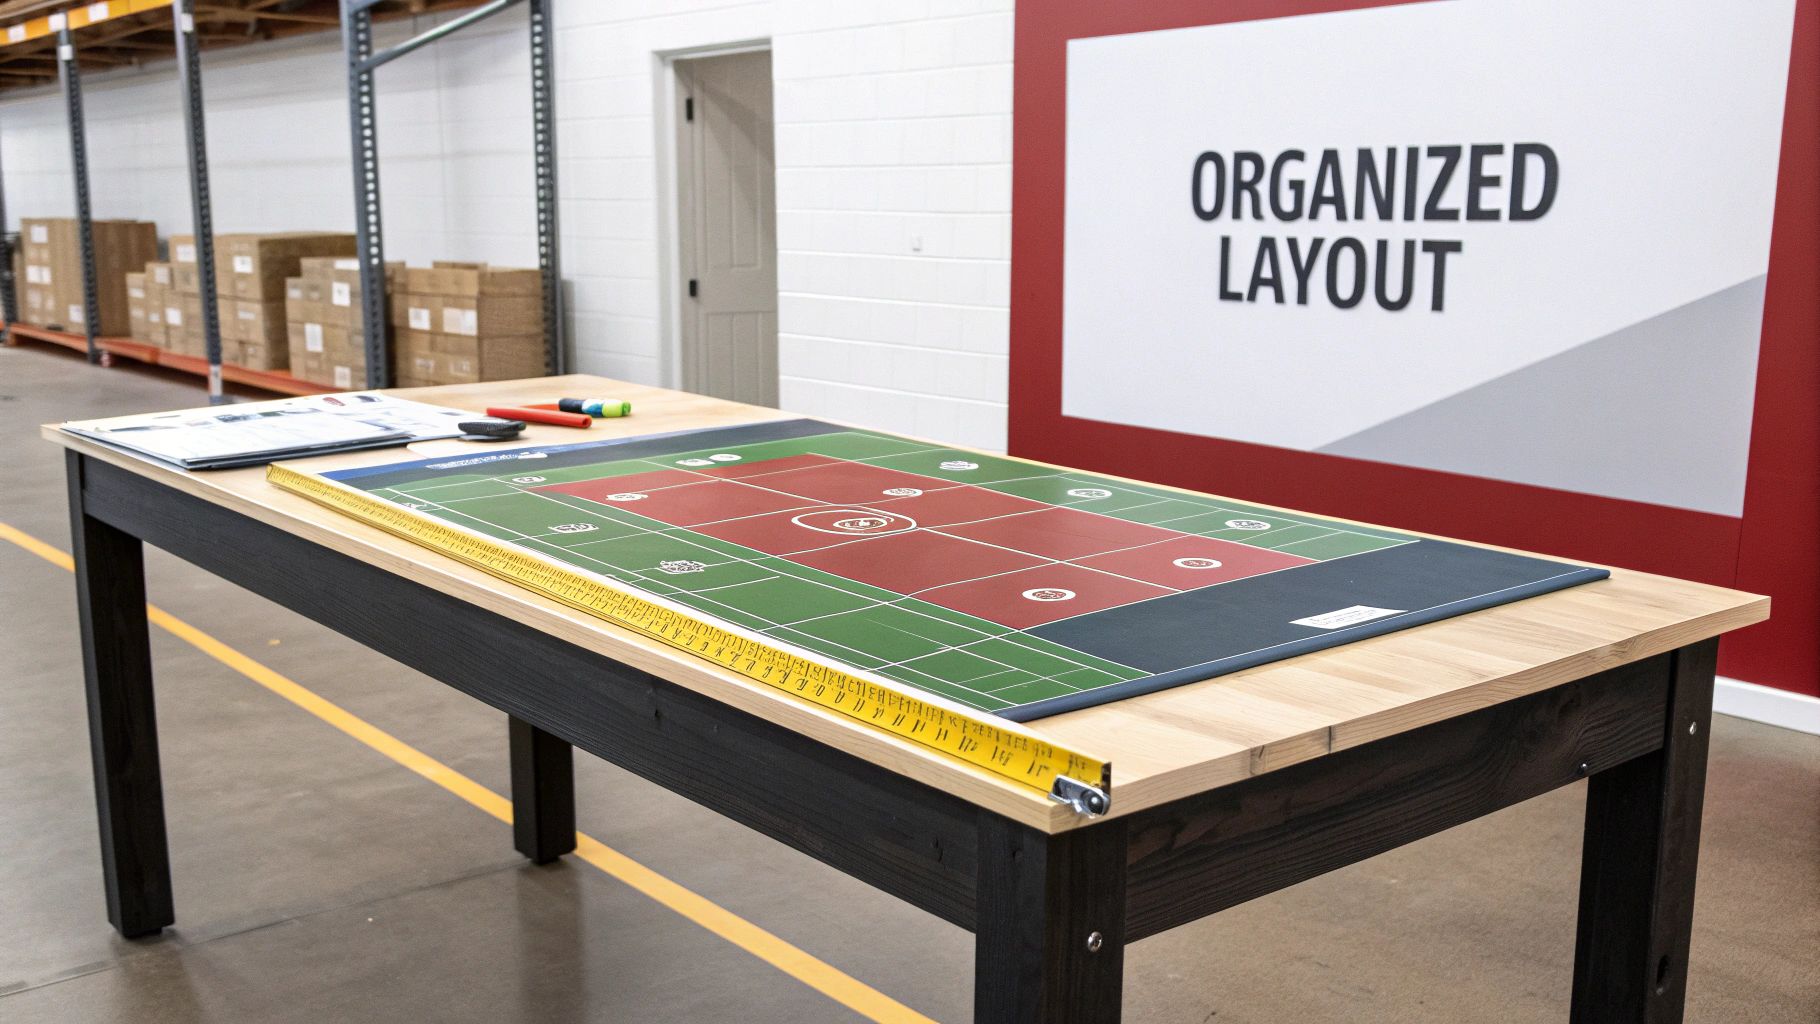
Establishing Smart Storage Zones
The secret to a truly organized basement is zoning. Think of it like a well-planned city, with different districts for different purposes. This strategy is all about grouping similar items together, creating a natural flow that stops you from tearing your hair out looking for that one box of holiday lights.
First things first: categorize everything you plan to keep down there. This lets you map out specific areas for each group, which makes the whole space feel much more logical.
Here are a few common zones that work for most people:
- Long-Term Archives: This is the spot for things you rarely touch but can't part with—think photo albums, family heirlooms, and old documents. Tuck this zone away in a less-trafficked area, like a far corner.
- Seasonal Storage: Your holiday decorations, bulky winter coats, and beach gear all belong here. You'll need to get to this stuff a few times a year, but it doesn't need to be front-and-center.
- Active Storage: This zone is prime real estate. It’s for things you use often, like sports equipment, bulk paper towels, or your crafting supplies. Keep this area close to the stairs for easy access.
Creating these distinct zones means the items you need most are always close at hand, while the once-a-year stuff is safely stored out of the way. It’s a simple change in thinking that completely transforms how you use your basement.
Prioritizing Clear Pathways and Flow
One of the biggest mistakes I see is people maximizing every square inch of shelf space at the expense of being able to move around. A cramped, cluttered layout is a nightmare to navigate, especially when you’re trying to haul a heavy box. You have to prioritize clear, wide pathways.
Aim for pathways that are at least 36 inches wide. This gives you enough room to walk comfortably, carry things, and move around without feeling like you're in a maze. A good flow makes your storage feel open and inviting, not claustrophobic.
Before you lock in your shelving placement, map out your main walking routes. Think about the path from the bottom of the stairs to each zone. This simple step ensures you can get around freely, which is key for a space you'll be using for years.
Integrating Storage with Your Basement’s Design
In a finished basement, storage shouldn't stick out like a sore thumb. It needs to feel like it belongs. When done right, your storage can blend seamlessly into the room's overall look, feeling intentional and even stylish.
Here are a few ways to pull this off:
- Consistent Hardware: Use the same style of handles and knobs on all your built-in cabinets and closet doors. It’s a small detail that has a huge impact on creating a unified look.
- Harmonious Finishes: Choose paint colors or wood stains for shelves and cabinets that complement your wall color and flooring. This makes the storage look like part of the room’s architecture, not a later addition.
- Thoughtful Lighting: Never underestimate good lighting. Install overhead lights for your pathways and consider adding task lighting—like under-shelf LED strips—to make it easy to see what’s in each zone.
By focusing on these elements, your basement storage solutions become an attractive feature of the room, not just a place to stash your stuff.
Ready to see how a smart layout can transform a real space? Our Idea Book is filled with examples of finished basements where functional design meets beautiful aesthetics.
6. Budgeting Your Project: DIY vs. Professional Help
Once you have a smart design in hand, it’s time to get down to the brass tacks: your budget. The biggest question you’ll face with your basement storage solutions is whether to roll up your sleeves and do it yourself or bring in a professional. This decision will shape not just the final cost, but also how long it takes and the quality of the finished product.
There's no one-size-fits-all answer here. It’s all about finding the right fit for your project and your life. A simple set of freestanding shelves? That's a fantastic weekend DIY project. But a wall of complex, custom built-ins that demand precision carpentry? That's almost always a job for an experienced pro. Be honest with yourself about your skills, the time you can realistically commit, and how complex your vision truly is.
Breaking Down the Costs of DIY Storage
Going the DIY route can be incredibly satisfying and is often the most cost-effective path, especially for simpler projects. Your main costs will be materials—anything from basic plywood and 2x4s to more polished solid wood or sleek metal components. But don’t forget to factor in the tools. If you don't already have a good set of saws, a level, and a drill, you'll need to buy or rent them.
The other big factor is your time. What a professional can knock out in a couple of days might take you several weekends to complete. That "sweat equity" is where you really save money, but you have to be realistic. The last thing you want is a half-finished project that drags on for months.
When to Call in a Professional
Hiring a professional contractor like Trademaster brings a level of expertise, speed, and quality that’s hard to replicate. Yes, the initial cost is higher, but you’re buying more than just labor. You’re paying for peace of mind, access to professional-grade equipment, and the years of experience that ensure everything is structurally sound, perfectly level, and beautifully finished.
This is absolutely key for ambitious projects like custom built-in cabinetry, framing out new closets with drywall and electrical work, or anything that requires flawless measurements and a clean aesthetic. A pro takes care of everything from start to finish—sourcing materials, managing the timeline, and handling the final cleanup—saving you from costly mistakes and frustration.
Think of professional installation as an investment in your home's value. Flawlessly executed built-in storage isn't just useful; it's a major selling point for future buyers. It's a functional upgrade that can actually pay you back.
The demand for well-organized space has never been higher. With homes getting smaller, many people are forced to rent off-site units. In fact, the global self-storage market was valued at a staggering USD 58.26 billion in 2023 and is expected to continue climbing. This highlights just how much people value having enough storage. By investing in your own basement, you’re creating that much-needed space right under your own roof. You can dig into more data on this trend with reports from firms like Grand View Research.
Cost and Effort Comparison: DIY vs. Professional Installation
Deciding between DIY and hiring a pro often comes down to a trade-off between your money, your time, and your skills. This table breaks down what you can expect for some common basement storage projects.
| Storage Solution | DIY Cost Estimate | Pro Cost Estimate | DIY Effort Level |
|---|---|---|---|
| Simple Shelving Unit | $100 – $300 | $400 – $800 | Low: Basic tools and a weekend. |
| Under-Stair Storage | $300 – $1,000 | $1,500 – $4,000 | Medium: Requires good cutting skills. |
| Built-in Bookcases | $800 – $2,500 | $3,000 – $8,000+ | High: Demands precision and finishing. |
| New Storage Closet | $1,000 – $2,000 | $2,500 – $5,000+ | High: Involves framing, drywall, electrical. |
Ultimately, whether you choose to build it yourself or hire it out depends on your confidence and the project's complexity. For anything beyond basic shelving, a professional ensures the final result adds true, lasting value to your home.
Still on the fence? Our free Pricing Tool can give you a quick estimate for professional installation. It’s a great way to compare costs and make a smart decision that fits your budget.
Keeping Your Organized Basement in Top Shape
Alright, the hard work is done. Your new storage is built, everything has a home, and for the first time in a long time, you can walk across your basement without tripping over a stray box. But let's be honest—keeping it that way is the real challenge.
Think of it this way: you just invested time and money into creating this amazing space. A little bit of ongoing care is the best way to protect that investment. With a few simple habits and seasonal check-ins, you can ensure your basement storage solutions stay clean, dry, and functional for the long haul, protecting both the units themselves and everything you've stored inside.
Your Seasonal Maintenance Checklist
You don't need to spend hours down here every weekend. A few quick, intentional tasks each season are all it takes to catch small issues before they snowball into costly headaches. Just set a reminder on your phone and you're good to go.
- Quarterly Moisture Check: Every three months or so, especially after a big storm, take a walk around and look for any new signs of dampness on the walls or floor. This is also a good time to make sure your dehumidifier is humming along nicely and to empty the basin if needed.
- Annual Pest Inspection: Once a year, peek into the dark corners and behind your storage units. You're looking for any tell-tale signs of pests. If you spot tiny cracks in the foundation where they might be getting in, a little bit of caulk goes a long way.
- Twice-Yearly Dust Down: Give your shelves, cabinets, and bins a quick wipe-down in the spring and fall. It keeps things from getting grimy and helps maintain better air quality in your finished basement.
A well-maintained storage system is an active part of your home, not a forgotten vault. Regular, minor upkeep is the key to preventing the slow creep of disorganization and environmental damage.
Smart Habits for Lasting Order
Beyond the seasonal checklist, a couple of smart daily habits can make a huge difference. These aren't really chores—they're just a better way of doing things.
First, a golden rule of basement storage: elevate everything off the floor. Even in the driest of basements, putting items on a low shelf or even a simple pallet gives you an insurance policy against surprise moisture and allows for crucial air circulation.
Next, it’s time to declare war on the cardboard box. Cardboard is a magnet for moisture and pests. Ditch them for clear, airtight plastic bins. Not only do they offer far better protection, but they also let you see exactly what’s inside without having to pull everything down. These simple moves will preserve all your hard work and keep your basement looking fantastic.
Answering Your Top Basement Storage Questions
Even the best-laid plans can hit a few snags. As you move from idea to reality, some specific questions are bound to come up. Let's tackle some of the most common ones we hear from homeowners so you can move forward with confidence.
What Are the Best Mold-Resistant Materials for Basement Shelving?
Down in the basement, moisture is always the enemy. That's why your material choice is so critical. The best options are always non-porous and won't give mold a place to grow.
I almost always recommend powder-coated steel or industrial metal shelving. They're tough, they last forever, and moisture simply can't penetrate them. High-quality plastic or resin shelves are another great, completely waterproof choice that you can wipe clean in seconds.
If you're set on the warm look of wood, you have to be smart about it. Go with pressure-treated lumber or a high-grade plywood, but make sure it’s completely sealed with a quality waterproof, mold-inhibiting paint or finish. Whatever you do, stay away from untreated particleboard or MDF—they'll soak up humidity like a sponge and fall apart.
How Do I Squeeze More Storage Out of a Small or Awkward Basement?
When you're dealing with a tight or oddly shaped space, think vertically. Going up is always the answer. Tall, narrow shelving units make the most of your ceiling height, and wall-mounted shelves or pegboard systems are fantastic for getting things off the floor without eating up valuable real estate.
Here are a few tricks I've picked up over the years:
- Tackle the space under the stairs. This is a goldmine. Custom-built shelves or even simple rolling carts can turn that awkward triangle into a powerhouse of organization.
- Embrace modular cubes. You can stack and arrange them to fit perfectly around tricky things like support posts or plumbing lines.
- Pick multi-functional furniture. If your basement doubles as a living space, get ottomans, benches, or coffee tables that have hidden storage compartments.
It’s not about cramming in more stuff; it’s about smart, creative design. Those awkward nooks and crannies that seem like problems can actually become your most valuable storage spots with the right approach.
Will I Need a Permit to Build My Basement Storage?
This really depends on how ambitious your project is and what your local codes say. If you're just assembling some free-standing shelving units, you almost certainly won't need a permit.
However, the game changes if you're building permanent structures. Putting up floor-to-ceiling walls to create a new storage closet, or installing a complex wall of built-in cabinetry, will likely require a permit. This is especially true if you’re running any new electrical for lights or outlets. The golden rule is: always check with your local municipal building department before you start any significant work. A quick phone call can save you a world of headaches later on.
Ready to stop dreaming and start building? The team at Trademaster Construction has the hands-on experience to design and install a storage system that's both beautiful and incredibly functional. Get some ideas by browsing our Inspiration Gallery.
Article created using Outrank

