
So, what's the real cost of new tile for your bathroom floor? For a standard project, you can generally expect to pay between $5 and $15 per square foot. If you have a small or medium-sized bathroom, that works out to a total project cost of roughly $300 to $1,300, but this can shift quite a bit based on the tile you choose and the complexity of the job.
An Overview of Your Bathroom Tile Installation Cost
Before you fall in love with a specific tile, it helps to understand what goes into the final price tag. It's not just the cost of the tile itself. Think of it like baking a cake—you have the main ingredients (the tiles), but you also need the baker's time and skill (labor), plus other essentials like frosting and sprinkles (supplies and prep work).
This breakdown shows how those core components—materials and labor—stack up per square foot.

As you can see, the ranges for materials and labor can overlap quite a bit. This just goes to show how much your choice of tile and the installer you hire will shape the final bill.
To give you a clearer picture, here’s a quick summary of the main cost components.
| Quick Look Bathroom Tile Installation Cost Breakdown |
| :— | :— |
| Cost Component | Average Cost Per Square Foot |
| Tile Materials | $2 – $15 |
| Professional Labor | $3 – $15 |
| Demolition & Removal | $1 – $3 |
| Subfloor Prep & Repair | $1 – $2 |
These figures give you a solid baseline for what to expect as you start planning your budget.
The Financial Snapshot of a Tile Project
When you zoom out to look at the entire project, the numbers start to come together. In 2025, homeowners across the U.S. are expected to spend around $2,400 on average for a complete bathroom tiling project. This cost is typically spread across three main categories:
- Tile Materials: This is the cost of the tiles you pick. Ceramic usually runs $4 to $15 per square foot, while porcelain is in a similar range of $2 to $15 per square foot.
- Professional Labor: Hiring a pro installer is a significant part of the budget, often ranging from $3 to $15 per square foot.
- Hidden Variables: These are the "extra" tasks that can pop up. Tearing out the old flooring might add $1-$3 per square foot, and if your subfloor needs leveling or repairs, that could be another $1-$2 per square foot.
Getting a handle on these different pieces is the key to a successful budget. For a deeper dive into project pricing, learning how to estimate construction costs accurately can give you a major advantage during the planning phase.
By breaking down the bathroom floor tile installation cost into these distinct categories, you can build a more realistic budget and avoid common financial surprises. Each element plays a crucial role in the project's success and final price tag.
Knowing where your money is going empowers you to make smarter choices. You can decide to splurge on that beautiful, high-end porcelain tile you've been eyeing and perhaps save a bit on a simpler layout. It’s all about finding the right balance between your dream bathroom and your wallet.
Breaking Down Your Tile Material Costs
The tiles you choose are the star of the show in any bathroom renovation, but their costs can vary as dramatically as their styles. Think of it like buying a car—a reliable sedan and a high-end sports car both get you from A to B, but their price tags are worlds apart. Your tile choice sets the foundation for your project's budget, so understanding what they cost and why is key to picking a material that fits both your vision and your wallet.
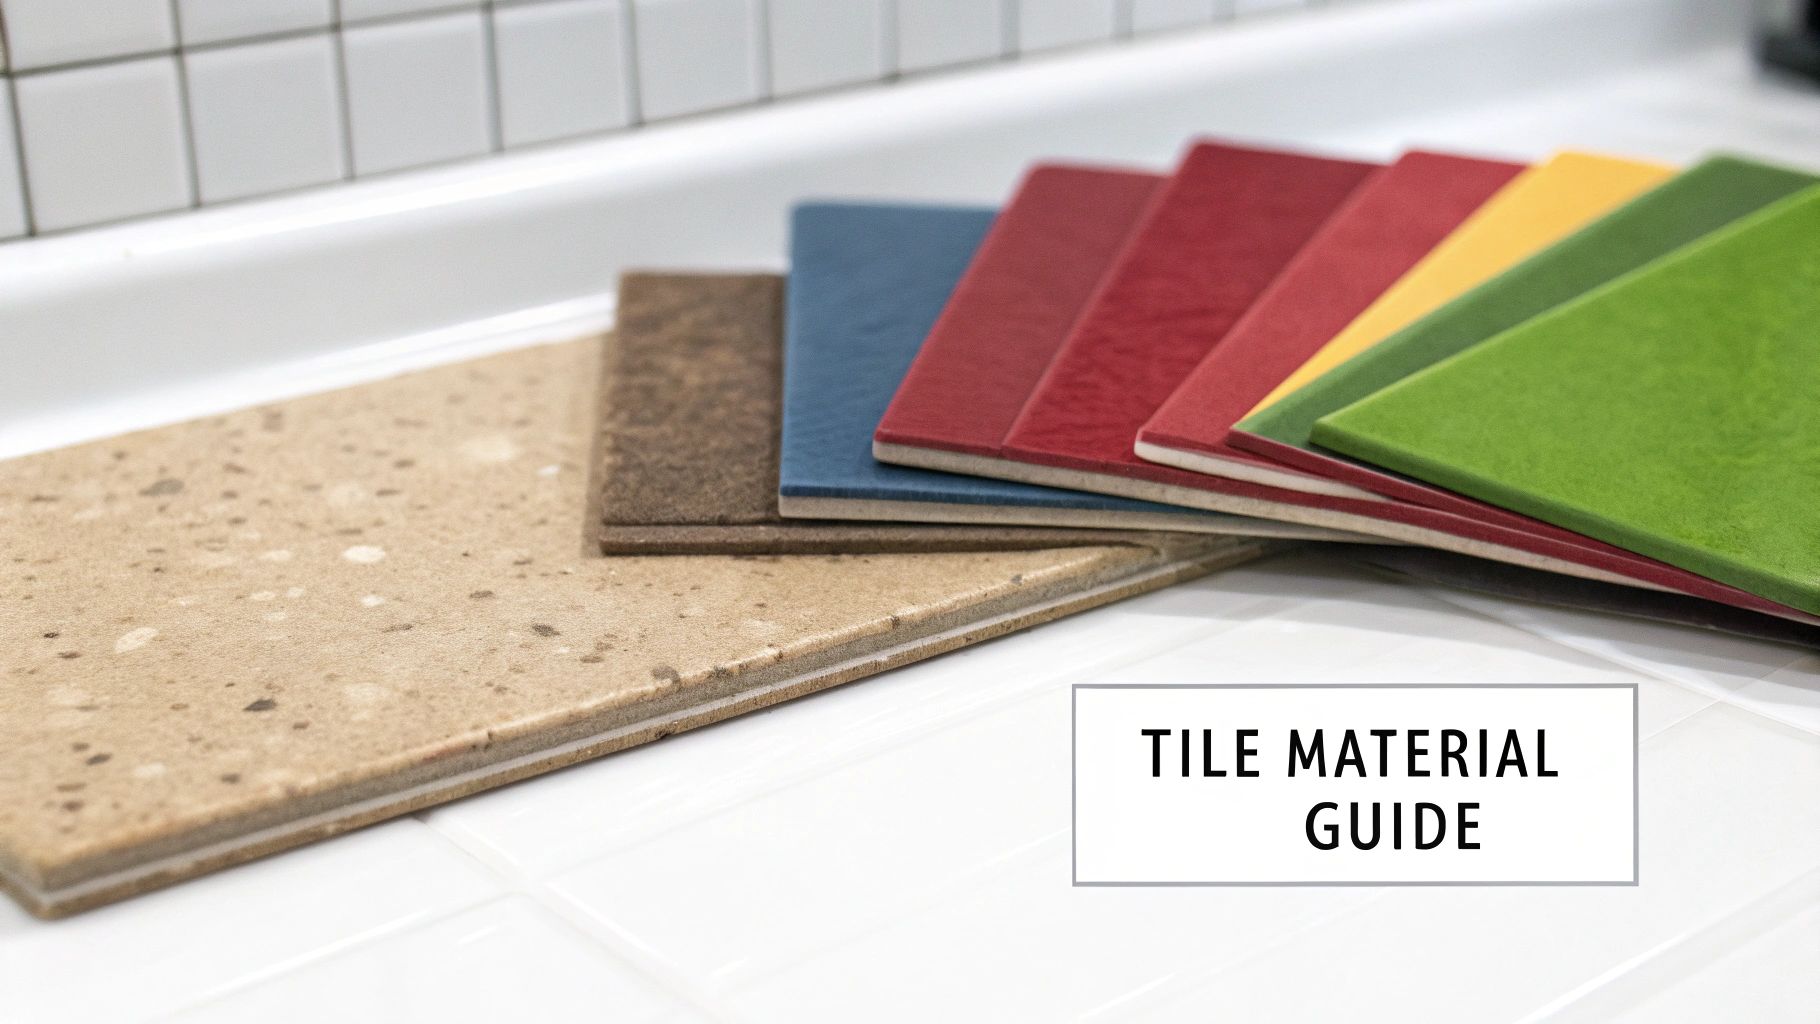
While the tile itself is a major line item, it's just one piece of the puzzle. Looking at the big picture, the total cost to install a tile floor—including all materials and labor—generally lands somewhere between $10 to $50 per square foot.
Budget-friendly ceramic tiles are often a top pick, with material costs running from just $1 to $5 per square foot. A step up in durability is porcelain, which can range from $3 to $10. You can discover more insights about flooring costs to see how these different elements come together in a final quote.
Let's dive into the most common materials and see how they stack up.
Ceramic and Porcelain: The Everyday Champions
For a good reason, ceramic tile is the go-to for countless bathroom remodels. It’s affordable, comes in a staggering number of designs, and is relatively easy for pros to cut and install. Think of it as the versatile workhorse of the tile world. Its price typically falls between $1.25 to $30 per square foot, which covers everything from basic big-box options to handmade, artisanal designs.
Porcelain is essentially ceramic’s tougher older sibling. It’s fired at much higher temperatures, which makes it denser, less porous, and far more resistant to water and stains. This makes it an outstanding choice for high-moisture, high-traffic bathroom floors. That extra durability comes at a slightly higher cost, usually $3 to $30 per square foot, but it's a smart investment for a busy family bathroom that needs to stand the test of time.
Natural Stone: The Luxury Choice
Nothing quite matches the unique, earthy elegance of natural stone, but this touch of luxury comes with a higher price tag and a bit more upkeep. The beauty is that each tile is one-of-a-kind.
- Marble: Famous for its timeless beauty and dramatic veining, marble makes a serious statement. It’s a softer, more porous stone, so it needs to be sealed regularly to fend off stains and scratches. Costs can run from $10 to over $350 per square foot for the rarest varieties.
- Travertine: If you're after a warm, rustic look, travertine's textured finish is a great fit. Like marble, it’s porous and needs sealing, but it’s a durable option for floors. You can expect to pay between $3 and $20 per square foot.
- Granite: As one of the hardest natural stones available, granite is incredibly tough and scratch-resistant, making it perfect for high-traffic floors. Its price lands between $5 and $200 per square foot, depending on how rare the pattern is.
- Slate: Prized for its rugged, natural texture and excellent slip resistance, slate is both a practical and stylish choice for bathroom floors. It also requires sealing and costs around $8 to $20 per square foot.
The material you choose does more than just affect the initial bathroom floor tile installation cost. It also influences long-term maintenance needs and the overall durability of your floor, making it a critical decision for both your budget and your lifestyle.
Other Popular Bathroom Tile Options
Beyond the classics, a few other materials bring their own unique flair. Glass tiles, costing $12 to $26 per square foot, can create a sleek, modern shimmer but require a specialist to install, bumping up labor costs. On the other end of the spectrum, vinyl tile offers a budget-friendly alternative at just $1 to $3 per square foot and can convincingly mimic the look of more expensive materials with an easy installation process.
To help you weigh your options, here’s a quick comparison of the most common tile choices.
Bathroom Tile Material Cost Comparison
This table breaks down the average material costs and key features of popular bathroom floor tile options, helping you see the trade-offs at a glance.
| Tile Type | Average Material Cost Per Sq. Ft. | Pros | Cons |
|---|---|---|---|
| Ceramic | $1.25 – $30 | Budget-friendly, vast style selection, easy to cut | Less durable, can chip more easily |
| Porcelain | $3 – $30 | Highly durable, water and stain-resistant | Harder to cut, heavier material |
| Marble | $10 – $350 | Luxurious, timeless, adds home value | Porous, requires sealing, prone to scratches |
| Granite | $5 – $200 | Extremely durable, scratch-resistant | Requires sealing, can be very expensive |
| Slate | $8 – $20 | Naturally slip-resistant, unique texture | Requires sealing, can be costly |
Ultimately, choosing the right material is a balancing act between the look you want, the performance you need, and the budget you have.
What to Expect from Professional Labor Costs
While the tiles themselves are the centerpiece of your new bathroom floor, the labor to install them is often the biggest line item on your invoice. It's a lot like hiring a professional painter versus doing it yourself—both of you use the same paint, but the skill, precision, and prep work of the pro deliver a flawless result that lasts for years. Understanding what goes into the bathroom floor tile installation cost helps clarify why that expertise is such a smart investment.
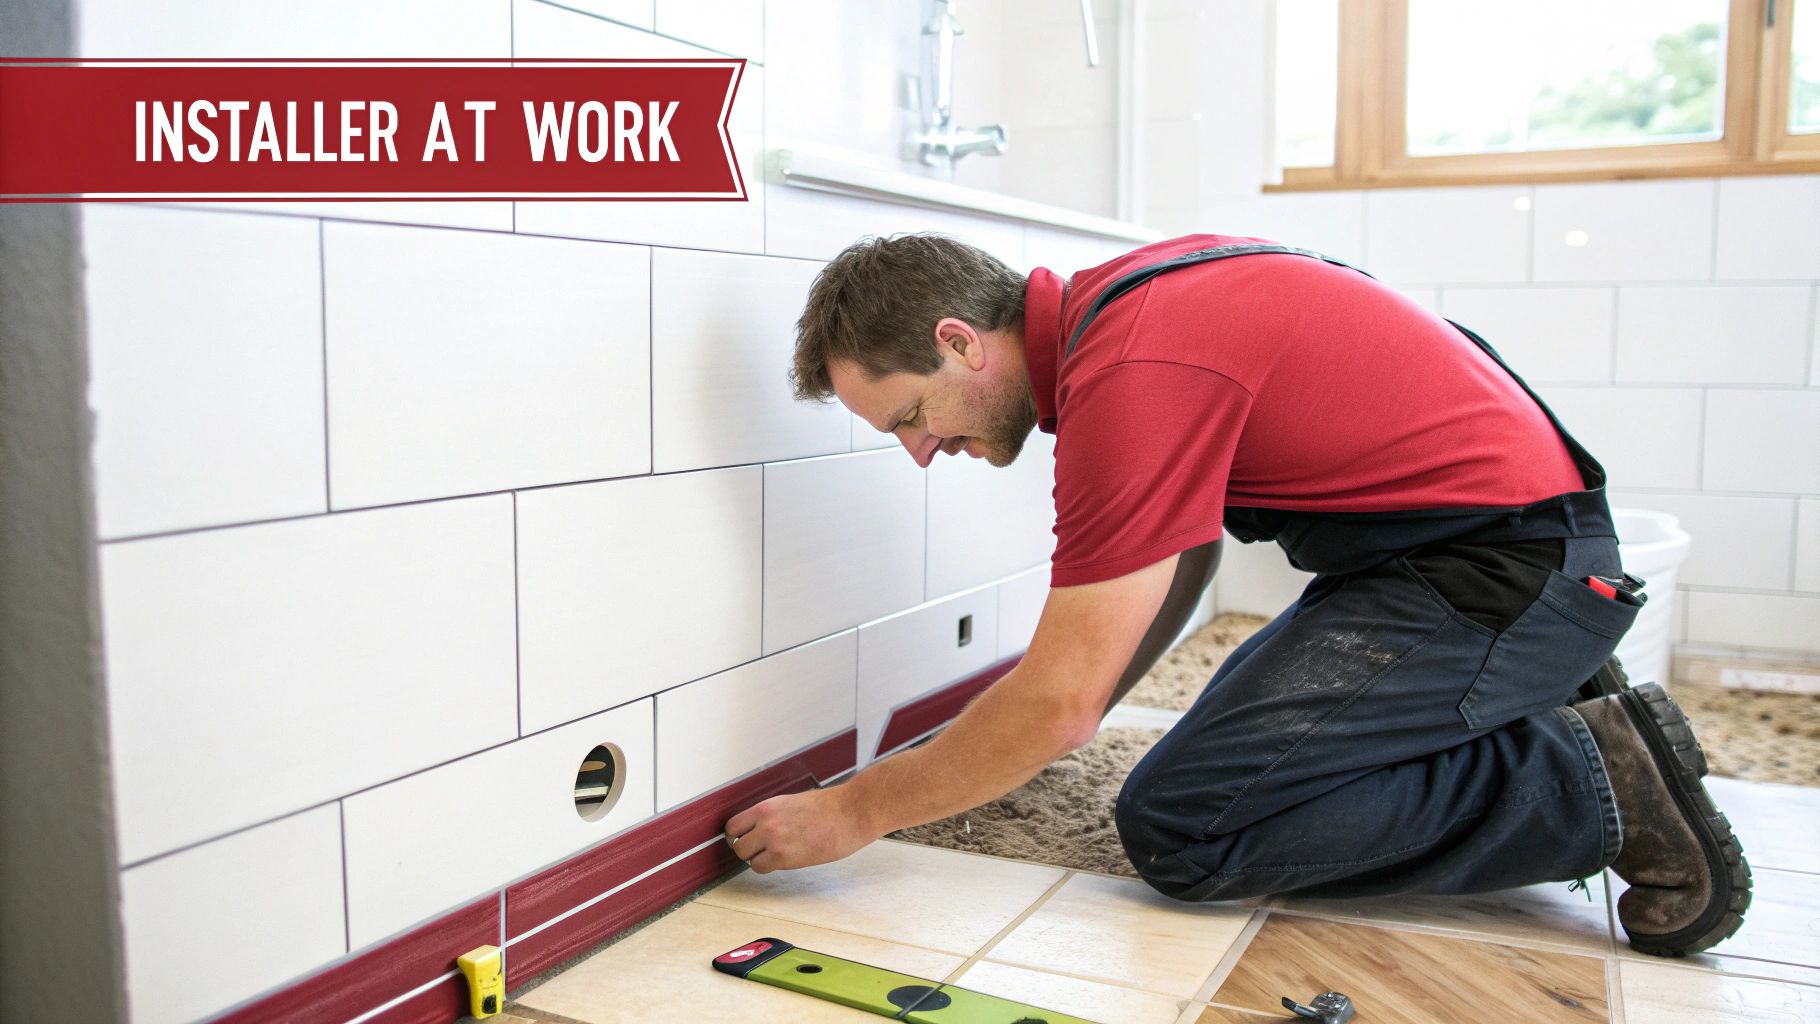
When you hire a tile setter, you're not just paying for someone to stick tiles to the floor. Their fee covers a whole sequence of steps designed to make your floor beautiful, durable, and waterproof. It’s a process that starts with demolition and ends with the final cleanup, with several crucial stages in between.
Professional labor can easily make up 40-60% of your total project costs. In 2025, you can expect to see rates land somewhere between $4 and $20 per square foot. For a basic installation with a simple grid pattern and straightforward cuts, labor might be in the $4 to $8 per square foot range. But if you’re planning on intricate mosaics or a tricky diagonal layout, that cost can quickly jump to $12 to $20 per square foot. You can learn more about tile installation cost factors to see how different choices influence the final price.
From Demolition to a Flawless Finish
So, what does that per-square-foot rate actually get you? It’s an all-inclusive service that takes your old bathroom floor and turns it into a perfectly finished surface.
A professional installer’s job typically includes:
- Demolition and Removal: The first job is tearing out whatever is currently on the floor, whether it's old tile, vinyl, or linoleum. They also haul away all the debris, giving you a clean slate to work with.
- Subfloor Assessment and Prep: This is arguably the most important step of the entire project. The installer will check the subfloor for any damage, rot, or uneven spots. Proper prep often means installing a cement backer board to create a stable, water-resistant base for the tile.
- Layout and Planning: A true expert doesn’t just start laying tiles from the nearest corner. They find the center of the room and map out the entire layout first, ensuring the finished floor looks balanced and symmetrical with minimal awkward-looking cuts against the walls.
- Waterproofing: In a bathroom, waterproofing is completely non-negotiable. A pro will apply a liquid membrane or sheet system to shield your subfloor from moisture, which prevents the slow, silent damage of rot and mold.
Hiring a skilled tile setter isn't just another expense; it's an insurance policy against future headaches. Their expertise in subfloor prep, waterproofing, and layout is what protects your home from water damage and guarantees a beautiful floor that lasts.
The Art of Precision Tiling
Once that foundation is rock-solid, the actual tiling begins. This is where the installer’s craftsmanship really comes into play, and it’s a process that requires a lot more than just spreading some mortar around.
The core installation tasks involve:
- Cutting Tiles: A professional uses specialized tools like a wet saw to make perfectly clean, precise cuts around toilets, vanities, and doorways. This is especially critical when working with tough materials like porcelain or natural stone.
- Setting Tiles: Every single tile is carefully "back-buttered" and set into thin-set mortar, which creates a powerful bond and a perfectly level surface. Spacers are used to keep grout lines consistent for that clean, uniform look.
- Grouting and Sealing: After the tiles have had time to set, the installer fills all the joints with grout. The final touch is applying a sealant to the grout lines to protect them from stains and moisture—a vital step for any bathroom.
The complexity of your chosen pattern also has a big impact on labor time. A simple grid is quick and efficient. But a herringbone or diagonal pattern requires tons of angled cuts, which takes more time and creates more material waste, both of which are reflected in the final cost. Hiring an expert ensures these complex designs are executed perfectly, turning a simple floor into a real design statement.
Uncovering Hidden Costs in Your Tile Project
When you get a quote for a new tile floor, it's easy to focus on the price of the tile and the labor to install it. But like any home renovation, the number on that initial estimate is often just the starting point. There are almost always a few hidden expenses lurking just beneath the surface, waiting to throw a wrench in your budget.
Think of it like buying a house. The list price is what gets your attention, but you also have to account for closing costs, inspections, and maybe a few surprise repairs. By knowing what to look for ahead of time, you can turn these potential "surprises" into planned-for line items.
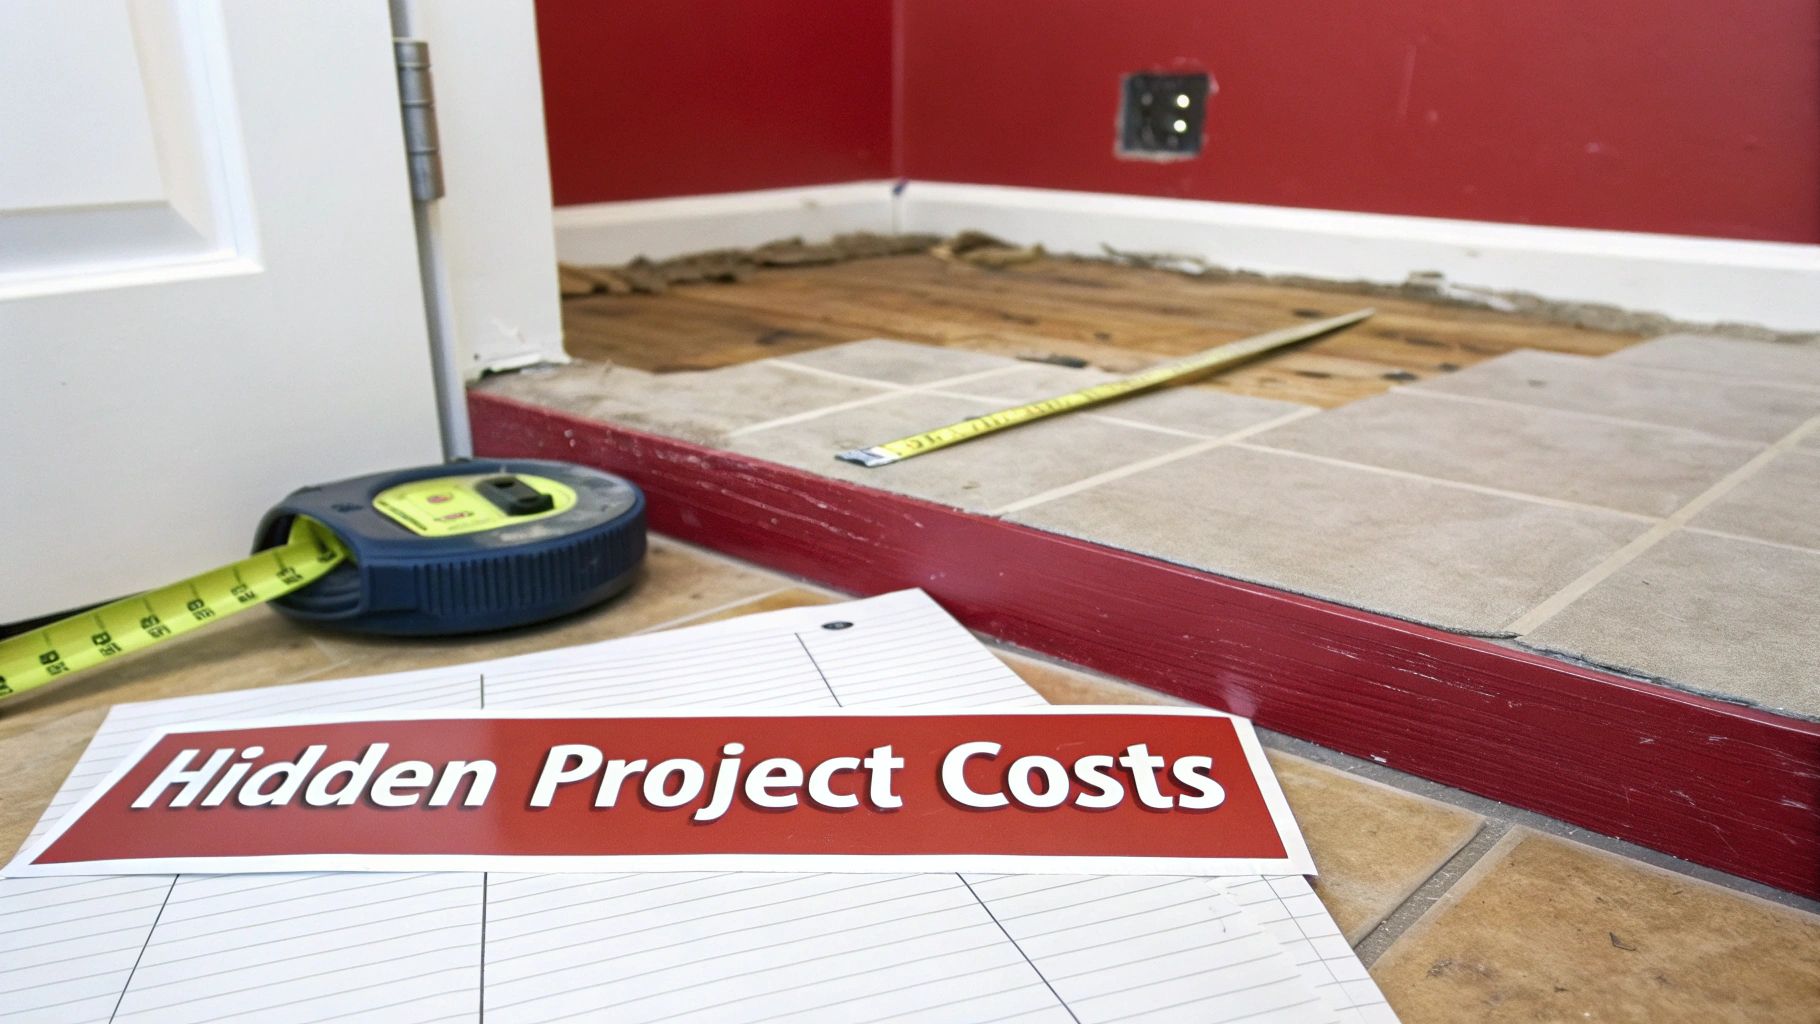
A good contractor will help you anticipate these, but it pays to be informed. Let’s pull back the curtain on the most common budget-busters.
Subfloor Surprises and Repairs
The single biggest wildcard in any tile project is the condition of your subfloor. This is the foundation your entire floor is built on, and if it isn't perfectly flat, stable, and sound, your brand-new tile is destined to crack.
Once the old flooring comes up, your installer will get a good look at what's underneath. If they find that the subfloor is uneven, has water damage, or isn't structurally solid, it has to be fixed. Period. This could be as simple as pouring a self-leveling compound or as involved as replacing entire sheets of rotted plywood.
- What to Look For: Before demo day, take a slow walk across your bathroom. Do you feel any soft or spongy spots underfoot? Do you hear a lot of creaking? These are classic red flags that you might have some subfloor issues.
- Potential Cost: Fixing the subfloor can add anywhere from $1 to $2 per square foot for minor leveling. If there's serious water damage, you could be looking at several hundred dollars or more to make things right.
Sometimes the problem runs deeper than the plywood. For homes on a slab foundation, it's worth learning about detecting potential slab leaks, as this is a major hidden issue that requires extensive work before a single tile can be laid.
Demolition and Debris Disposal
Tearing out the old floor isn't always a quick job. If you’re dealing with multiple layers of old vinyl or tile that have been glued down for decades, the demolition can become a serious, labor-intensive chore. That extra time adds directly to your labor bill.
And once it's all ripped out, you have to get rid of it. Hauling away a pile of old tile, backer board, and other construction debris isn't free. Your contractor has to factor in dump fees or the cost of a small dumpster rental.
Demolition isn’t just about swinging a sledgehammer; it's a careful deconstruction. A pro knows how to remove the old materials without damaging the subfloor or nearby fixtures, and that skill is part of what you're paying for.
Waterproofing and Underlayment
In a bathroom, water is the enemy. Proper waterproofing isn't just a good idea—it's absolutely essential. While a standard installation includes a layer of cement backer board, a truly robust waterproofing system will add to the cost.
These systems often mean painting on a liquid membrane or rolling out a special sheet membrane over the subfloor and up the walls a few inches. This creates a sealed, bathtub-like basin under your tile that protects your home's structure from any moisture that gets through. It's a critical investment that can save you from catastrophic repairs down the road.
Common Underlayment Costs:
- Cement Backer Board: This is the industry standard, giving you a stable and moisture-resistant base to tile on.
- Waterproofing Membrane: This is the next level of protection, creating a fully sealed barrier. It’s a must-have for showers and wet rooms.
- Heated Flooring System: If you want to add that luxurious touch of in-floor heat, remember that it's a significant cost for both the materials and the specialized electrical work required.
The Finishing Touches: Grout and Trim
Finally, don't forget the small details that make a huge difference. The type of grout you select can affect the price. Standard cement-based grout is inexpensive, but upgrading to a premium epoxy or urethane grout will cost more. The trade-off? They offer incredible stain and mold resistance, which is a fantastic long-term investment for a bathroom.
Likewise, every tile job needs trim to look finished. This could mean new baseboards or sleek metal profiles (often called Schluter strips) that protect the tile edges. These materials give the room a clean, professional look, but they are another line item to add to your materials budget.
Deciding Between DIY and Professional Installation
So, you're at a crossroads: do you roll up your sleeves and install the tile yourself, or do you call in a pro? It's a huge decision. The pull to save money is strong, especially when you hear that a professional tiler can charge anywhere from $100 to $150 per hour.
But the real bathroom floor tile installation cost isn't just about the money. It's about your time, your sanity, and the final look and feel of the room. Going the DIY route can be a point of pride, but it demands an honest look at your skills. A bathroom floor isn't a forgiving project like painting a spare bedroom. One mistake in a wet area like a bathroom can lead to thousands of dollars in water damage, mold, and cracked tiles down the line. That initial savings on labor won't feel so great when you're ripping out a brand-new floor to fix a leaky subfloor.
The Ideal DIY Tile Setter
Think you've got what it takes? A good DIY candidate is more than just someone with a positive attitude. You need a specific skill set and the right gear to pull this off.
A successful DIY tile job hinges on:
- Patience and Precision: Tiling is all about the details. It's a game of careful measurements, exact cuts, and a steady hand. If you rush it, you'll end up with wonky grout lines and a finish you can't stand to look at.
- The Right Tools: You'll need more than a simple trowel. Think a high-quality wet saw for those clean, sharp cuts, multiple levels, tile nippers, and all the proper safety equipment. Keep in mind that renting these tools will eat into your savings.
- A Serious Time Commitment: This isn't a quick weekend project for a beginner. From tearing out the old floor to spreading the final bit of grout, you should plan for several days. Don't forget to account for the time mortar and grout need to properly cure.
Going DIY means the labor line on your budget is zero, but it also means the buck stops with you. You're completely responsible for creating a perfect, waterproof seal. In a room that sees so much water, the peace of mind a professional brings is often worth every penny.
When to Absolutely Hire a Professional
While a handy person can definitely tackle a simple, straightforward tile job, some situations are just not DIY-friendly. Tiling is a skilled trade, and some challenges are best left to someone who has spent years perfecting their craft.
It’s time to call in a professional if your project involves:
- Subfloor Issues: If your subfloor is uneven, feels spongy when you walk on it, or has any signs of past water damage, stop right there. A professional knows exactly how to repair, level, and prep that foundation to make sure your new tile doesn't fail.
- Complex Layouts: A simple grid pattern is one thing. But if you're dreaming of an intricate herringbone, a classic basketweave, or a custom mosaic, you need an expert. These layouts require serious skill to execute correctly.
- Natural Stone or Glass Tile: Materials like marble, slate, and glass are not only expensive but notoriously difficult to work with. They demand special cutting tools, unique adhesives, and a level of experience most homeowners just don't have.
In the end, it’s a simple trade-off. You can trade your money for an expert's time and skill, or you can trade your own time and effort to save on labor costs. For most people, the flawless finish and long-term durability that a professional guarantees is an investment that pays for itself.
How to Save Money on Your Tile Installation
A beautiful new tile floor doesn't have to break the bank. With a few smart moves, you can seriously cut down your bathroom floor tile installation cost without giving up on the style you've been dreaming of. It's really all about making clever choices that add up.
Think of it like planning a great meal on a budget. You don't have to skimp on flavor; you just need to be strategic with your ingredients. The same idea applies here—you can get a high-end look without the high-end price tag.
Choose Your Materials Wisely
The quickest way to get a handle on your budget is to be smart about the tile you choose. The price per square foot is the obvious starting point, but the size and shape of the tile have a surprisingly big impact on your final labor bill.
-
Go Big with Your Tiles: Larger tiles, like 12×24 inches or even bigger, cover more ground faster. This means fewer tiles for your installer to set and fewer grout lines to fill, which directly shaves hours (and dollars) off the labor cost. It's a simple equation: a faster installation is a cheaper installation.
-
Stick to Standard Shapes: There's a reason squares and rectangles are classics. They're the most straightforward to lay. Those gorgeous hexagonal or intricate mosaic tiles look amazing, but they require a ton of precise cuts and meticulous placement, which cranks up the time and expertise needed for the job.
-
Mix High and Low: Absolutely fell in love with a stunning, but pricey, decorative tile? No problem. Use it as an accent. Tile the majority of the floor with an affordable, quality porcelain or ceramic, then create a small, eye-catching feature with that special tile. You get that touch of luxury without the wallet-busting cost.
Be Smart About Sourcing and Timing
When you buy and how you prep the room can also lead to some serious savings. A little bit of planning and some elbow grease can really pay off.
Keep an eye out for seasonal sales, especially around major holidays. You can often save 15-20% or more on materials just by timing your purchase right. And don't forget to swing by the clearance section at your local tile shop—you might find the perfect overstocked or discontinued tile for a steal.
Saving money isn't just about finding the cheapest tile. It's about a series of smart, intentional decisions—from the size of your tile to the timing of your purchase—that collectively lower your total project cost.
Handle Some Prep Work Yourself
If you’re handy and willing to do some light demo, you can trim the labor costs by getting the space ready for your installer. This is one of the most common ways homeowners keep their total bill down.
Consider tackling these manageable tasks:
- Clearing the Room: Pulling out the toilet, vanity, and old baseboards is a pretty straightforward job that saves your pro a ton of time. Every hour you save them is money back in your pocket.
- Basic Demolition: If you're just dealing with a single layer of old vinyl or linoleum, tearing it out yourself can be a great weekend project. Just be sure to check with your contractor first—you don't want to accidentally take a chunk out of the subfloor.
By taking on these simple prep steps, you let your installer walk in and get straight to what they do best: laying a perfect tile floor. It's a team effort that gets you a beautiful result while keeping your budget right where you want it.
Answering Your Top Bathroom Tile Cost Questions
Even with a solid plan, a few nagging questions about your bathroom floor tile installation cost can linger. I get it. You want to be sure you've covered all your bases before you start ripping out the old floor.
Let's clear up some of the most common questions homeowners ask as they lock in their budgets and get ready to start the project.
How Much More Expensive Is Wall Tiling Than Floor Tiling?
Tiling a wall is almost always going to cost more than tiling a floor, and it all comes down to one simple thing: gravity. When you're working vertically, you have to fight against it every step of the way. Installers have to work more carefully to make sure each tile stays perfectly in place while the thin-set cures.
As a rule of thumb, expect the labor for wall tile to run 15-25% higher than a similar-sized floor. This difference becomes even more pronounced in a custom shower, where you have niches, benches, and window frames that demand dozens of precise, time-consuming cuts.
What Is the Most Budget-Friendly Tile Option?
If you're trying to get the most bang for your buck, ceramic tile is the hands-down winner. You can find great-looking ceramic options starting as low as $1.25 per square foot, giving you a massive selection of styles and colors without putting a huge dent in your wallet.
Another fantastic choice for the budget-conscious is vinyl tile. It typically costs between $1 to $3 per square foot and is so easy to install that it makes for a great DIY project. While it's not quite as bulletproof as ceramic, today's luxury vinyl tile (LVT) does an amazing job of mimicking the look of real stone or wood.
Does the Tile Pattern Affect the Installation Cost?
Absolutely. The layout you choose directly impacts your labor costs. Why? Because some patterns require far more planning, measuring, and cutting than others.
- Grid/Stack Bond: This is your basic, straight-lay pattern. It’s the simplest and most affordable because it requires the fewest cuts.
- Diagonal/Herringbone: These patterns look incredible, but they create a lot more work. All those angled cuts mean more time for your installer and more tile waste, often bumping up the labor cost by 20% or more.
Your tile pattern is one of the easiest levers you can pull to manage your budget. A stunning tile laid in a simple grid can still look incredibly high-end, saving you a bundle compared to a complex pattern using the exact same material.
How Long Does It Take to Install a Bathroom Floor?
For a standard bathroom—let's say somewhere between 50 and 100 square feet—a professional crew can usually knock out the job in about 2 to 3 days.
That timeline breaks down pretty logically:
- Day 1: Tearing out the old floor, making sure the subfloor is perfect, and then laying down the new tile.
- Day 2: The thin-set mortar needs about 24 hours to cure properly. After that, it’s time for grout.
- Day 3: The final touches—sealing the grout (if your grout type requires it) and a thorough cleanup.
Of course, a huge master bathroom or a floor that needs a lot of prep work could easily stretch this timeline to 4 or 5 days.
Ready to stop guessing and start planning your Southwest Michigan bathroom remodel? The Trademaster Construction team is here to help you create a beautiful, durable space that fits your budget. Use our handy pricing tool to get a realistic estimate for your project today.

