
A bathroom remodel is one of the most rewarding home improvement projects you can undertake, capable of boosting your home's value and significantly enhancing your daily routine. However, the path from an outdated, inefficient space to a spa-like retreat is paved with critical decisions, complex logistics, and potential pitfalls. A successful renovation hinges on meticulous planning, and skipping even a single step can lead to budget overruns, frustrating delays, and a final result that doesn't meet your expectations.
This comprehensive bathroom remodel checklist is your strategic roadmap, designed to guide you through every essential phase with clarity and confidence. We've broken down the entire process into 10 actionable steps, ensuring you address every detail from initial budgeting and design to contractor selection and final quality checks. This guide provides the structure needed to manage your project effectively, whether you're embarking on a simple powder room update or a complete primary suite overhaul with accessibility features.
For homeowners in Southwest Michigan, from Kalamazoo to Portage, this checklist offers practical insights tailored to our local context. Think of it as your pre-construction partner, helping you ask the right questions and make informed choices. Before diving into the specifics, consider exploring real-world examples in the Trademaster Construction Inspiration Gallery to refine your vision or get a preliminary cost estimate using our Pricing Tool. This guide will equip you to transform those ideas into a well-executed plan, ensuring a seamless and successful renovation from start to finish.
1. Set Budget and Financing
Before you select a single tile or faucet, the first and most critical step in your bathroom remodel checklist is establishing a realistic budget. This financial framework will influence every decision you make, from the scope of the project to the quality of materials. A well-planned budget acts as your project's roadmap, ensuring your vision aligns with your financial reality and preventing costly surprises down the line.
Breaking Down Remodel Costs
Your total budget should be more than just a single number; it needs to account for every potential expense. For homeowners in Southwest Michigan, costs can vary, but it's helpful to categorize them.
- Labor: This often accounts for 40-60% of the total budget and covers the expertise of plumbers, electricians, tile setters, and general contractors.
- Materials & Fixtures: This includes everything from the vanity and toilet to the tile, lighting, and paint.
- Permits: Depending on your location (like Kalamazoo or Portage) and the extent of your remodel, you may need building permits, which have associated fees.
- Contingency Fund: This is non-negotiable. Set aside 15-20% of your total budget for unexpected issues, such as discovering hidden water damage or needing to reroute plumbing.
Pro Tip: When planning, differentiate between your "must-haves" (e.g., an accessible, curbless shower) and your "nice-to-haves" (e.g., a heated towel rack). This helps you prioritize spending if you need to make cuts.
Actionable Budgeting Steps
To create an accurate budget, start with research. Explore local cost averages for different scales of remodels in the Southwest Michigan area. A small guest bath update might be significantly less than a primary suite overhaul with a custom tile shower. Use online resources like the Trademaster Construction Pricing Tool to get a preliminary idea of costs. Finally, gather at least three detailed quotes from reputable local contractors to understand the real-world costs for your specific project. This groundwork makes your bathroom remodel checklist a practical tool rather than a wish list.
2. Select Design Style and Layout
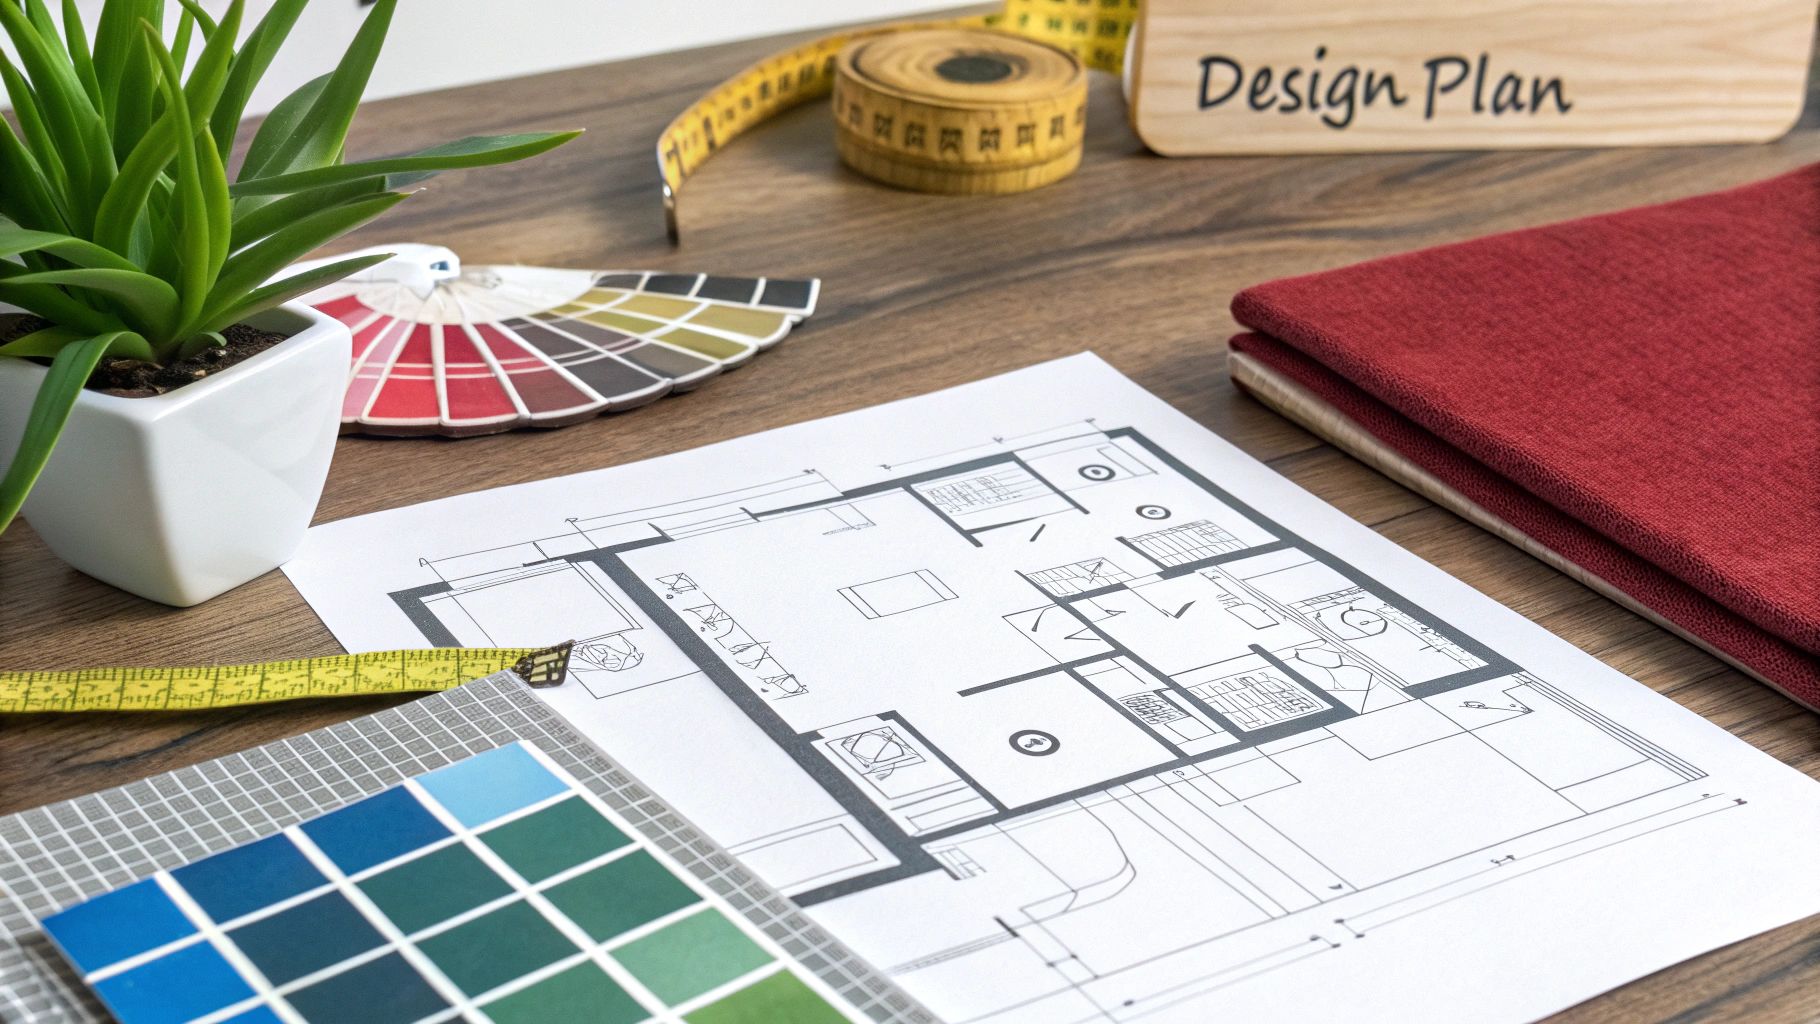
Once your budget is set, the next creative and crucial step on your bathroom remodel checklist is defining the design style and finalizing the layout. This stage transforms your abstract ideas into a tangible plan, guiding every subsequent choice from tile to tapware. A well-considered design ensures the finished space is not only beautiful but also highly functional, reflecting your personal taste while seamlessly integrating with your daily routines.
Defining Your Aesthetic
Choosing a cohesive design style prevents your bathroom from feeling disjointed. Consider the architectural style of your home in Southwest Michigan to ensure the new space feels like a natural extension of it. Popular directions include:
- Spa-Like Retreat: Emphasizes tranquility with neutral color palettes, natural materials like stone and wood, and features such as rainfall showerheads or soaking tubs.
- Modern Minimalist: Focuses on clean lines, uncluttered surfaces, and a simple color scheme, often incorporating floating vanities and frameless glass.
- Classic & Traditional: Utilizes timeless elements like pedestal sinks, vintage-inspired fixtures, and classic tile patterns such as subway or hexagon.
- Modern Farmhouse: Blends rustic charm with contemporary simplicity, featuring elements like shiplap, matte black fixtures, and natural wood accents.
Pro Tip: Create a mood board using platforms like Pinterest or our Bathroom Inspiration Gallery. This visual tool helps you and your contractor stay aligned on the desired look and feel.
Actionable Layout & Planning Steps
An effective layout maximizes every square foot for comfort and utility. Start by assessing your current layout's pain points. Is it too cramped? Is the storage inadequate? Then, use that information to plan improvements. Consider whether you want to keep the existing plumbing footprint to control costs or move fixtures for better flow. Map out key zones for vanity, toilet, and shower/tub, ensuring proper clearance and logical placement. Finally, plan for layers of lighting, including ambient overhead light, task lighting at the vanity, and accent lighting to highlight features.
3. Choose Fixtures and Hardware
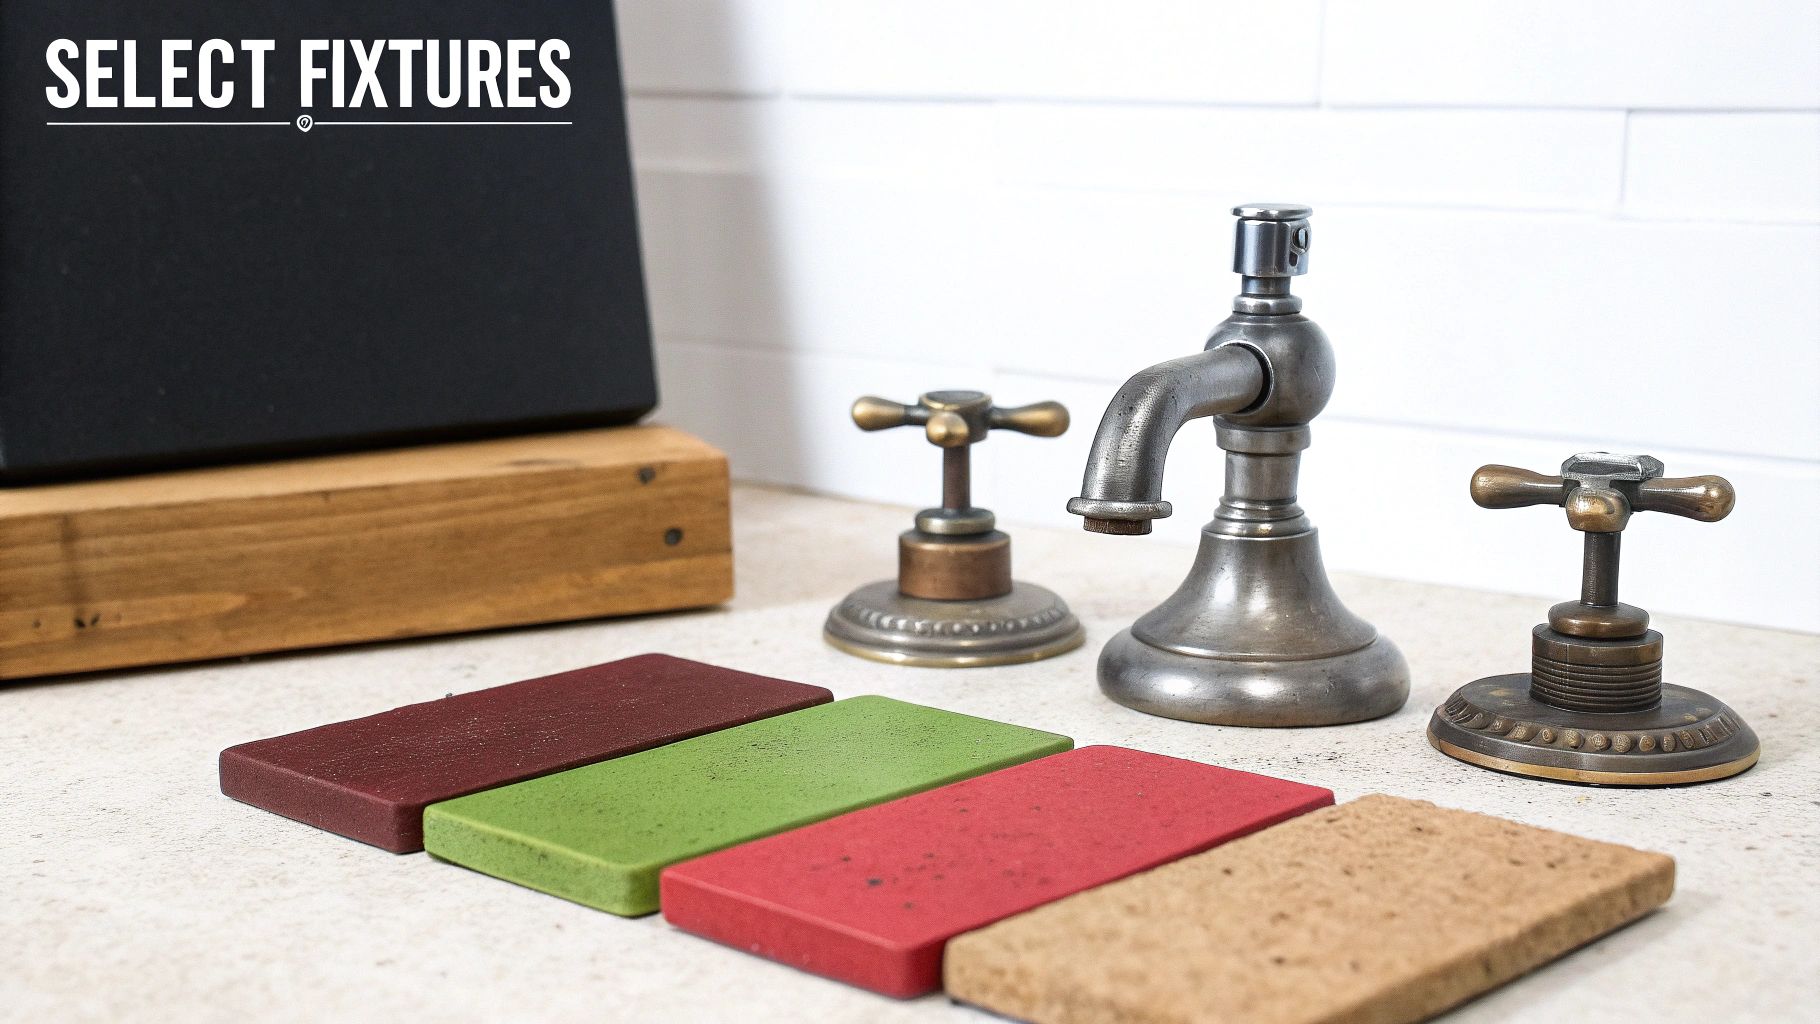
Once your layout is confirmed, selecting the fixtures and hardware is one of the most exciting parts of your bathroom remodel checklist. These elements, including the toilet, sink, faucet, showerhead, and bathtub, are the primary points of interaction in your new space. Your choices here blend aesthetics with daily functionality, significantly impacting your bathroom's look, feel, and long-term performance.
Breaking Down Fixture Selection
Balancing style with practicality is key. While the visual appeal is important, you also need to consider water efficiency, durability, and ease of maintenance for each component you select.
- Faucets & Showerheads: Leading brands like Moen, Delta, and Kohler offer a wide range of styles. Look for features like rainfall showerheads from Grohe or Hansgrohe for a spa-like experience. Crucially, check for WaterSense certification, which can reduce water consumption by 20-30%.
- Toilets: Modern toilets offer significant water savings. Consider high-efficiency models or dual-flush options from brands like Toto, which can save thousands of gallons of water per year.
- Sinks & Vanities: The choice between a pedestal sink for a classic, space-saving look or a vanity-mounted sink for added storage will depend on your layout and needs.
- Hardware: Don't forget the details. Cabinet pulls, towel bars, and robe hooks should all match your chosen fixture finish (e.g., matte black, brushed nickel) for a cohesive design.
Pro Tip: Visiting a showroom in the Kalamazoo or Portage area allows you to physically interact with fixtures. You can feel the handle action on a faucet and see the true color and scale of a sink, which is impossible to gauge accurately from an online photo.
Actionable Selection Steps
To make confident decisions, start by exploring the Trademaster Construction Inspiration Gallery to see how different fixture styles look in completed Southwest Michigan bathrooms. Read online reviews for specific models, paying attention to comments on durability and long-term performance. Always confirm that your chosen fixtures are compatible with your planned plumbing rough-in locations. Finally, create a "mood board" with your selections to ensure every piece works together to achieve your desired aesthetic. This planning prevents mismatched finishes and ensures your new bathroom is both beautiful and functional.
4. Flooring, Wall Materials, Paint and Finish Colors
Once you have a functional layout, the next step in your bathroom remodel checklist is selecting the materials that will define its look and feel. These choices are about more than just aesthetics; they are critical for the long-term durability and maintenance of your space. In a moisture-rich environment, selecting appropriate flooring, wall coverings, and finishes is essential to prevent water damage and ensure your investment lasts for years.

Breaking Down Material and Finish Choices
Your selections will set the tone for the entire room. From spa-like tranquility to bold, contemporary drama, the right combination of textures and colors brings your vision to life. For homes in Southwest Michigan, materials must also withstand seasonal humidity changes.
- Flooring: Porcelain and ceramic tiles are the most popular choices due to their water resistance and durability. Options like luxury vinyl plank (LVP) offer a budget-friendly, waterproof alternative, while heated floor systems add a touch of luxury and comfort during cold Michigan winters.
- Walls: Beyond paint, consider tile for shower surrounds and wainscoting. Classic subway tiles can be laid in modern patterns like herringbone, while large-format tiles create a sleek, minimalist look with fewer grout lines to clean.
- Paint & Fixture Finishes: The color palette ties everything together. Use a moisture-resistant paint with a satin or semi-gloss finish to repel moisture. Fixture finishes like matte black provide a contemporary contrast, while brushed gold adds warmth and a touch of luxury.
Pro Tip: For shower floors, prioritize safety by selecting tiles with a high slip-resistance rating (often called the coefficient of friction). Also, consider using epoxy grout, which is non-porous and highly resistant to stains, mold, and mildew.
Actionable Selection Steps
To make confident decisions, start by gathering samples. View tile, paint chips, and hardware samples in your bathroom at different times of day to see how they look in your home's unique lighting. A great place to start is our Inspiration Gallery, where you can see how different materials and finishes come together in real projects. Consider the 60-30-10 rule: 60% for a dominant color (walls), 30% for a secondary color (vanity, tile), and 10% for an accent (fixtures, decor). This balanced approach ensures a cohesive and professionally designed look.
5. Plan Lighting and Ventilation
Often overlooked until the end, planning your lighting and ventilation is a foundational step in your bathroom remodel checklist that directly impacts the room's function, safety, and longevity. A layered lighting scheme enhances usability and aesthetics, while proper ventilation is crucial for preventing moisture damage and mold growth. Getting these elements right from the start protects your investment and creates a more comfortable, healthy space.
Breaking Down Lighting and Ventilation Needs
A successful plan treats lighting and ventilation as integrated systems rather than afterthoughts. Both require careful consideration of placement, capacity, and electrical wiring, which is why they must be planned early.
- Layered Lighting: Your design should include three types of light. Task lighting for grooming (e.g., vanity lights), ambient light for general illumination (e.g., recessed ceiling fixtures), and accent light to highlight design features (e.g., a spotlight on custom tile).
- Mechanical Ventilation: An exhaust fan is non-negotiable. It pulls moist air out of the room, preventing condensation on walls, mirrors, and fixtures, which can lead to peeling paint and mold.
- Natural Light & Airflow: Where possible, incorporating windows or skylights provides excellent daytime light and a natural source of ventilation.
- Code Compliance: Electrical work and ventilation ducting must meet local building codes in Southwest Michigan, ensuring safety and proper function.
Pro Tip: Run your exhaust fan for at least 20-30 minutes after every shower. Many modern fans from brands like Panasonic and Broan come with timers or humidity sensors that automate this process, making it effortless to protect your new bathroom.
Actionable Planning Steps
To integrate these systems effectively, discuss your needs with your contractor early in the design phase. Specify the kind of activities the bathroom will host; a primary bathroom where you do makeup requires different vanity lighting than a simple guest powder room. When selecting a fan, ensure it's sized correctly for the space, a general rule is at least 1 CFM (cubic feet per minute) per square foot of floor area. Finally, consider adding dimmer switches to all lighting circuits. This simple addition allows you to adjust the ambiance from bright and energizing in the morning to soft and relaxing in the evening, making your bathroom remodel checklist truly customized to your lifestyle.
6. Plan Storage Solutions
A beautiful bathroom can quickly become a cluttered nightmare without proper storage. This step in your bathroom remodel checklist is about thoughtfully integrating storage to create a functional, serene, and organized space. Moving beyond a simple vanity, a comprehensive storage plan considers every item you need to store, from extra towels to daily toiletries, ensuring everything has its place and is easily accessible.
Breaking Down Storage Options
Your storage strategy should be a blend of different solutions tailored to your space and needs. Homeowners in Southwest Michigan often need to maximize storage in both compact powder rooms and spacious primary suites.
- Vanities & Cabinets: The foundation of bathroom storage. Consider double vanities for shared spaces, vanities with deep drawers instead of doors for better access, and tall linen cabinets to utilize vertical space.
- Recessed & Wall-Mounted Storage: Ideal for smaller bathrooms. Recessed medicine cabinets and in-wall niches for showers save precious floor space while providing essential storage.
- Shelving & Organizers: Floating shelves above the toilet are perfect for decorative items and towels. Inside drawers and cabinets, use dividers and pull-out trays to keep smaller items like cosmetics and cleaning supplies tidy.
- Specialty Storage: Think about adding features like a built-in hamper, a pull-out styling tool organizer, or even integrated electrical outlets inside a cabinet to charge razors and toothbrushes out of sight.
Pro Tip: Before finalizing your layout, take an inventory of everything you need to store in your new bathroom. This practical list will guide you toward choosing the right size vanity and the number of shelves or cabinets required, preventing a storage shortfall later.
Actionable Storage Planning Steps
To integrate storage effectively, start during the design phase. Measure your available wall space and consider how different units will interact with fixtures and traffic flow. Explore the Trademaster Construction Inspiration Gallery to see how other local projects have incorporated clever and stylish storage solutions. When discussing plans with your contractor, be specific about your needs, such as requesting moisture-resistant materials like waterproof plywood for cabinets in a high-humidity environment. This forward-thinking approach ensures your storage is not only functional but also built to last.
7. Obtain Necessary Permits and Inspections
While often seen as a bureaucratic hurdle, securing the proper permits is a non-negotiable step in your bathroom remodel checklist. This process ensures your project complies with local building codes, safety standards, and zoning regulations in Southwest Michigan. It protects you, your investment, and future owners by guaranteeing that all electrical, plumbing, and structural work is performed correctly and safely.
Breaking Down Permit Requirements
Not every cosmetic update needs a permit, but most substantial remodels do. It’s crucial to understand what kind of work triggers the need for official approval from your local municipality, whether you're in Kalamazoo, Portage, or a surrounding township.
- Plumbing: Permits are required when moving or adding supply lines and drain pipes, such as converting a tub to a shower or relocating a toilet.
- Electrical: Any new wiring, outlets, circuits for a heated floor, or installation of a new ventilation fan will require an electrical permit and inspection.
- Structural: If you plan to remove or alter a wall, even a non-load-bearing one, a structural permit is typically necessary to ensure you aren't compromising your home's integrity.
- Inspections: Work is inspected at key stages, such as the "rough-in" phase (before drywall is installed) and a final inspection upon completion.
Pro Tip: Never assume your project is "too small" for a permit. A quick call to your local building department is the best way to clarify requirements and avoid potential fines, project teardowns, or complications when you eventually sell your home.
Actionable Permitting Steps
Navigating the permit process can seem intimidating, but a systematic approach makes it manageable. Start by contacting your city or township's building department to discuss the scope of your project. A reputable contractor will be familiar with local codes and can often handle the entire permitting process for you, including pulling the permits and scheduling inspections. Always ask a potential contractor if their bid includes the cost and management of permits. Following this part of your bathroom remodel checklist protects your home’s value and provides peace of mind that the job was done right.
8. Hire Licensed Contractors and Plumbers
Once your plans are in place, the most pivotal decision you'll make for your bathroom remodel checklist is selecting the right professionals to bring it to life. Hiring licensed, insured, and experienced contractors is not just a recommendation; it's a critical step to protect your investment, ensure safety, and guarantee quality. This team will be responsible for everything from demolition to the final polish, so thorough vetting is essential to avoid budget overruns, project delays, and shoddy workmanship.
Breaking Down Professional Roles
A successful bathroom remodel in Southwest Michigan often requires a team of specialists. Understanding who does what helps you hire the right people for your project's scope.
- General Contractor: Manages the entire project, including scheduling subcontractors (plumbers, electricians), pulling permits, and ensuring the project stays on track and on budget.
- Plumber: Handles all plumbing work, from moving supply lines for a new shower to installing fixtures like toilets and faucets, ensuring everything meets local codes in cities like Kalamazoo or Portage.
- Electrician: Responsible for all wiring, including new outlets, GFCI protection, vent fans, and custom lighting installations.
- Tile Setter: A specialized tradesperson whose expertise is crucial for a flawless and durable installation of custom tile showers, floors, and backsplashes.
Pro Tip: Ask potential contractors if they use their own employees or if they subcontract work. Understanding the team structure and who is responsible for the quality of each phase of the remodel provides clarity and accountability.
Actionable Vetting Steps
To ensure you hire a reputable professional, move beyond a simple price comparison. First, verify their license with the Michigan Department of Licensing and Regulatory Affairs (LARA). Request and confirm they carry both general liability insurance and workers' compensation coverage to protect you from liability. Interview at least three contractors, providing each with the same detailed project scope to get comparable, written estimates. Check recent references, review their portfolio in our Inspiration Gallery, and insist on a detailed contract that outlines the payment schedule, project timeline, and warranty terms before signing. This due diligence is the best way to ensure your bathroom remodel checklist leads to a successful outcome.
9. Create Project Timeline and Construction Plan
With your design finalized and professionals selected, the next step on your bathroom remodel checklist is to develop a comprehensive project timeline. This detailed schedule does more than just set an end date; it manages expectations, coordinates the intricate dance of tradespeople, and minimizes the disruption to your daily life. A well-structured construction plan outlines the precise sequence of work, identifying critical dependencies and building in buffers for the unexpected.
Breaking Down the Remodel Phases
A realistic timeline prevents frustration by providing a clear view of what to expect and when. Timelines for Southwest Michigan homes vary based on project scope, but most follow a predictable sequence.
- Small Guest Bath Update (3-4 weeks): Involves replacing fixtures, a new vanity, flooring, and paint with no significant plumbing or electrical changes.
- Mid-Range Remodel (5-7 weeks): Includes everything above plus new tile, moving a plumbing line (like for a new shower head), and minor layout adjustments.
- Major Primary Suite Overhaul (8-12+ weeks): This involves structural changes, completely reconfiguring the layout, custom cabinetry, and high-end finishes.
Pro Tip: Your timeline is only as good as its inputs. Ensure you order any long-lead-time items, like custom vanities or specialty tile, well before demolition begins. A delayed vanity can bring the entire project to a standstill.
Actionable Timeline Steps
A proactive approach to scheduling is essential. Start by discussing a detailed, phase-by-phase plan with your contractor. This should include specific start and end dates for demolition, rough-in plumbing and electrical, drywall, tile installation, and final fixture placement. Ask your contractor to identify the "critical path," the sequence of tasks that determines the project's minimum duration. Be sure to build in a contingency of at least 20% to account for unforeseen delays, like inspections or material backorders. Planning for how you'll function without a key bathroom during this period is a critical part of making the renovation process manageable.
10. Final Walkthrough and Quality Assurance
As your project nears completion, the final walkthrough is your last opportunity to ensure every detail meets the agreed-upon standards. This critical quality assurance step is more than just a quick look; it's a systematic inspection to verify that all work has been completed to your satisfaction and functions perfectly. This meticulous review is a crucial part of your bathroom remodel checklist, safeguarding your investment and ensuring the finished space is exactly what you envisioned.
Breaking Down the Inspection Process
Your final walkthrough should be a comprehensive review of the entire project against the original scope of work. It’s your chance to identify any items that need correction, known as a "punch list," before you make the final payment. This process ensures accountability and delivers a truly finished product.
- Workmanship: Scrutinize the details. Check for clean paint lines, uniform tile grout, smooth caulk beads, and flush-mounted fixtures.
- Functionality: Test everything. Turn on every faucet to check for leaks and proper water pressure. Flush the toilet, run the exhaust fan, and test all light switches and electrical outlets.
- Completeness: Compare the finished room to your contract and design plans. Ensure all specified hardware, fixtures, and finishes have been installed correctly.
- Cleanliness: The contractor should leave the space in a "broom clean" or better condition, with all construction debris removed.
Pro Tip: Do not feel rushed during the walkthrough. Take your time and bring your contract and a notepad. It’s easier to have your contractor address minor issues like a paint scuff or a stiff drawer while their tools and team are still on-site.
Actionable Quality Assurance Steps
To conduct an effective walkthrough, create a systematic plan. Start at the door and work your way around the room, testing and inspecting every element from top to bottom. Note any issues, no matter how small, on your punch list. For example, check that the new vanity doors don't stick and that the shower door closes securely. Once the punch list is complete, provide a copy to your contractor and agree on a timeline for corrections. Do not release the final payment until every single item has been addressed to your satisfaction and you have received all necessary warranty paperwork and care instructions for your new fixtures and finishes.
10-Point Bathroom Remodel Checklist Comparison
| Item | Implementation Complexity 🔄 | Resource & Cost ⚡ | Expected Outcomes ⭐📊 | Ideal Use Cases 💡 | Key Advantages ⭐ |
|---|---|---|---|---|---|
| Set Budget and Financing | Moderate planning and research; requires cost estimates and contingency planning 🔄 | Low direct cost (time); may include financing fees; affects overall spend ⚡ | Clear spending limits, prioritized scope, reduced risk of overruns 📊⭐ | Any remodel start, homeowners needing cost control and financing clarity 💡 | Prevents overspend; enables realistic scope and timeline ⭐ |
| Select Design Style and Layout | Medium to high if layout changes or re-plumbing required; design decisions intensive 🔄 | Designer fees optional; potential high cost for layout changes and plumbing moves ⚡ | Cohesive aesthetic, improved flow, stronger resale appeal 📊⭐ | Projects aiming to modernize, improve flow, or match home style 💡 | Ensures consistent look and better functionality ⭐ |
| Choose Fixtures and Hardware | Low–medium selection effort; installation may require licensed trades 🔄 | Variable — budget to premium; long-term savings from efficient fixtures ⚡ | Enhanced daily use, water/energy savings, visual focal points 📊⭐ | Upgrades focused on function, efficiency, or visual impact 💡 | Improves durability, efficiency, and resale value ⭐ |
| Flooring, Wall Materials, Paint and Finishes | Medium–high: material selection, waterproofing and skilled installation required 🔄 | Moderate to high material + labor costs; maintenance varies by material ⚡ | Durable, moisture-resistant surfaces and strong visual transformation 📊⭐ | High-moisture areas, luxury upgrades, or long-term durability needs 💡 | Protects structure, improves appearance, reduces future repairs ⭐ |
| Plan Lighting and Ventilation | Medium: electrical planning, ducting, and fixture placement required 🔄 | Moderate cost for fixtures, fans, and electrical work; energy savings long-term ⚡ | Better visibility, reduced humidity/mold risk, improved comfort 📊⭐ | Bathrooms lacking light/airflow or prioritizing safety and efficiency 💡 | Enhances health, safety and lowers energy use ⭐ |
| Plan Storage Solutions | Low–medium: space planning and cabinetry/layout coordination 🔄 | Low to moderate; custom solutions increase cost ⚡ | Reduced clutter, greater accessibility, optimized space use 📊⭐ | Small bathrooms, family bathrooms, or users needing organization 💡 | Maximizes usable space and improves daily convenience ⭐ |
| Obtain Necessary Permits and Inspections | Medium administrative effort; coordination with inspectors and paperwork 🔄 | Adds ~5–15% to project cost and extends timeline; contractor fees possible ⚡ | Code-compliant work, legal protection, proper documentation for resale 📊⭐ | Any work affecting plumbing, electrical, or structure 💡 | Protects homeowner liability and preserves property value ⭐ |
| Hire Licensed Contractors and Plumbers | Medium: vetting, verifying credentials, and contracting required 🔄 | Higher labor cost; includes insurance and warranty benefits ⚡ | Professional, code-compliant results with warranty and accountability 📊⭐ | Major remodels, structural or complex plumbing/electrical work 💡 | Expertise, liability coverage, and reliable workmanship ⭐ |
| Create Project Timeline and Construction Plan | Medium: sequencing, dependencies and contingency planning 🔄 | Time investment; may need PM tools or coordinator; delays add cost ⚡ | Predictable schedule, fewer surprises, coordinated trades 📊⭐ | Multi-trade projects or homeowners needing minimized disruption 💡 | Improves coordination, accountability and reduces delays ⭐ |
| Final Walkthrough and Quality Assurance | Low–medium: systematic inspection and punch-list execution 🔄 | Low direct cost; optional professional inspection ($300–500) ⚡ | Identifies defects, ensures readiness, documents warranty claims 📊⭐ | All completed remodels before final payment and occupancy 💡 | Confirms quality, secures corrections, protects final payment ⭐ |
Ready to Transform Your Bathroom? Let's Get Started
Navigating a bathroom remodel can feel like assembling a complex puzzle, but with a comprehensive plan, each piece falls perfectly into place. This detailed bathroom remodel checklist has guided you through every critical phase, from the initial spark of an idea to the final, gleaming result. You now possess a powerful roadmap to transform a purely functional space into a personal sanctuary that enhances your daily routine and adds significant value to your home.
Recapping Your Path to a Perfect Remodel
We’ve journeyed through the essential milestones that ensure a smooth, predictable, and successful renovation. Let’s revisit the cornerstone principles you've learned:
- Strategic Planning: The most crucial work happens before a single hammer swings. By meticulously defining your budget, securing financing, and clarifying your design vision, you establish a solid foundation that prevents costly surprises and keeps the project on track. This proactive approach is the single most important factor in a stress-free remodel.
- Informed Decision-Making: Choosing the right materials, from fixtures and tile to lighting and ventilation, is about more than just aesthetics. It’s about creating a harmonious balance of form, function, and durability that suits your lifestyle. Your choices in layout and accessibility, especially for age-in-place designs, will define the bathroom's long-term usability and comfort.
- Professional Partnership: The success of your project hinges on the expertise and reliability of the team you hire. Knowing how to vet contractors, what questions to ask, and the importance of permits and inspections protects your investment and guarantees the work meets Southwest Michigan’s stringent building codes. A qualified partner translates your checklist into a beautifully executed reality.
By internalizing these steps, you’ve moved beyond simply wanting a new bathroom to understanding precisely how to achieve it. You are no longer just a homeowner; you are the empowered director of your renovation project, equipped to make confident decisions every step of the way.
From Checklist to Construction: Your Actionable Next Steps
With your detailed bathroom remodel checklist in hand, the path forward is clear. The abstract concepts of budget, design, and construction are now concrete, actionable items waiting to be checked off. The true value of this guide lies not in just reading it, but in implementing it.
Begin by transforming these points into your personal project binder or digital folder. Start gathering inspiration from our online galleries, use a pricing tool to test your budget assumptions, and begin sketching out your ideal layout. This is the exciting moment where your dream begins to take tangible shape.
Key Takeaway: A successful bathroom remodel is not an accident. It is the direct result of deliberate planning, thoughtful design choices, and expert execution. Your checklist is the blueprint for that success.
Embracing this process ensures your finished bathroom will be more than just a renovated space. It will be a testament to your vision and a source of pride and enjoyment for years to come. You have the knowledge and the tools; now it's time to take that first, decisive step and bring your vision to life.
Are you ready to turn your detailed checklist into a stunning new bathroom? The expert team at Trademaster Construction specializes in bringing Southwest Michigan homeowners' visions to life with unparalleled craftsmanship and a commitment to clear communication. Visit our website at Trademaster Construction to explore our portfolio and schedule a consultation to begin your transformation today.

