
So, what’s the best backsplash tile for a kitchen? The short answer is it’s a careful mix of your personal taste, how you actually use your kitchen, and what your budget looks like. While tough-as-nails porcelain and classic ceramic are often the go-to choices for most homeowners, the perfect tile for you is the one that strikes the right chord between looks and real-world function in your space.
Your Guide to the Perfect Kitchen Backsplash
This guide is here to cut through the noise and help you move from a mood board full of ideas to a decision you feel great about. Try to think of your backsplash as more than just a shield for cooking splatters—it’s the design glue that holds your whole kitchen together. It’s what connects your countertops, cabinets, and floors into one seamless look.
We’ll kick things off by looking at the most popular materials that really define kitchen design today. Getting a feel for these options is the essential first step in figuring out what will work best for you.
Exploring Your Core Options
Your journey to the perfect kitchen backsplash really starts with understanding four key materials. Each one has its own personality and practical perks, and getting to know them will give you a solid foundation for making your final choice.
- Classic Ceramic: This is the reliable workhorse of the tile world. It comes in a dizzying array of colors and patterns and is generally very budget-friendly.
- Durable Porcelain: Think of porcelain as ceramic’s tougher older sibling. It’s incredibly resistant to stains, scratches, and water.
- Luminous Glass: A fantastic modern option that plays with light, making smaller or dimly lit kitchens feel instantly brighter and more spacious.
- Elegant Natural Stone: This is where you find materials like marble and granite. Every single tile is unique, bringing an authentic, high-end feel to the room.
Your backsplash is so much more than a functional surface—it’s a chance to inject real personality into your home. The right tile can completely shift the vibe of your kitchen, turning it from just a room for cooking into the true heart of your home.
This introduction is just the beginning. From here, we’ll dive deep into materials, design ideas, and all the practical things you need to consider. By the end, you’ll have everything you need to pick a backsplash that not only looks beautiful but is perfectly suited to your life for years to come.
Comparing the Top Backsplash Tile Materials
Choosing the right backsplash tile is a bit like casting a character in a movie—each material brings a unique personality, set of skills, and visual flair to your kitchen’s overall story. Understanding these key players is the first step to finding the perfect match for your countertops and cabinets.
Let’s walk through the most popular options, from the tried-and-true classics to the more dramatic, modern contenders. This will give you a solid feel for their looks, how they’ll hold up over time, and what they’ll cost.
Ceramic Tile: The Versatile Blank Canvas
Ceramic tile is the dependable workhorse of the design world. Think of it as a blank canvas; it can be shaped, glazed, and colored to fit just about any style you can dream up, from a cozy, rustic farmhouse to a slick, minimalist space. This incredible adaptability is its greatest strength.
It’s made from clay fired at a lower temperature than its cousin, porcelain, which makes it a bit softer and easier to cut. This is a huge plus for DIY projects or any installation with tricky cuts around outlets and windows.
The trade-off is that it’s slightly more porous, so the glaze on top is doing all the work to fend off stains and water. While it’s perfectly fine for a backsplash, a deep scratch that gets through the glaze could expose the raw clay underneath.
Porcelain Tile: The Resilient Sibling
If ceramic is the versatile actor, porcelain is its tougher, more durable stunt double. It’s crafted from a finer, denser clay and fired at scorching-hot temperatures, making it incredibly tough. This process leaves it less porous, so it’s a champion at resisting water, stains, and scratches.
That resilience makes porcelain a fantastic choice for busy, high-traffic kitchens where splatters from tomato sauce, oil, and coffee are just part of daily life. You really don’t have to panic if a splash of red wine sits for a minute.
Because it’s so dense, porcelain can be a real challenge to cut, often requiring special tools and a bit more know-how. This might bump up the installation cost a little, but what you get in return is a backsplash that can handle almost anything you throw at it.
Key Insight: When you’re stuck between ceramic and porcelain, think about your lifestyle. For a kitchen that sees lighter use or if you’re working with a tighter budget, ceramic is a fantastic, do-it-all choice. But for a bustling family kitchen that needs maximum durability, investing in porcelain buys you long-term peace of mind.
It’s no wonder these traditional materials are still so popular. Ceramic, in fact, remains the top choice for kitchen backsplashes among American homeowners. Recent survey data shows that a whopping 34% of homeowners renovating their kitchen chose ceramic for its winning blend of affordability and design options. You can explore the full findings on U.S. kitchen renovation trends to see how other materials compare.
Glass Tile: The Modern Light Catcher
Glass tile is the ultimate light-catcher, perfect for making a kitchen feel brighter, bigger, and more open. Its reflective surface bounces light all around the room, which can be an absolute game-changer in smaller kitchens or spaces that don’t get a lot of natural sunlight.
It comes in a stunning variety of colors, from rich jewel tones to soft, translucent shades, giving you a clean and contemporary look. Better yet, it’s completely non-porous. That means it won’t absorb a single drop of anything, making it incredibly easy to clean and super hygienic.
Just be aware that glass can potentially scratch, though high-quality options are surprisingly durable. Installation also requires a skilled hand, since the adhesive can sometimes show through more transparent tiles if not applied perfectly.
Natural Stone: The One-of-a-Kind Masterpiece
There’s nothing quite like natural stone—materials like marble, granite, slate, and travertine—for bringing a sense of organic, one-of-a-kind luxury into a kitchen. Each tile is a unique piece of art, with its own veining, colors, and mineral patterns formed over millions of years. No two stone backsplashes will ever look exactly alike.
- Marble: Gives you that classic, elegant look with soft, sweeping veins. It’s a timeless choice, but it’s also softer and more porous, so it needs to be sealed diligently to prevent stains and etching from acids like lemon juice or vinegar.
- Granite: Famous for its toughness and granular look, granite is much more resistant to scratches and stains than marble. It adds a rich, textured feel to the kitchen.
- Travertine: This stone brings a warm, earthy, and rustic vibe. Its naturally pitted surface has tons of character, but those little holes need to be filled and the stone sealed to keep them from trapping dirt.
The biggest thing to remember with natural stone is the upkeep. Because it’s porous, it absolutely must be sealed when it’s installed and then resealed every year or two to protect it. Without a good seal, it can easily soak up spills and become permanently stained.
Metal Tile: The Industrial Accent
Metal tiles, usually made from stainless steel, copper, or bronze, create a sleek, industrial, and seriously modern look. They are an amazing choice for pairing with stainless steel appliances, giving you that cohesive, professional-chef kitchen vibe.
These tiles are incredibly durable and heat-resistant, making them a smart and practical option for the wall right behind your stove. They’re also non-porous and a breeze to wipe clean.
The main downside? Metal can be prone to scratching and denting if you’re not careful. Fingerprints and water spots also tend to stand out, so they might require a bit more polishing to keep them gleaming. They usually come with a higher price tag, but for a powerful design statement, they’re hard to beat.
To help you sort through these options, here’s a quick cheat sheet.
At-a-Glance Tile Material Comparison
Use this quick-reference table to compare the key attributes of popular backsplash materials, helping you weigh the pros and cons for your kitchen.
| Material | Durability | Maintenance | Average Cost (per sq. ft.) | Best For |
|---|---|---|---|---|
| Ceramic | Good | Low | $2 – $20 | Versatility, budget-friendly projects, DIY installations |
| Porcelain | Excellent | Low | $3 – $30 | High-traffic kitchens, durability, moisture resistance |
| Glass | Good | Low | $15 – $40 | Modern aesthetics, brightening small or dark spaces |
| Natural Stone | Good to Excellent | High | $10 – $50+ | Luxury looks, creating a unique, one-of-a-kind design |
| Metal | Excellent | Medium | $20 – $75 | Contemporary/industrial styles, pairing with appliances |
By getting familiar with these distinct materials, you can start to narrow down the best backsplash tile for your kitchen, finding the one that perfectly lines up with both your design dreams and your daily life.
How Durability and Maintenance Impact Your Choice
While it’s easy to get excited about colors and patterns, the best backsplash also has to stand up to real life. Think of it as a shield for your walls, protecting them from a daily barrage of steam, grease splatters, and the occasional rogue splash of spaghetti sauce.
How well it holds up comes down to two things: durability and maintenance. Getting these right is what separates a backsplash that just looks good from one that is both beautiful and practical. Some materials are workhorses, while others need a bit more TLC. The key is to pick a tile that fits your lifestyle, not just your countertops.
Understanding Tile Porosity and Stain Resistance
If there’s one concept to wrap your head around, it’s porosity. Imagine a tile is like a sponge—a highly porous one has more tiny holes that can soak up liquids. This is the simple reason an unsealed natural stone like marble can stain, while a non-porous material like glass or porcelain just shrugs it off.
For instance, a splash of red wine on unsealed travertine could quickly become a permanent mark. On a porcelain tile, that same splash would just bead up on the surface, ready to be wiped away without a trace. It’s why materials with low porosity are almost always the top recommendation for busy kitchens.
When you’re judging a tile’s toughness, you’re really looking at two things:
- Stain Resistance: Look for tiles with a non-porous or well-glazed surface. Porcelain and glass are the undisputed champions here.
- Scratch Hardness: Think about what’s happening behind your stove or near your main prep area. Tough materials like porcelain won’t scratch easily from contact with pots, pans, or utensils.
This quick decision tree can help you sort out your priorities.
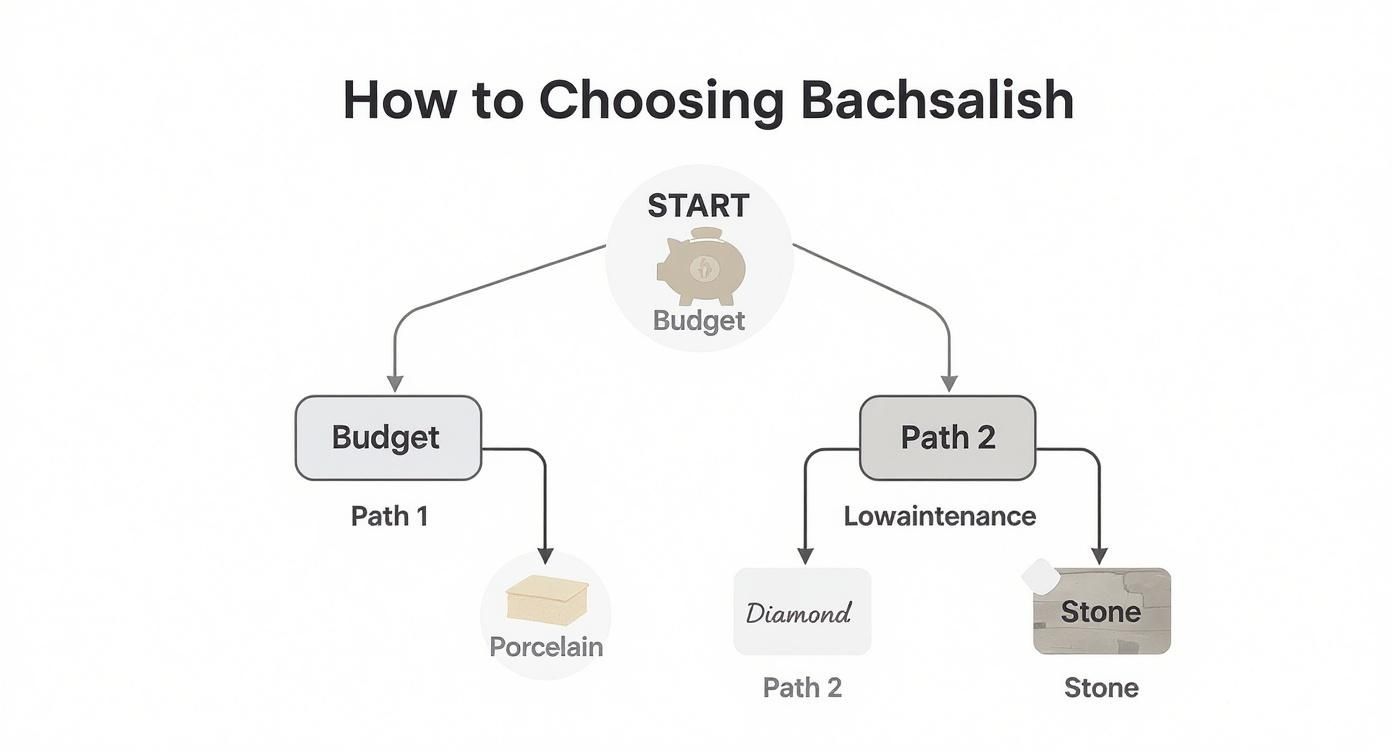
As you can see, for homeowners who want a low-maintenance solution and have some budget flexibility, porcelain often hits the sweet spot.
The Unsung Hero: Grout and Sealant
Choosing your tile is only half the battle. The grout filling the gaps between them plays a massive role in how easy your backsplash is to maintain. Traditional cement-based grout is naturally porous, which means it can be a magnet for stains and moisture if it isn’t sealed properly and regularly.
This is where a modern alternative like epoxy grout completely changes the game. Unlike its old-school cousin, epoxy grout is non-porous, chemically resistant, and incredibly tough. It actively repels stains from coffee, wine, and oil, making cleanup a breeze and eliminating the need for periodic sealing.
While it does cost more upfront, investing in epoxy grout is one of the smartest moves you can make for a low-maintenance kitchen. It turns a potential cleaning headache into a simple wipe-and-go surface, saving you hours of scrubbing down the line.
Cleaning Guidelines for Different Tile Materials
The right cleaning routine will keep your backsplash looking great for years. The wrong products, however, can cause permanent damage, especially on more sensitive materials.
- Porcelain and Ceramic: These are the easiest of the bunch. A simple mix of mild dish soap and warm water or your favorite all-purpose cleaner is usually all it takes.
- Glass Tile: Stick with a non-abrasive, ammonia-free glass cleaner and a soft microfiber cloth to avoid streaks or scratches.
- Natural Stone (Marble, Travertine, Granite): This is where you need to be careful. NEVER use acidic cleaners like vinegar or lemon juice—they can actually etch and dull the stone’s surface. Only use pH-neutral cleaners made specifically for stone.
By thinking honestly about how much upkeep you’re willing to do, you can find a backsplash that not only completes your kitchen’s design but also fits perfectly into your life.
Ready to find a tile that’s both stunning and practical? Explore our Inspiration Gallery for ideas that masterfully blend style with durability.
Bringing Your Vision to Life with Patterns and Grout
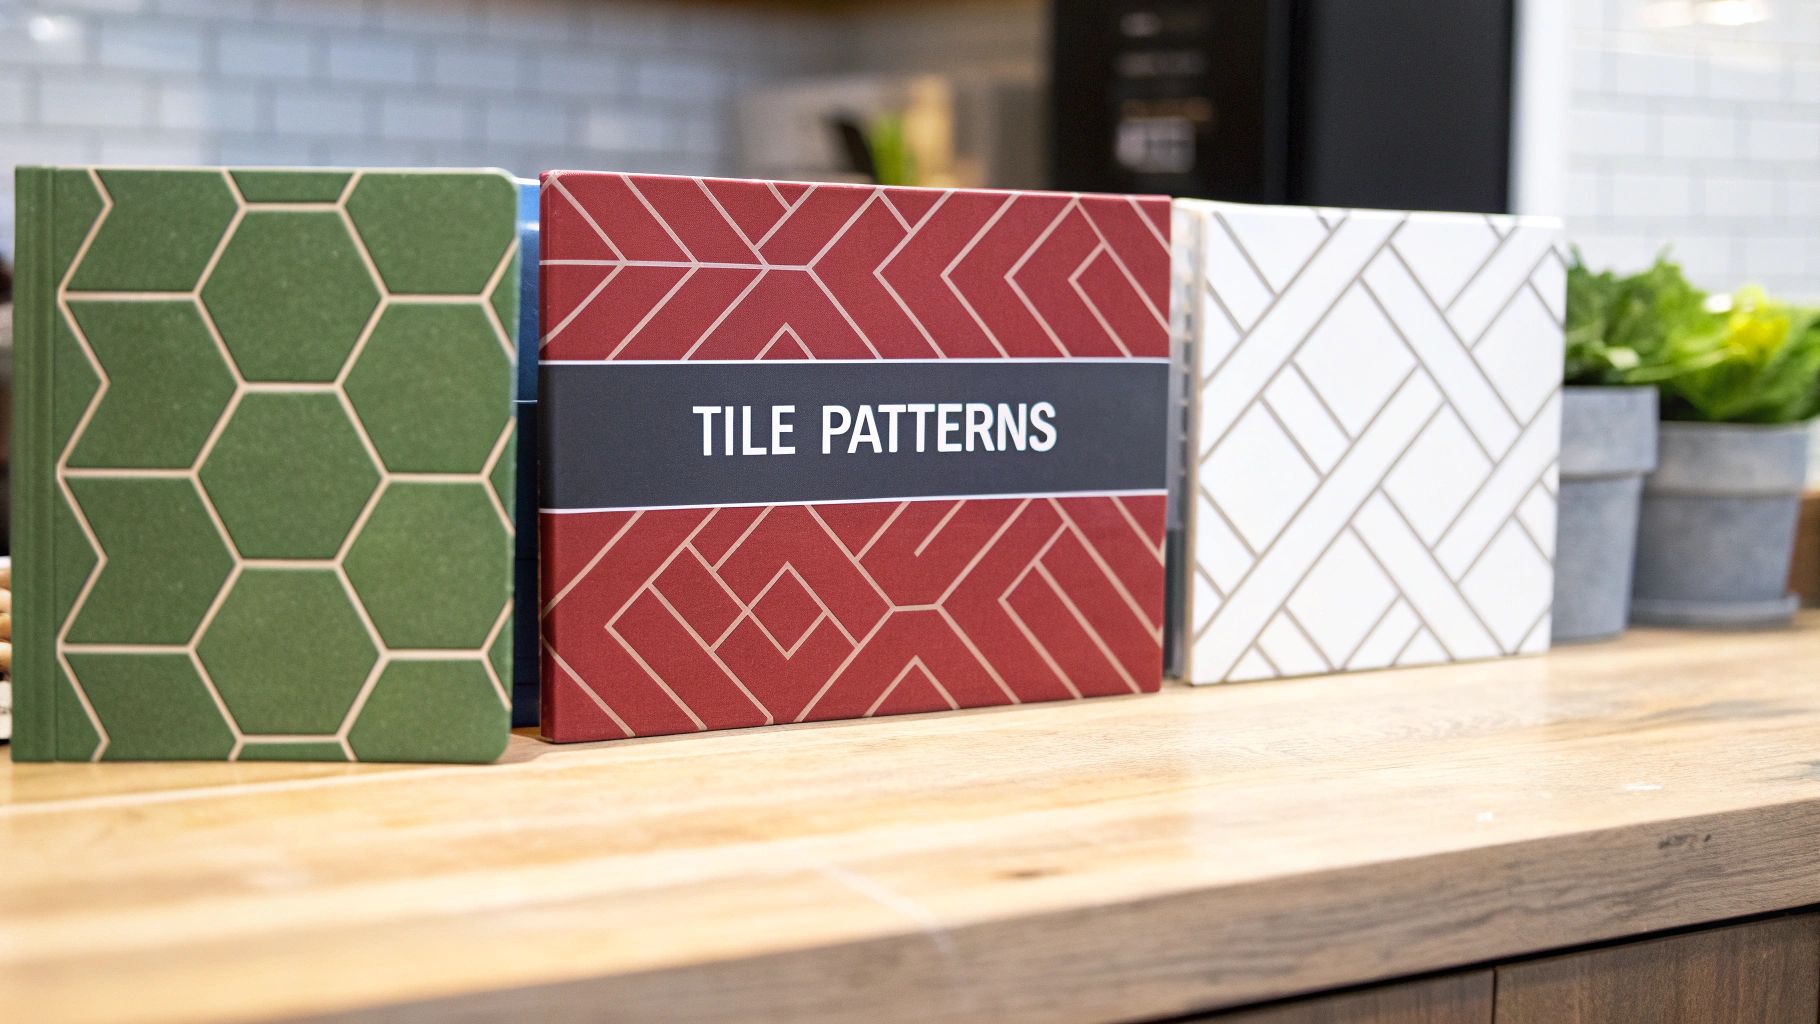
Choosing the right material is a huge step, but the real artistry of your kitchen backsplash comes from two key details: the tile pattern and the grout color. Think of your tile as the canvas; these next choices are the brushstrokes that turn it into a unique masterpiece. How you arrange those tiles and what color you frame them with can completely transform the mood and style of your kitchen.
This is where we move beyond pure function and start injecting real personality into your space. The same classic subway tile, for instance, can look completely different laid in a traditional offset pattern versus a dynamic herringbone. These decisions are what elevate a simple wall into a stunning focal point.
The Power of Tile Shapes and Patterns
The shape of your tile and the pattern you lay it in work together to create rhythm and movement. It’s a bit like a musician using different notes to compose a song—a designer uses shapes and patterns to set the visual tone of the room. Let’s dig into some popular options and the feel they bring to a space.
- Subway Tile: This is a timeless classic for a reason. Its rectangular shape is incredibly versatile. A traditional running bond (staggered) pattern feels familiar and clean, while a herringbone or vertical stack creates a much more modern, graphic look.
- Hexagon Tile: Perfect for adding a touch of geometric flair without overwhelming the kitchen. Hexagons can feel both contemporary and a bit retro, creating that playful yet sophisticated honeycomb effect on your wall.
- Arabesque and Scallop Tiles: These intricate, curved shapes introduce a softer, more decorative element. They are ideal for creating a focal point with an old-world or bohemian vibe, adding a beautiful layer of elegance and detail.
The kitchen remains the undisputed star of home renovation, and the backsplash is often where homeowners make their boldest design statements. According to Google Trends data, search interest for “kitchen backsplash tiles” consistently hits a peak score of 100—the highest possible value. For comparison, while “bathroom backsplash” interest has grown, it only reaches a score of 20, highlighting just how central the kitchen is in driving home design. This is why so many homeowners invest so much thought into finding the perfect tile to complement their cabinetry and countertops. Discover more insights about these backsplash tile trends and see what’s capturing everyone’s attention.
The Decisive Role of Grout Color
Grout is often an afterthought, but it’s one of the most powerful design tools at your disposal. It’s the finishing touch that truly defines your tile pattern and can dramatically alter the final look. Think of it as the frame for your artwork—it can either blend in or stand out.
You really have two main strategies when picking a grout color, and each one creates a very different effect.
Key Takeaway: The relationship between your tile and grout is a conscious design choice. Do you want the tiles to merge into a seamless surface, or do you want the shape of each tile to be a distinct part of the overall pattern?
High Contrast vs. Low Contrast Grout
Choosing a high-contrast grout—like a dark gray or black grout with white subway tile—is a bold move. It makes each individual tile pop, emphasizing its shape and the pattern you’ve so carefully chosen. This approach creates a graphic, almost illustrated look that is perfect for modern, industrial, or farmhouse designs where the pattern itself is the star of the show.
On the other hand, a low-contrast or color-matched grout creates a much more subtle, unified effect. Using a white grout with white tile, for example, makes the grout lines visually recede. This results in a sleek, seamless surface where texture becomes more important than pattern. It’s an excellent choice for a minimalist aesthetic or for times when you want your backsplash to be a quiet, elegant backdrop that doesn’t compete with busy countertops or other design elements.
By thoughtfully combining tile shape, pattern, and grout, you can create a look that’s truly yours. Whether you’re aiming for timeless simplicity or a bold, artistic statement, these details are what will bring your vision to life.
Ready to see how these elements come together in real kitchens? Download our free Idea Book to see inspiring examples of patterns and grout choices.
Getting Real About Your Project Budget
A beautiful backsplash project doesn’t start when the first tile goes up on the wall; it starts with a realistic budget. Getting a handle on all the costs involved from the get-go is the secret to avoiding those nasty surprises down the road and making sure your vision becomes a reality without any financial headaches. The price you see on the tile box? That’s just the starting point.
Think of it like planning a big dinner party. The main course (the tile) is what everyone focuses on, but you can’t forget about the spices (adhesive), the side dishes (grout and sealant), and the cost of your time or hiring a caterer (labor). If you only budget for the main course, you’re going to come up short.
Breaking Down Where Your Money Goes
To really understand your total investment, you have to look past that “price per square foot” sticker. A few key players make up the final bill, and each one is critical to getting the job done right.
Your budget needs to cover these main areas:
- The Tile Itself: This is where the price can really swing. You can find perfectly good ceramic tiles for as low as $2 per square foot, but if you’re eyeing high-end natural stone or a custom-designed mosaic, that number can easily jump past $50 per square foot.
- The Glue and Guts: Don’t forget the behind-the-scenes materials that hold everything together. You’ll need adhesive, grout to fill the joints, and a good sealant to protect against stains—especially for porous materials like natural stone. Plan on these adding another 10-15% to your total material cost.
- Labor Costs: Unless you’re a seasoned DIYer, you’ll be paying for a pro. Labor rates can vary a lot depending on where you live and how tricky the job is, but a solid rule of thumb is to budget an amount that’s roughly equal to what you spent on all your materials.
- Prepping the Wall: Is your wall perfectly smooth and ready to go? If it needs patching, repairs, or a new layer of backer board, that prep work will add to your bottom line.
How Your Design Dreams Affect the Final Bill
The design choices you make have a huge impact on your budget, especially when it comes to the cost of labor. Laying a classic subway tile in a simple running bond pattern is pretty straightforward for an installer. It’s quick and efficient.
But what if you want a complex herringbone or an intricate mosaic? Now you’re talking about a whole different ballgame. Every one of those tiles needs to be cut precisely, often at an angle, and the layout has to be perfect. That extra time and skill can easily double the installation cost compared to a simpler pattern.
Think of your budget as a financial roadmap for your project. When you account for every piece—materials, labor, and the complexity of your design—you give yourself the power to make smart choices. You can get the best backsplash for your kitchen without having to compromise on what you really want.
It’s no secret that people are investing more in their kitchens. In fact, the global kitchen tile market is expected to grow from $21.9 billion to $39.4 billion USD by 2032. This boom shows just how much homeowners value durable, stylish materials like porcelain that look great and stand up to daily life. You can explore the full kitchen tile market report to dig deeper into these trends.
Once you have a clear budget, you can start making decisions that fit your plan. To get a feel for how different tiles and designs might impact your own project, give our no-obligation Pricing Tool a try. It’s a great way to get a ballpark estimate for your home right here in Southwest Michigan.
Deciding Between DIY and Professional Installation
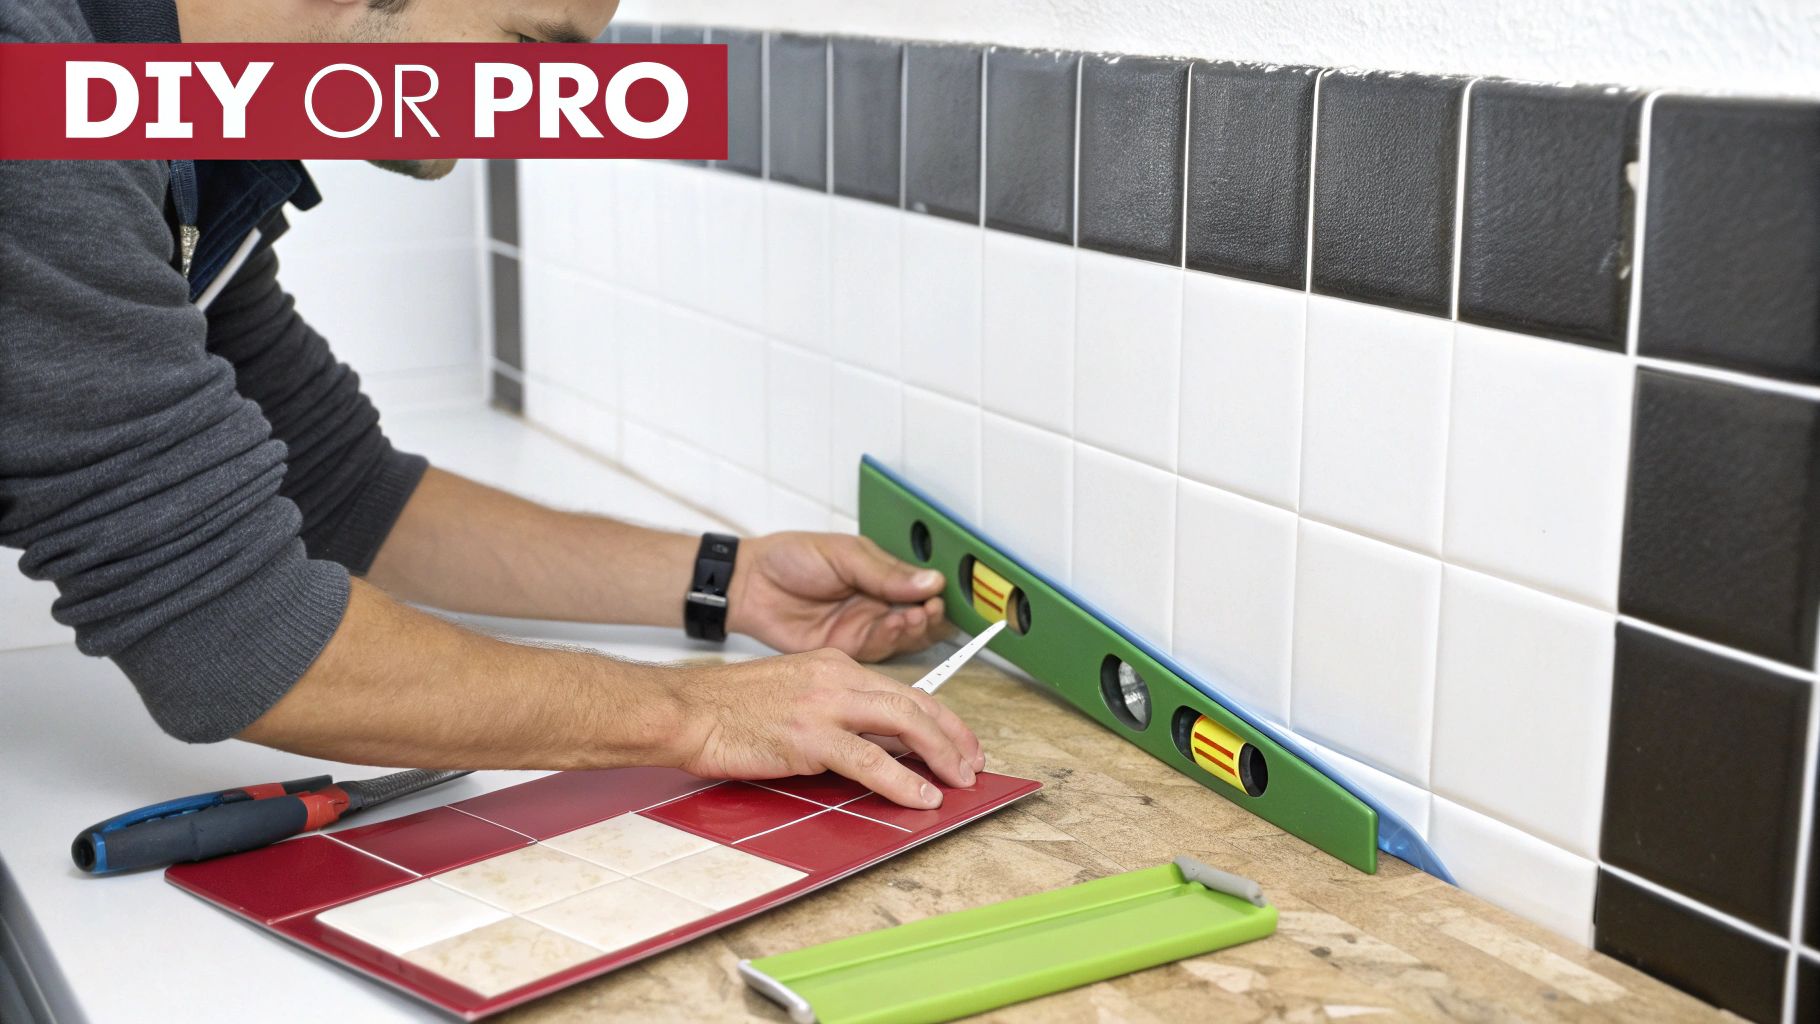
You’ve finally landed on the perfect tile. So, what’s next? Now comes the big question: are you going to install it yourself, or call in a pro? This is a crucial fork in the road, where you have to weigh your budget against the desire for a flawless finish that will last for years.
Choosing the DIY route can be incredibly satisfying, not to mention the money you’ll save on labor. But let’s be honest—it takes more than a can-do attitude. A beautiful tile job demands patience, a steady hand, and the right equipment.
The DIY Backsplash Path
If you decide to tackle this yourself, you’re in charge of everything from start to finish. We’re talking wall prep, tile setting, and the final grouting. It’s a fantastic option if you’re comfortable with home improvement projects and don’t mind getting your hands dirty with detailed work.
Here’s a quick reality check of what’s involved:
- Precise Tile Cutting: You’ll need access to a good tile saw for clean, straight cuts, especially when you have to work around outlets, switches, and windows.
- Achieving Level Lines: Keeping rows of tile perfectly straight is much harder than it looks. Even a slight error can throw off the entire look.
- Even Mortar Application: Spreading the thin-set mortar just right is key. Too little and the tiles won’t stick; too much and you’ll have a lumpy, uneven mess.
- Flawless Grouting: This is the finishing touch, and it requires a delicate hand. Getting a smooth, consistent finish without leaving a haze on the tiles takes practice.
While it’s a real challenge, the pride you’ll feel looking at a backsplash you installed yourself is unmatched. Just be realistic about your skills and the time you can dedicate to the project.
The Professional Installation Advantage
Hiring a professional installer from a trusted team like Trademaster Construction brings a different kind of value: total peace of mind. For most homeowners, this is the surest way to guarantee the best backsplash tile for your kitchen is installed to perfection.
A professional installation isn’t just paying for labor; it’s investing in expertise. An experienced tiler can navigate unexpected wall imperfections, create perfect cuts on difficult materials like glass or porcelain, and deliver a polished result that stands the test of time.
Professionals also bring speed and a high level of craftsmanship. They have all the specialized tools and know-how to get the job done right, often finishing in a day or two what might take a DIYer several weekends. Best of all, their work is usually backed by a warranty, which protects your investment.
Ultimately, you need to weigh the cost savings of DIY against the guaranteed quality and time saved by hiring a pro. The right choice really depends on your home, your budget, and your lifestyle.
Got Questions About Your Backsplash? We’ve Got Answers.
As you get closer to the finish line of your kitchen project, a few specific questions always seem to pop up. Getting straight answers to these practical details is what gives you the confidence to make those final calls. Let’s tackle some of the most common things homeowners ask when they’re zeroing in on the perfect backsplash tile.
Think of this as your go-to guide for those nagging little uncertainties, from long-term upkeep to making sure all your design choices play well together.
What’s the Easiest Backsplash to Keep Clean?
If you’re looking for a low-maintenance hero, you can’t go wrong with large-format porcelain and glass tiles. Hands down, they’re the easiest to clean. Their smooth, non-porous surfaces mean kitchen messes like grease splatters and spaghetti sauce wipe right off without a fight.
A huge part of the secret is minimizing grout lines. Bigger tiles mean less grout to scrub, which is a win for everyone. To take it a step further, consider using an epoxy grout. It’s a game-changer, resisting stains and moisture far better than the standard stuff.
Should My Backsplash and Countertops Be an Exact Match?
Honestly, it’s usually better if they complement each other instead of matching perfectly. When everything is too matchy-matchy, a kitchen can start to feel a bit one-dimensional or bland. You want them to work together, not be identical twins.
A fantastic designer trick is to look closely at your countertop and find a secondary color in the veining or flecks. Then, pick a backsplash tile that echoes that color. It creates a thoughtful, connected look. On the other hand, if your countertop is a solid, quiet neutral, this is your chance to let the backsplash be the star with a bold pattern or a splash of color.
Can I Just Tile Over My Old Backsplash?
It’s tempting to look for a shortcut, but tiling over an existing backsplash is something we strongly advise against. It might seem faster, but it often leads to a whole mess of problems later on.
- Weak Bond: New tile just doesn’t stick well to the slick, glazed surface of old tile.
- Lumpy Results: Any bumps or dips in the original tile job will only get worse with another layer.
- Awkward Thickness: The extra depth creates weird, chunky buildups around your outlets, switches, and under your cabinets.
For a result that will last and look professional, the only right way to do it is to tear out the old tile and start with a clean, properly prepped wall.
How Do I Choose the Right Grout Color?
You’d be surprised how much grout color can change the entire vibe of your backsplash. If you want the tile itself to blend into a seamless, cohesive surface, pick a grout color that’s a very close match to your tile.
But if you want to highlight the shape of the tile and the pattern you’ve chosen, go for contrast. Think of the classic look of white subway tile with dark gray grout—it makes the pattern pop. A word of advice: always test a small patch first. Grout almost always dries a shade lighter than it looks in the bucket.
At Trademaster Construction, we’re here to help you sort through all these details to build a kitchen you’ll absolutely love. Explore our services and see how we can make your dream kitchen a reality.

