
So, you're thinking about swapping out that old bathtub for a sleek, modern walk-in shower. It’s one of the most common and impactful bathroom upgrades we see, blending a bit of demolition with some very precise finish work. At its core, the project involves tearing out the old tub, re-routing the plumbing for the new drain and shower controls, meticulously waterproofing the entire space, and then installing the new shower pan, walls, and fixtures.
The Real Benefits of a Tub to Shower Conversion
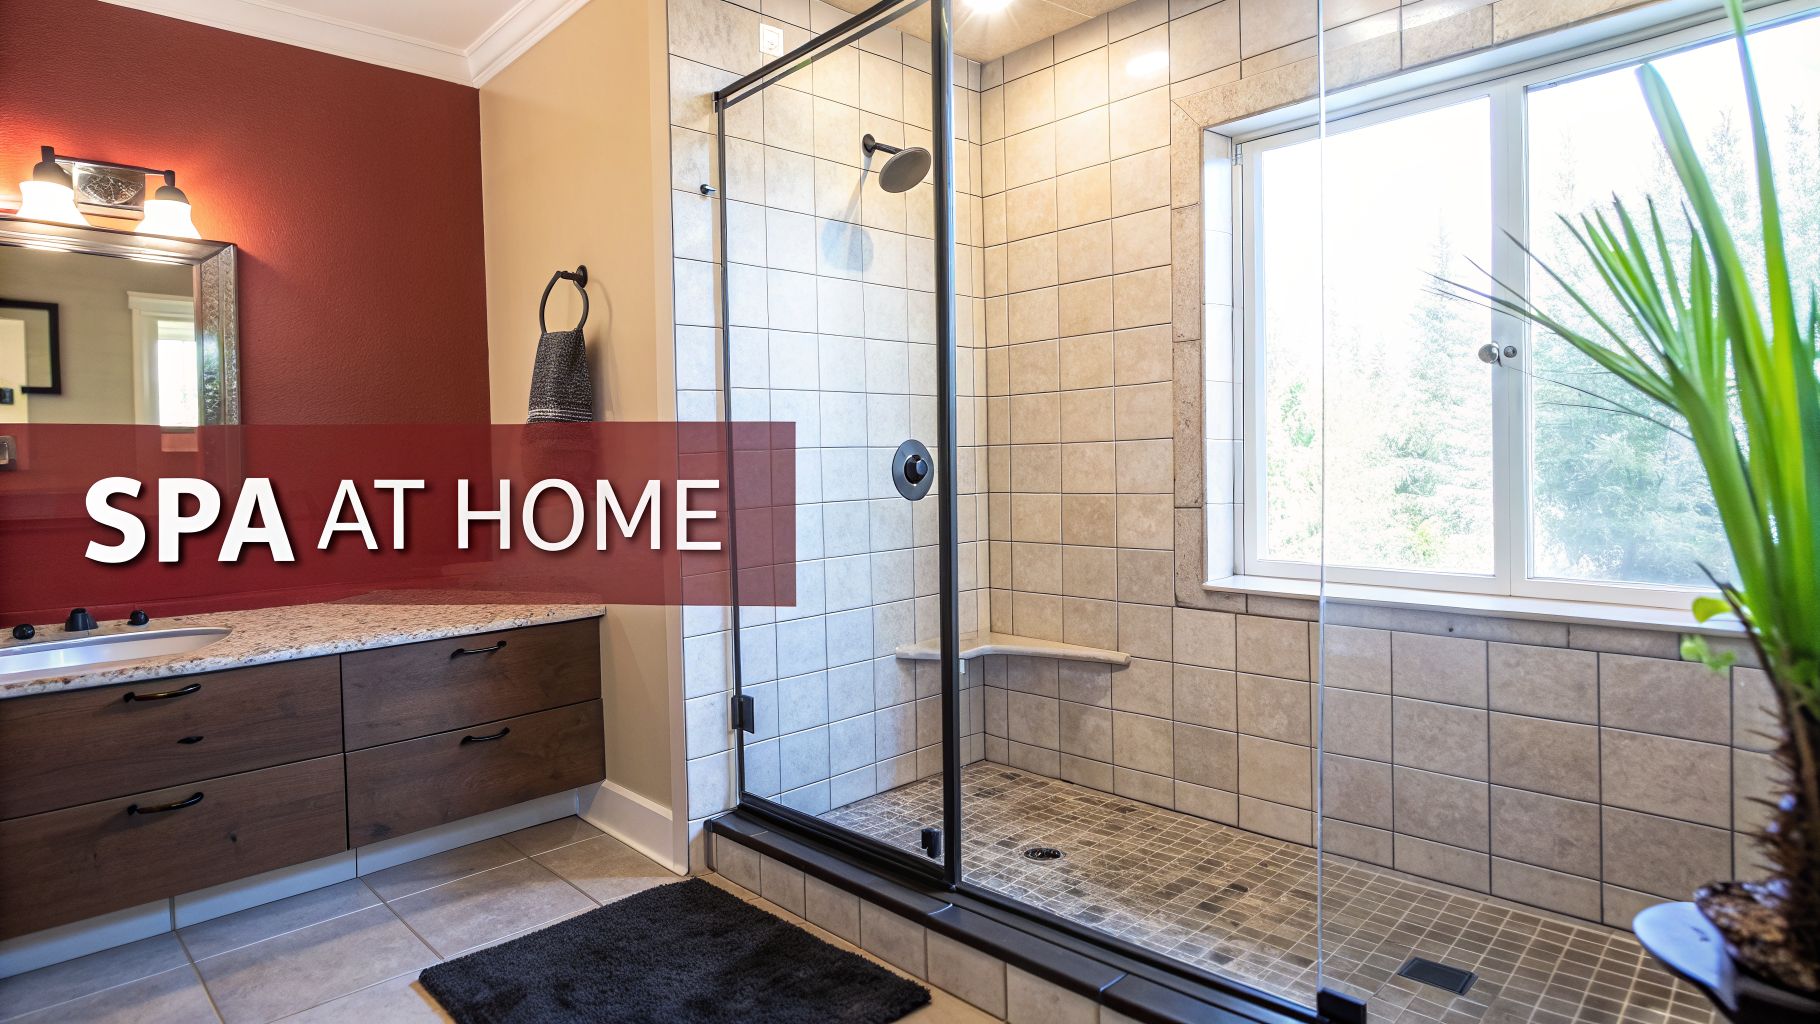
Making the switch from a tub to a walk-in shower is so much more than a simple style update. It’s a practical decision that can completely change how you use your bathroom every single day. Here in Southwest Michigan, we’re seeing more homeowners than ever make this move, looking for a bathroom that's safer, more spacious, and just plain easier to live with.
Let’s dig into the tangible benefits that make this project so popular.
Create a Safer and More Accessible Space
Safety is, without a doubt, one of the biggest motivators. A standard bathtub has a high side you have to step over—usually around 15 inches—and that’s a real tripping hazard. This is a major concern for older adults, anyone with mobility issues, or even someone just dealing with a temporary injury.
A walk-in shower, especially one with a zero-threshold or curbless entry, gets rid of that barrier. That single change drastically cuts down on the risk of slips and falls, making the bathroom safer for everyone in the home.
This approach is rooted in universal design, a principle that focuses on making your home functional and comfortable for the long haul, adapting to your needs as life changes.
Gain More Space and Easier Maintenance
Let’s be honest: bathtubs are bulky. They eat up floor space and can make an already small bathroom feel even more cramped. When you pull that tub out, you're not just removing the basin but also its wide, clunky surround. The room instantly feels more open.
Pairing your new shower with clear glass doors really enhances this effect, creating an illusion of a much larger, brighter bathroom.
And then there's the cleaning. Scrubbing a deep tub and all the grout lines that go with it is nobody's favorite chore. Modern walk-in showers are so much easier to maintain. Opting for materials like solid-surface panels or large-format tiles means fewer (or no) grout lines to worry about, making cleanup quick and simple.
Increase Your Home's Value and Appeal
A beautiful, spa-like bathroom is a massive selling point. The old thinking was that every house needed at least one bathtub for resale, but today’s market shows a clear shift. Buyers, particularly for primary suites, now often prefer the luxury and convenience of a high-end walk-in shower. This kind of upgrade shows that a home is modern and well-cared-for, which can definitely boost its value.
Budgeting and Designing Your Shower Conversion
Alright, you’re sold on the idea of a walk-in shower. Now comes the exciting part: figuring out what it will look like and what it will cost. This is where your vision starts to become a tangible plan, blending your personal style with a practical budget. Nailing down these details early on is the best way to make sure your project goes smoothly, without any surprise expenses popping up later.
First things first, let's talk money. You need a realistic budget, and that means more than just picking a total number. It’s about knowing exactly where every dollar is going, which empowers you to make smart choices on what really matters to you.
Understanding the Key Cost Drivers
So, what actually influences the final price tag? It boils down to a few key things: the complexity of the job, the materials you fall in love with, and the labor needed to put it all together. Getting a handle on these expenses is crucial, and it helps with understanding walk-in shower installation costs before you even start.
A simple conversion using a pre-made shower kit will always be easier on the wallet than a fully custom-tiled oasis with intricate patterns and high-end fixtures.
Here's a breakdown of the main cost components to keep in mind:
- Demolition and Debris Removal: This is the cost to tear out the old tub, surround, and any damaged drywall. A heavy cast iron tub can be a real beast to remove, which might increase the labor cost.
- Plumbing Adjustments: If you need to move the drain or upgrade the shower valve, you’ll need a licensed plumber. To save money, keeping the existing plumbing footprint is your best bet.
- Waterproofing: This is the one area you absolutely cannot skimp on. It's a critical step that protects your home from water damage. Costs cover materials like a waterproof membrane, a shower pan, and the expert labor to install it perfectly.
- Materials and Finishes: Here’s where you have the most control over the budget. The price difference between standard ceramic tile and imported natural stone is huge, as is the gap between a basic showerhead and a luxury multi-jet system.
Setting a Realistic Financial Goal
Knowing the typical cost range is a huge help in setting a practical budget. In general, a tub-to-shower conversion can run anywhere from $1,500 to $8,000, with a national average right around $3,000. If you're dreaming of a high-end, fully custom walk-in shower, especially a curbless design perfect for aging in place, you could be looking at $6,000 to $12,000.
Remember, labor is a significant chunk of the total, often accounting for 40% to 60% of the final bill. You can dig deeper into these cost factors and safety benefits on Angi.com.
The table below gives you a clearer picture of how these costs can break down.
Estimated Cost Breakdown for a Tub-to-Shower Conversion
This table outlines the typical cost ranges for the different components and labor involved in a standard bathtub to walk-in shower conversion project.
| Component / Service | Budget-Friendly Range | Mid-Range Average | High-End Custom Range |
|---|---|---|---|
| Demolition & Removal | $200 – $500 | $500 – $1,000 | $1,000 – $1,500+ |
| Plumbing & Fixtures | $400 – $800 | $800 – $1,800 | $1,800 – $3,500+ |
| Shower Pan & Waterproofing | $300 – $700 | $700 – $1,500 | $1,500 – $2,500+ |
| Tile & Materials | $400 – $1,000 | $1,000 – $2,500 | $2,500 – $5,000+ |
| Shower Door / Glass | $300 – $600 | $600 – $1,200 | $1,200 – $3,000+ |
| Labor (Installation) | $1,000 – $2,500 | $2,500 – $4,000 | $4,000 – $7,000+ |
| Total Estimated Cost | $2,600 – $6,100 | $6,100 – $12,000 | $12,000 – $22,500+ |
Keep in mind these are just estimates. For a precise quote based on your home here in Southwest Michigan, a great starting point is our instant pricing tool. It gives you a reliable estimate tailored to your ideas, helping you build a solid financial plan before you get too far down the road.
Designing Your Perfect Walk-In Shower
With a budget in hand, we can move on to the really fun stuff—the design. This is your chance to create a shower that not only looks fantastic but also works seamlessly with your daily routine.
Start by thinking about the layout. Most conversions simply use the 60-inch by 30-inch alcove where the old tub used to be. It’s a standard size that’s plenty comfortable and makes the construction much more straightforward. If you have the luxury of more space, however, you can definitely explore a larger footprint.
A key design choice is the entry. A low-curb entry is a huge step up from climbing over a tub wall, but a zero-threshold (curbless) design provides the best accessibility and a sleek, modern aesthetic.
As you brainstorm, consider these design elements:
- Shower Base: Are you going with a pre-made acrylic or fiberglass pan, or do you prefer a custom-tiled base? A tiled base gives you endless design freedom and is a must for a true curbless entry.
- Wall Surrounds: Tile is the classic choice, offering everything from timeless subway tile to dramatic, large-format porcelain. For a low-maintenance, grout-free alternative, solid-surface panels are an excellent option.
- Fixtures and Features: What kind of shower experience are you after? You can go with a simple, elegant showerhead or create a spa-like retreat with a rain shower, a handheld wand, and body sprays.
- Functional Add-Ons: Don’t forget storage! Built-in niches are perfect for keeping shampoo bottles organized and off the floor. A built-in bench or a fold-down seat adds a great touch of comfort and safety.
Finally, a quick local tip. For homeowners in Kalamazoo, Portage, and the surrounding areas, it’s always smart to check with your local building department about permit requirements. Simple replacements often don't need one, but any project that involves moving plumbing or walls usually will. When you work with a professional contractor, they handle all of that for you, ensuring every part of your project is built to code.
Deconstruction, Demo, and Waterproofing
Alright, you've got your plan and budget nailed down. Now for the fun part: making way for the new. This is where the old bathroom starts to come apart to create the blank canvas for your dream walk-in shower. This phase—tackling demolition, plumbing, and waterproofing—is the real heart of the project. Knowing what's coming will help you prepare for the noise and dust, and appreciate the critical steps that lead to a shower that's not just beautiful, but built to last.
The journey from tub to shower starts with a careful, methodical demolition. This isn't just about swinging a sledgehammer; it's a calculated process.
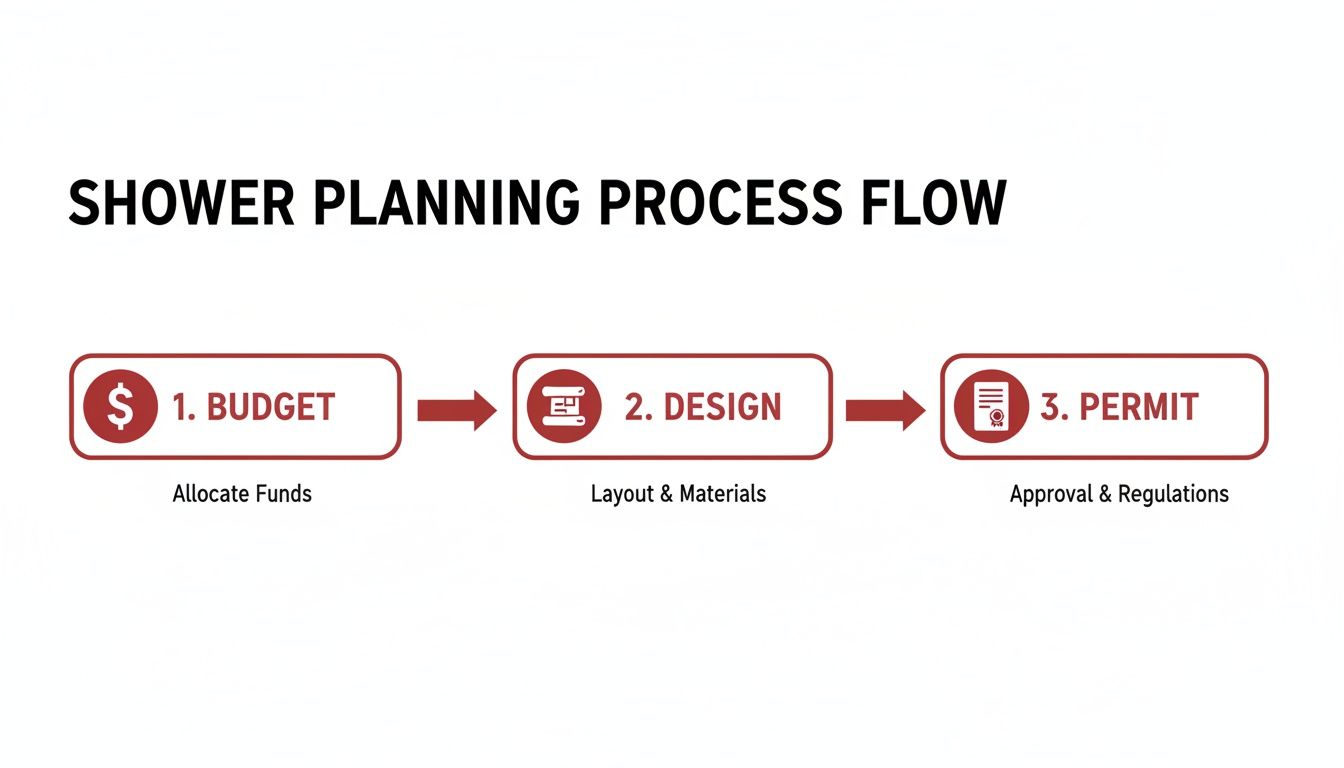
As this flowchart shows, successful demolition only kicks off after a solid plan is in place. Think of it as the payoff for all that upfront thinking.
The Demolition Process
First things first: the main water supply to the bathroom is shut off at the source. From there, we disconnect and remove the old fixtures—the faucet, spout, and drain assembly. The real work begins when we start on the tub surround. Whether you have old tile or a clunky fiberglass unit, it has to come off the walls, and it almost always takes some drywall with it.
Next on the chopping block is the tub itself. If you're lucky, you have a lightweight acrylic or fiberglass model that can be pried out with some effort. If it's an old cast iron tub, however, get ready for a workout. These beasts can weigh over 300 pounds and often have to be broken into smaller, more manageable pieces right in place. It's a loud, dusty, and very labor-intensive job.
Demolition is messy, no doubt about it. A professional crew will take every precaution to manage the chaos. They'll seal off the bathroom with heavy plastic sheeting to contain the dust cloud and lay down protective floor coverings all the way from the work area to the front door.
During this phase, it’s a good idea to think about project logistics. You'll need to clear a path and protect nearby furniture from the inevitable layer of construction dust. Using a local storage unit can be a secret weapon for home renovations, giving you a safe place to stash your belongings until the dust settles.
Essential Plumbing Adjustments
With the tub and surround gone, the plumbing is finally exposed, revealing the next critical task. I can tell you from experience that almost every single tub-to-shower conversion requires some level of plumbing work. The most common and significant change is relocating the drain.
A standard bathtub drain is usually positioned about 8-10 inches from the back wall. For a walk-in shower, the drain needs to be centered in the new floor for proper slope and drainage. This involves cutting into the subfloor to access the P-trap and re-routing the pipe to its new home. Honestly, this is one of the biggest reasons you should always have a licensed plumber on the job.
It’s not just the drain, either. The water supply lines and shower valve almost always need attention.
- Valve Height: The valve for a tub/shower combo is set low to accommodate the tub spout. For a shower-only setup, that valve needs to be moved up the wall to a more comfortable height, typically around 48 inches from the finished floor.
- Valve Type: This is the absolute perfect time to upgrade your hardware. A modern thermostatic or pressure-balancing valve is a game-changer. These fixtures prevent those surprise bursts of scalding hot or freezing cold water when someone flushes a toilet or starts the dishwasher.
The Critical Role of Waterproofing
Once the old framing is exposed and the new plumbing is roughed in, we've arrived at the single most important step of the entire conversion: waterproofing. I can't stress this enough. Even a tiny, pinhole-sized leak can lead to thousands of dollars in hidden damage from rot, mold, and structural decay. This stage has to be perfect.
There are a couple of ways to get this done, but they generally fall into two categories:
- The Traditional Method: This old-school approach involves laying a thick vinyl or rubber liner across the subfloor to form a pan. A sloped mortar bed is then poured over the liner to guide water to the drain. The walls are covered with cement board, and all the seams are sealed with mesh tape and mastic.
- Modern Waterproofing Systems: Newer systems, like the popular Schluter-Kerdi products, use a bonded waterproof membrane. You’ll recognize it by its bright orange color. This fabric-like membrane is applied directly over the wallboards and shower base with thin-set mortar, creating a completely sealed, monolithic, and watertight shell from top to bottom.
In my professional opinion, modern membrane systems have a major edge. Because the waterproof layer sits directly behind the tile, the mortar bed underneath never gets saturated. This helps the entire shower assembly dry out much faster between uses, which is a huge factor in preventing mold and mildew.
Whichever method is used, every single seam, corner, and screw penetration has to be meticulously sealed. The connection point between the shower drain and the waterproofing layer is especially critical. This is where professional experience really pays off, ensuring a leak-proof installation that will protect your home for decades to come.
After the waterproofing is fully installed and has had time to cure properly, the space is finally ready for the best part—installing the new tile, fixtures, and glass.
Putting Your New Walk-In Shower Together
Alright, the demo dust has settled, and all that critical behind-the-scenes waterproofing is done. This is where the fun really begins. You've got a blank canvas, perfectly prepped for the beautiful and functional pieces that will finally make this space feel like your own. It's time to build the shower you've been picturing.
Choosing Your Shower Base: The Foundation of Your Design
First things first, you need to decide on the shower base, often called the pan. This is what you'll be standing on every day, so it’s a decision that impacts both the look and long-term function of your shower. You have two main paths you can take here.
Prefabricated Shower Pans
These are the ready-to-go, one-piece units you see, usually made from durable acrylic or fiberglass. They come in standard sizes, with the 60×30 inch footprint being extremely common since it fits perfectly where a standard tub used to be. This makes them a really popular, budget-friendly option for a straightforward conversion.
- Pros: Generally less expensive, much faster to install, and the slope is already built-in, so there's no guesswork with drainage.
- Cons: Your design options are pretty limited to what the manufacturer offers, and you can't get a true, zero-threshold entry with one.
Custom Tiled Shower Bases
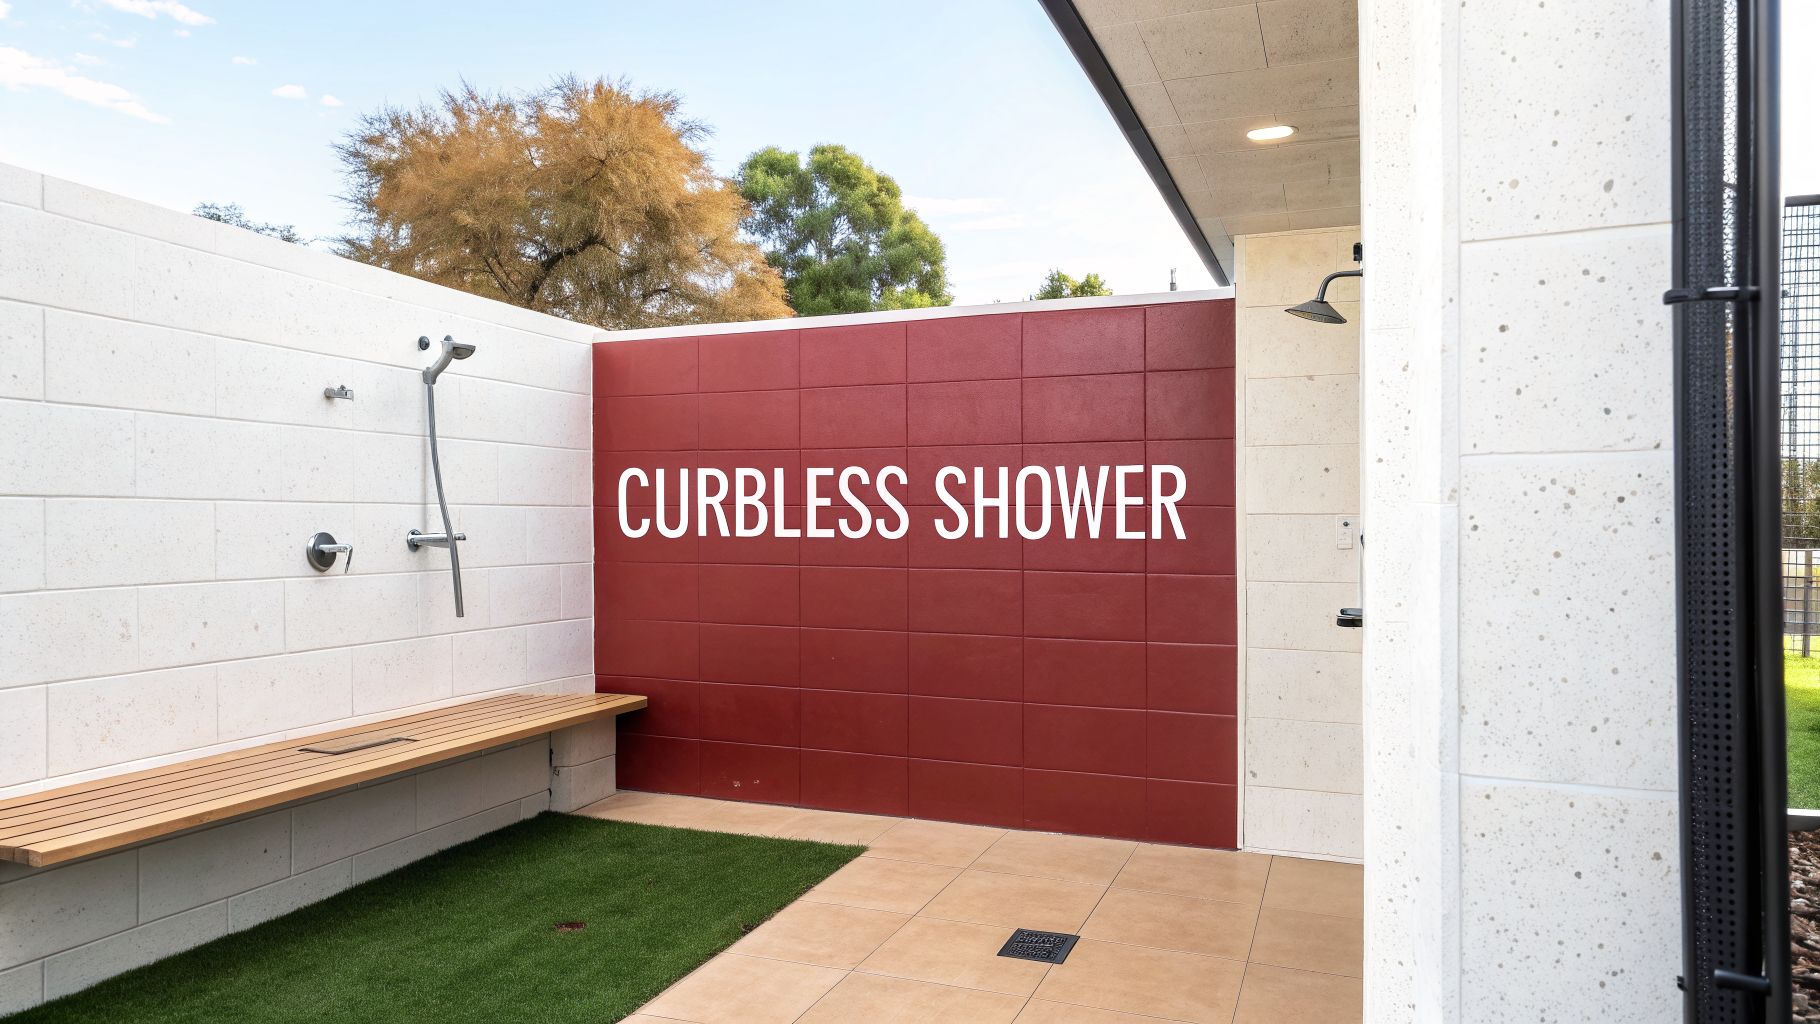
For that seamless, high-end look, a custom-tiled base is the only way to go. This process involves a skilled professional building a mortar bed from scratch, sloping it perfectly toward the drain, waterproofing it, and then tiling over the top. This is how you achieve a "curbless" or zero-barrier entry, a hallmark of modern and accessible bathroom design.
A custom base gives you total design freedom. You can run the same tile from your bathroom floor right into the shower, which creates an unbroken visual line that makes the whole room feel bigger and more cohesive.
Getting the slope right takes real expertise, but the aesthetic payoff is huge.
Selecting the Perfect Wall Surfaces
With the base in, it's time to dress the walls. This decision will probably have the biggest impact on the overall style and daily maintenance of your new shower. It’s all about finding that sweet spot between your design vision, your budget, and how much time you're willing to spend cleaning.
Here are a few options we see all the time in Southwest Michigan homes:
- Classic Subway Tile: It's timeless, goes with everything, and won't break the bank. We often lay it in interesting patterns like herringbone or a vertical stack to give it a custom feel without a custom price tag.
- Large-Format Tiles: Using big tiles (think 12×24 inches or even larger) is a fantastic move. Not only do they create a clean, modern look, but they mean far fewer grout lines to scrub. That's a win-win.
- Solid-Surface Panels: If you want the lowest-maintenance shower possible, this is it. Solid panels made from acrylic, cultured marble, or other composites offer a sleek, completely grout-free surface that is incredibly easy to keep clean.
The trend of converting tubs to showers has just exploded, and it’s now the number one bathroom project for homeowners wanting better accessibility. On average, you can expect tiled walk-ins to range from $5,450 to $9,000, with a good chunk of that cost going toward professional labor, especially for tricky jobs like moving a drain. Looking ahead, it's projected that by 2026, 70% of these conversions will include features like stepless entries and built-in benches, proving these are now mainstream must-haves. You can dig into more of these project costs and trends at This Old House.
Integrating Smart Features for Function and Comfort
The final touches are what truly elevate a shower from good to great. These are the details that add that little bit of daily convenience and spa-like luxury you're looking for.
A built-in storage niche is, in my opinion, a non-negotiable. Recessing it into the wall gives you a clean, designated spot for shampoos and soaps, getting them off the floor or a clunky corner caddy. Make sure you plan for one that's big enough to hold all your essentials.
Another fantastic addition is a shower bench. Whether it's a solid, tiled-in bench or a sleek fold-down seat, it adds an incredible amount of comfort and safety. It’s the perfect spot to relax for a minute or a practical aid for shaving your legs.
Finalizing Fixtures and Finishes
Last but not least, you get to pick out the "jewelry" for your shower—the fixtures. This means the showerhead, the control valve, and any handheld sprayers. This is where you get to define the actual shower experience.
Think about what you really want:
- A soothing rainfall showerhead for a gentle, drenching experience?
- A high-pressure head for a more powerful, invigorating spray?
- A thermostatic valve that keeps the water temperature perfectly consistent, even when someone flushes a toilet?
A handheld wand is also a brilliant and practical feature. It's not just for rinsing off; it makes cleaning the shower itself a thousand times easier. As you pull these final pieces together, you'll see your vision for converting your tub into a walk-in shower finally come to life.
Considering Accessibility and Long-Term Use
When you decide to rip out that old bathtub for a new walk-in shower, you're not just giving your bathroom a facelift. You’re getting a golden opportunity to create a space that’s safer, more comfortable, and ready for whatever comes next in your life. This is the heart of what we call universal design—building a shower that works for everyone, no matter their age or physical ability.
Thinking about these principles doesn't mean your shower has to look like a hospital room. Far from it. Today's accessibility features are so well-designed they can blend right in, often adding a touch of style and luxury. It's a smart way to future-proof your home, ensuring it remains a comfortable and safe place for years to come.
Creating a Safe and Stylish Entry
The single biggest improvement you can make for accessibility is a curbless or zero-threshold entry. Getting rid of that 4-to-6-inch curb eliminates the number one trip hazard in a bathroom. It's an absolute game-changer for anyone using a walker or wheelchair, but honestly, it’s a wonderful feature for everyone.
A curbless entry creates a seamless, elegant flow from the main bathroom floor straight into the shower. The visual effect is stunning, making the entire room feel larger and more open. It’s a high-end look that packs a serious safety punch.
The best designs are often the most practical. A zero-threshold shower isn’t just an accessibility feature; it’s a hallmark of modern, luxury bathroom design that makes daily life safer and more elegant.
Pulling this off correctly takes real expertise. The floor has to be sloped just right, and the waterproofing must be flawless. But when it's done well, the result is a perfect fusion of beautiful design and practical function.
Smart Ways to Add Support
Beyond the entry, there are several other elements we can weave into your shower design to boost safety and comfort without making it feel sterile.
- Stylish Grab Bars: Forget those clunky, institutional-looking grab bars. The options available today are beautiful, coming in finishes like matte black, brushed gold, and polished nickel that perfectly match your faucets and showerhead. When we place them strategically—near the entrance, beside the controls, and next to a bench—they provide vital support while looking like a deliberate part of the design.
- Built-In Shower Benches: A shower bench is a fantastic touch. A solid, tiled-in bench offers a permanent, sturdy place to sit that feels like it belongs in a spa. If your shower is on the smaller side, a stylish fold-down bench made from teak or a composite material is a great alternative, giving you comfort when you need it and folding away when you don’t.
- Non-Slip Flooring: The tile you choose for the shower floor is critical for safety. We always recommend tiles with a high coefficient of friction (COF) rating, which means they offer more grip when wet. Smaller tiles, like a 2×2 mosaic, are also a great choice because the increased number of grout lines naturally adds extra traction underfoot.
Making It Easy to See and Use
Good lighting and easy-to-use controls are the finishing touches for a truly accessible shower. Installing a dedicated, moisture-rated light right inside the shower gets rid of shadows and makes the whole space feel safer and more inviting.
You should also think carefully about where the controls go. A single-handle, pressure-balancing valve is simple to operate with one hand and, more importantly, prevents those nasty, sudden bursts of hot or cold water. We often recommend placing the controls near the entrance, just outside the direct spray of the showerhead. This lets you turn the water on and get it to the perfect temperature before you even step inside.
Planning for these features is a key part of the budgeting process. To get a feel for how these additions might affect the total investment, our instant pricing tool can give you a quick estimate. It's a helpful way to see the numbers behind creating a shower that's perfectly designed for your needs, both now and in the future.
Deciding Between DIY and Hiring a Professional
So, you're ready to ditch the tub for a beautiful walk-in shower. One of the first big decisions you'll face is whether to tackle this yourself or bring in a pro. It's a classic crossroads for any homeowner. The idea of saving a bundle by going the DIY route is tempting, but a tub-to-shower conversion isn't like painting a room—small mistakes here can have massive, costly consequences.
Before you even think about picking up a sledgehammer, you need to have an honest chat with yourself about your skills, your available time, and what this project truly demands.
The Real Risks of a DIY Shower Conversion
Sure, some parts of the job seem simple enough. A handy homeowner can probably handle the demo or maybe even some of the finish work. But the heart of this project—the plumbing and waterproofing—is where things get serious, fast.
The most dangerous problems are the ones that start small and stay hidden. A drain that isn't perfectly sealed or a tiny puncture in the waterproof membrane won't cause a flood right away. Instead, it’ll be a slow, silent leak. Months, or even years, later you might notice a mysterious stain on the ceiling downstairs or a soft spot in the floor. By then, the real damage is done. We're talking about rotted subfloors, ruined drywall, and a serious mold problem that can cost thousands to fix.
Honestly, the peace of mind you get from a professional installation is hard to put a price on. Having a warranty from a trusted local contractor like Trademaster Construction is your safety net against those hidden risks. If something isn't right, you're covered.
A professional crew also brings a level of efficiency that's tough to match on your own. What might take you several weekends of hard work, a dedicated team can often complete in just a few days. That means less disruption to your life and getting your bathroom back much sooner. They have the specialized tools, know the local building codes in places like Kalamazoo and Portage inside and out, and have seen it all when it comes to unexpected surprises behind the walls.
Balancing Cost and Long-Term Value
There's no getting around it: hiring a professional costs more upfront. But it’s better to think of it as an investment in quality and your home’s future value. One of the biggest upsides to a professionally done tub-to-shower conversion is the impressive return on investment, which often lands between 60-70%.
A modern, well-built walk-in shower isn't just a daily luxury; it’s a powerful selling feature. In the Michigan market, homes with updated, low-maintenance bathrooms can sell up to 20% faster because buyers are actively looking for them over outdated tub setups. You can dive deeper into these bathroom remodel ROI statistics on Angi.com.
Before you make the final call, it helps to know what you'd be looking at for a professional job. For a clear idea of what a project like this might cost in Southwest Michigan, check out our instant pricing tool. It gives you an immediate ballpark figure with no strings attached. This way, you can weigh the cost against the security and quality of a professional build and make a smart decision for your home and your budget.
Still Have Questions About Your Tub-to-Shower Project?
Even the most well-thought-out renovation plan comes with its share of "what ifs." It’s a big project, after all! Let's tackle some of the most common questions homeowners have when they’re thinking about swapping their old tub for a new walk-in shower.
Will Taking Out My Only Bathtub Hurt My Home's Resale Value?
This is probably the number one question we get, and it's a smart one to ask. The old real estate wisdom was that every home must have a bathtub. Times have changed.
For many buyers, especially empty-nesters, retirees, or young professionals, a beautiful and accessible walk-in shower is a much bigger draw than a tub they'll never use. If you're in a neighborhood with lots of young families, it's a good idea to keep at least one tub somewhere in the house. But if that's not your situation, a modern, spa-like shower often adds far more practical value and appeal than an outdated tub-shower combo.
How Long Does This Whole Process Actually Take?
A professional tub-to-shower conversion typically takes anywhere from 3 to 5 days. If you're going with a simpler, prefabricated acrylic or fiberglass unit, you can expect to be on the shorter end of that timeline.
On the other hand, a fully custom project—think intricate tile work, moving plumbing lines, and installing a frameless glass door—is a bit more involved. That kind of detailed work might stretch the project out to 7 to 10 days. The timeline really depends on what we find during demolition, how long the waterproofing needs to cure, and the complexity of your chosen finishes. Any reputable contractor will walk you through a detailed schedule before a single hammer is swung.
What's the Toughest Part of a Tub-to-Shower Conversion?
Hands down, the most critical—and most difficult—part of the job is the waterproofing and drain installation. There is zero room for error here.
A tiny mistake in the waterproofing stage can cause a slow, hidden leak. Over time, that leads to mold, rot, and serious structural damage that can cost thousands to fix. This is exactly why getting the foundation right is a job for a seasoned pro.
Curious about what a project like this might cost for your specific space? Get a clear, no-obligation estimate in just a few minutes. Our instant pricing tool is a great way to start budgeting and see what's possible.

