
Finishing a basement is a big project, but it’s a journey that unfolds in four distinct phases: planning and design, prep and moisture control, systems installation, and finally, framing and finishing.Following this path is the key to transforming a concrete box into a valuable part of your home, making sure nothing critical gets missed along the way.
Your Basement Finishing Journey Starts Here
Let's be honest: finishing your basement is more than just another home improvement project. It’s a smart investment in your home's value and your family's quality of life. By turning that underused space into a family room, home office, or even an in-law suite, you're tapping into square footage you already own. It might feel like a huge undertaking, but it follows a pretty logical and predictable sequence.
And you're not the only one thinking this way. The basement finishing market is booming—it’s actually projected to grow by a massive 19.30% annually between 2025 and 2033. This surge shows just how many homeowners are realizing their basements are prime real estate just waiting for a new purpose. You can learn more about this market growth and see what's driving the trend.
The Four Phases of Finishing a Basement
Every basement project I've seen that goes smoothly follows a clear sequence. Knowing the roadmap from the get-go helps you set a realistic timeline, build an accurate budget, and keep everything on track. Most importantly, it prevents expensive do-overs by forcing you to tackle the foundational stuff before a single wall goes up.
The image below breaks down these core stages, from the first sketch to the last finishing touch.
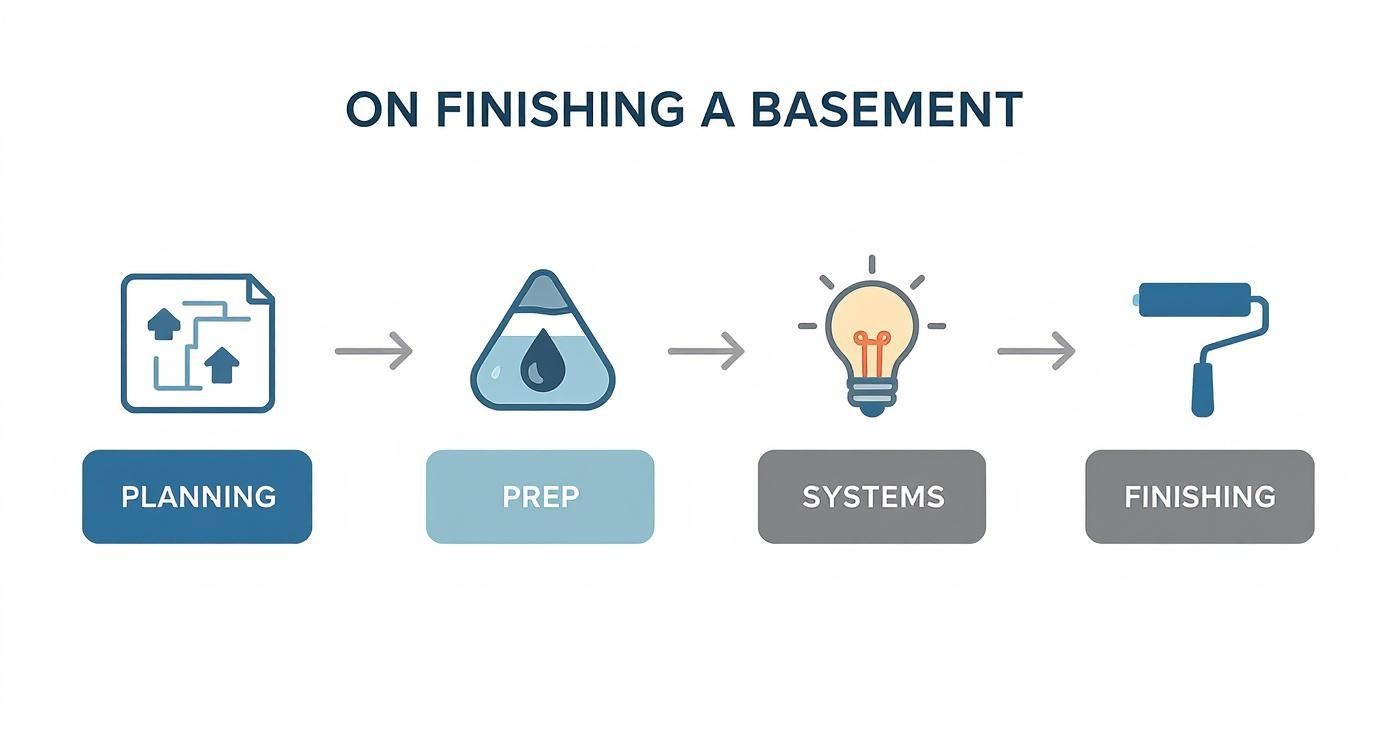
This visual really drives home an important point: all the pretty, cosmetic stuff you see in a finished basement is just the tip of the iceberg. The real work is in creating a dry, safe, and well-equipped foundation first.
At its core, a basement remodel is about building a room within a room. You must first create a dry, structurally sound box before you can start designing the comfortable living space inside it.
To help you get a clearer picture of the entire process, I've broken down the project into its core stages in the table below. It gives you a quick snapshot of what happens when.
Basement Finishing Project Phases at a Glance
| Project Phase | Key Objective | Primary Tasks |
|---|---|---|
| 1. Planning & Design | Create a functional layout and secure permits. | Finalize floor plans, apply for permits, set a budget, hire contractors. |
| 2. Preparation & Moisture Control | Ensure the space is dry, clean, and structurally sound. | Waterproofing, foundation repair, mold remediation, cleaning, debris removal. |
| 3. Systems Installation | Install all essential mechanicals before closing up walls. | Rough-in electrical, plumbing, and HVAC; install egress windows/doors. |
| 4. Framing & Finishing | Build the interior and add all cosmetic touches. | Frame walls, insulate, hang drywall, paint, install flooring, trim, and fixtures. |
Think of this table as your 30,000-foot view. Each phase has its own set of critical steps, and skipping ahead can cause major headaches down the road.
This guide is here to walk you through each of these stages, step-by-step. We’ll cover everything from getting the right permits and waterproofing your foundation to framing walls and picking the perfect lighting. By following this structure, you'll be able to manage your project with confidence and finally bring that vision to life. Let's get started.
Planning and Budgeting Your Basement Remodel
Every great basement remodel starts long before the first wall is framed. It begins with a solid plan. From my years of experience, I can tell you that this initial stage is the most critical part of the whole process. Rushing through the planning is the surest way to blow your budget and end up with a space that just doesn't work.
So, the first question you need to ask yourself is simple: what is this space actually for? Don't just settle for "a finished basement." Get specific, because the function of the room dictates everything from the layout to the electrical plan.
- A Family Entertainment Hub? You'll need an open layout, a dedicated spot for that big-screen TV, and maybe plumbing for a wet bar.
- A Home Office or Gym? This means thinking about strategic outlet placement for all your gear, great lighting, and maybe some sound insulation to keep the noise in (or out).
- A Guest Suite with a Bathroom? Now you're talking about more complex plumbing runs, egress window requirements for safety, and a layout that creates a private, comfortable retreat.
Once you’ve nailed down the purpose, it's time to get a feel for the space. You don't need fancy software; a pencil and some graph paper will do just fine. Sketch out a rough floor plan. Pay close attention to the existing structure—where are the stairs? Are there support columns you'll have to design around? Try to visualize how you'll move through the room and where furniture will go. This simple exercise can save you major headaches down the line.
Getting Real About the Numbers
With a basic plan in hand, it's time to talk money. One of the most common mistakes homeowners make is underestimating the true cost of finishing a basement. A realistic budget isn't just a number you hope to hit; it's a financial roadmap for the entire project.
The final price tag can vary wildly. While the national average hovers around $32,000, I've seen projects come in anywhere from a modest $15,000 to over $75,000. It all depends on the size of your space and the complexity of the design. For example, a small 500-square-foot project might cost between $3,500 and $11,500. A larger 1,500-square-foot basement, on the other hand, could easily run from $10,500 to $34,500. You can find more detailed cost breakdowns to get a better sense of these ranges.
Here’s a piece of advice I give every client: build a contingency fund of 10-15% into your budget. This isn't optional. It's the safety net that will save you when we discover hidden moisture behind a wall or learn that your electrical panel needs an unexpected upgrade to meet code.
That buffer is what keeps a small surprise from turning into a project-stopping disaster.
Breaking Down the Costs
To build a budget you can actually stick to, you have to itemize everything. This prevents "scope creep"—those little additions and upgrades that seem small at first but can quickly inflate your final bill. Think of your budget as a detailed spreadsheet, not a number scribbled on a napkin.
To help you get started, here’s a look at how a typical basement finishing budget breaks down. These percentages are a great starting point for figuring out where your money will likely go.
Sample Basement Finishing Budget Breakdown
This table breaks down the typical cost percentages for a basement project. Use it as a guide to allocate your funds and see where the major expenses lie.
| Expense Category | Average Percentage of Total Budget | Notes and Considerations |
|---|---|---|
| Framing & Drywall | 15-20% | Includes lumber, fasteners, drywall sheets, tape, and mud. Costs vary with wood vs. steel studs. |
| Electrical Work | 10-15% | Covers wiring, outlets, switches, a new subpanel, and lighting fixtures. Always hire a licensed electrician for this. |
| Plumbing & HVAC | 10-15% | Essential for bathrooms or wet bars. Includes extending ductwork for proper heating and cooling. |
| Insulation | 5-10% | Crucial for energy efficiency. Costs depend on the type (e.g., rigid foam, spray foam). |
| Flooring | 10-15% | Luxury vinyl plank (LVP) is a popular, durable choice. Carpet is warmer but less moisture-resistant. |
| Finishing (Paint, Trim) | 5-10% | Includes paint, primer, baseboards, and door/window casings. |
| Permits & Fees | 1-3% | Varies by municipality but is a non-negotiable cost for a legal and safe renovation. |
| Labor | 20-30% | If you're hiring professionals, this will be a significant portion of your budget. |
| Contingency Fund | 10-15% | Your buffer for unexpected issues or changes. |
Laying everything out like this transforms a vague cost estimate into an actionable financial plan. It helps you understand where your money is going and empowers you to make smart decisions about where to invest in quality and where you might be able to save. Trust me, the more detailed your plan is at this stage, the smoother the rest of your project will go.
Getting the Foundation Right: Permits, Moisture, and Structural Checks
Before you even think about framing walls or picking out flooring, you’ve got to tackle the unglamorous but absolutely critical prep work. This is where a basement project is made or broken. We're talking about making sure the space is dry, structurally sound, and fully legal. Cutting corners here is a guaranteed way to create a nightmare of mold, water damage, and code violations later on.
This essential groundwork is a big reason the U.S. home remodeling market is so massive, valued at $498.3 billion in 2024 and on track to hit $812.8 billion by 2034. Smart prep work protects those investments. You can explore more data on this expanding market to see how projects like basement finishing are driving that growth.
Navigating the Building Permit Process
Let’s get this out of the way first: trying to skip the permit is a terrible idea. I’ve seen the fallout, and it’s not pretty. A building permit isn't just a piece of paper; it’s your confirmation that the project is designed to meet crucial local safety codes for fire, electrical work, and structural stability.
Going rogue without a permit can land you in hot water. You're looking at potential fines, orders to tear out perfectly good work, and major roadblocks when you eventually decide to sell your house. It’s a high-stakes gamble with a lousy payoff.
To get your permit in Kalamazoo or Portage, you’ll submit a set of plans to the local building department. Generally, this package needs to include:
- A solid floor plan: This shows every room's dimensions, where doors and windows are, and what each space will be used for (e.g., bedroom, family room).
- An electrical layout: This is a map marking the location of every outlet, switch, and light fixture.
- An egress plan: You have to prove there’s a safe escape route in an emergency. This almost always involves installing a proper egress window or door.
The paperwork can feel a bit overwhelming, but a seasoned contractor will handle all of it for you. At Trademaster, we manage the entire permitting process from start to finish. We make sure everything is filed correctly so your project gets off to a smooth, legitimate start.
Winning the War Against Moisture
Your basement's number one enemy is, and always will be, water. Because it sits below ground, it’s constantly fighting moisture from the surrounding soil. If you don't win this battle before you build, you're essentially building a five-star resort for mold and mildew.
Your first step is a thorough inspection. Get down there and look for the tell-tale signs: active drips, dark water stains on the walls or floor, and that chalky white powder called efflorescence. That powder is a dead giveaway that water has been seeping through the concrete.
Pro Tip: Tape a one-foot square of plastic sheeting to the concrete floor and a few spots on the walls. Leave it for a couple of days. If you come back to find condensation on the inside of the plastic, you’ve confirmed that moisture is wicking up through the foundation.
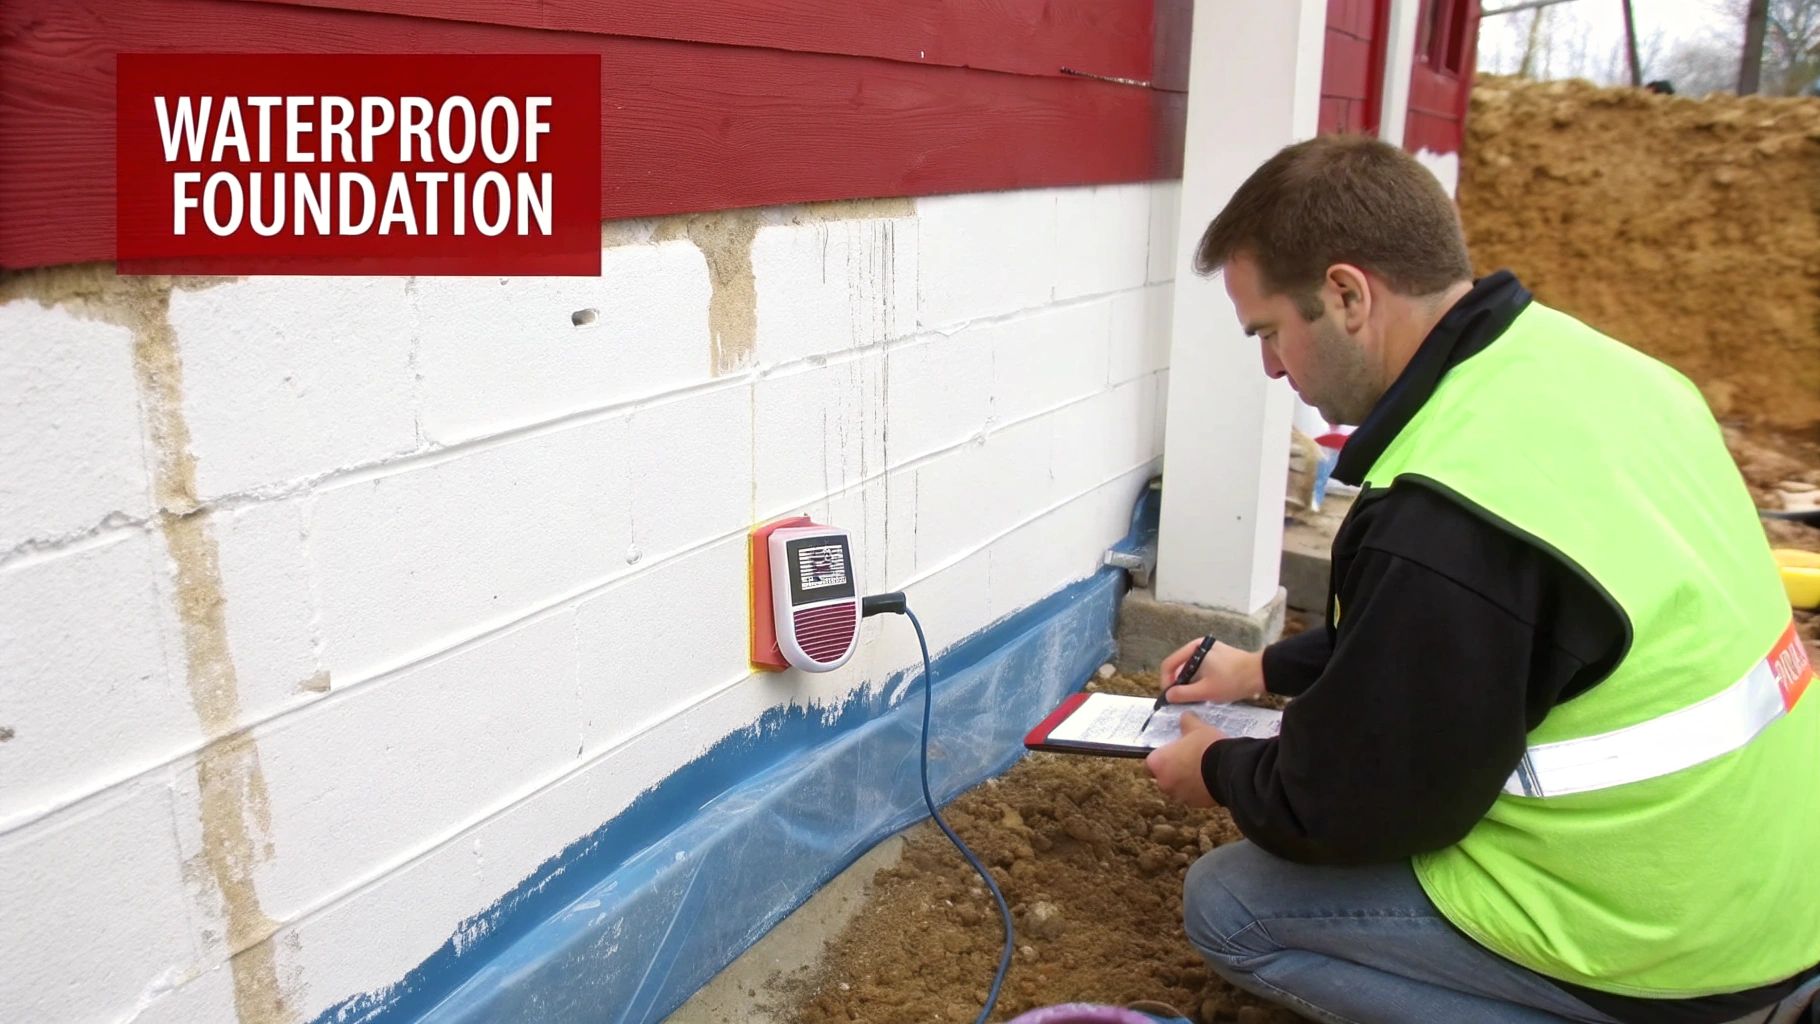
Once you know what you’re up against, you can plan your attack. A great first line of defense is sealing the interior foundation walls with a high-quality waterproof coating. This creates a membrane that stops water vapor from passing through the porous concrete.
If you have more significant water issues, a sump pump and an interior drainage system aren't optional—they're essential. This system is designed to capture any water that makes its way into the basement and actively pump it far away from your home's foundation, ensuring your new living space stays bone dry.
Ensuring a Solid Foundation
Last but not least, give your foundation a hard look. This is the bedrock of your entire home, and you need to be certain it’s in top shape before you add the stress of a full-scale renovation.
Walk the entire perimeter of your basement, inside and out. Keep an eye out for cracks in the concrete walls and floor. Thin, hairline cracks are usually just from the concrete curing and aren't a big deal. But if you see large, horizontal cracks or "stair-step" patterns in a block wall, those are red flags signaling serious structural pressure.
If you spot any of those scary-looking cracks or find walls that are starting to bow inward, stop everything. Your next call should be to a structural engineer. They can properly diagnose the problem and lay out a repair plan, which might involve carbon fiber straps or steel I-beams. Trust me, fixing these problems now is infinitely easier and cheaper than dealing with a failing foundation after your basement is finished.
Getting Your Electrical, Plumbing, and HVAC Systems in Place
Now that the concrete is sealed and the permits are approved, we move into what we in the industry call the "rough-in" phase. This is where your basement gets its circulatory and nervous systems—the wires, pipes, and ducts that bring the space to life. Getting this stage right is absolutely critical, because once the drywall goes up, fixing mistakes becomes a nightmare.
Of all the phases in a basement remodel, this is where hiring licensed pros is completely non-negotiable. The safety risks and potential for thousands in damage from bad electrical, plumbing, or HVAC work are just too high to gamble with.
Planning Your Electrical System
A poorly lit basement still feels like, well, a basement. It's the lighting that truly transforms the space from a dark cellar into a bright, welcoming part of your home. This means having a real plan that goes way beyond a couple of bare bulbs.
Think about how you’ll actually use each zone. A home office needs outlets galore for all the tech, while a home theater calls for recessed lighting on dimmers to create that perfect movie-night vibe without glare.
We always recommend layering the lighting for the best results:
- Ambient Lighting: This is your main, overall light, usually from recessed can lights spaced evenly across the ceiling.
- Task Lighting: Think under-cabinet lights for a wet bar or track lighting aimed right at a pool table.
- Accent Lighting: This is your chance to add character with wall sconces or a spotlight on a favorite piece of art.
Your electrician will handle running all the wiring, placing the boxes for outlets and switches, and often installing a new subpanel if your main one is maxed out. This gives your new living space all the power it needs without constantly tripping breakers upstairs.
A classic rookie mistake is skimping on outlets. We follow a simple rule: place an outlet every 6 to 8 feet along a wall. It’s so much better to have a few you don't use than to be hunting for an extension cord.
Adding Plumbing for Bathrooms and Wet Bars
If your dream basement includes a bathroom or a wet bar, the plumbing rough-in is a huge step forward. This is when the crew runs the hot and cold water supply lines and—even more critically—the drain and vent pipes.
Unlike the rest of your house, basement plumbing often has to defy gravity. If your home's main sewer line is higher than the basement floor (which is common), you'll need an ejector pump for toilets or a dedicated sump pump system for gray water from a sink or shower. These systems collect the wastewater in a basin and then pump it up to the main drain line.
A licensed plumber is essential here. They know how to ensure every pipe is sloped perfectly for proper drainage and vented correctly to keep sewer gases out of your home. For instance, they know drain lines need a precise minimum slope of 1/4 inch per foot to work right. Get that wrong, and you're signing up for years of clogs and nasty smells.
Extending Your HVAC for Year-Round Comfort
Don't just assume the conditioned air from upstairs will magically make its way into the basement. To keep your new space from being a freezing cave in the winter and a humid box in the summer, you have to properly extend your HVAC system. In nearly every case, that means adding new ductwork.
A qualified HVAC technician will start by doing a "load calculation" to figure out exactly how much heated and cooled air the space requires. They'll factor in the square footage, insulation quality, and windows to make sure your furnace and A/C can actually handle the extra workload.
Just cutting a hole in existing ductwork is a recipe for disaster. It throws the airflow balance off for the entire house, making some rooms too hot while others become too cold. The technician will install brand-new supply vents to deliver fresh air and return vents to pull out stale air, creating a healthy, comfortable, and efficient system. Proper ductwork is what makes the basement a place your family will actually want to hang out in.
From Concrete Box to Cozy Space: Framing, Insulation, and Finishes
Once you've wrestled with all the foundational work and mechanical systems, the fun part begins. This is where your basement finally sheds its concrete-bunker vibe and starts to look and feel like a real, livable part of your home. We're about to build the walls, make it warm and comfortable, and add all the final touches that bring your vision to life.
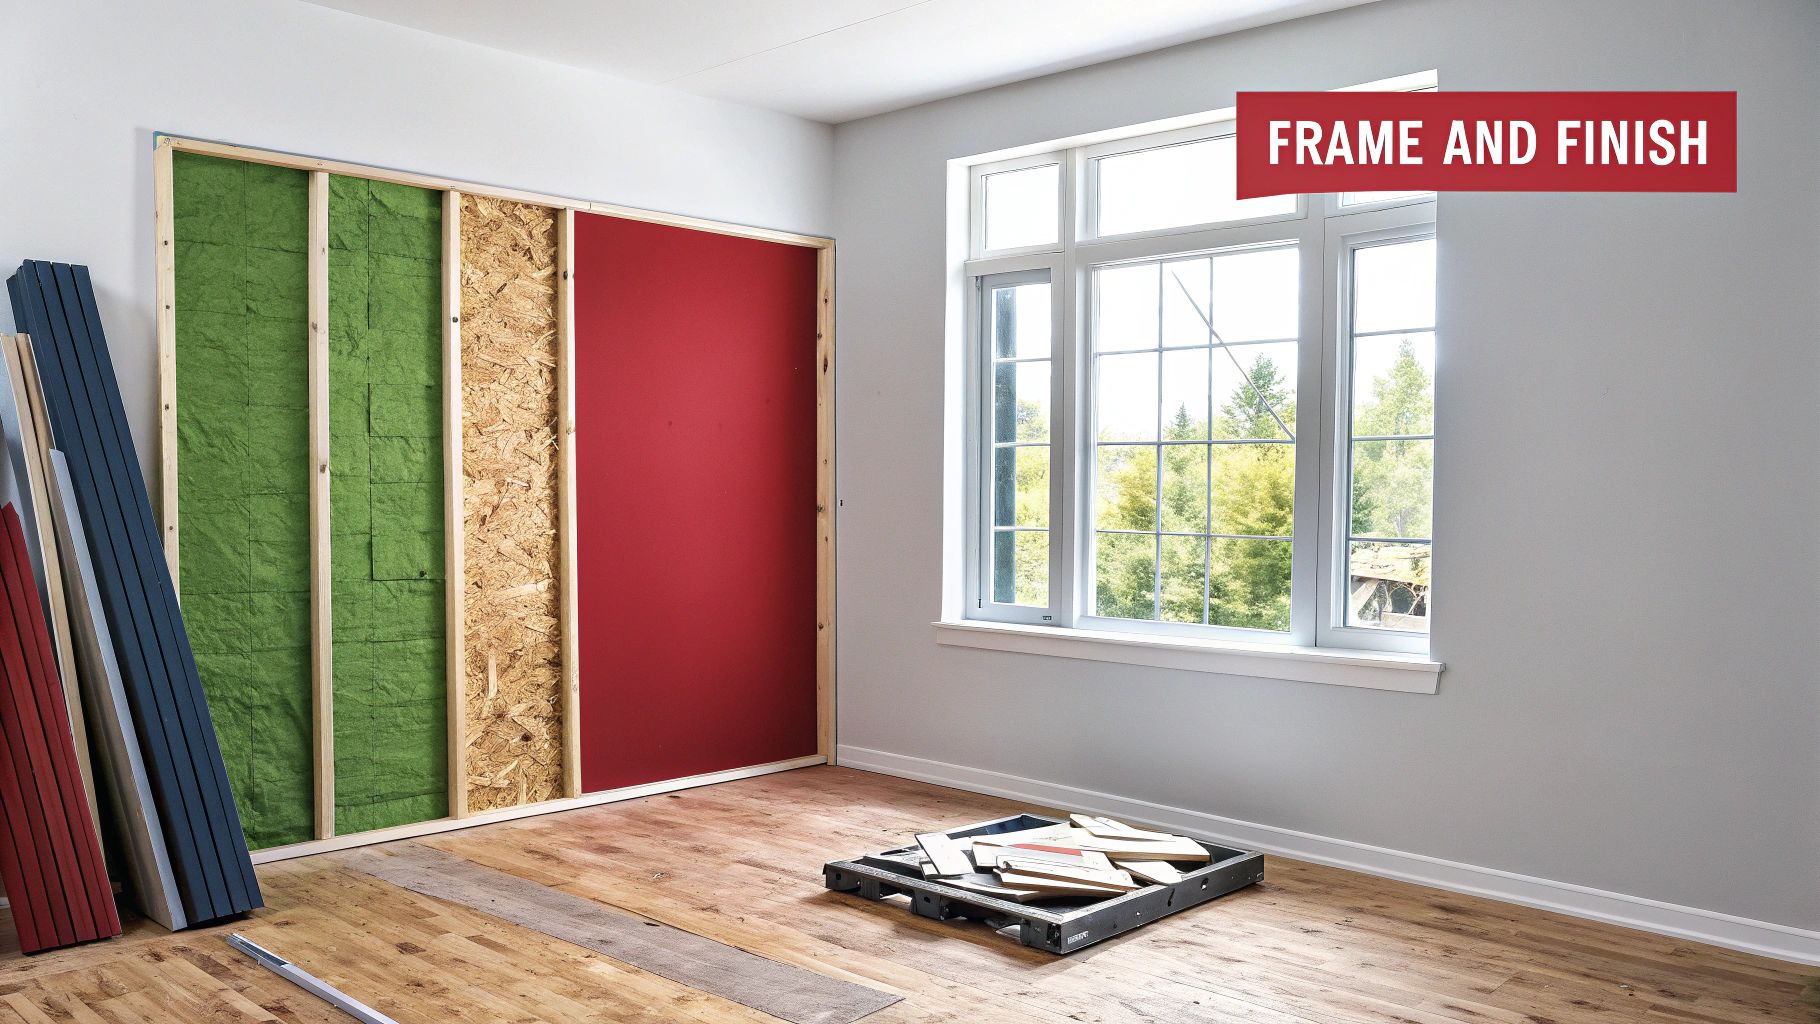
Framing is what gives your new space its skeleton. It's the step that carves out that home office, family room, or guest suite from the wide-open expanse. Don't rush this part. A small mistake here, like a wall that isn't perfectly plumb, can create surprisingly big headaches when you get to drywall and trim.
Building the Bones: Wood vs. Steel Studs
Your first big decision is what to build those walls with: classic wood studs or modern steel ones? Both get the job done, but each has some pretty clear pros and cons, especially when you're working below ground.
Most people are familiar with wood studs. They’re the traditional go-to for a reason—they’re relatively inexpensive, and you can work with them using the standard tools you probably already own. The big catch in a basement, however, is moisture. If you ever have a leak, wood acts like a sponge, which can lead to rot and become a five-star buffet for mold.
On the other hand, steel studs are completely immune to moisture and pests. They're also lightweight and perfectly straight, so you never have to worry about a warped stud throwing off your wall. The trade-off? They can cost a bit more and require different cutting tools and fasteners, which can be a learning curve for some DIYers.
A pro tip for framing around all the stuff that's in the way—the support posts, pipes, and ductwork—is to stop seeing them as obstacles. Think of them as design opportunities instead. You can box in that low-hanging ductwork to create an architectural soffit or build a clever half-wall around a column to naturally divide two spaces.
No matter your material choice, the basic process is the same. You'll typically build the walls flat on the floor—top plate, bottom plate, and studs—then tilt them up into position. Just remember to leave at least a one-inch gap between the framing and the concrete foundation wall. This air gap is a non-negotiable part of good moisture management.
The Insulation Game-Changer
Don't skimp on insulation. Seriously. It’s one of the single most important investments you'll make, transforming a chilly, damp-feeling space into a comfortable retreat. Good insulation doesn't just keep you warm in the winter; it also helps control moisture and can make a real dent in your home's overall energy bills.
But not just any pink fluffy stuff will do. For basement walls, you need insulation that can handle the unique challenges of a below-grade environment.
Here are the heavy hitters we recommend for basements:
- Rigid Foam Board (XPS or EPS): This is your best friend when insulating against concrete. It goes up first, directly against the foundation wall, creating a continuous thermal break and an effective vapor barrier all in one shot.
- Closed-Cell Spray Foam: This is the premium, top-tier solution. It’s sprayed directly onto the concrete, expanding to seal every single pinhole and crack. It creates a perfect, seamless barrier against both air and moisture and has a fantastic R-value.
- Mineral Wool Batts: If you've already put up foam board, you can add mineral wool (like Rockwool) in your stud cavities for even more insulating power. Unlike fiberglass, it’s hydrophobic (it pushes water away) and completely inorganic, so mold can’t grow on it.
What should you avoid? The classic paper-faced fiberglass insulation. We see it all the time, and it’s a mistake. If that paper facing gets even a little damp, it becomes a mold factory.
Bringing It All Together With Finishes
With the skeleton and insulation in place, it’s time for the most rewarding stage. This is when all that rough work disappears behind clean, finished surfaces, and your new space truly comes into its own.
Drywall and Ceilings
Hanging drywall is the moment your framed-out areas start to feel like actual rooms. For basements, it's always a smart move to use moisture-resistant drywall (often called "green board" or "purple board"), especially for any walls in a bathroom or laundry area.
For the ceiling, you’ve got two main routes to go:
- A Drywalled Ceiling: This gives you that clean, finished look that seamlessly matches the rest of your house. It’s the way to go if you want a high-end, polished feel.
- A Drop Ceiling: This system uses a metal grid to support lightweight ceiling tiles. It might not look as sleek, but its superpower is providing instant access to all the pipes, wires, and ductwork you need to get to later.
Flooring and Final Touches
The floor you choose has to be tough. Since basements are always at some risk for moisture, your flooring needs to be able to handle it.
Right now, Luxury Vinyl Plank (LVP) is the undisputed king of basement flooring. It’s 100% waterproof, built to withstand heavy traffic, and the designs that mimic real wood and stone are incredibly convincing. Forget the old sheet vinyl of your grandparents' house; this stuff is in a different league. Other solid choices include engineered wood (over a proper subfloor) or ceramic tile. We typically steer clients away from solid hardwood and advise caution with carpet unless you are absolutely certain your basement is bone-dry.
The final lap involves installing the baseboards and door casings and then giving everything a fresh coat of paint. These are the details that tie it all together, completing the transformation from a dark, forgotten space into a bright, welcoming—and valuable—part of your home.
Project Timelines and When to Hire a Pro
One of the biggest questions homeowners have is, "How long is this going to take?" From the first sketch to the final coat of paint, a standard basement finishing project typically runs somewhere between 8 to 12 weeks. That's assuming things go relatively smoothly, without major hiccups like inspection delays or materials getting backordered.
Let’s break that down a bit. You’ll spend the first week or two just getting everything in order—finalizing the design, securing permits, and handling any last-minute moisture prep. After that, the "rough-in" stage for plumbing, electrical, and HVAC lines usually takes another one to two weeks. The real meat of the project is the finishing work, which can easily take 4 to 8 weeks. This is where you see the space come to life with framing, insulation, drywall, and flooring.
Deciding Between DIY and a Professional
Going the DIY route can be incredibly rewarding, but it’s vital to be realistic about what you can handle versus what you should leave to the pros. It's not just about skill; it's also about having the time and the right tools.
Some parts of the job are perfect for a weekend warrior.
Good DIY Tasks:
- Interior Framing: If you're comfortable with a saw and a level, framing the new interior walls (the non-structural ones) is a totally achievable task.
- Painting and Trim Work: This is where you can really put your personal touch on the space. Cutting and installing baseboards or painting the walls are great projects for a homeowner.
- Installing LVP Flooring: Many modern vinyl plank floors are designed with a simple click-lock system, making them surprisingly easy to install.
On the other hand, some things are absolutely non-negotiable and demand a licensed professional.
When to Hire a Pro:
- All Electrical Work: This is a big one. For safety, code compliance, and your peace of mind, always hire a licensed electrician. Faulty wiring is one of the leading causes of house fires.
- Plumbing and HVAC: A small plumbing mistake can lead to a catastrophic leak. Likewise, an improperly balanced HVAC system will leave your new basement feeling stuffy or cold, not to mention inefficient.
- Egress Window Installation: Any time you're cutting a new opening in your foundation, you're dealing with the structural integrity of your home. This is a job for an expert, period.
- Drywall Finishing: Hanging the sheets is one thing, but getting that perfectly smooth, seamless finish for painting? That’s a true craft that takes years of experience to master.
My rule of thumb is pretty simple: if the job involves a safety code, touches your home's foundation, or requires a license, hire a professional. The cost is well worth avoiding the potential headaches and hazards. If you're planning a project here in Southwest Michigan, you can connect with our team at Trademaster Construction to make sure the job gets done right from the start.
Frequently Asked Questions About Finishing a Basement
https://www.youtube.com/embed/PnQLf3_z0Uo
Even the most well-thought-out plan can leave you with a few lingering questions. It's completely normal. Here are some of the things we hear most often from homeowners who are about to dive into a basement project.
One of the first questions is almost always, "Does this new space actually count?" People want to know if a finished basement is considered official living space, or Gross Living Area (GLA). The short answer is: it depends. For it to be included in your home's official square footage, it typically has to be finished to the same standard as the rest of the house and be connected to your permanent heating system. But local building codes have the final say, so a quick check with your city or county is essential.
Of course, the other big question is about money—specifically, if it's a good investment. You can feel good about this one. On average, homeowners recoup about 70-75% of what they spend on a basement remodel when they sell. That return makes it one of the smartest home improvement projects out there.
Common Project Concerns
We get it. Basements come with their own unique set of quirks. Many homeowners get hung up on things like low ceilings or awkward support posts, but these are challenges we see every day and there are some clever ways to handle them.
- Low Ceilings: The goal here is to create the illusion of height. Slim LED wafer lights are a game-changer because they sit flush with the ceiling, unlike traditional bulky fixtures. A fresh coat of bright, light-colored paint on the ceiling also works wonders to make the space feel taller.
- Ductwork and Pipes: Don't try to hide them—integrate them! Boxing them in with drywall is a standard solution, but you can turn it into a design feature. Think architectural soffits or even a tray ceiling that adds some real character to the room.
- Building Around Posts: Those necessary support columns can feel like they're right in the middle of everything. Instead of seeing them as an obstacle, treat them as an opportunity. We've wrapped them in beautiful wood for a craftsman look or connected two of them with a half-wall to create a natural, functional room divider.
The best basement designs don't try to hide the basement's quirks; they embrace them. Working with the existing structure, rather than fighting it, often leads to the most creative and functional layouts.
Finally, we're often asked if you can still live in your home while the work is being done. Absolutely, but you need to be realistic about the disruption. There will be dust and noise. We always recommend sealing off the basement entrance with heavy plastic sheeting and running an air purifier to keep the rest of your home as clean and quiet as possible.
Ready to transform your basement without the guesswork? The team at Trademaster Construction has the experience to handle every detail, from permits to the final finishes. Start planning your project with us today!

