
A curbless shower is built on a foundation of meticulous planning long before the first tile is ever laid. It's all about lowering the subfloor, engineering a perfect slope to the drain, and wrapping the whole thing in a bulletproof waterproofing membrane. Getting these details right from the start is the secret to a shower that not only looks incredible but performs flawlessly for years.
Planning Your Curbless Shower Installation
Before you even think about swinging a hammer, let's talk strategy. A successful curbless shower is less about brute force and more about smart decisions that define the entire project. That seamless, open-concept look doesn't happen by accident; it’s the direct result of solving structural puzzles before they turn into costly headaches.
The whole point is to create one continuous, unbroken surface that flows from the main bathroom floor right into the shower. That's the heart of a true barrier-free design.
What's Hiding Under Your Floor?
First things first, you have to play detective and figure out what’s going on beneath your existing floor. The go-to method for creating a curbless entry is to recess the subfloor in the shower area, which means getting intimately familiar with your floor joists—their size, the direction they run, and their spacing.
- Joist Direction: The way your joists are oriented can make this job a breeze or a real challenge. It's usually much easier to work with joists that run parallel to your planned slope versus those that run perpendicular to it.
- Structural Integrity: Let's be clear: modifying floor joists is serious business. You might need to notch them or add sister joists to lower the subfloor without compromising your home's structural stability. If that sentence alone makes you nervous, it’s a good sign it's time to call in a pro.
I can't stress this enough: a professional assessment here is crucial. An experienced contractor, like our team at Trademaster Construction, can immediately tell if your home's framing can be safely modified or if a different approach, like using a super low-profile shower pan, makes more sense.
The All-Important Slope and Drain
Water management is everything in a curbless shower. Without a proper slope, you’re just building a stylish puddle that’s guaranteed to cause thousands in water damage down the road. The non-negotiable key to success is a consistent, uninterrupted slope.
The gold standard in the industry is a minimum slope of 1/4 inch per foot leading to the drain. That means for every 12 inches you move away from the drain, the floor needs to rise by a quarter of an inch. It's subtle enough that you barely feel it, but it's more than enough to guide every drop of water where it needs to go.
This level of precision is the cornerstone of the entire build and directly impacts your drain choice. It's no surprise that the market for sleek stainless steel linear drains is projected to hit USD 2,442 million by 2032. Homeowners everywhere are catching on to the safety and clean aesthetics these systems offer. You can actually read more about this market trend if you're curious.
Choosing Your Drain: Linear vs. Point
Your drain isn't just a simple piece of plumbing; it's a major design element that dictates how the entire floor gets tiled. Your two main options are the modern linear drain and the traditional point drain, and they couldn't be more different.
A linear drain allows the entire shower floor to slope gently in one single direction, which is a dream for installation. It makes setting large-format tiles a snap. On the other hand, a classic point drain requires the floor to slope towards it from all four sides, creating a funnel effect that works best with smaller mosaic tiles.
Here’s a quick breakdown to help you decide which drain is the right fit for your project.
Choosing Your Drain: Linear vs. Point
A quick comparison to help you decide on the best drain type for your curbless shower project, looking at aesthetics, installation, and performance.
| Feature | Linear Drain | Point Drain |
|---|---|---|
| Aesthetics | Gives you that modern, minimalist look. It can be tucked against a wall to be nearly invisible. | The classic, centered drain. It can sometimes interrupt the flow of your tile pattern. |
| Installation | Only needs a single-plane slope, which makes the subfloor prep and tiling much simpler. | Demands a four-way slope, making it tricky to use large-format tiles without lots of cuts. |
| Performance | Its large surface area is fantastic for evacuating water quickly, even from high-flow shower heads. | Works great, but can be overwhelmed by high-volume showers if it's not sized correctly. |
Ultimately, linear drains have become the go-to for most of our curbless projects at Trademaster. They offer a cleaner look and make the most challenging part of the job—the tile work—significantly easier.
Preparing the Subfloor for a Perfect Slope
Alright, with your plans locked in, it’s time to roll up your sleeves for what is easily the most critical part of a curbless shower installation. This is where the real work begins—transforming the bathroom floor into a single, seamless surface that slopes perfectly toward the drain.
This isn’t just about tiling. We’re talking about re-engineering a small part of your home's structure. Getting this stage right is non-negotiable. A small mistake here won't just result in crooked tiles; it can lead to serious water damage down the road. Every single measurement and cut is crucial.
This visual guide lays out the essential workflow, from checking your structure to creating that all-important slope for drainage.
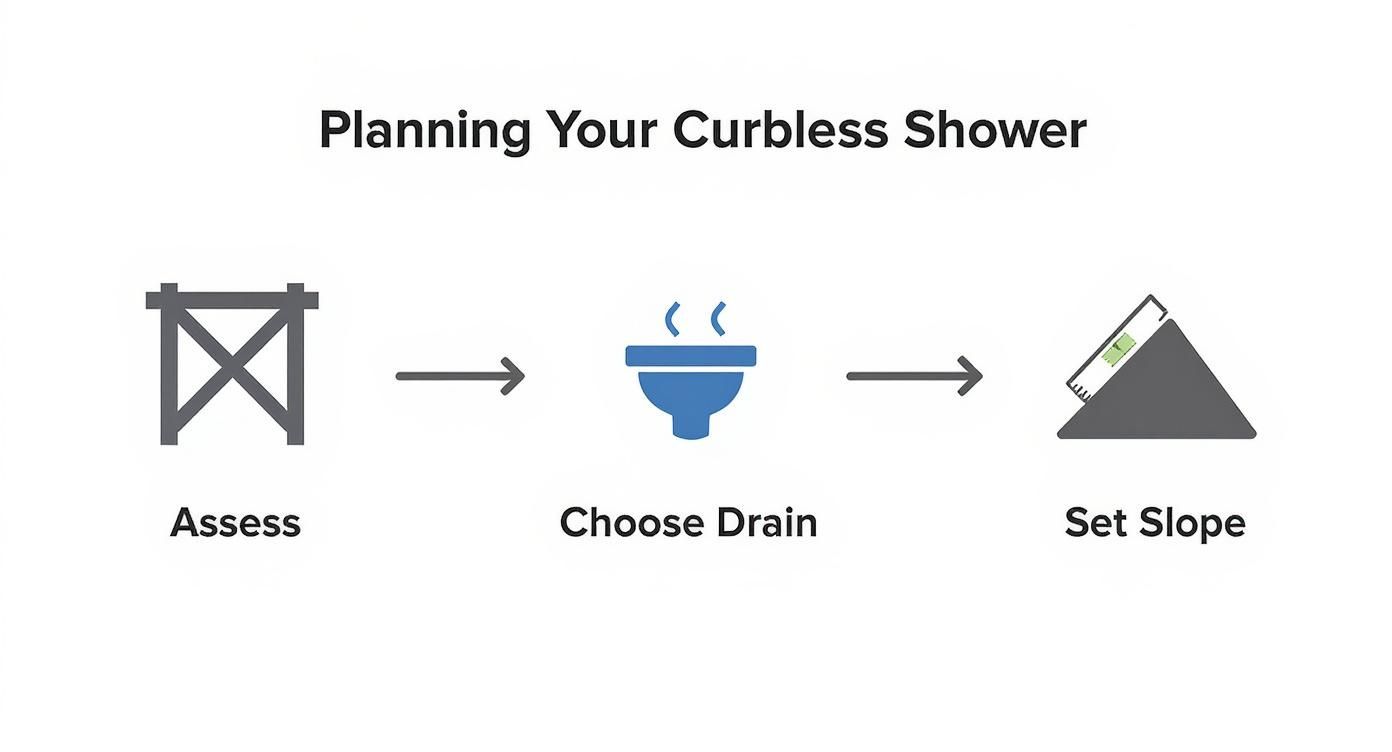
As you can see, everything flows in a logical sequence. Each step builds on the last, ensuring no vital details get missed.
Two Ways to Recess the Subfloor
To get that beautiful, flush transition from the main bathroom floor into the shower, the subfloor inside the shower area has to be lower than its surroundings. There are really two ways to make this happen, and your home's construction will point you to the right one.
- Modifying the Floor Joists: This is the most common and, in my opinion, the best method for wood-framed homes. It involves carefully cutting down the tops of the floor joists within the shower footprint to drop the subfloor.
- Using a Pre-Formed Shower Base: If you’re working on a concrete slab or dealing with complex framing where altering joists just isn't an option, a low-profile, pre-sloped shower pan can be installed right on top of the subfloor.
For most houses with wood framing, modifying the joists is the way to go. It gives you complete control to create a custom-sloped mortar bed, which offers the most flexibility for your design.
Safely Modifying Floor Joists
Let's be clear: cutting into your home's floor joists is serious business. You are quite literally weakening the floor system before you build it back up stronger. The goal is to lower the plywood subfloor by about 3/4 inch to 1-1/2 inches, which gives you enough room for your mortar bed and tile.
First, you’ll mark out the exact shower footprint on the subfloor. Then, carefully cut out and remove the subfloor in this section to expose the joists. From there, you'll notch the tops of the joists down to the depth you need.
Crucial Safety Tip: Never, ever cut a joist without a solid plan to reinforce it. After notching, you must sister new joists alongside the cut ones or add heavy-duty cross-bracing between them. This restores—and often improves upon—the original structural strength. Skipping this step is asking for a sagging floor and a complete disaster.
Once your joists are modified and properly reinforced, you can install a new plywood subfloor inside the recessed area, fastening it securely to the lowered joists. Now you have the "box" that will contain your sloped mortar bed.
Building the Perfect Slope with a Mortar Bed
With the subfloor successfully recessed, it's time to create the slope using a dry-pack mortar mix, which we often call "deck mud." This stuff has the consistency of damp sand, making it perfect for packing and shaping. A good recipe is a 4-to-1 ratio of sand to Portland cement, mixed with just enough water that it clumps together when you squeeze it in your hand.
Your target is that hard-and-fast rule: a slope of 1/4 inch per foot. Here’s how you get there:
- Set Your Perimeter: Start by packing mortar around the outer edge of the shower, making sure it’s perfectly level with the rest of the bathroom floor. This edge becomes your guide.
- Work Toward the Drain: From that level perimeter, you’ll start packing and smoothing the mortar downward toward the drain flange. Keep a straightedge or level handy to constantly check your slope from every angle.
- Compress and Compact: As you go, use a trowel or float to really pack the mortar down tightly. This gets rid of air pockets and creates a dense, rock-solid base for your waterproofing and tile.
When you're done, the mortar bed should be smooth, uniformly sloped, and it will cure incredibly hard. Don't rush this step. A perfect slope is the foundation of a shower that drains properly and lasts for decades. Here in Southwest Michigan, older homes often present unique framing challenges. If you feel even slightly unsure about the structural side of things, getting advice from a local professional like Trademaster Construction is a very smart move.
Mastering Waterproofing to Prevent Leaks
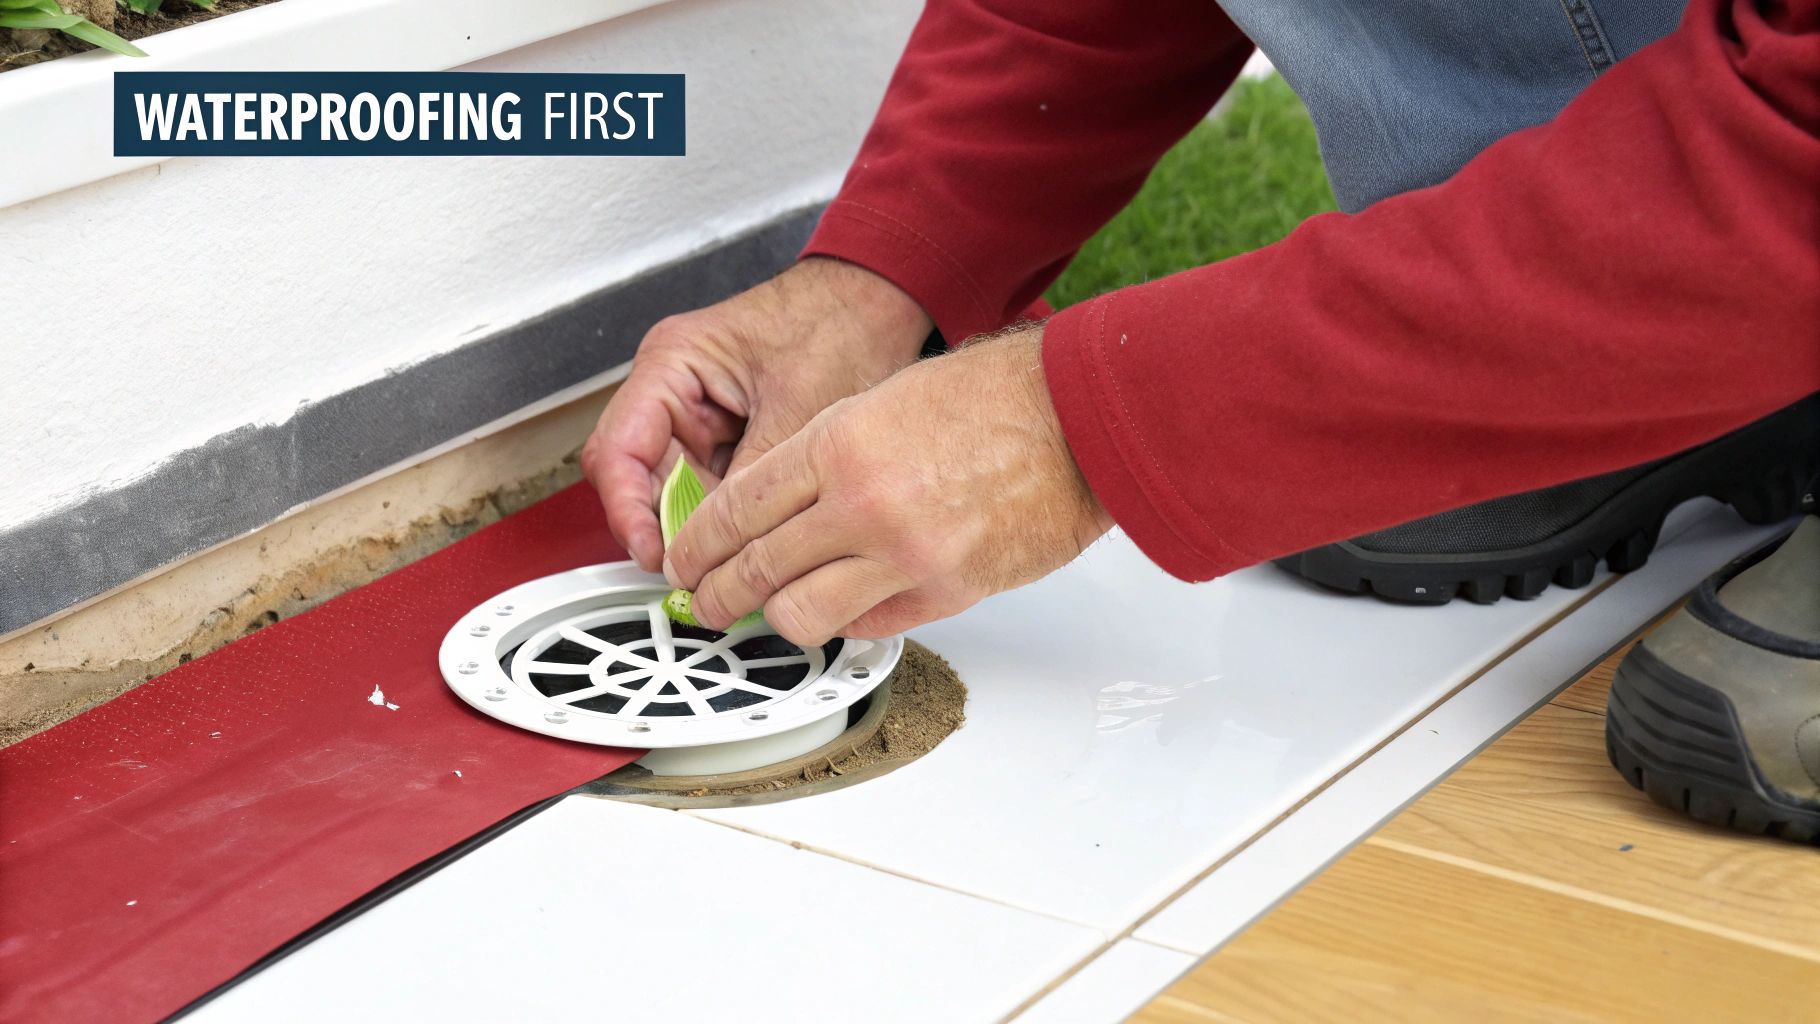
With a rock-solid, perfectly sloped subfloor in place, you’ve hit the most critical stage for the long-term success of your shower. Waterproofing isn't just a step in the process; it's the only thing standing between a beautiful shower and a slow-motion disaster inside your walls and floors.
Think of it this way: you are building a flexible, seamless bathtub underneath your tile. A single pinhole, a weak corner, or an unbonded seam can undo all your hard work, leading to hidden leaks that cause rot, mold, and expensive structural damage. This is the part of the job where patience and a meticulous eye for detail really pay off.
Choosing Your Waterproofing System
The days of dealing with messy hot-mop tar are long gone. Today's waterproofing systems are incredibly effective and much more user-friendly. In residential showers, you'll mainly be looking at two options: liquid-applied membranes and sheet membranes. There's also a newer hybrid method using waterproof foam boards.
Understanding the differences between these methods is key to picking the right one for your skill level and project.
Comparing Waterproofing Methods
| Method | Pros | Cons | Best For |
|---|---|---|---|
| Liquid-Applied Membrane | – Seamless, monolithic layer – Easy to apply in complex shapes (niches, benches) – Relatively low cost |
– Inconsistent thickness is a major risk – Requires multiple coats and specific cure times – Easy to apply too thinly, leading to failure |
DIYers with simple layouts who are meticulous about following application thickness requirements. Brands like RedGard or Hydro Ban are popular. |
| Sheet Membrane | – Guaranteed uniform thickness – Very durable and crack-resistant – Faster to tile over (no long cure times) |
– Seams and corners require careful attention – Higher upfront material cost – Requires the correct type of mortar for bonding |
Projects where consistency is critical. It's our preferred method for most curbless installations. Schluter-KERDI is the industry benchmark. |
| Waterproof Foam Board | – Structure and waterproofing in one step – Lightweight and easy to cut/install – Pre-sloped pans are available |
– Highest material cost – Seams still need to be waterproofed with banding – Requires a very flat and level subfloor |
Remodels where speed is essential and you want to minimize the layers of material being installed. |
While all three systems are excellent when installed correctly, sheet membranes offer a level of consistency that's hard to beat. You know you're getting the exact thickness you need everywhere. That said, liquid membranes can be a real problem-solver if your shower has a lot of curves or built-in niches.
The move toward these high-performance bathrooms is a huge trend. In fact, the global bathroom installation market was valued at $5.8 billion and is projected to hit $9.6 billion by 2032. This shows just how many homeowners are upgrading to more accessible and stylish designs. You can discover more insights about these bathroom remodeling trends to see how your project fits into this larger movement.
Applying the Membrane Flawlessly
No matter what system you go with, the goal is always the same: achieve 100% coverage with absolutely no compromises.
For a liquid-applied membrane:
- Follow the Primer Rules: Read the bucket! Some surfaces need a specific primer to get a good bond. Skipping this can cause the membrane to peel.
- Use Multiple Coats: Don't try to get it done in one thick coat. You'll get a much more reliable barrier by applying two or three thinner coats in a crisscross pattern—first coat north-south, second coat east-west.
- Check Your Thickness: A wet film thickness gauge is a cheap tool that prevents expensive mistakes. Use it to make sure you're meeting the manufacturer's minimum thickness requirement.
For a sheet membrane system:
- Use the Right Mortar: The manufacturer will specify a type of thin-set mortar (usually unmodified). Using the wrong kind is a common DIY mistake that can cause the membrane to delaminate.
- Overlap Every Seam: All seams need to be overlapped by at least 2 inches. This creates a shingled effect that makes it impossible for water to get through the joints.
- Don't DIY the Corners: Use the pre-formed inside and outside corners. Trying to fold a perfect, watertight corner from a flat sheet is incredibly difficult and the #1 source of leaks we see in failed showers. The pre-forms are foolproof.
The Critical Drain Connection
The spot where your waterproofing meets the drain is where everything can go wrong. This connection has to be completely watertight.
Thankfully, modern linear and point drains are built with an integrated bonding flange—a wide, flat perimeter designed specifically for this. With a sheet membrane, you'll pack thin-set onto the flange, press the membrane in firmly, and then seal the transition with a special collar. If you're using a liquid, you'll paint it over the flange and onto the surrounding membrane, often embedding a reinforcing fabric for extra strength.
The Unskippable 24-Hour Flood Test
Once your membrane has fully cured (check the manufacturer's specs for timing), it's time for the moment of truth. A flood test is non-negotiable. It's your last chance to find a problem before it's buried under mortar and tile.
- Plug the Drain. Get an inflatable test ball from the hardware store and plug the drainpipe securely.
- Fill with Water. Add water until it's at least 2 inches deep and is covering all the seams and corners.
- Mark the Level. Use a sharpie or a piece of tape to mark the exact water line.
- Wait for 24 Hours. Now, walk away. For a full day, let the water sit and do its work. Keep an eye on the ceiling below or any adjacent rooms for signs of moisture.
After 24 hours, check your mark. If the water level is the same (a tiny drop from evaporation is normal) and everything is bone-dry, you've succeeded. If the level has dropped, you have a leak. Find it and fix it now—it's infinitely easier than tearing out a brand-new tiled shower later.
Tiling for a Safe and Stylish Finish
Alright, the heavy lifting of waterproofing is behind you. Now comes the best part—the moment your shower starts looking less like a construction zone and more like the spa-like retreat you imagined. This is where you bring it all to life with tile.
But let's be clear: tiling a curbless shower is about more than just aesthetics. Every single choice, from the tile itself to the grout between the joints, is critical for safety and durability. Nail this stage, and you'll have a gorgeous, low-maintenance shower that performs flawlessly for years.
Choosing the Right Tile for Safety and Slopes
The tile you pick for the shower floor is easily one of the most important safety decisions in this entire project. A wet, soapy surface is a recipe for a slip, so getting the right texture is non-negotiable.
You need to look for tiles with a high Coefficient of Friction (COF) rating. This is just a technical way of saying it measures slip resistance. For a shower floor, you should never go below a DCOF (Dynamic Coefficient of Friction) of 0.42. This is the industry-wide standard for wet areas. You can almost always find this info on the tile's spec sheet from the manufacturer or retailer.
Tile size is just as important as the texture. Those big, beautiful large-format tiles look amazing on walls or the main bathroom floor, but they are absolutely the wrong choice for a sloped shower pan. For this specific spot, smaller is always better.
Why go small on the shower floor? A couple of key reasons:
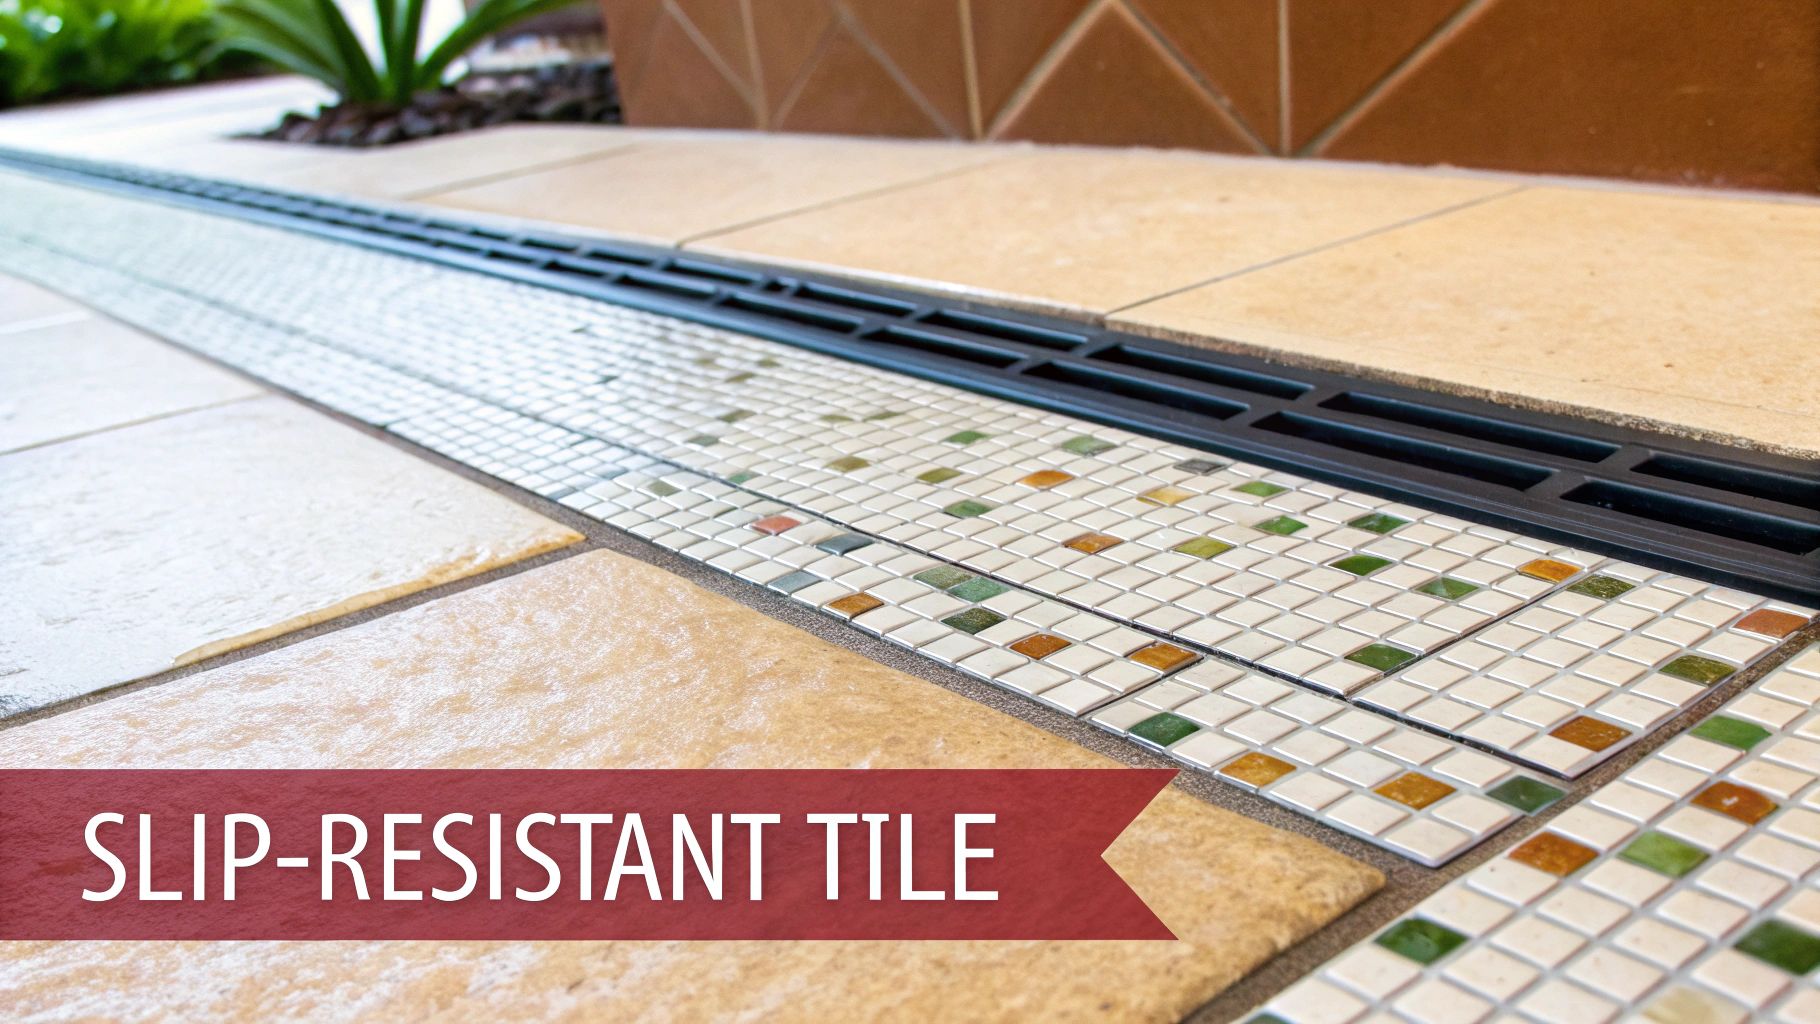
- Following the Slope: Small tiles, usually 2×2 inches or smaller, can easily hug the contours of your sloped base. This prevents "lippage," where one tile edge sits higher than its neighbor, creating an uneven and uncomfortable surface.
- Creating Grip: Here’s the real secret: more tiles mean more grout lines. Those lines act just like the tread on a car tire, giving your feet extra grip and creating channels for water to escape. It's a simple but incredibly effective way to boost safety.
The Tiling Process From Drain to Door
Precision is everything when you're laying tile in a sloped, curbless shower. If you take a methodical approach, you'll get those crisp, clean lines that scream "professional." The trick is to always start at the most critical point—the drain—and work your way out from there.
Getting the Mortar Consistency Just Right
Your thin-set mortar is the adhesive holding this whole thing together, so getting the mix right is crucial. You're aiming for a smooth, creamy consistency, almost like peanut butter. It should be thick enough to hold its shape on your trowel without sliding off.
Always, always follow the manufacturer's mixing instructions. Add the powder to the water (not the other way around) to avoid lumps. After the initial mix, let the mortar "slake"—that just means let it rest—for 5-10 minutes. Give it one last stir, and you're ready to go.
Laying the First Tiles
Always start by setting the tiles immediately around your drain. This is the anchor for your entire layout. Whether you have a sleek linear drain or a classic point drain, framing it perfectly with tile sets the tone for the whole floor. It ensures you have clean, full-tile lines right at the focal point.
Once the drain is framed, spread your mortar with a notched trowel, combing the ridges in a single direction. Press each tile firmly into the mortar with a slight twist; this collapses the ridges and guarantees full adhesion. Use tile spacers to keep your grout lines consistent as you work from the drain, up the slope, and out toward the bathroom floor.
Grouting and Sealing for Longevity
Let the mortar cure for at least 24 hours. Once it's fully hardened, you're on to the final steps: grouting and sealing. Grout does more than just fill the gaps—it locks all the individual tiles into a single, cohesive, water-resistant surface.
For a shower, I strongly recommend using an epoxy grout over a standard cement-based one. It can be a little more challenging to work with, but the payoff is huge. Epoxy grout is completely non-porous, so it doesn't absorb water, and it's incredibly resistant to stains, chemicals, and mold. That means less scrubbing and a cleaner-looking shower for the long haul.
The final touch? After the grout has fully cured, apply a good penetrating sealer. If you used cement-based grout, this is an absolute must, but it's a good idea even on some porcelain and epoxy. This last layer of defense ensures your beautiful new shower can handle daily use for decades.
Budgeting Your Project and Knowing When to Hire a Pro
So, you've decided to tackle a curbless shower. That's fantastic. But before you swing the first hammer, we need to have a serious talk about two things that can make or break this project: your budget and your skill set.
Going the DIY route can definitely save you money on labor, but a curbless installation is a different beast than your average bathroom refresh. The specialized materials alone can be a real eye-opener.
What Are You Really Going to Spend?
Let's get down to brass tacks on material costs. These numbers can shift based on the brands you pick and where you live, but this should give you a realistic baseline to start from.
- The Drain System: This is a big one. A quality linear drain, which is the go-to for most curbless designs, will likely set you back $200 to over $700. Point drains are cheaper, but linear drains really deliver on both performance and looks.
- Waterproofing: Do not skimp here. Ever. A complete waterproofing system—whether it’s a liquid membrane like RedGard or a sheet membrane like Schluter-KERDI-—will run you between $300 and $800. That price includes all the essential corner pieces and sealing bands.
- Mortar and Tile: This is where your personal style comes into play. You'll need dry-pack mortar for the shower pan (about $50) and thin-set for the tile itself ($50-$100). Tile costs are all over the map, from $5 per square foot to $50+ for high-end options.
This trend toward sleek, efficient drainage isn't just a fad. The global market for linear drains was valued at USD 735 million and is expected to hit USD 1.2 billion by 2030. It’s all driven by the demand for minimalist, accessible bathrooms. You can dig into the booming linear drain market here if you're curious.
How Long Will This Actually Take?
Forget what you’ve seen on TV; this isn't a weekend project. Even for a seasoned DIYer, a curbless shower install involves multiple, distinct stages with non-negotiable waiting periods.
One of the biggest mistakes I see is people rushing. If you don't give the mortar bed or the waterproofing membrane the time they need to properly cure, you’re setting yourself up for a catastrophic failure. Patience now prevents a gut-job later.
Here’s a more grounded timeline to help you plan:
- Demo & Subfloor Prep: 1-2 days
- Mortar Bed Installation: 1 day
- Mortar Bed Curing: A minimum of 48-72 hours. Don't touch it.
- Waterproofing Application: 1 day
- Waterproofing Cure & Flood Test: 24-48 hours. This step is critical.
- Tiling & Grouting: 2-3 days
- Final Sealing & Fixture Install: 1 day
When you add it all up, you should realistically block off 7 to 10 full days for this project, likely spread out over two weeks to accommodate those crucial curing times.
When to Wave the White Flag and Call a Pro
The most valuable tool in your toolbox is an honest assessment of your own abilities. While many steps here are achievable for a dedicated homeowner, some tasks carry too much risk to gamble on.
It’s probably time to call in a professional if your project involves any of these:
- Major Structural Changes: If you need to cut or alter floor joists, stop. You need an expert to make sure you aren't compromising the structural integrity of your home.
- Serious Plumbing Reroutes: Moving drains and supply lines isn't just about connecting pipes; it's about meeting local building codes. This is a job for a licensed plumber.
- Any Doubt About Waterproofing: This is the single most important stage of the entire build. If you have even the slightest hesitation, the cost of hiring an expert is a cheap insurance policy against leaks and mold.
For our neighbors in Portage, Kalamazoo, and across Southwest Michigan, our team at Trademaster Construction has handled countless of these complex installations. Knowing your limits is what protects your investment and guarantees that your beautiful new shower will stand the test of time.
Common Questions About Curbless Shower Installation
It's only natural to have a few questions when you're planning a project this detailed. A curbless shower, in particular, requires real precision, especially with waterproofing, and that tends to bring up some very specific concerns. Let's walk through some of the things we hear most often from homeowners.
The biggest worry is always about water. "Without a curb, won't water just go everywhere?" It's a fair question, but the answer is no—not if it's built correctly. The whole system is engineered to prevent that. The secret is getting the slope just right and pairing it with a high-quality drain.
As long as the shower floor has a continuous slope of at least 1/4 inch per foot toward the drain, gravity takes over. Every drop of water is guided exactly where it needs to go.
Will a Curbless Shower Feel Cold?
This is another big one. People wonder if an open-concept shower without a door or curtain to hold in the steam will feel drafty. It can, but there are some fantastic ways to make sure your shower is a warm, inviting space.
An open design definitely allows more air to circulate, which can make things feel a bit cooler. To get that luxurious, spa-like warmth, most of our clients choose to install heated floors.
- In-Floor Radiant Heat: We often install electric heating mats under the tile for the entire bathroom, including right into the shower. It’s a total game-changer, providing a gentle, consistent warmth from your toes on up.
- Heated Towel Racks: These are great for more than just toasty towels. They also radiate a surprising amount of warmth into the bathroom.
- Smart Ventilation: A good exhaust fan, placed correctly, will pull steam out efficiently without creating a chilly breeze right where you're standing.
A heated floor really transforms the whole experience. It takes the shower from potentially chilly to undeniably comfortable. Honestly, it's one of the most popular upgrades we see in modern bathroom remodels.
Is This Design a Good Fit for a Small Bathroom?
Absolutely! In fact, it’s one of the best things you can do for a small bathroom. When space is tight, every visual illusion you can create counts. Removing the curb creates a single, unbroken plane across the entire floor.
That continuous flooring makes the room feel so much larger and more open. You're getting rid of a physical and visual barrier, which maximizes both the perceived and the actual usable space. It’s a really powerful design move for compact bathrooms.
Finally, we often get asked about tile limitations. The key thing to remember is that for safety and to properly follow the floor's contours, you need to use smaller tiles—think 2×2 inches or smaller—on the shower floor itself. But beyond that, you have total creative freedom. You can use beautiful large-format tiles on the walls and the main bathroom floor, creating a seamless, dramatic look that flows right into the shower. This gives you plenty of room for stunning, personalized designs that don't sacrifice an ounce of function.
If you're considering a curbless shower but want the assurance of expert craftsmanship, our team at Trademaster Construction is here to help. We specialize in transforming bathrooms across Southwest Michigan into beautiful, functional, and accessible spaces. Visit us online at https://www.trademasterkz.com to see our work and schedule a consultation.

