
Before a single hammer swings, the most successful bathroom renovations start with a bit of soul-searching and a solid plan. This is your chance to move beyond just dreaming of a new space and start creating a clear, actionable vision. It's about figuring out exactly what you want your new bathroom to do for you, balancing those beautiful ideas with the practicalities of your home and daily life.
Laying the Groundwork for Your Remodel
Think of this early stage as creating the blueprint for your entire project. The decisions you make now will guide everything from the layout and budget to the final tile choices. The key is to get specific.
Are you looking for a quick cosmetic refresh to boost your home’s resale value? Or is this about creating a personal spa-like retreat you can escape to after a long day? Maybe the goal is purely functional—a durable, easy-to-clean bathroom that can withstand the chaos of a busy family. Nailing down your primary goal is the first, and most important, step.
Define Your Vision and Priorities
Let's get practical. Start by thinking about how you actually use your current bathroom. What’s a constant source of frustration? What parts work just fine? Grab a notebook and make two columns: "Must-Haves" and "Nice-to-Haves."
- Must-Haves: These are your non-negotiables. It could be a double vanity to end the morning traffic jam, a curbless walk-in shower for better accessibility, or a powerful exhaust fan that actually works.
- Nice-to-Haves: This is the fun stuff you’d love to have if the budget and space allow. Think heated floors for those cold Southwest Michigan mornings, a deep soaking tub, or smart lighting you can dim from your phone.
This simple exercise is incredibly clarifying. A family with young kids will likely prioritize a bathtub and lots of storage, while a couple designing their primary suite might put a luxurious, oversized shower at the very top of their list.
Gather Your Inspiration
Now that you know what you need, it's time to figure out what you love. Sites like Pinterest and Instagram are fantastic for this, but don't just pin things at random. Create a dedicated project board and start looking for patterns.
Are you constantly saving bathrooms with dark, moody tile or ones that feel light and airy? Do you prefer the clean, simple lines of modern design or the intricate details of a more traditional space?
A well-curated inspiration board isn't just a collection of pretty pictures. It's a visual language you can share with your designer or contractor to make sure everyone is on the same page from the get-go.
As you save images, pay close attention to the details:
- Tile materials and patterns (subway, hex, large-format)
- Vanity styles (floating, freestanding, wood, painted)
- Types of lighting fixtures (sconces, pendants, recessed)
- Faucet and hardware finishes (brass, matte black, chrome)
This process helps you build a vocabulary for your style, which makes all the decisions that come later so much easier. It's no wonder homeowners are putting more thought and money into these rooms; the global bathroom remodeling market was valued at around USD 412.8 billion in 2025 and is expected to hit USD 593.7 billion by 2035. You can dig into more of the data in the full market trends report.
Before we move on, let's quickly recap these crucial first steps with a simple checklist.
| Planning Stage | Key Action | Why It's Important |
|---|---|---|
| Goal Setting | Define the primary purpose (e.g., resale, personal luxury, family function). | Aligns all future decisions with your main objective. |
| Needs vs. Wants | Create a "Must-Have" and "Nice-to-Have" list. | Helps prioritize features and allocate your budget effectively. |
| Inspiration | Create a visual board on Pinterest or Houzz. | Establishes a clear aesthetic and a common language for your team. |
| Detail Analysis | Note specific materials, colors, and finishes you like. | Moves your vision from a general idea to a concrete design concept. |
This checklist serves as your guidepost. Refer back to it to ensure you're staying true to your original vision as you get deeper into the planning process.
Understand the Renovation Phases
A bathroom renovation doesn't happen all at once. It’s a carefully orchestrated sequence of events, and understanding the general flow helps set realistic expectations for both the timeline and the inevitable disruption.
While no two projects are identical, they almost always follow this path:
- Planning & Design: This is where we are now—setting goals, finalizing the budget, and hiring your team.
- Demolition: The messy part. Tearing out the old bathroom, sometimes right down to the studs.
- Rough-In Work: Your plumber and electrician get to work, moving pipes and wiring to fit the new layout.
- Inspection: A critical checkpoint where a local building inspector signs off that the plumbing and electrical work is up to code.
- Closing It Up & Installation: Drywall goes up, followed by flooring, tile, the vanity, and major fixtures.
- Finishing Touches: The final sprint! This includes painting, installing light fixtures, and adding mirrors, hardware, and accessories.
Knowing this sequence helps you understand why a project takes time and reinforces why all this upfront planning is so crucial for a smooth and successful renovation.
Grounding Your Vision: Budget and Timeline
Alright, you’ve gathered your inspiration and have a vision for your new bathroom. Now it’s time for the most critical part: bringing that vision down to earth with a realistic budget and a workable timeline. This is where a dream remodel becomes an actual, achievable project. Nailing down these two elements is what separates a smooth, successful renovation from one filled with costly surprises and frustrating delays.
Before we dive into the nitty-gritty of spreadsheets and schedules, let's look at the big picture.
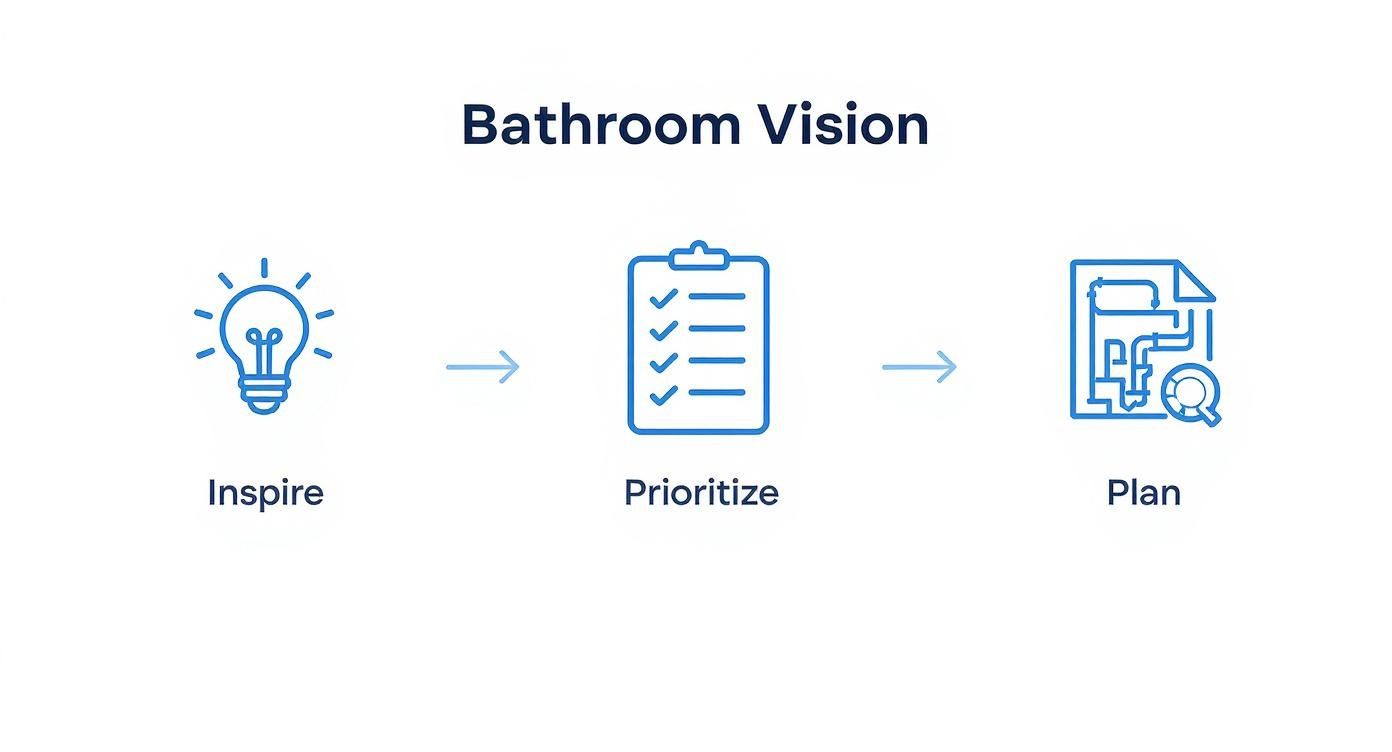
This flow—inspire, prioritize, plan—is the secret sauce. It ensures you’ve thought through your ideas before a single dollar is spent or a single tile is ordered.
How to Build a Bathroom Budget That Actually Works
A real budget isn’t just one big number you hope to hit. It’s a detailed, line-by-line breakdown of every single cost. A common industry guideline is the 10-20-70 split: 10% for design fees, 20% for labor, and the remaining 70% for all your materials and fixtures.
That's a good starting point, but I always push my clients to get more specific. Breaking your spending down into clear categories gives you much better control.
- Labor: This is almost always the biggest chunk of the pie. It covers your contractor and the specialized pros they bring in, like plumbers and electricians.
- Fixtures: Your toilet, sink, tub, and shower system. The price range here is massive, from budget-friendly to pure luxury.
- Finishes: All the beautiful stuff—tile, flooring, countertops, and paint.
- Vanity & Storage: This includes your main cabinetry, medicine cabinet, and any custom shelving.
- Lighting & Ventilation: Don't skimp here. Good lighting and a powerful, quiet exhaust fan are game-changers.
- Permits & Fees: You have to account for the cost of building permits and, often, a dumpster for debris.
My Most Important Piece of Advice: Your budget is not complete without a contingency fund of 15-20%. This is non-negotiable. It's not 'extra' money; it's a safety net for the inevitable surprises, like finding old water damage or needing to bring ancient plumbing up to modern Kalamazoo or Portage code.
Homeowners are definitely investing more in their bathrooms these days. In fact, bathroom projects now account for 26% of all home renovations. The median spend is around $13,000 for a solid update, but for a major, down-to-the-studs remodel, that average jumps closer to $22,000. You can see more of the data in the latest U.S. Houzz Bathroom Trends Study.
Mapping Out a Realistic Project Timeline
Your timeline is just as crucial as your budget. A simple cosmetic refresh might only take a week or two, but a full gut renovation is a whole different ballgame. From the first swing of the sledgehammer to hanging the last towel hook, a typical mid-range remodel will take anywhere from 4 to 8 weeks.
Here’s a rough idea of how the work usually flows:
- Ordering & Waiting (2-6+ weeks): This happens before any real work begins. Custom vanities, special-order tile, and unique fixtures can have surprisingly long lead times. I can't stress this enough: Do not schedule demolition until every major component is sitting in your garage.
- Demolition & Prep (2-4 days): The crew tears out the old bathroom and preps the space for everything new.
- The "Rough-in" (3-5 days): This is when plumbers and electricians are in the walls, moving pipes and wires to match the new layout. It looks messy, but it’s critical.
- Inspections (1-2 days): A city or township inspector has to sign off on the rough-in work before any drywall goes up. This is a mandatory step that can cause delays if anything isn't up to code.
- Closing It Up (5-10 days): The space finally starts looking like a room again. Drywall is installed, floors and tile go in, and everything gets waterproofed. Tiling alone is a multi-day job with setting, grouting, and sealing.
- The Big Pieces Go In (3-5 days): Now the fun stuff happens. The vanity gets set, the toilet is installed, and the tub and shower fixtures are put in place.
- Finishing Touches (2-4 days): The final sprint! This includes all the painting, installing lights and mirrors, attaching hardware, and finishing any trim work.
Understanding this sequence helps you know what to expect and when. It empowers you to ask your contractor smart questions and keeps everyone on the same page, which is the key to getting your project across the finish line on time.
Designing Your Bathroom Layout and Style
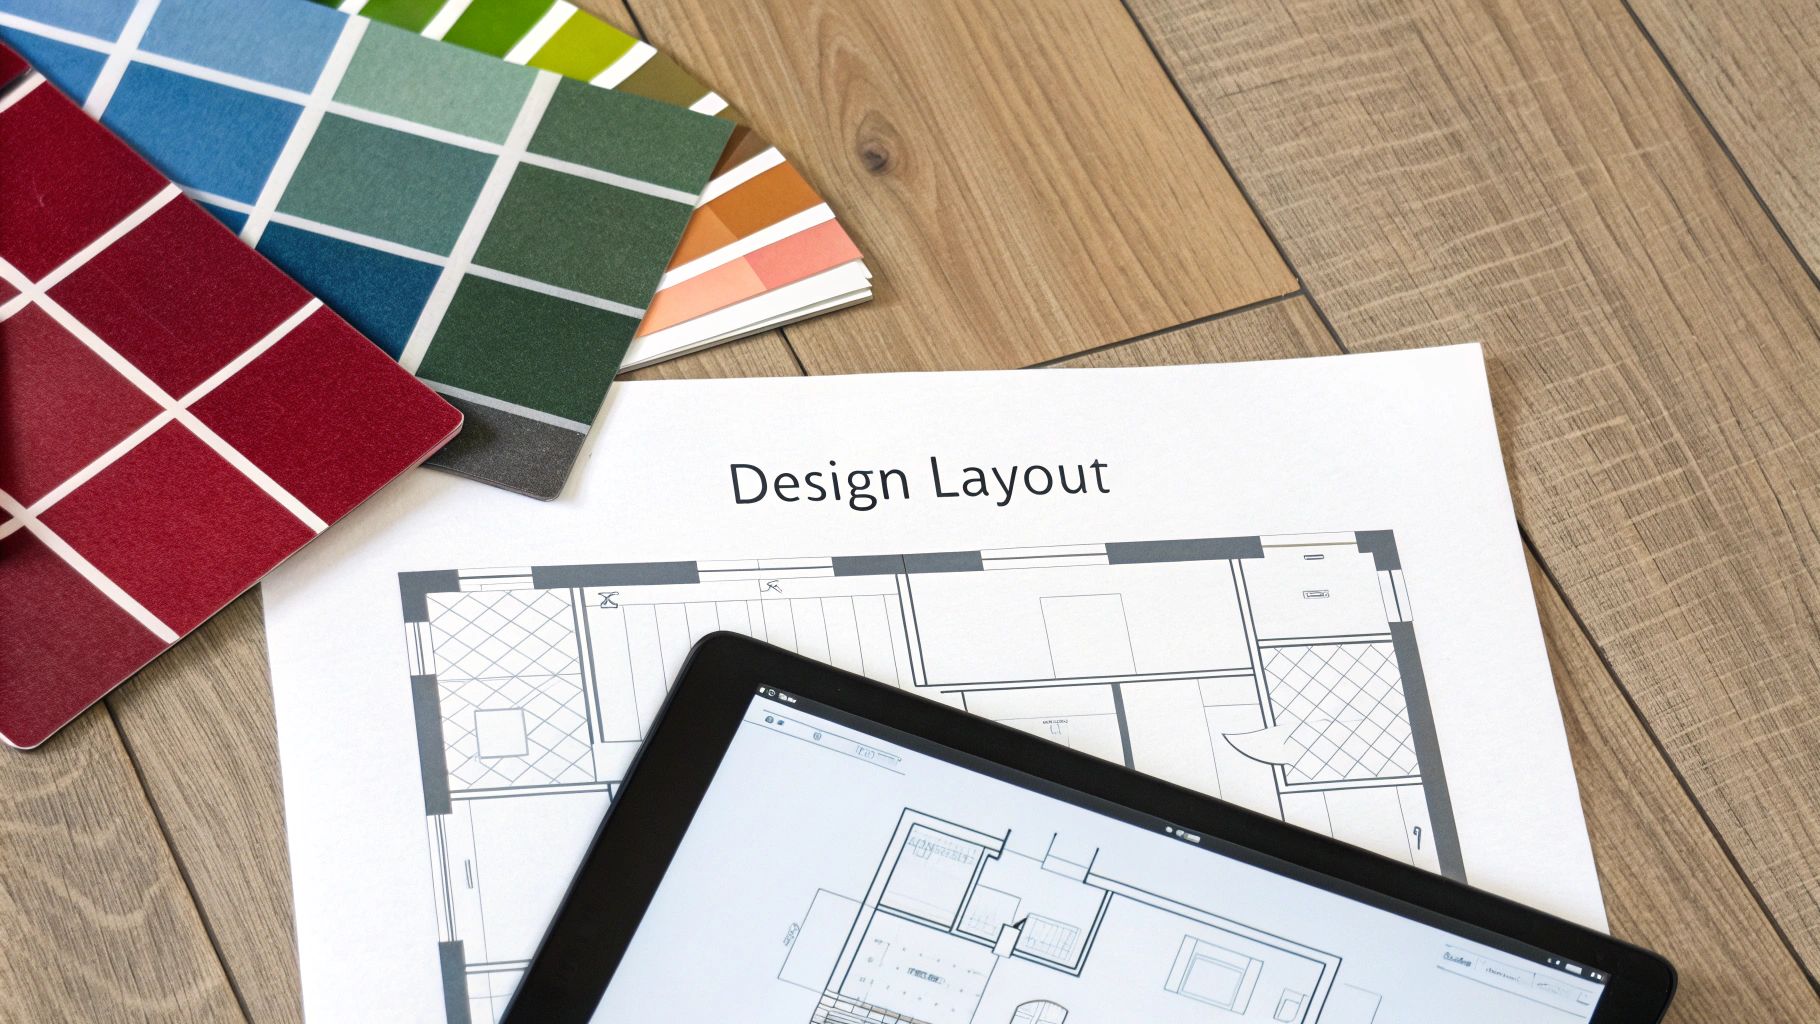
This is where the fun really begins—turning all those ideas from your mood boards and wish lists into a tangible plan. Figuring out the layout and style is often the most exciting part of a bathroom project, but it’s also where you have to think critically. A beautiful bathroom that doesn’t actually work for your daily routine is a design failure, no matter how good it looks.
The real goal here is to create a space that feels natural and looks unified. Every single choice, from where the toilet goes to the finish on the drawer pulls, needs to support how you live and reflect what you love.
Nailing Down the Perfect Layout
Before you start picking out tile or falling in love with a freestanding tub, you have to get the floor plan right. The layout is the foundation for everything else—it determines traffic flow, accessibility, and how the room feels every time you walk in.
Moving plumbing lines is one of the quickest ways to blow your budget, so it's always smart to first explore layouts that work with your existing "wet wall." That's the wall that already contains the main supply and drain lines.
That said, if your current layout is a constant headache, now is the moment to fix it. A good contractor can give you a realistic idea of what it would cost to move a toilet or a shower drain, helping you weigh the price against the payoff of a much more functional space.
Here are a few layout questions I always ask clients:
- How's the door swing? Does it smack into the vanity or block the toilet? Swapping it for a pocket door or even changing it to swing out can free up a surprising amount of usable space.
- Do you have enough elbow room? You need enough clearance to comfortably stand at the sink, step out of the shower, or use the toilet. Building codes dictate the minimums, but you should aim for what feels comfortable, not just what’s legally required.
- What’s the first thing you see? When you open the door, your eye should land on something pleasant, like a beautiful vanity or a striking tile feature—not the toilet.
A well-planned layout can make a tiny bathroom feel surprisingly spacious. Don't be afraid to sketch out a few different ideas on paper. Often, the best solution isn't the first one you think of.
Defining Your Personal Style
Once you have a solid layout, you can dive into the aesthetics. Your personal style is the glue that will hold all your material and finish choices together. Are you going for that warm, modern farmhouse vibe? Or do you lean toward the clean, uncluttered lines of contemporary minimalism?
A great place to start is by picking three to five words to describe the feeling you're after. Think "serene," "energetic," "classic," or "organic." These will become your guideposts.
Next, start building out your palette of colors and materials:
- Pick a lead metal. Choose one main finish for your faucets, showerhead, and light fixtures—think matte black, brushed nickel, or aged brass. This creates a cohesive look. You can add an accent metal later, but start with a primary.
- Find your "star" element. Every great design has a focal point. Will it be a dramatic patterned floor, a custom wood vanity, or a gorgeous slab of quartz in the shower? Let one element take the spotlight and choose other materials that complement it instead of competing with it.
- Incorporate texture. Great design is about more than just color; it’s about how things feel. Try pairing a smooth, polished countertop with a rustic, handmade wall tile, or a sleek vanity with a soft, textured shower curtain.
Choosing Materials and Finishes That Last
Selecting the right materials is always a balancing act between looks, durability, and how much time you want to spend cleaning. What works beautifully in a powder room you rarely use might be a maintenance nightmare in a busy family bathroom.
It's also interesting to see how much thought homeowners put into these details. For instance, Google search data shows that queries for 'modern bathroom vanities' consistently spike in June and January—right when people are deep in their home improvement planning. You can see more about how these choices shape remodeling industry trends on AdvanceDesignStudio.com. It just goes to show you're not alone in sweating the small stuff.
To help you get started, here's a quick look at some of the most popular material choices we see here in Southwest Michigan.
Material & Finish Comparison for Your Bathroom
Making the right material choices is crucial for a bathroom that not only looks great but also stands up to moisture and daily use. This table compares some common options to help you decide what's best for your project and lifestyle.
| Material Type | Best For | Pros | Cons |
|---|---|---|---|
| Porcelain Tile | Floors & Showers | Extremely durable, waterproof, and comes in a massive variety of styles and price points. | Grout lines need regular cleaning to prevent mildew; can feel cold underfoot without radiant heating. |
| Quartz | Countertops & Shower Niches | Non-porous (so it never needs sealing), very stain-resistant, and has a consistent look. | Can be more expensive than other options; less heat-resistant than natural granite. |
| Natural Stone | Floors, Counters, & Walls | Each piece is unique and beautiful, which adds a high-end, luxury feel and great resale value. | It's porous and must be sealed regularly; can be prone to scratching and staining from certain products. |
| Luxury Vinyl Tile (LVT) | Flooring | 100% waterproof, durable, feels warmer underfoot than tile, and is very budget-friendly. | Can be punctured by sharp objects; may not add as much resale value as stone or porcelain tile. |
At the end of the day, the best materials for your bathroom are the ones you’ll love looking at every morning—and the ones that can handle your family's daily wear and tear for years to come.
Hiring the Right Pros for Your Project
Alright, let's tackle what can feel like the most daunting part of a bathroom renovation: dealing with contractors, permits, and tradespeople. This is the stage where your careful plans start to become reality, and honestly, having the right team in your corner is the single most important part of the whole process. It can feel overwhelming, but I’ll walk you through exactly who you need and how to find them.
First up, the dreaded permit question. Here’s a simple rule of thumb: if your project involves moving plumbing supply lines, drains, or any electrical wiring, you're almost certainly going to need a building permit. If you're just doing a cosmetic facelift—like painting the walls or swapping out a vanity in the exact same spot—you can usually skip it.
Keep in mind, here in Southwest Michigan, the specifics can differ a bit from Kalamazoo to Portage or other townships. The best move is to check your local city or township's building department website first. A quick phone call can also clear things up and give you a checklist of what triggers a permit for a bathroom remodel.
Assembling Your Renovation Team
For a full-gut renovation, you’ll be working with a few key players. Knowing who does what is critical to hiring the right people for the job.
-
General Contractor (GC): Think of the GC as the quarterback of your project. They manage everything from start to finish. They hire the plumber, the electrician, and the tiler, schedule everyone, pull the necessary permits, and make sure the whole thing stays on track and on budget. For any project involving more than one or two trades, a good GC is worth their weight in gold.
-
Designer: If you’re having a hard time nailing down a cohesive vision or you're planning a totally new, complex layout, an interior designer can be a lifesaver. Their expertise is in space planning, sourcing all the materials and finishes, and making sure the final look is both beautiful and incredibly functional.
-
Tradespeople: These are the specialists—the licensed plumbers, electricians, and tile setters. For a very small project, like just replacing a toilet and a light fixture, you might hire them directly. On bigger jobs, however, they'll almost always work as subcontractors under your GC.
Questions to Ask Every Potential Contractor
Finding a great contractor is about so much more than just getting the lowest bid. This is someone you're trusting in your home, often for weeks on end. I always recommend interviewing at least three different candidates before making a decision.
A word of caution: Never hire a contractor who pressures you for a huge upfront deposit or suggests being paid in cash to "save on taxes." These are massive red flags and often point to an unlicensed or unreliable operator.
During your interviews, run through this checklist:
-
Are you licensed and insured? Don't just take their word for it. Ask for a copy of their residential builder's license and proof of liability insurance and workers' compensation. This is what protects you if an accident happens on your property.
-
Can you provide recent references? A pro with a solid reputation will be happy to share contact info for their last few clients. Actually call them! Ask about the experience, how communication was, and—most importantly—how the contractor handled any unexpected problems.
-
Who will actually be working on my project? Will it be the contractor's own employees or a rotating crew of subcontractors? Knowing the team structure helps set clear expectations for who will be in your home every day.
-
What is your payment schedule? Payments should always be tied to project milestones, like "after demolition is complete" or "after plumbing rough-in passes inspection." They should not be based on arbitrary dates. A typical schedule involves a small deposit to get on the calendar, followed by several progress payments.
-
Will you provide a final lien waiver? This is a critical piece of paper. A signed lien waiver confirms that your GC has paid all their subcontractors and suppliers in full. Without it, a supplier could technically put a lien on your property for an unpaid bill, even if you paid your contractor.
Taking the time to properly vet your team is the best investment you can make in your renovation. A skilled, professional crew doesn't just deliver a beautiful bathroom—they make the entire process smoother and a whole lot less stressful.
Getting Ready for Demolition Day
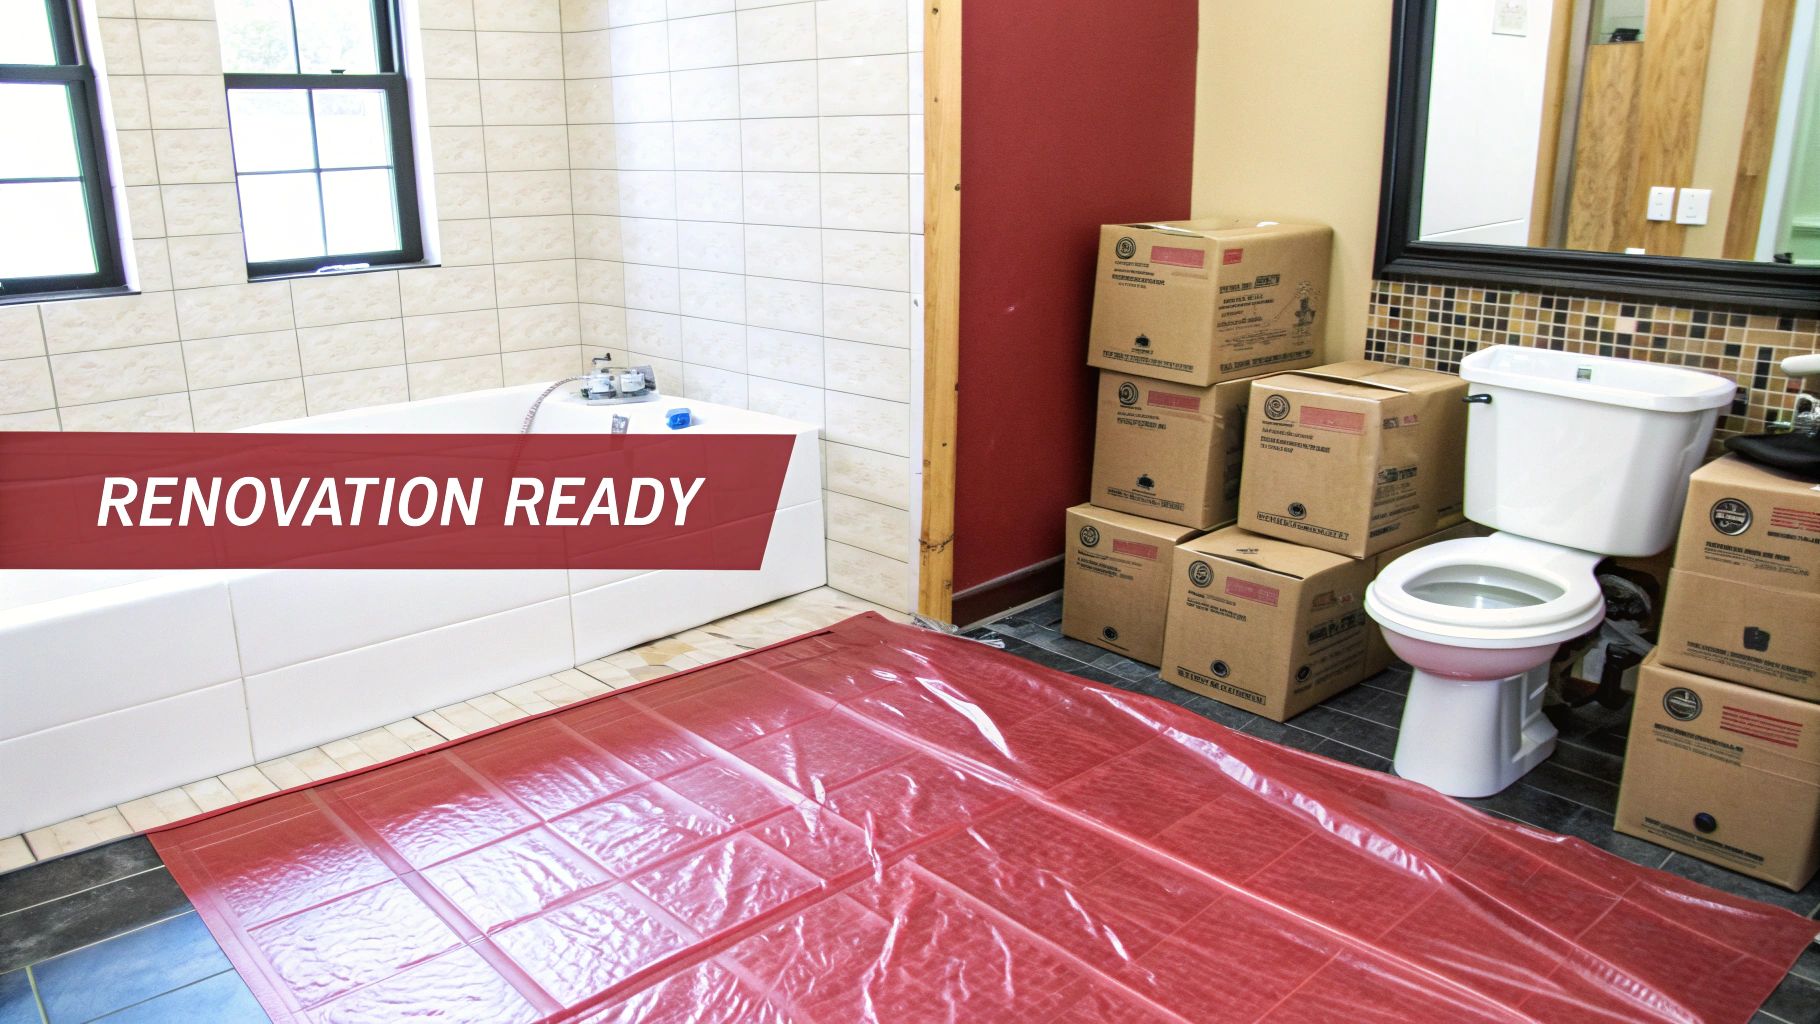
You’ve done the hard work of planning, budgeting, and hiring. The materials are on their way, and the start date is officially circled on your calendar. Now it's time to shift gears from design decisions to the practical side of things: living through the actual construction.
This final stage is less about grout colors and more about dust control and daily logistics. Trust me, a little preparation right now will make a world of difference in your stress levels once the hammers start swinging. It's all about making life easier for your family and the crew.
Protecting Your Home from the Inevitable Mess
Let's be honest: renovations are messy. The dust from demolition and drywall sanding is unbelievably fine, and it has a knack for getting everywhere. But you can definitely contain the chaos.
Start by clearing a direct path from your main entrance to the bathroom. Move any pictures, plants, rugs, or furniture out of that hallway. Your contractor will likely lay down protective coverings, but giving them a clear runway from the get-go helps prevent accidents and makes their work more efficient.
Next, focus on containing the dust.
- Seal the Room: Use heavy plastic sheeting and painter's tape to completely seal off the doorway to the bathroom. If you want to be extra careful, do the same for any adjoining rooms. It’s a simple step that pays huge dividends.
- Shut Down the Vents: Turn off the HVAC zone that services the bathroom area. Then, cover both the supply and return air vents in the work zone with plastic. This is critical for preventing dust from being sucked into your ductwork and blown all over the house.
- Cover Everything Nearby: In adjacent rooms, throw old sheets or drop cloths over your sofas, beds, and other furniture. You'll be glad you did.
Figuring Out a Temporary Bathroom Plan
If this is your only bathroom, you need a solid backup plan. Living without a toilet or shower for several weeks is a serious disruption, but it’s manageable with some foresight.
For those with more than one bathroom, the fix is easy—everyone just has to share. A good tip is to clear a drawer or some counter space for the person whose bathroom is out of commission.
If you’re going down to zero bathrooms at home, it's time to get creative.
- The "Camp-In": A simple camp toilet set up in the garage or a private corner of the basement can be a real lifesaver for late-night emergencies.
- The Gym Pass: A short-term membership at a local spot like the Portage YMCA is a fantastic solution. You get access to clean, private showers whenever you need them.
- The Good Neighbor: Never underestimate the kindness of friends or family who live close by. Working out a shower schedule with a neighbor can make the whole process feel much less disruptive.
It's wise to have this figured out before the toilet is removed. A proactive approach to this temporary inconvenience is a key part of surviving the renovation process with your sanity intact.
Setting the Ground Rules with Your Crew
Before the first day of work, take a few minutes to connect with your general contractor or the site foreman. This isn't about micromanaging them; it’s about setting clear, respectful expectations for how daily life is going to work while they’re in your home.
A few key points to quickly cover:
- What are their typical arrival and departure times?
- Is there a preferred place for them to park their vehicles?
- Where is the best spot to stage tools and materials?
- How will they keep you updated on progress? (e.g., end-of-day text, weekly check-in)
By preparing for the reality of construction, you’re doing more than just protecting your floors and furniture. You’re building a foundation of good communication and respect with your team, which is the best way to ensure the project runs smoothly from start to finish.
Got Questions? Let's Talk Through Them
Even the most buttoned-up plan will have a few question marks. That's just part of the process. It's totally normal to have questions pop up as you dive deeper into your bathroom renovation. To get you ahead of the game, I've pulled together some of the most common ones we hear from homeowners right here in Southwest Michigan.
How Long Does a Bathroom Renovation Actually Take?
This is the big one, isn't it? The honest answer is: it really depends on what you're doing. If you're just doing a cosmetic facelift—think new paint, a drop-in vanity, and a new toilet—you could be looking at a quick one-to-two-week turnaround.
But for a full-gut remodel that takes everything down to the studs? That’s a whole different ballgame.
For a complete overhaul where we're moving plumbing or electrical lines, you should realistically block out 4 to 6 weeks from the first swing of the sledgehammer to the final bead of caulk. If you’ve got custom tile on order, a bespoke vanity being built, or you're completely reconfiguring the layout, that timeline can easily stretch to 8 weeks or more.
A Little Advice From the Field: Always, always build a buffer into your timeline. We tell our clients to add at least 15-20% to the contractor's estimate. This gives you breathing room for those little surprises, like finding some old water damage behind the shower wall or a fixture getting back-ordered.
What Are the Most Common Hidden Costs?
Nobody likes financial surprises during a remodel. From my experience, the most common unexpected costs are the ones you can't see—the issues hiding behind your walls. We often open up a wall to find old, corroded plumbing that needs to be brought up to code, or discover mold that has to be professionally dealt with before we can move forward.
Other costs that can sneak up on you include:
- Permit Fees: The price for building permits can vary quite a bit from one township to the next, but it's a necessary line item for most projects.
- Debris Disposal: That old tub and tile have to go somewhere. Renting a dumpster is often a separate cost.
- Structural Hiccups: Every once in a while, we find that floor joists need to be reinforced to properly support a new, heavier tub or tile floor. It's an unforeseen but absolutely critical repair.
This is exactly why that 10-20% contingency fund isn't just a "nice-to-have." It's an essential part of a successful, less-stressful renovation plan.
Can I Save Money by Doing Some of the Work Myself?
You absolutely can, but this is where you need to be brutally honest with yourself about your skills. Taking on some of the work yourself can be a fantastic way to save on labor. Demo is a great place to put in some sweat equity. Many homeowners are also perfectly capable of handling the final painting, installing a simple vanity, or putting up baseboards.
However, there are a few jobs where trying to save a buck can cost you a fortune down the road. Leave things like plumbing, electrical work, and intricate tile setting to licensed professionals. One tiny mistake with a water line can cause thousands in damages, and faulty wiring is a major fire hazard. Plus, a failed inspection will bring your project to a dead stop, leading to frustrating and expensive delays.
What Upgrades Give Me the Best Resale Value?
When you're remodeling with an eye on what your home will be worth later, the goal is timeless appeal and smart, functional upgrades that new buyers will appreciate.
Think clean, bright, and classic. The high-impact improvements that consistently deliver a strong return on your investment are:
- Swapping an old tub-shower combo for a spacious, accessible walk-in shower.
- Adding a double vanity in a primary bathroom. This is a huge selling point for couples.
- Investing in great lighting and ventilation. It makes the room feel bigger and keeps moisture problems at bay.
- Choosing durable, high-quality flooring, like porcelain tile, that will still look fantastic years from now.
While it's tempting to go for the latest trendy tile or a really unique fixture, it's the well-executed basics in a classic style that will always appeal to the widest range of buyers and add real, tangible value to your home.
Ready to stop wondering and start planning? The team at Trademaster Construction has been helping homeowners across Southwest Michigan turn their bathroom ideas into beautiful, functional spaces for years. From the first sketch to the final fixture, we're here to handle every detail. Get a feel for your project's budget with our no-obligation Pricing Tool today.

