
Removing old tile is pure demolition. There's no way around it. The whole process really boils down to three main phases: getting the space ready, tearing out the tile, and cleaning up the surface underneath. Having the right tools and a solid plan before you even think about swinging a hammer is what separates a successful project from a total disaster.
Your Game Plan for Removing Old Tile
Staring down a room full of old, dated tile can feel intimidating, but with the right approach, it's a project most homeowners can handle. This guide will give you a clear roadmap, starting with the absolute essentials. Think of it as your battle plan before the first tile chip flies.
The difficulty of the job really depends on a few key things. For example, popping ceramic tile off a plywood subfloor is usually a lot easier than chipping stubborn porcelain that's been bonded to a concrete slab for decades. The type of adhesive the original installer used—like an old-school, gummy mastic versus a modern, cement-based thinset—will also make a huge difference in how much elbow grease you'll need.
Understanding the Full Scope of Work
Before you start, you need to see the entire project from beginning to end. A successful tile removal isn't just about the smash-and-grab demolition; it’s about perfectly prepping the surface for your beautiful new installation. That means accounting for every single step.
A complete overview looks something like this:
- Workspace Preparation: You'll need to clear the room completely, protect anything you can't move from dust and debris, and seal off the area to keep the mess contained.
- Safe Demolition Techniques: This is all about learning how to use your tools to get tile up efficiently without wrecking the subfloor or walls.
- Adhesive and Mortar Removal: Honestly, this is often the most brutal part of the job. It involves a lot of scraping, grinding, or maybe even chemical removers to get that substrate totally clean.
- Final Subfloor Cleanup and Inspection: The last step is a thorough vacuuming of all dust and a careful check of the subfloor for any damage that needs fixing before new flooring goes down.
This simple infographic breaks that workflow down into three core stages.
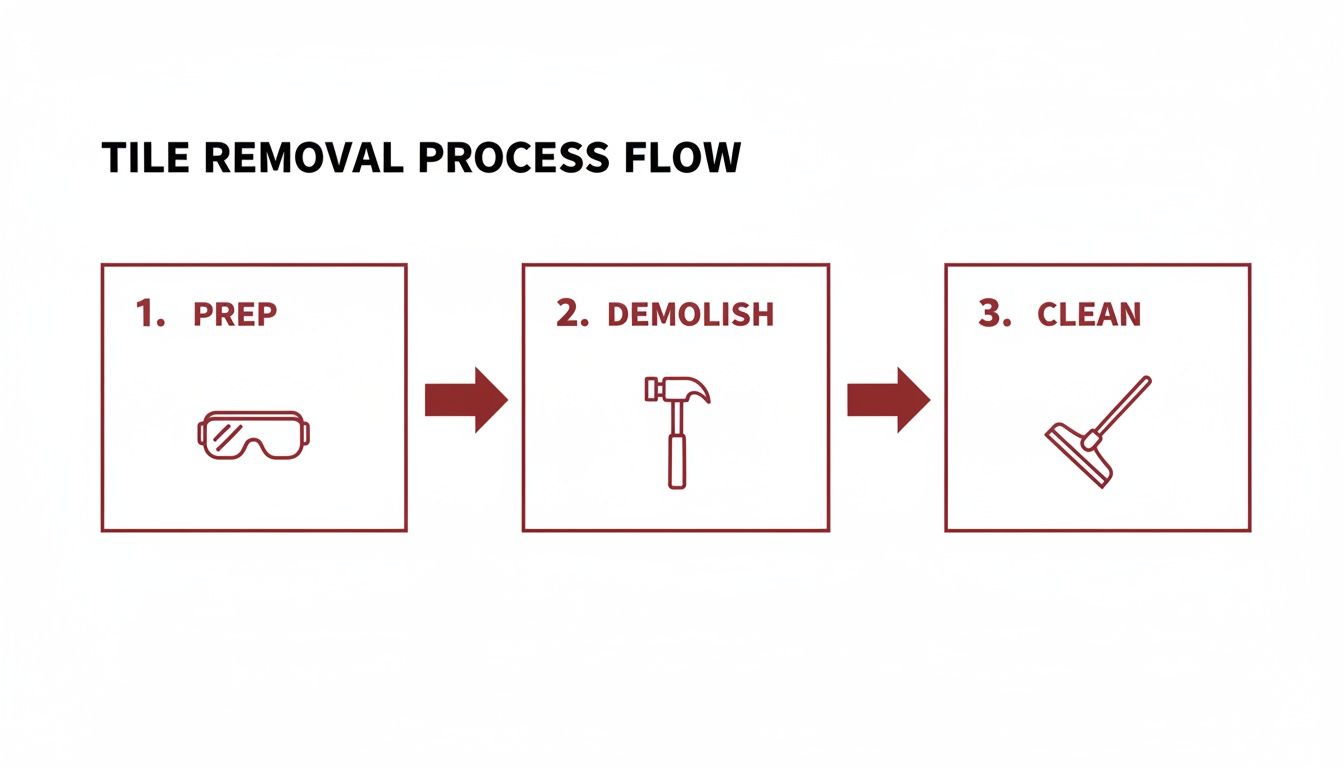
Thinking about the process this way helps bring order to what can feel like a pretty chaotic job. Each phase builds on the one before it.
Just remember, the goal isn't just to get the old tile out—it's to create a perfectly clean, smooth, and stable foundation for the new stuff. Taking shortcuts here will absolutely cause headaches and extra costs later.
By understanding the full scope, you can decide whether you're ready to roll up your sleeves or if it's time to call in a pro. For our neighbors in Southwest Michigan, the team at Trademaster Construction is always ready to help make sure your renovation gets started on the right foot.
Gearing Up: The Right Tools and Safety for Tile Removal
Trying to rip out old tile without the right gear is a recipe for frustration. Before you swing a single hammer, getting your tools and personal protective equipment (PPE) lined up is the most important first step. This isn't just about working faster; it's about keeping yourself in one piece and making sure the project doesn't stall out.
Think of your toolkit in two parts: the stuff for breaking things and the stuff for cleaning up the mess. For demolition, you’ll need tools designed to crack tiles and pry them loose from whatever they're stuck to.
Your Demolition Arsenal
The tools you pick will make or break this job—literally. While you can get by with a simple hammer and chisel for a small backsplash, a full room of floor tile demands some heavier hitters to save your back and your sanity.
Here’s what you should have within arm's reach:
- A Mash Hammer or Small Sledgehammer: A 3-4 lb sledge is perfect for creating that initial opening by shattering the first tile or two.
- Hammer and Cold Chisel: This classic duo is fantastic for precision work, letting you get right under the edge of a stubborn tile.
- Pry Bar or Wrecking Bar: Once you’ve got a foothold, a long-handled pry bar provides the leverage you need to pop tiles up without killing your knees.
- Floor Scraper: This is your best friend after the tiles are gone. A long-handled scraper with a heavy-duty blade is essential for scraping up old thinset or mastic.
Tile demolition is a messy, physical job. The right tool doesn't just make it faster—it makes it safer by giving you control and leverage, which means fewer chances for slips and injuries.
For big jobs, like a kitchen floor with tough porcelain tile on a concrete slab, seriously consider renting power tools. An electric demolition hammer or a rotary hammer with a chisel bit can turn a weekend-long nightmare into a few hours of work. Yes, there's a rental fee, but the time and energy you save are almost always worth it.
This shift toward efficiency is happening across the entire flooring industry, a global market projected to hit USD 646.7 billion by 2034. While old-school manual chiseling still accounts for about 90% of jobs, power grinders can slash adhesive removal time by a whopping 60%, especially on the thick mastic found in older homes. You can see more on how these industry trends are shaping the market.
Essential Tools for Tile Removal
Choosing the right tool often comes down to the size of your project and the type of material you're removing. Here's a quick comparison to help you decide what you'll need.
| Tool Category | Manual Options | Power Tool Alternatives | Best For |
|---|---|---|---|
| Breaking & Loosening | Hammer & Cold Chisel | Rotary Hammer with Chisel Bit | Small repairs (manual) vs. large floors (power) |
| Prying & Lifting | Pry Bar, Wrecking Bar | N/A (Leverage is key here) | Popping up loosened tile sections efficiently |
| Adhesive Removal | Long-Handled Floor Scraper | Angle Grinder with Diamond Cup Wheel | Scraping thinset (manual) vs. grinding stubborn adhesive on concrete (power) |
| Grout Removal | Grout Saw, Carbide Scraper | Oscillating Multi-Tool with Grout Blade | Detail work around remaining tiles (manual) vs. quickly clearing large grout lines (power) |
Ultimately, having a mix of both manual and power tools on hand gives you the flexibility to tackle any challenge the old tile throws at you.
Safety Gear Is Not Optional
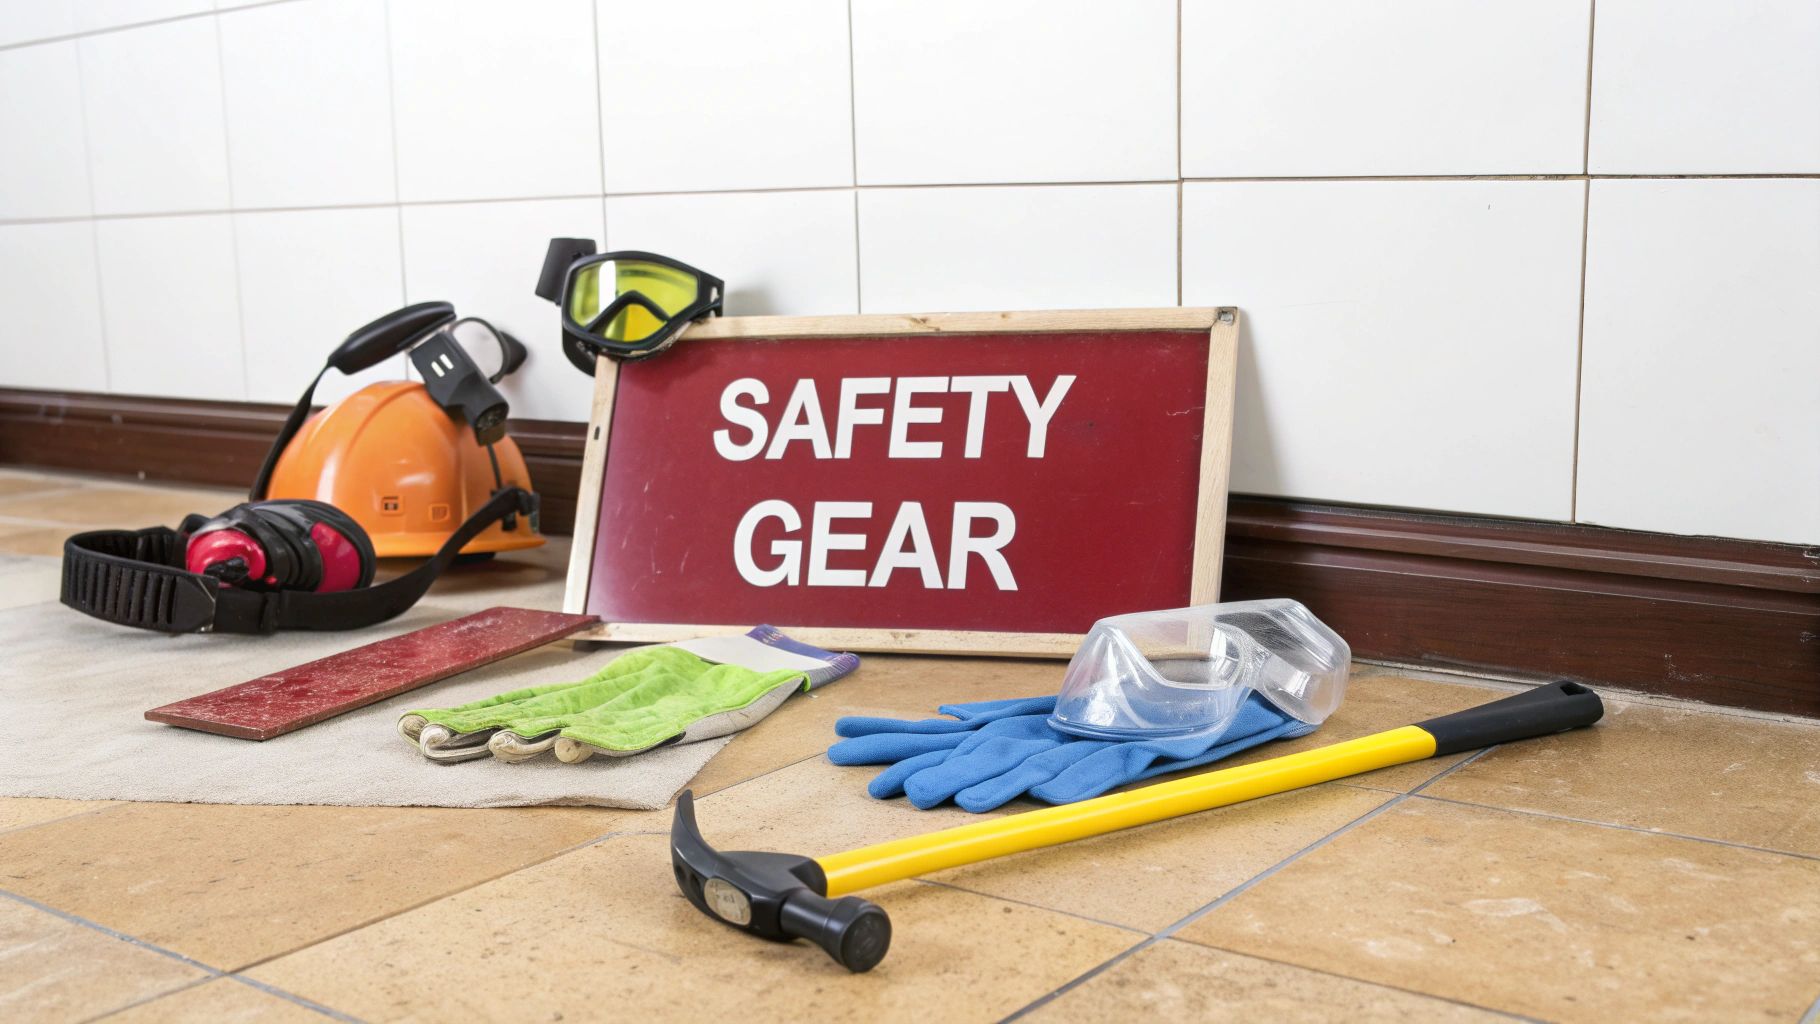
I can't say this enough: tile removal is dangerous. Flying shards of ceramic are incredibly sharp, and the dust you'll kick up is seriously bad for your lungs. Donning the right PPE isn't just a suggestion; it’s a requirement.
Your must-have safety checklist:
- Safety Goggles: Don’t just use glasses. Get full-coverage goggles to protect your eyes from chips coming at you from all angles.
- Heavy-Duty Work Gloves: Thick leather or reinforced gloves are a must to save your hands from cuts and blisters.
- Dust Mask or Respirator: Old mortar and tile dust contain silica, which is harmful to breathe. An N95-rated respirator is the absolute minimum you should be wearing.
- Knee Pads: You’ll be on your knees a lot. Good gel knee pads are worth every penny.
- Steel-Toed Boots: Protect your feet from falling tiles and the minefield of sharp debris that will litter the floor.
Beyond protecting yourself, you need to protect your home. Use heavy plastic sheeting and painter's tape to seal off doorways, vents, and any nearby furniture. This one simple step will contain the massive cloud of dust you're about to create, saving you from a house-wide cleaning headache later. Get all this ready before you start, and you'll be set up for a much smoother project.
Getting Started With Tile Demolition
Alright, you've prepped the room, you’ve got your gear on, and it’s time to make some noise. This is the main event. But successful tile demolition is more about strategy than pure brute force. How you tackle a floor is completely different from how you approach a wall, and it all comes down to what's underneath—the substrate.
On floors, the name of the game is speed and leverage. With walls, it's all about precision and preservation. If you get too aggressive on a wall, you can easily gouge the drywall or crack the backer board, turning a simple demo into a major repair project.
Tackling Floor Tiles
Removing floor tile is usually pretty straightforward. Most subfloors, whether they're plywood or concrete, are built tough and can handle the work. Your first mission is just to create a starting point—one single opening in that field of tile that you can use to get leverage.
Scan the floor for a weak spot. Is there a tile that’s already cracked, chipped, or has crumbling grout around its edges? If you can't find an obvious weak link, pick a tile in an out-of-the-way spot, like inside a closet or under where the fridge used to be. That way, if you accidentally ding the subfloor while getting started, it won't be a big deal.
Creating Your First Opening
- Grab a grout removal tool or an oscillating multi-tool and clear the grout from all four sides of your target tile. This isolates it from the surrounding tiles, so the impact doesn't transfer and crack them before you're ready.
- With your safety goggles on, give the center of the tile a solid whack with a mash hammer or small sledgehammer. You're not trying to pulverize it—just create a few deep cracks.
- Now, use a smaller hammer and a cold chisel to get under the edges of those broken pieces and pop them up. Getting this first tile out is almost always the toughest part of the job.
Once that first tile is gone, everything gets easier. You can now slide a long-handled floor scraper or pry bar under the edges of the neighboring tiles. Work from your opening, applying steady pressure, and you’ll find they start popping loose. Before you know it, you'll hit a rhythm and start making real progress.
Removing Wall Tiles with Finesse
Wall tile is a different beast entirely. You have to be much more careful because the drywall or cement backer board underneath can’t take the same abuse as a concrete slab. The whole goal here is to preserve that surface to avoid a ton of patching work later.
Just like with the floor, start by creating an opening. A great place to look is around fixtures you're already planning to remove, like a soap dish, toilet paper holder, or towel bar. Once you've got a small area clear, you can start working your way out.
Pro-Tips for Wall Tile Demolition
- Bring the Heat: Older homes, especially from the 80s and 90s, often have tile stuck on with mastic, which is a gummy, organic adhesive. A heat gun is your best friend here. Gently warming the tile softens the mastic behind it, making it much easier to slide a putty knife or small pry bar underneath and lift it off.
- Use a Multi-Tool: An oscillating multi-tool with a scraper blade is a game-changer for wall tile. It lets you slip the blade right behind the tile and vibrate it loose, often without leaving a mark on the drywall. It's also perfect for making clean cuts around outlets and pipes.
This careful approach is more important than ever. The ceramic tiles market is set to hit USD 333.24 billion by 2031, with a huge chunk of that growth coming from homeowners renovating older properties. Here in Portage and Kalamazoo, that often means dealing with tile that's been stuck on a wall with stubborn mastic for 20 or 30 years. Using a heat gun to soften that old adhesive has about an 80% success rate for a clean removal—a critical technique in the over 60% of residential renovations that involve updating tile. You can discover more insights about the growing global demand for ceramic tiles and see why these skills are so valuable.
The biggest mistake DIYers make with wall tile is trying to use too much force. Let the tools do the work. If a tile won't budge, try more heat or a different angle with your scraper blade instead of just prying harder.
Don't forget that the tile itself will dictate your strategy. Brittle ceramic shatters easily, creating a mess of sharp shards. Dense porcelain, on the other hand, is much tougher to break and will likely come up in big, heavy pieces. Adjust your technique as you go, and always focus on protecting what's underneath.
Getting Rid of Stubborn Thinset and Mastic Adhesives

Prying up the old tiles feels like a victory, but don't start celebrating just yet. The real work often begins when you’re staring at that ugly, uneven layer of old adhesive. Honestly, getting this gunk off the floor or wall is probably the most critical part of the entire job.
Your goal is to get the surface perfectly smooth, clean, and flat for the new tile. It doesn't matter if you're dealing with cement-based thinset or sticky mastic—any ridges or bumps left behind will cause major headaches later, like uneven tiles or hollow spots that can crack.
First, Figure Out What You're Dealing With
The way you attack thinset is completely different from how you handle mastic, so you need to know what you’re up against. Luckily, a simple water test will tell you everything.
Just sprinkle a few drops of water on the adhesive. If it soaks in and darkens the material, you’ve got thinset mortar. If the water just beads up on the surface, it’s mastic—a water-resistant organic glue.
- Thinset Mortar: This is a cement-based product that gets rock-hard. It’s tough, brittle, and usually gray or white. Getting this off requires some real muscle.
- Mastic Adhesive: This stuff is stickier and more pliable, often looking like dried-out caramel or tar. You’ll see it a lot in older homes, especially for wall tile.
Properly removing old adhesive is a huge part of the renovation boom driving the flooring market, which is projected to hit US$555.7 billion by 2033. A lot of that work is in homes from the 70s and 80s with failing tile. In bathrooms, we see these failure rates jump by 30-40%, which is why a clean substrate is non-negotiable for making your new investment last.
Strategies for Grinding Down Thinset
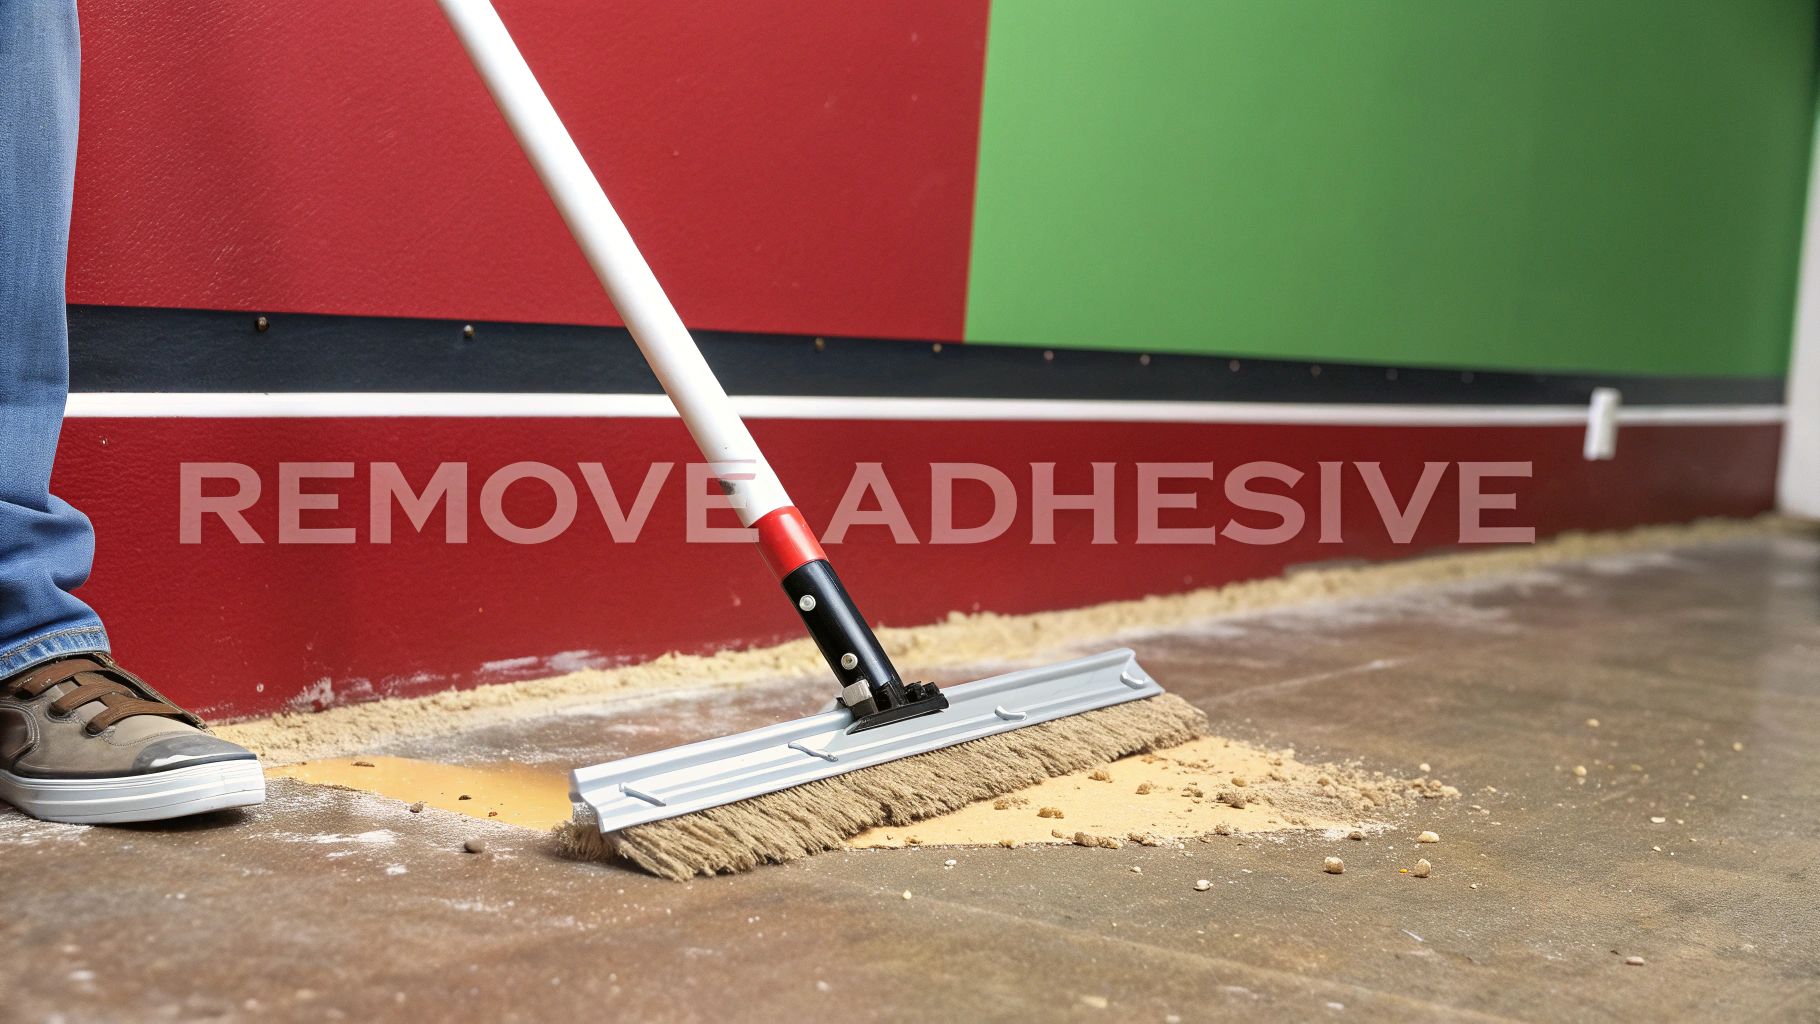
When it comes to thinset, it’s all about brute force. For a thin layer on a plywood subfloor, you might get away with a long-handled floor scraper. You'll need to put your body weight into it and use short, sharp strokes to chip away at the mortar.
But if you're facing a thick layer of thinset on a concrete slab, hand-scraping is a recipe for exhaustion. This is where you call in the big guns. The tool of choice for pros is an angle grinder fitted with a diamond cup wheel. It literally grinds the thinset into dust, leaving you with a smooth concrete surface.
Be warned: this method creates an incredible amount of fine silica dust. An N95 respirator and completely sealing off the room from the rest of the house are mandatory for safety.
Pro Tip: Keep the angle grinder moving in wide, sweeping motions. If you hold it in one place for too long, you can easily gouge the concrete, creating divots that you’ll have to patch before tiling.
How to Tackle Sticky Mastic
Mastic is a different beast altogether. It’s gummy and flexible, so it tends to just clog up grinders and laugh at scrapers. While you can sometimes chip away at it, you’ll often need a smarter approach.
Chemical adhesive removers work wonders here. These products are formulated to dissolve the mastic, turning it into a sludge you can easily scrape up. Just be sure to follow the manufacturer’s instructions to the letter, ventilate the room well, and wear chemical-resistant gloves and goggles.
The core principle here—careful removal without wrecking the surface below—is the same for other projects, like removing wallpaper paste without damaging your walls. In both cases, patience and the right technique are everything.
Another fantastic method, especially for wall mastic on drywall, is using a heat gun. Gently warming the adhesive softens it right up, letting you peel it away with a simple scraper. It’s a much cleaner and less toxic option than dousing your walls in chemicals.
Getting Your Subfloor Ready for New Tile
You've made it through the dust and debris. The old tile is gone, and you’ve scraped away the last of that stubborn adhesive. Now you're on the home stretch, but don't get ahead of yourself. This last step—prepping the subfloor—is what separates a decent tile job from a great one that lasts for decades.
Skipping a proper subfloor inspection is one of the biggest mistakes I see homeowners make. It's tempting to rush, but your subfloor is the foundation for your new tile. Any little imperfection you ignore now will come back to haunt you, usually in the form of cracked tiles or crumbling grout lines. It's time to get on your hands and knees and play detective.
Give Your Subfloor a Thorough Inspection
After one final, deep vacuum to get rid of every last bit of dust, it's time to really assess what you're working with. What you need to look for depends entirely on whether you have a wood or concrete subfloor.
With a plywood or OSB subfloor, keep an eye out for:
- Water Damage: Look for any dark stains, soft or spongy spots, and delamination where the wood layers are peeling apart. Water damage is a non-negotiable repair.
- Loose or Squeaky Boards: Walk every inch of the floor. If you feel any give or hear squeaks, the panels aren't properly secured to the joists.
- Uneven Seams: Grab a long straightedge and slide it across the seams where the plywood sheets meet. Any high spots or lips will need to be sanded down for a flat surface.
If you're working with a concrete slab, your checklist looks a little different:
- Cracks: We're not too worried about hairline cracks, but anything wider than a credit card is a problem. Also, check if one side of a crack is higher than the other—that's a sign of movement.
- Pitting or Spalling: Look for areas where the concrete surface is crumbling, flaking, or has little pits in it.
- Moisture Problems: An old pro trick is to tape a small square of plastic sheeting tightly to the floor. Leave it for 24 hours. If you pull it up and see condensation underneath, you may have a moisture issue that needs an expert opinion.
Making the Right Subfloor Repairs
Once you've got your punch list, it’s time to make things right. The good news is that most of these minor fixes are well within a DIYer's skill set—they just take a bit of patience.
On a wood subfloor, silencing those squeaks is simple. Find the floor joists (a stud finder can help) and drive 2-inch deck screws through the subfloor into the joists every 6-8 inches. For any small holes or gouges, a good epoxy-based wood filler will make them disappear.
Any significant water damage is a red flag. You'll need to cut out the damaged sections of plywood and replace them completely. Don't even think about cutting this corner; a compromised subfloor will absolutely destroy your new tile installation.
For a concrete slab, you can fill minor cracks and divots with a cementitious patching compound. Just follow the mixing directions, trowel it into the problem spots, and feather the edges so they’re smooth. If you have bigger dips or low spots, a self-leveling compound is a fantastic product. You just mix it, pour it, and it magically creates a perfectly flat, smooth surface for you.
Finishing these repairs ensures your subfloor isn't just clean, but flat, level, and structurally sound. If you’re in Southwest Michigan and uncover widespread damage or a serious moisture issue, don't hesitate to give the team at Trademaster Construction a call for a professional evaluation. We can help you get your foundation right before you move forward.
When to DIY vs. When to Hire a Pro
There's no denying the satisfaction of tackling a home project yourself. Ripping up old tile can be a fantastic way to save a good chunk of change on labor costs, and I've seen plenty of homeowners do a fantastic job. But before you start swinging a hammer, it’s worth taking an honest look at the project ahead.
Some jobs are perfect for a weekend warrior, but others really do call for a seasoned pro. Knowing when to make that call is the first, and most important, step to a successful renovation. It protects your home, your timeline, and sometimes, your health.
Making the Call: Key Things to Consider
The choice between DIY and hiring a pro usually comes down to a few critical factors: the sheer size of the job, the risk of discovering hidden damage, and the potential for hazardous materials. A small bathroom floor is one thing. Tearing out the tile in a huge kitchen and dining area is a completely different beast.
Before you commit, ask yourself these questions:
- How big is the space? A project over 200 square feet is going to generate an overwhelming amount of heavy debris. We're talking about a serious disposal challenge that’s more than a few trips to the dump in the family car.
- What's under the tile? Once you get a few test tiles up, what do you see? If you find signs of major water damage, rotting wood, or deep, worrying cracks in the concrete slab, you've stumbled into a bigger problem. A professional needs to assess and properly repair that foundation before anything new goes down.
- How much time do you really have? Be realistic. A professional crew can often have a space completely stripped and prepped in a single day. A DIY job, on the other hand, could easily eat up several weekends, holding up your entire renovation.
By far the biggest red flag is finding materials that might contain asbestos. If your home was built before the 1980s and you see old 9×9 inch floor tiles, stop everything. Do not break them, scrape them, or disturb them in any way. Asbestos testing and removal are strictly for certified professionals due to the severe health risks.
Scenarios That Scream "Call a Professional"
While every project has its quirks, some situations almost always demand a professional touch. Trying to muscle through these jobs on your own can lead to costly mistakes—the kind that ends up being far more expensive than hiring an expert from the start.
You should definitely hire a pro when:
- You're on a tight schedule. For a full kitchen or bathroom remodel, you’ve probably got other trades like plumbers and electricians lined up. Delays are expensive. A professional demolition team gets the space ready on time so the next phase can begin without a hitch.
- The subfloor is a mess. If you uncover soft, spongy plywood or deep, structural cracks in your concrete, you've moved past simple demo and into structural repair territory. This requires an expert diagnosis.
- The layout is tricky. Removing tile from areas with complex angles, split levels, or around delicate fixtures like a custom shower requires a careful hand. It’s a job where precision is key to preventing accidental (and expensive) damage.
If you’re leaning toward getting some help, it's worth exploring the advantages of hiring a demolition and disposal company to see the full value they bring. Ultimately, it’s about balancing your budget against your skill level, your free time, and the realities of your specific project.
When you're facing a massive tear-out or uncover problems that feel over your head, don't hesitate. Here in Southwest Michigan, the expert team at Trademaster Construction has the experience and heavy-duty equipment to handle any tile removal and subfloor prep challenge. We make sure your project starts on a truly solid foundation. Get in touch to talk about your project at https://www.trademasterkz.com.

