
So you've decided to tackle your bathroom floor tile. It’s a rewarding project, but the success really comes down to having a solid plan and the right gear. A great-looking, long-lasting tile job starts with a flawless foundation, and that means taking a methodical approach from the very beginning.
Your Essential Toolkit for a Flawless Finish
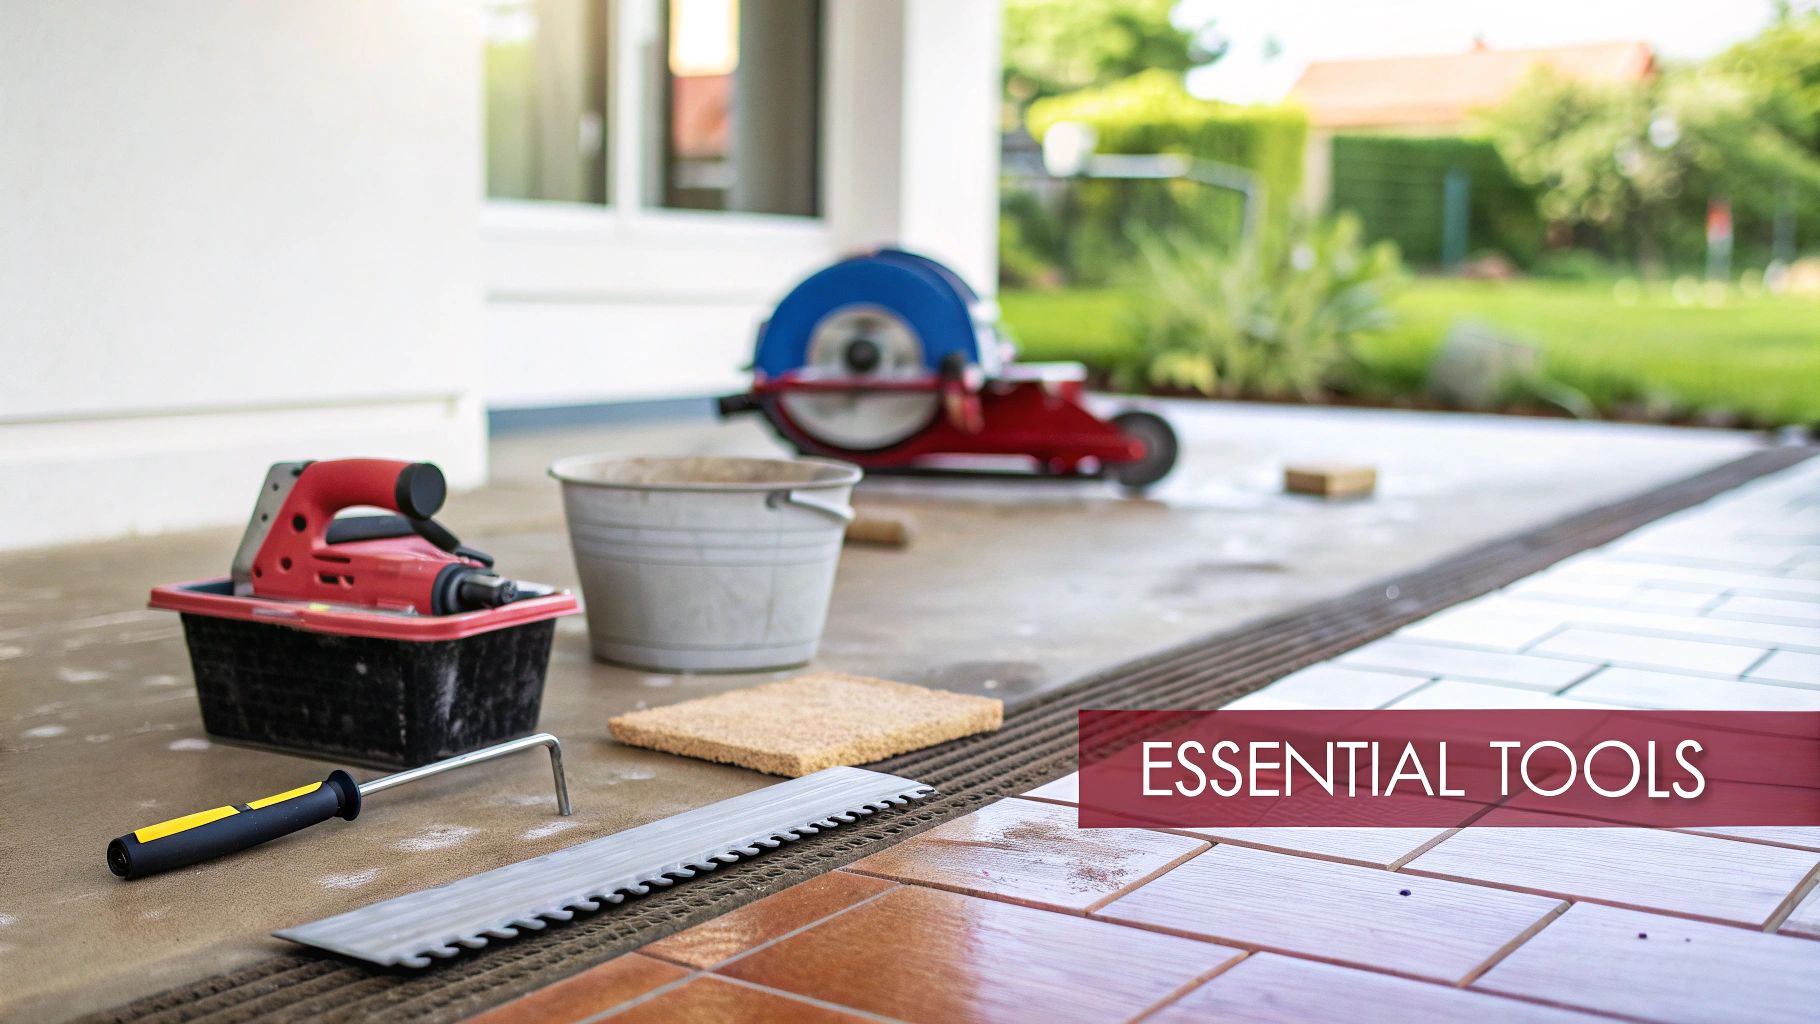
Before you even think about pulling up a single old tile, let's talk tools. Trying to tile a floor without the proper equipment is a recipe for frustration and a sloppy finish. The right tools aren't just about making the job easier; they're what separate a professional-looking result from a DIY disaster.
The Non-Negotiables for Mixing and Setting
The most critical items on your shopping list are for the mortar—the glue that holds it all together. First, you'll need thin-set mortar. This isn't a one-size-fits-all product. For a typical bathroom floor with ceramic or porcelain tile going over a cement backer board, a quality modified thin-set is your best bet. It has polymers mixed in, which add strength and a bit of flexibility—exactly what you need on a floor.
You'll absolutely need these items:
- A 5-gallon bucket: Actually, grab two. You’ll use one for mixing your thin-set and the other for clean water to rinse your tools and sponges as you go.
- A mixing paddle for your drill: Trust me on this one. Mixing thin-set by hand is a workout that almost always leaves you with lumps. Lumps are your enemy; they'll prevent tiles from sitting flat. A paddle attachment gets you that perfect, smooth, peanut butter-like consistency every time.
- A notched trowel: This is what controls how much mortar you spread. The notch size is key. For most standard 12×12 inch floor tiles, a 1/4" x 3/8" square-notched trowel is the perfect place to start.
Pro Tip: Always double-check the tile manufacturer's recommendation for trowel size. Bigger tiles need more "grab" and often require a trowel with deeper notches to ensure you get full coverage underneath. This prevents hollow spots that can lead to cracked tiles down the road.
Tools for Cutting and Precision
Let's be real: no bathroom is a perfect box. You will have to cut tiles to fit around the toilet, vanity, and doorways. This is where a lot of DIY projects fall apart. A simple score-and-snap manual cutter might work for a few straight cuts on basic ceramic, but it's no match for hard porcelain and completely useless for curves or L-shaped cuts.
This is where investing in or renting a wet tile saw pays for itself. It uses a diamond blade and a steady stream of water to make perfectly clean, chip-free cuts through any tile material. It's the only way to get those tight, professional-looking fits around obstacles. A pair of tile nippers also comes in handy for cleaning up small curves after making the initial cut with the saw.
Essential Tiling Tools vs Nice-to-Haves
Deciding what to buy versus what you can live without can be tricky. Here’s a quick breakdown of the tools that are mission-critical compared to some upgrades that just make life a little easier.
| Tool Category | Essential Item | Why It's Essential | Nice-to-Have Upgrade |
|---|---|---|---|
| Measurement | Tape Measure & Pencil | For planning your layout and marking cuts. Accuracy is everything in tiling. | Laser Level – Projects a perfectly straight line across the floor for your first row. |
| Application | Notched Trowel | This tool controls the amount of mortar you apply, ensuring a level tile surface. | Margin Trowel – Great for scooping mortar out of the bucket and for tight spots. |
| Cutting | Wet Tile Saw | Provides clean, precise cuts on all tile types, especially tough porcelain. | Angle Grinder with Diamond Blade – Makes quick work of complex cuts and notches. |
| Finishing | Grout Float & Sponge | Absolutely required for pushing grout into the joints and cleaning the excess off the tile face. | Grout Bag – Similar to a pastry bag, it helps apply grout cleanly with less mess. |
While the essentials will get the job done, springing for a nice-to-have like a laser level can save you a lot of time and headaches, especially on your first few projects.
Finally, don't forget the unsung heroes of your toolkit. A level is non-negotiable for checking your work as you go. Tile spacers are what give you those perfectly consistent grout lines that scream "professional." And please, get some knee pads—your body will thank you later.
One last critical piece of advice from the field: always buy 10-15% more tile than your square footage measurement calls for. This "overage" is your insurance policy for bad cuts, accidental breaks, and having matching tiles on hand for any future repairs. There's nothing worse than running out mid-project, as tile colors can vary noticeably between production batches.
Getting Your Subfloor Ready for a Tile Job That Lasts
Let's be honest—this is the least glamorous part of any tiling project. It’s also the most important. A beautiful tile floor is only as strong as its foundation, and skimping on subfloor prep is the number one reason I see tile jobs fail. It’s the direct cause of cracked grout, loose tiles, and a floor that gives up years before its time.
First things first, you need to get down to the bare bones of your floor, which is typically plywood or a concrete slab. That means pulling up every last bit of the old flooring, whether it's vinyl, carpet, or laminate. Don't even think about tiling over old vinyl. You have no idea what’s hiding underneath, and every little bump or dip will telegraph straight through to your new tile.
Sizing Up Your Foundation
With the old floor gone, it's time to put on your detective hat. Your goal is simple: make the subfloor flat, stable, and clean.
Grab a long, straight level—a 4-footer is perfect—and lay it across the floor. Check it everywhere: side to side, end to end, and on the diagonals. You're hunting for any gaps between the floor and the level.
- Dips and Valleys: See a gap bigger than 1/4 inch over a 10-foot span? You've got a low spot that needs filling.
- Ridges and High Spots: These often pop up where plywood sheets meet. They'll have to be sanded down flush.
- Bounce and Flex: Take a walk across the floor. Does it feel spongy? Any give or bounce is a major red flag that the subfloor isn't stiff enough for tile and needs to be reinforced.
If you ignore these issues, you're just asking for trouble. Even a slight dip creates a hollow void under a tile, making it a prime target for cracking the first time something heavy is dropped on it.
A Pro Tip: Your floor doesn't need to be perfectly level—think billiard table horizontal—but it absolutely must be perfectly flat. A flat surface is non-negotiable because it gives every single tile complete support from the mortar bed below.
Fixing Flaws and Building Strength
If you found some serious dips, your new best friend is a self-leveling compound. This stuff is a game-changer. You just mix the powder with water until it's a liquid consistency, pour it into the low spots, and it works its magic, creating a perfectly flat patch as it cures.
Once everything is flat, the next move is critical for any wood subfloor: installing a proper underlayment. Never, ever tile directly onto plywood. Wood moves—it expands and contracts with humidity—and that movement will eventually destroy your grout and crack your tiles. The undisputed industry standard here is cement backer board.
This material gives you a rock-solid, water-resistant base that thin-set mortar loves to stick to.
- For floors, 1/4-inch thick backer board is all you need.
- To install it right, you have to comb a layer of thin-set mortar onto the subfloor before you lay down the backer board. This isn't optional; it fills any small voids to give the board 100% support.
- Then, screw it down with the special backer board screws, placing one every 6-8 inches across the entire sheet.
This mortar-and-screw sandwich creates an "uncoupling" layer, isolating the tile from any movement in the wood subfloor. In a bathroom, this step is absolutely vital. While ceramic tiles are great against moisture, with water absorption rates as low as 3-5%, that benefit is useless if the foundation gives out. Here in Southwest Michigan, we see this all the time. An estimated 20-30% of DIY jobs end up with cracks simply because this prep work was rushed. For homeowners who want it done right the first time, Trademaster’s custom tilework expertise is the perfect solution. To learn more about tile industry trends, you can read the full research on ceramic tiles.
The Final Touches on Your Underlayment
After all the backer boards are screwed down, you’re almost there. You’ll see small gaps between the sheets, and those seams need to be handled to create one solid, monolithic surface.
First, cover every seam with alkali-resistant fiberglass mesh tape. Don't use standard drywall tape; the moisture from the mortar will cause it to break down over time.
Next, use a putty knife to skim a thin layer of thin-set mortar over the tape, feathering the edges flat. Think of it just like mudding drywall joints.
Once that mortar is dry, your subfloor is officially ready for tile. It feels like a mountain of work before you even mix your thin-set, but this is the stuff that makes a tile floor last a lifetime. For a deeper dive into this critical step, check out a professional guide to floor prep for tile.
Mastering Your Tile Layout and Setting the First Rows
Let's be honest: a great tile job is all about the setup. The difference between a floor that looks like a pro was there and one that just feels… off? It almost always comes down to the layout. Rushing this stage is the classic DIY mistake, and it leaves you with those awkward, skinny slivers of tile against a wall—a dead giveaway of an amateur job.
Your goal is a balanced, symmetrical look, which means you need to find the true center of your room, not just eyeball it. Get out your tape measure, find the halfway point on each of the four walls, and mark them. Now, snap a chalk line connecting the opposing marks. Do this for both sets of walls. That perfect cross in the middle is your new best friend; it’s the guide for everything that follows.
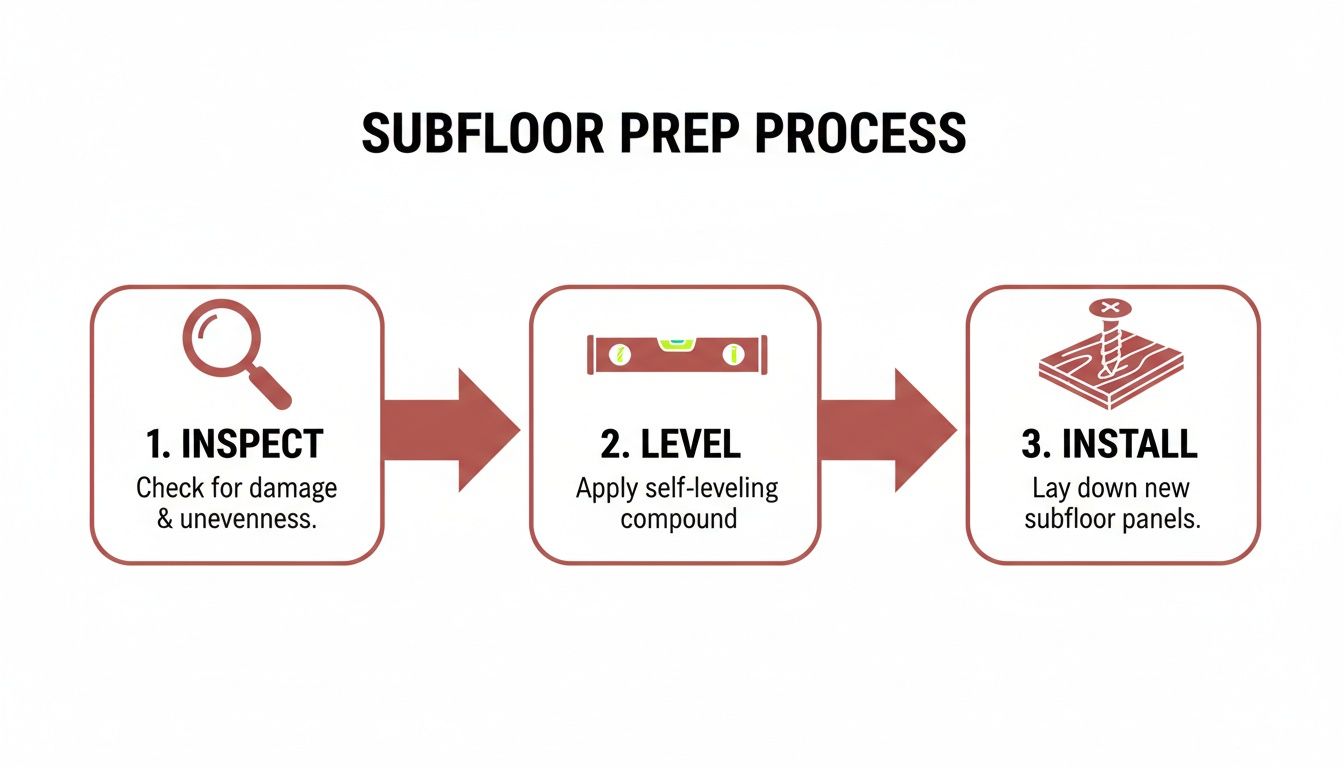
This image really drives home that the real work begins long before you touch a tile. A solid, level base is absolutely non-negotiable.
Don't Skip the Dry Layout
Before you even think about mixing mortar, you need to do a "dry layout." This is probably the most important sanity check in the entire project. Starting from your center point, just lay the tiles out on the floor along your chalk lines, complete with spacers. Lay them all the way to the walls.
This test run is your crystal ball. It shows you exactly how things will land. Are you going to end up with a miserable little 1-inch strip against the vanity that’s a nightmare to cut? If so, now is the time to adjust. By shifting your starting lines just a bit, you can make sure the cuts on opposite walls are roughly equal and a decent size. It makes for a much cleaner, more professional finish.
Think of a dry layout as your project's dress rehearsal. It lets you see and fix problems before they're permanently glued down. Seriously, take your time here. It pays off big time.
Mixing Mortar and Spreading It Right
Once you're happy with the layout, it's time for mortar. I always tell people the perfect consistency is like creamy peanut butter—smooth, no lumps, and it should hold a peak when you lift your trowel out.
For a perfect mix every time:
- Pour the specified amount of cool, clean water into your bucket first.
- Slowly add the thin-set powder to the water. This little trick helps prevent dry clumps from hiding at the bottom.
- Get your drill and mixing paddle in there and mix for a few minutes until it's perfectly smooth.
- Now, let it "slake"—just let it sit for 5-10 minutes. This is a crucial step that lets the chemicals fully activate.
- Give it one last quick spin with the mixer, and you're good to go.
Grab your notched trowel and scoop some mortar onto the floor, starting at your center intersection. Hold the trowel at a consistent 45-degree angle and comb the mortar in one direction. You want nice, uniform ridges. This creates an even bed for the tile to settle into.
Setting Your First Tiles Like a Pro
This is the moment of truth. If you're working with larger tiles (anything 12×12 inches or bigger), I strongly recommend "back-buttering." It’s simple: just use the flat side of your trowel to skim a thin, flat layer of mortar onto the back of the tile before you place it. This extra step guarantees 100% adhesion and gets rid of any hollow spots underneath.
Gently press your first tile into the mortar with a slight twisting motion. Set the next tile right beside it, popping in your spacers to keep the gap consistent. Keep working your way out from the center, following those chalk lines you made.
After you set each tile, put your level on it. Check that it’s flat and flush with its neighbors. If a corner is a little high, a few gentle taps from a rubber mallet will settle it down. It is so much easier to check for level as you go than to try and fix a sunken tile later when the mortar is already hardening.
The nitty-gritty details are what make or break a tile job. A perfectly level subfloor will prevent 90% of unevenness issues down the line, and using consistent 1/8-inch spacers ensures about 95% grout uniformity. In a bathroom, sloping the floor 1/4-inch per foot toward the drain is critical to avoid pooling water—a mistake we see in nearly 40% of amateur installs.
These are the meticulous details where a team like Trademaster Construction really shines. While a good bathroom tile job averages $15-25 per square foot and can net a 70% ROI, getting it right the first time is key. For more on tile market trends, you can check out this report from Custom Market Insights.
Making Precision Cuts for a Polished Look
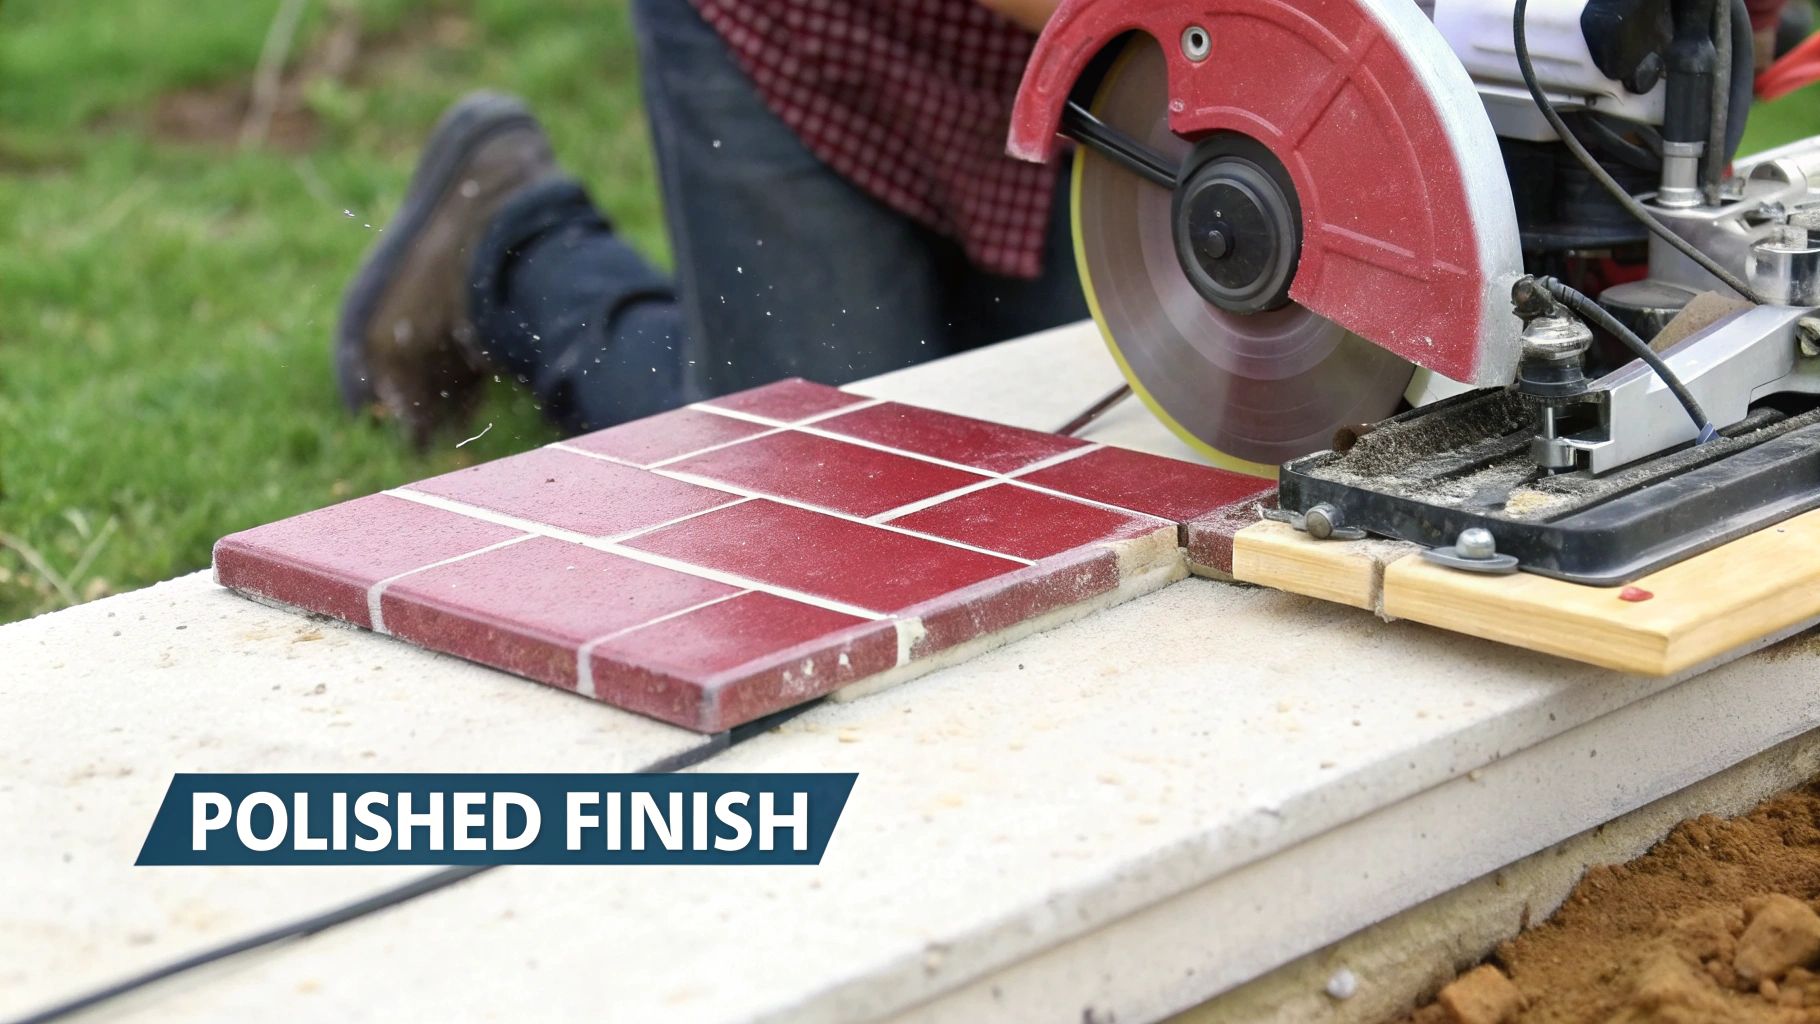
After setting the main field of tile, you're at the part where real craftsmanship begins to show. It’s these final, precise cuts around pipes, doorways, and vanities that really elevate a project from just "good" to "great." This is where you’ll be glad you have that wet saw and a trusty pair of tile nippers.
Don't let obstacles like a toilet flange or plumbing stub-outs intimidate you. The trick isn't to guess—it's to make a template. A simple piece of cardboard is your best friend here. Trace the exact shape you need, cut it out, and test the fit. Once the template is perfect, you can confidently transfer that outline to your tile and get ready to cut.
For those tricky curved cuts, your wet saw is still the go-to tool. The technique involves making a series of straight, parallel cuts (we call these relief cuts) right up to your marked curve line. From there, you'll use your tile nippers to gently break away the small slivers of tile. It takes some patience, but you can clean up the edge until it perfectly matches your template, giving you a clean, custom fit.
Grouting Your Floor for a Solid Finish
Once your mortar has had a chance to cure for at least 24-48 hours, it's grout time. Grouting does more than just fill the gaps; it’s what locks every individual tile together into one solid, water-resistant surface. The first decision you'll make is what kind of grout to use.
- Sanded Grout: This is your workhorse for any grout line wider than 1/8 inch. The sand adds serious strength and stops the grout from shrinking and cracking as it cures.
- Unsanded Grout: Reach for this when you have very tight grout lines (1/8 inch or less) or you're working with delicate tiles like polished marble that could get scratched by the sand.
Mix your grout following the package directions, shooting for a thick, lump-free consistency like cake frosting. A word of caution: don't mix more than you can realistically use in about 20-30 minutes, because it will start to set up right in the bucket.
One of the most common DIY mistakes is adding too much water. This seriously weakens the grout and can cause blotchy, inconsistent color. If your mix feels too dry, add water very sparingly—just a few drops at a time—until it feels right.
Using a grout float, spread the mixture across the tiles, holding the float at a 45-degree angle. Push down firmly and move diagonally across the grout lines to pack them completely full. Then, use the edge of the float to scrape off as much excess as you can from the tile faces.
The Art of the Grout Cleanup
When it comes to cleaning up the grout, timing is everything. You'll want to wait about 15-30 minutes for the grout to set up a bit—it should feel firm to the touch but not be fully hard.
Now, take a damp (not soaking wet!) grout sponge and wipe the tiles in a gentle, circular motion. This will remove the bulk of the leftover grout. Make sure to rinse your sponge often in a bucket of clean water to avoid just spreading grout film around.
As the floor dries, you’ll see a light haze forming on the tiles. This is totally normal. Let the grout cure for a couple of hours, then come back and buff the haze off with a clean, dry microfiber cloth. If you wait too long, getting this haze off becomes a real chore.
The final, absolutely non-negotiable step is sealing. After the grout has fully cured—check the bag, but it's usually around 72 hours—apply a quality grout sealer with a small applicator brush. This crucial step protects your grout from stains and moisture, which is what keeps your floor looking brand new for years.
In bathrooms, which account for 35% of all indoor tile use, these techniques are vital. While durable tile can withstand 500-1000 PSI of compression, its real longevity comes from proper installation—from the mortar all the way to the final seal. For a deeper dive into industry specifics, you can discover more insights about the ceramic tiles market on Precedence Research.
Should You DIY or Call in a Pro?
There’s a special kind of pride that comes from looking at a newly tiled floor and knowing you did it yourself. For many homeowners, a bathroom tile project seems totally doable, and honestly, sometimes it is. The real trick is knowing when to grab your kneepads and when to grab your phone.
Going the DIY route makes the most sense when you’re dealing with a simple, straightforward space. Picture a small, square powder room—no weird angles, no major floor issues. If you’re starting with a subfloor that's already flat and solid, and you’re using standard ceramic tiles, you’ve got a great recipe for a rewarding (and budget-friendly) weekend project. These are the kinds of jobs where the variables are few and the risk is low.
When DIY Is a Great Idea
You can tackle this yourself with confidence if your project checks a few of these boxes.
- Small and Simple Rooms: A half-bath or a small guest bathroom without a tub or shower is the perfect starting point. Fewer cuts and a basic layout mean fewer places to mess up.
- A Rock-Solid Subfloor: If your floor is already level and needs very little prep, you've just skipped one of the biggest headaches in any tile job.
- Standard Tile Patterns: A simple grid or a 50/50 offset (like a brick pattern) is much easier to manage than something like a herringbone or a pinwheel design.
- You've Got the Time: Tiling is never a one-day affair. You have to factor in demolition, prep, letting the mortar set, grouting, and then letting the grout cure. A rushed job almost always looks like a rushed job.
The decision often comes down to this: are you solving a straightforward problem or a complex one? Laying tile on a perfect surface is one task; correcting a home's structural flaws before you even begin is another entirely.
When to Call Trademaster Construction
As tempting as it is to save a few bucks, some situations are clear signs that it’s time to bring in the experts. Ignoring these red flags can lead to some seriously expensive mistakes, from water damage to a floor that just looks… off. This is where a team like Trademaster Construction here in Southwest Michigan isn't a luxury—it's an investment in getting the job done right the first time.
There are challenges where nothing beats hands-on professional experience.
- Uneven or Damaged Subfloors: Finding a spongy, sagging, or seriously unlevel subfloor is a showstopper. This usually points to bigger structural issues that an expert needs to diagnose and fix properly.
- Complex Designs and Materials: If you’re dreaming of an intricate herringbone pattern, a custom mosaic, or massive large-format tiles, a pro’s precision is essential. Those big tiles are notoriously unforgiving of any imperfections in the subfloor.
- Waterproofing for Showers: Tiling any area with a shower, especially a curbless or walk-in design, is all about building a bulletproof waterproof system. It’s a technical process where one tiny gap can cause catastrophic leaks and mold down the line.
- You're Short on Time or Tools: A professional crew has the specialized equipment and dedicated time to get the job done faster and to a much higher standard. They do this every day.
To help you think it through, here’s a quick checklist to weigh the specifics of your project.
Project Complexity DIY vs Pro
| Tiling Task | Good for DIY | Consider a Pro When… | Why It Matters |
|---|---|---|---|
| Room Shape & Size | Small, square room (e.g., powder room) | Large rooms, lots of corners, or niches | More cuts and complex measurements increase the margin for error. |
| Subfloor Condition | Perfectly flat, stable, and clean | Spongy, cracked, or sloped more than 1/4" over 10 feet | A bad foundation guarantees a bad tile job. Pros can fix structural issues. |
| Tile Type | Standard ceramic or porcelain (under 12×12") | Large-format tiles, natural stone, or intricate mosaics | Specialized materials require specific tools, mortars, and techniques. |
| Waterproofing | Not required (e.g., a simple floor) | Any shower, tub surround, or wet room | Improper waterproofing is a leading cause of major home damage and mold. |
| Layout Design | Simple grid or brick-style offset | Herringbone, diagonal, or custom patterns | Complex layouts require precise math and a flawless starting point. |
| Time Commitment | You have several dedicated days/weekends | You have a tight deadline or limited free time | Professionals work efficiently and can complete the job much faster. |
At the end of the day, it's about being honest about the job's demands and your own skills. For a simple powder room floor, the DIY route can be an amazing and satisfying experience. But for those bigger, more complex projects that truly define a bathroom—the ones that demand perfect waterproofing and structural prep—partnering with an expert ensures the beautiful, long-lasting result you're after.
Got Questions? We've Got Answers
No matter how well you plan, you're going to have questions pop up once you start your tiling project. That's just part of the process. Getting the right answers ahead of time can be the difference between a project you're proud of and a costly do-over. Let's walk through some of the questions I hear most often from homeowners tackling a bathroom floor for the first time.
What's the Best Tile for a Bathroom Floor?
When it comes to bathroom floors, my go-to recommendation is almost always porcelain tile. Think of it as ceramic tile's tougher, more resilient cousin. It’s fired at a higher temperature, making it incredibly dense with a water absorption rate of less than 0.5%. This means it's practically waterproof and stands up beautifully to heavy foot traffic, stains, and scratches.
Glazed ceramic tile is another solid choice and often a bit friendlier on the wallet. Whichever you lean towards, don't just shop by color. You need to check two crucial ratings:
- PEI Rating: This is all about hardness and durability. For a bathroom floor, you'll want a rating of 3 or higher to ensure it can handle daily wear and tear.
- COF (Coefficient of Friction): This is a non-negotiable for a wet area like a bathroom. It measures slip resistance. A higher COF means better grip and a safer floor.
Looks are important, but safety and durability are what make a tile job last. A gorgeous tile that's as slick as ice or chips if you drop a hairdryer on it will quickly become a headache you wish you'd avoided.
Can I Just Tile Over My Old Floor?
I get it—the idea of ripping up an old floor is daunting, and tiling over it seems like a brilliant shortcut. But in my experience, it's a shortcut you'll almost always regret.
The main problem is you’re flying blind. You have no idea what’s lurking underneath that old vinyl or linoleum. You could be covering up a soft, rotting subfloor or uneven spots that will guarantee cracked tiles and failing grout down the line. Plus, adding a new layer of tile raises the floor height, which can create awkward transitions into the hallway and cause issues with your bathroom door not closing properly.
Do it right the first time: tear out the old flooring. This lets you inspect the subfloor, make any needed repairs, and install a proper, stable underlayment like a cement backer board. It’s the only way to build a foundation that will last.
How Long Until I Can Walk on My New Tile?
This is where patience really pays off. Once the tiles are set in the mortar, you absolutely must stay off the floor for at least 24-48 hours. Walking on it too soon can shift the tiles and ruin the bond, creating an uneven surface.
After that wait, you can grout. But the clock starts again. You'll need to wait another 24-72 hours before allowing any light foot traffic. And don't even think about using the shower or getting the floor significantly wet for a full 72 hours. Giving both the mortar and grout their full cure time is critical for a durable, long-lasting job.
What are the Most Common DIY Tiling Mistakes?
Over the years, I've seen a few common missteps that can derail a project. They almost always happen right at the beginning.
Here are the biggest pitfalls to watch out for:
- Skipping Subfloor Prep: This is the #1 cause of failure. An unstable, dirty, or uneven subfloor will cause tiles and grout to crack, period.
- Botching the Layout: Not planning your layout leads to awkward, skinny slivers of tile against a wall or around the toilet. It’s a dead giveaway of an amateur job.
- Mixing Mortar and Grout Wrong: Adding too much water is a classic mistake. It creates a weak mix that won't hold up over time. Follow the manufacturer’s instructions to the letter.
- Leaving Grout Haze Too Long: Once you're done grouting, you have to clean the haze off the tile surface promptly. If you let it cure, you'll be left with a dull film that is a nightmare to remove.
Once your floor is in, keeping it looking great is all about maintenance. For some excellent advice on keeping that grout looking fresh, this guide on cleaning floor tile grout has some fantastic, practical tips.
Tackling a bathroom remodel can feel overwhelming. If you're in Southwest Michigan and would rather leave it to the pros, the team at Trademaster Construction is ready to help you create a stunning bathroom without the stress. Visit us online to see our portfolio and get your project started today.

