
When you're updating a kitchen on a tight budget, the game isn't about demolition—it's about smart, high-impact changes. The real secret lies in focusing on the cosmetic upgrades that give you the biggest bang for your buck, like a fresh coat of paint on the cabinets, new hardware, or modern lighting. A successful and affordable kitchen refresh always starts with a rock-solid plan, not a series of impulse buys.
Building Your Budget Kitchen Update Blueprint
Before you even think about picking up a paintbrush or browsing for new faucets, you need a strategic blueprint. I've seen it time and time again: a well-thought-out plan is what separates an empowering project from one that becomes a major source of stress. The whole point is to spend your time and money only on the changes that will truly matter to you and how your kitchen functions.
Think of this initial planning phase not as a restriction, but as a way to focus your energy. When you clearly define your goals, you can put your limited resources where they'll make a real difference and dodge that all-too-common pitfall of "scope creep," where a few small updates accidentally spiral into a full-blown, expensive renovation.
Assess Your Kitchen Honestly
First things first, take a long, hard look at your current space. What do you genuinely hate, and what’s actually working just fine? Get out a notepad and create two columns: "Strengths" and "Weaknesses."
- Strengths: Maybe your cabinet boxes are solid wood, even if the doors are dated. Perhaps the layout is surprisingly efficient, or you get fantastic natural light. These are the assets you'll want to build upon.
- Weaknesses: This is where you list the real problems. Are the cabinet doors peeling? Are the countertops hopelessly stained? Is the lighting so dim it feels like a cave? Is that faucet constantly dripping? These are your prime targets for an update.
This simple exercise helps you move past a vague desire for a "nicer kitchen" and lets you pinpoint the exact elements that are driving you crazy.
Prioritize Must-Haves vs. Nice-to-Haves
With your "Weaknesses" list in hand, it's time to get ruthless with prioritization. You need to separate your absolute needs from your wants. A "must-have" is something that fixes a major functional or aesthetic flaw, like a broken drawer that won't close or a truly hideous backsplash that makes you cringe every morning. A "nice-to-have" might be that trendy pot filler you saw online or a fancy under-cabinet wine fridge.
On a budget-conscious project, sticking strictly to the must-haves is the key to staying on track and getting the most out of every dollar.
This next visual breaks down this essential planning sequence into three clear, logical steps.
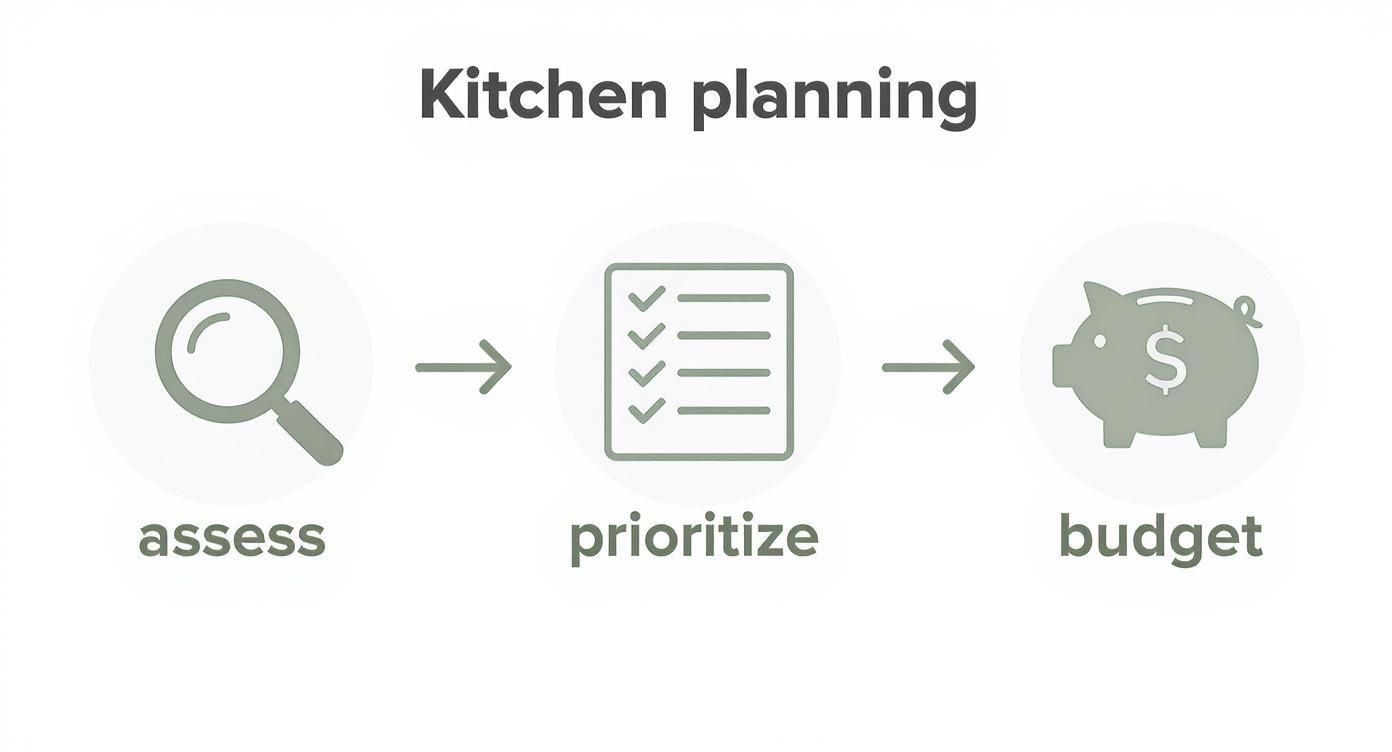
This process—assessing, prioritizing, and then budgeting—creates a clear roadmap. It prevents overspending and ensures all your effort is concentrated on the changes that will genuinely improve your space.
Set a Realistic Budget
Let's talk numbers. Understanding real-world costs is crucial for setting expectations you can actually meet. While a budget-friendly update avoids massive expenses like moving walls, it's still helpful to know the benchmarks. According to industry data, the average minor kitchen remodel in the U.S. costs around $27,492, while major gut renovations can easily soar to nearly $79,982.
Don't let those numbers scare you! A focused, DIY-heavy project can be done for a fraction of that, sometimes for as little as $3,500. You can learn more about kitchen remodel cost factors from HomeLight to get a better sense of the variables.
To give you a clearer idea of where your money might go, here’s a sample breakdown for a typical minor kitchen update.
Sample Budget Allocation for a Minor Kitchen Update
This table provides an estimated cost allocation for a typical minor kitchen renovation project, helping you prioritize spending.
| Update Category | Estimated Percentage of Budget | Example Cost Range (for a $5,000 project) |
|---|---|---|
| Cabinet Refinishing (Paint & Supplies) | 30% | $1,500 |
| New Countertops (Laminate/Butcher Block) | 20% | $1,000 |
| Backsplash (DIY-friendly Tile) | 15% | $750 |
| New Hardware & Faucet | 10% | $500 |
| Lighting (Fixtures & Bulbs) | 10% | $500 |
| Flooring (Luxury Vinyl Plank/Tile) | 10% | $500 |
| Contingency Fund (15-20%) | 5%* | $250* |
Note: The contingency fund is ideally kept separate, but this shows how it fits relative to other costs. Allocating 15-20% of your total planned spend is a much safer approach.
This is just an example, of course. If your countertops are in great shape, you can shift that 20% over to a different category, like upgrading an old appliance.
Pro Tip: I can't stress this enough—always add a 15-20% contingency fund to your final budget. This buffer is your safety net for the unexpected, like discovering some old plumbing that needs attention or realizing you need more paint than you bought. It’s the single best way to prevent financial stress halfway through the project.
Big Impact Upgrades That Won't Break the Bank
With a solid plan in hand, it's time for the fun part. You really don't need a huge budget to see a dramatic change in your kitchen. The trick is to focus on the cosmetic fixes that give you the most bang for your buck. This is where you'll see a massive return on a little bit of money and some weekend elbow grease.
Think about the things you see and touch every single day. Small details you might not even notice anymore—like dated cabinet pulls or a grimy faucet—all add up to define the look and feel of the room. By changing these, you can shift the entire personality of your kitchen without touching the expensive, complicated stuff like the layout or major appliances.
Give Your Cabinets a Fresh Coat of Paint
If you do only one thing on this list, make it this one. Painting your cabinets is easily the single most powerful cosmetic upgrade you can make. It’s the difference between a kitchen that feels dark and stuck in the 90s and one that feels bright, fresh, and modern. And the best part? You can do it yourself over a weekend.
Now, I'll be honest: the process is more about patience than raw skill. But the results are absolutely worth it. The key to getting a professional, durable finish is all in the prep work. Don't even think about cutting corners here.
- Scrub Everything Down: Kitchens are greasy places. Years of cooking residue build up on cabinets, and paint won't stick to it. Grab a good degreaser, like a TSP substitute, and give every surface a serious cleaning.
- A Quick Scuff-Sand: You're not trying to strip the cabinets down to bare wood. You just need to rough up the existing finish so the primer has something to bite into. A light pass with 120-grit sandpaper is perfect.
- Don't Skip the Primer: This is non-negotiable, especially with old wood cabinets. Use a high-quality, stain-blocking bonding primer. It's the only thing that will stop old wood tannins or mystery stains from bleeding right through your beautiful new paint color.
Once the prep is finally done, you're ready for paint. Apply two thin coats of a quality cabinet or trim enamel. This type of paint is specifically designed to cure into a hard, scrubbable surface that can handle the daily abuse of a busy kitchen.
Swap Out the Kitchen “Jewelry”
With your cabinets looking fresh and new, the next step is to update the kitchen’s “jewelry”—the hardware, faucet, and light fixtures. These are the finishing touches that really pull a design together, and most are simple DIY swaps you can knock out in an afternoon.
Think about it: you grab your cabinet pulls dozens of times a day. Upgrading them doesn't just look better, it feels better. A sleek new faucet can make your sink area feel ten years newer, and a fresh set of knobs can completely redefine the style of your newly painted cabinets.
An old, builder-grade light fixture can cast a dingy, yellow glow that makes the whole room feel drab. For under $150, you can swap it for a modern pendant or a simple flush-mount fixture and instantly make the space feel brighter, cleaner, and more intentionally designed.
Small Projects With a Huge Payoff
Beyond painting and new hardware, a few other small-scale projects can make a surprisingly big difference.
- Upgrade Your Faucet: A modern, high-arc faucet isn't just for looks—it's incredibly practical. It gives you more room to wash large pots and pans and acts as a stylish focal point for the sink.
- Install New Lighting: Ditch that dated track lighting for a cool pendant over your island. Another game-changer is adding under-cabinet LED lighting. It’s relatively inexpensive, provides amazing task lighting for chopping veggies, and adds a warm, ambient glow at night.
- Add a Backsplash: This might sound intimidating, but it doesn't have to be. Modern peel-and-stick tiles have come a long way, offering a simple, grout-free way to add a pop of color and pattern behind your countertops.
Each of these upgrades is a low-cost, high-visibility project on its own. But when you start combining them, the cumulative effect is what truly refreshes your kitchen, making it feel more like your space without the gut-job price tag.
Refreshing Your Surfaces Without a Full Tear-Out
When you're trying to update a kitchen on a tight budget, the big surfaces—cabinets and countertops—are where you'll get the most bang for your buck. The secret isn't a full demolition. It's about working with what you've got. A smart refresh of these core elements can make the entire room feel brand new for a tiny fraction of the cost of starting from scratch.
Chances are, your kitchen cabinets are structurally sound, even if the doors have seen better days. This is where you can make a huge visual impact. I've seen it time and time again: homeowners who focus on their cabinetry first get the most dramatic, cost-effective transformation. For example, simply refacing or replacing your cabinet doors can cost less than 20% of what a full cabinet replacement would, yet it completely changes the look of the space. Shaker-style doors are still the go-to for a timeless look that won't feel dated in a few years. For more on what's current, you can always check out the latest kitchen design trends from resources like Home Stratosphere.
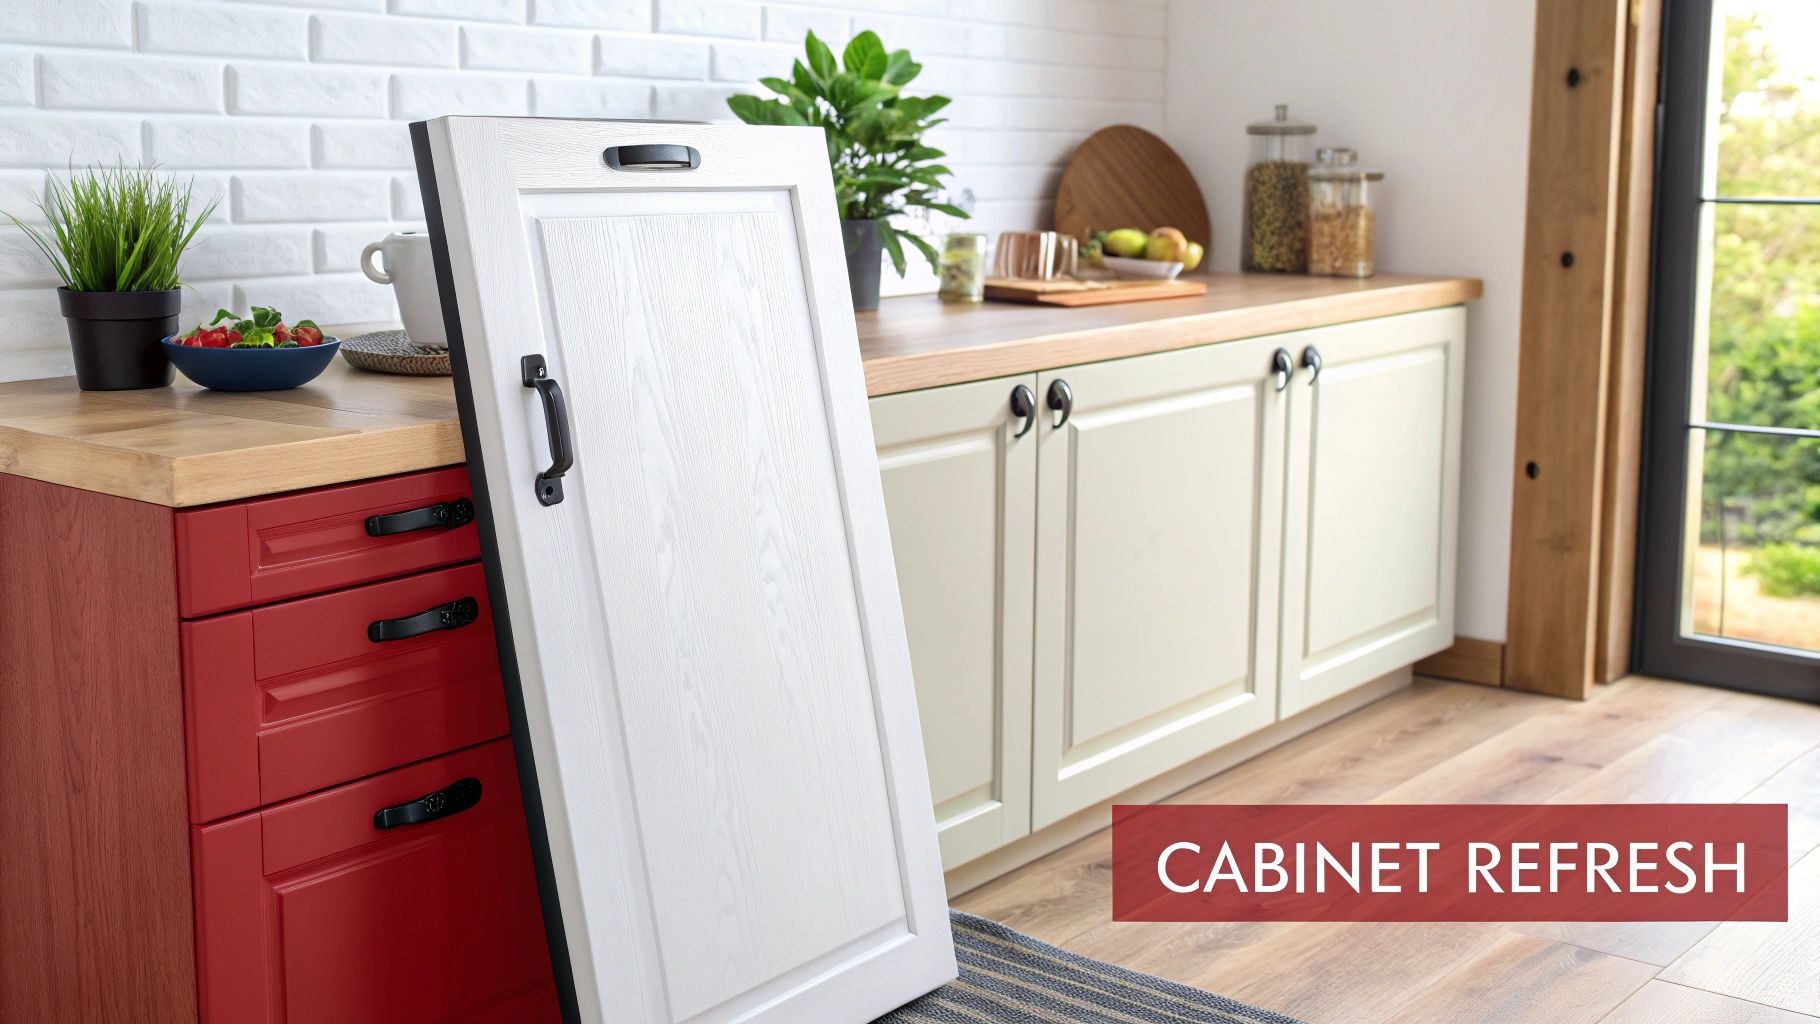
Cabinets: To Paint or To Reface?
When it comes to refreshing your cabinets, you're really looking at two main paths: painting or refacing. Painting is your most wallet-friendly option, but refacing can give you a more dramatic style change, especially if your current doors are in rough shape or have an ornate design you can't stand.
-
Painting: This is a fantastic DIY project if your cabinet doors are a simple style (like flat-panel or Shaker) and are in decent condition. It's a process, though—you'll need to commit to a thorough cleaning, sanding, priming, and painting of the doors and cabinet boxes. The material cost is low, but the time investment is significant.
-
Refacing: This approach means you keep the cabinet boxes but replace all the doors and drawer fronts with new ones. A matching veneer is then applied to the visible parts of the boxes. It's definitely more expensive than painting but still much cheaper than installing all-new cabinets, and it gives you a complete style overhaul.
Here's how I tell clients to decide: Look closely at your current doors. If they're solid wood with a classic profile, a professional-quality paint job can look absolutely stunning. But if you're dealing with peeling thermofoil or a heavily routed, dated design, refacing is almost always the better long-term investment.
Smart Countertop Swaps That Don't Involve Stone
Everyone loves the look of granite and quartz, but let's be real—they can eat up a massive chunk of your budget. The good news is that modern materials give you that high-end stone look without the sticker shock. Today's affordable options are worlds away from the cheap-looking materials of the past.
Exploring Your Options
-
Modern Laminate: This isn't your grandmother's laminate. New high-definition laminate does an incredible job of mimicking the look of marble, soapstone, and even slate. It’s tough, a breeze to clean, and remains one of the most budget-friendly choices out there.
-
Butcher Block: If you're going for a warm, natural vibe, you can't beat butcher block. When sealed correctly, it’s perfectly food-safe and brings a beautiful, organic texture into the room. It also ages beautifully with just a little bit of care.
-
Refinishing Kits: This is a game-changer if your countertops are structurally fine but just the wrong color. A countertop refinishing kit lets you paint right over old laminate or tile to create a finish that looks like stone or concrete. For under $200, you can buy yourself several more years of style.
Affordable Backsplash and Flooring Solutions
Once you've tackled the cabinets and countertops, it's the backsplash and floors that really pull the whole room together. These surfaces can feel intimidating—like they're strictly professional-only jobs—but you’d be surprised by the amazing, DIY-friendly materials out there today. Learning how to update your kitchen on a budget is all about seeing the potential in these areas.
A dated backsplash can make an entire kitchen feel grimy, no matter how fresh the paint is on your cabinets. Worn-out flooring has the same effect, making the whole space feel tired. The great news? You don't need a wet saw and a bag of messy mortar to get a stunning new look.
The Magic of Modern Backsplashes
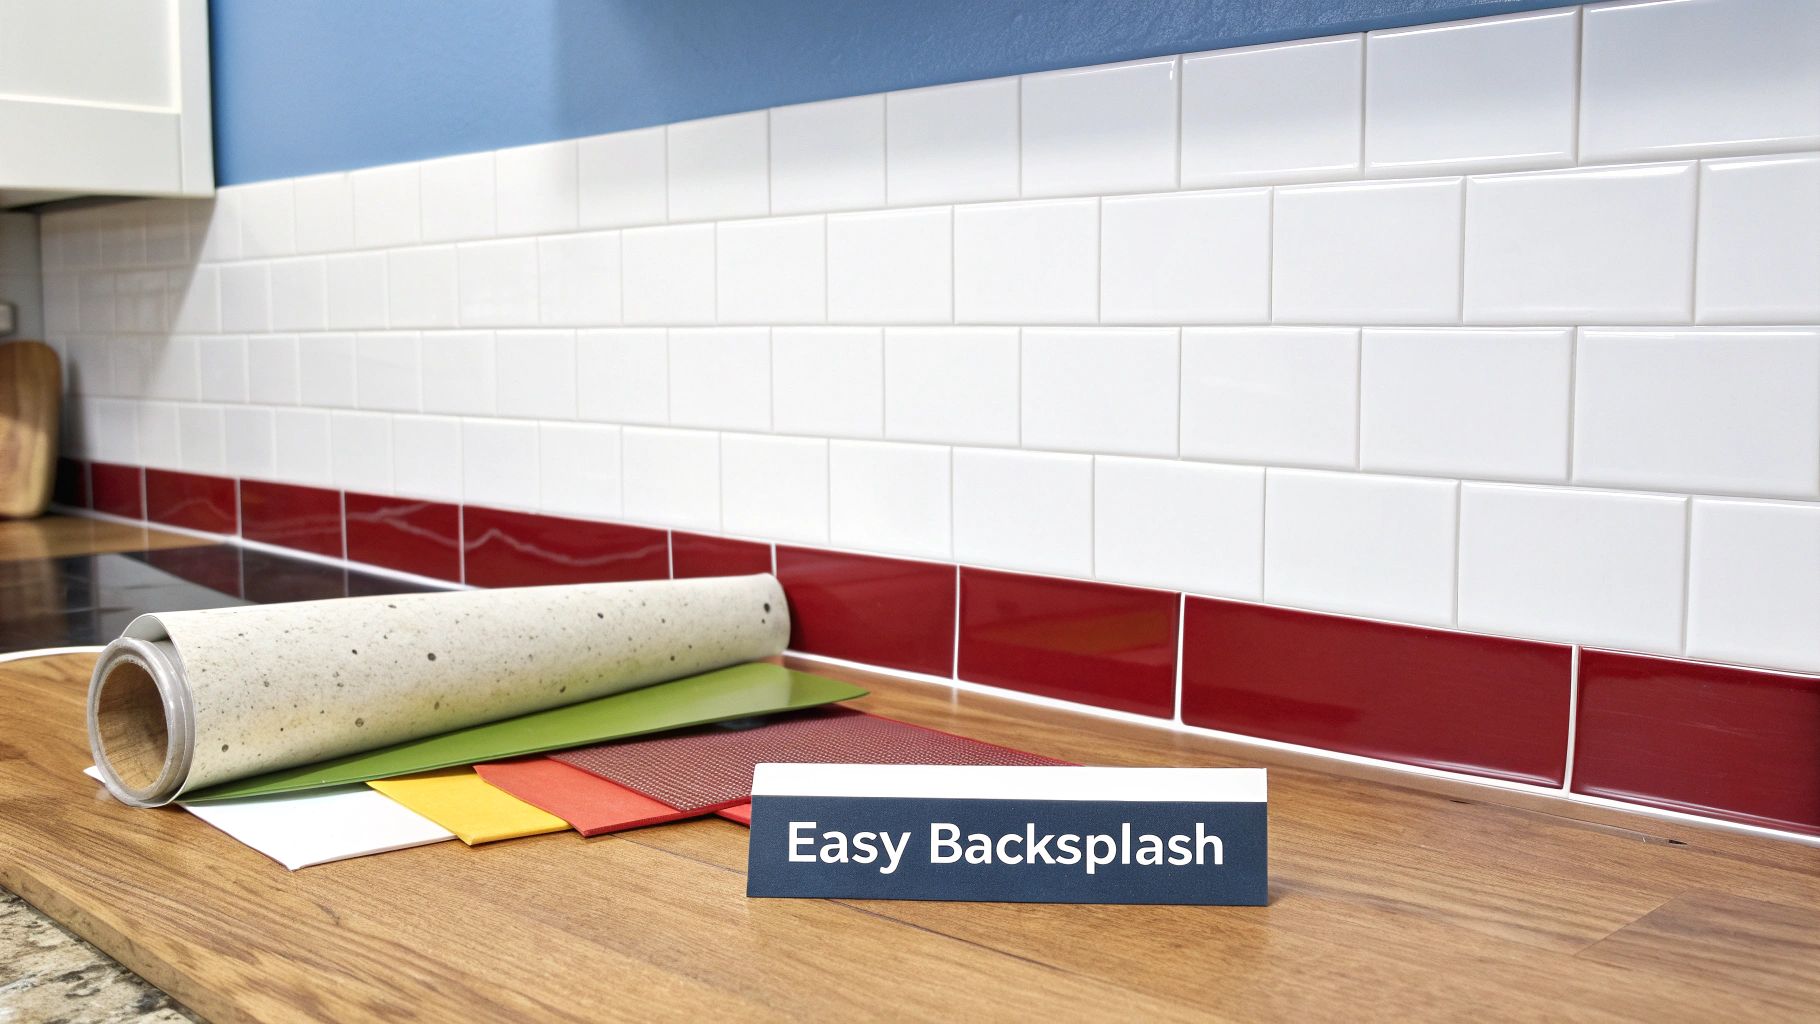
Peel-and-stick tiles have completely changed the game. Forget the flimsy vinyl decals you might be picturing; today’s options are seriously impressive. Many are made from high-quality vinyl, metal, or even thin layers of real stone, giving them a texture and depth that looks just like the real thing. They're built to handle kitchen humidity and heat, and you can usually install them in an afternoon with little more than a utility knife and a level.
But if tiles aren't quite your style, there are other great ways to make a big impact without spending a lot.
- Beadboard Paneling: This is my go-to for a classic farmhouse or coastal vibe. Beadboard is cheap, comes in big panels that are easy to handle, and you can paint it any color you can dream of.
- A Simple Painted Backsplash: It doesn't get more budget-friendly than this. A couple of coats of durable, scrubbable paint on the wall can look incredibly chic. Just be sure to use a semi-gloss or satin finish so you can easily wipe away splatters.
Pro Tip: Before you start sticking any peel-and-stick tiles, wipe down the wall with a good degreaser. Invisible cooking grease can ruin the adhesive's grip, and this one simple step is the key to making sure your new backsplash stays put for years.
Picking the right material depends on your budget, style, and how much work you want to put in. Here’s a quick comparison to help you decide.
Comparing Budget-Friendly Backsplash Options
| Material | Average Cost (per sq. ft.) | DIY Friendliness | Key Benefit |
|---|---|---|---|
| Peel-and-Stick Tile | $8 – $25 | Excellent | Super fast installation with no mess. |
| Beadboard Panel | $2 – $4 | Very Good | Extremely affordable and easily paintable. |
| Durable Paint | $1 – $2 | Excellent | The ultimate low-cost, high-impact option. |
| Ceramic/Subway Tile | $3 – $10 | Moderate | Classic, durable, and timeless appeal. |
Each of these can give you a fantastic result. It really just comes down to the look you're after and how hands-on you want to be.
Wallet-Friendly Flooring That Wows
New flooring might sound like a massive project, but materials like luxury vinyl tile (LVT) and modern laminate have made it a totally doable DIY. Most of these products are designed as "floating floors," meaning they can often be installed right over your existing surface. No messy demolition required.
They’re incredible at mimicking the look of expensive hardwood or natural stone, but they come with some major perks for a kitchen.
Luxury vinyl, which comes in planks (LVP) or tiles (LVT), is 100% waterproof. This makes it a no-brainer for a room where spills are a daily reality. Modern laminate, on the other hand, offers fantastic scratch resistance and comes in an endless variety of realistic wood patterns. Both typically use a simple click-lock system that a homeowner can easily master over a weekend, giving you a beautiful and resilient foundation for your new kitchen without breaking the bank.
Making Smart and Sustainable Choices
A truly budget-savvy kitchen update isn’t just about the initial price tag; it's about making choices that pay you back for years. Thinking about sustainability has become more than a trend—it's one of the smartest ways to save money in the long run and create a healthier home. It’s all about future-proofing your investment from day one.
This mindset is catching on everywhere. Homeowners are increasingly looking for better functionality and energy efficiency. It's a global shift, and if you dive into some of the latest kitchen renovation statistics and trends from FOTILE, you’ll see just how much eco-friendly choices are shaping the kitchens of today.
Long-Term Value Through Smart Upgrades
When you're picking out materials, think about the ones that make your home a healthier place to be. One of the easiest and most impactful swaps is choosing low- or zero-VOC (volatile organic compound) paints for your cabinets and walls. They release far fewer harsh chemicals, immediately improving your indoor air quality without really changing your budget.
The same logic applies to appliances. If you're replacing something, keep an eye out for the ENERGY STAR® label. Yes, a certified fridge or dishwasher might cost a little more upfront, but the savings on your utility bills start piling up right away. These models are designed to use less energy and water, giving you a return on that investment for years.
An energy-efficient appliance isn't just a purchase; it's an investment in lower monthly expenses. Over its lifespan, an ENERGY STAR® certified refrigerator can save a household more than $200 in energy costs compared to a standard model.
Savvy Shopping for Hidden Gems
To really make your budget work, you have to get creative with where you shop. This is where the real treasure hunting begins. Before you head to a big-box store for something brand new, check out these spots first:
- Scratch-and-Dent Sections: Most major appliance stores have a corner for items with minor cosmetic dings. A small, unnoticeable dent on the side of a top-of-the-line oven could easily save you hundreds.
- Floor Models: Don't be shy about asking to buy the display model. Retailers are often happy to sell them at a steep discount to clear space for new inventory.
- Reuse Centers: Places like Habitat for Humanity ReStores are absolute goldmines. You can find everything from high-end cabinet sets and light fixtures to leftover tile from other people's projects, all for a fraction of what they'd cost new.
This kind of shopping does more than just save you a ton of money. It gives perfectly good materials a second chance, adds a unique story to your kitchen, and keeps quality items out of the landfill.
Your Budget Kitchen Update Questions Answered
https://www.youtube.com/embed/7sP-wKcicAo
Even the most well-thought-out plan hits a few snags. When you're trying to figure out how to update your kitchen on a tight budget, questions inevitably pop up. Am I crazy to try this myself? Where can I actually find good deals? It can feel like a lot to juggle.
Let's tackle some of the most common questions head-on. Getting clear answers will help you put your money where it counts and move forward feeling sure about your decisions.
What One Update Gives the Most Bang for Your Buck?
Hands down, painting your kitchen cabinets is the single most impactful update you can make for the least amount of money. It’s not just a coat of paint; it’s a total transformation. A fresh, modern color can make an old, tired kitchen feel brand new.
Sure, it takes some serious prep work and a good dose of patience, but the results are worth every bit of effort. Pair those freshly painted cabinets with some new, inexpensive hardware, and you've got a look that rivals a much more expensive remodel. The visual payoff is massive for what you spend.
Should I DIY Everything to Save Money?
Doing it yourself is a fantastic way to keep labor costs down, but you have to be realistic about your skill set. Some jobs are perfect for a weekend project, while others really need a pro.
Here are some tasks that are usually great for DIY:
- Painting walls and cabinets
- Swapping out cabinet hardware or light fixtures
- Installing a simple peel-and-stick backsplash
On the other hand, anything that involves plumbing or electrical work is a different story. A tiny mistake can turn into a costly disaster—think leaks, water damage, or serious electrical hazards. The smartest strategy is often a hybrid approach. You handle the cosmetic stuff and bring in the licensed experts for the technical jobs.
The real secret to saving money isn't doing everything yourself; it's knowing what to do yourself. A professional’s hourly rate for fixing a botched plumbing job will quickly erase any savings you thought you were making.
Where Can I Find Affordable Materials and Appliances?
You've got to look beyond the main aisles of the big-box stores. For appliances, always hunt down the scratch-and-dent section. You can often score high-end appliances with tiny, barely-noticeable dings for a fraction of the retail price. Don't be shy about asking to buy floor models, either!
When it comes to materials like tile, flooring, or faucets, places like Habitat for Humanity ReStores are goldmines. You can also check out local architectural salvage shops for unique finds. Online marketplaces are another great spot to find high-quality surplus materials from other people’s renovations. It’s the perfect way to get premium materials without the premium cost.
Planning a kitchen update in Southwest Michigan? The team at Trademaster Construction can help you bring your vision to life with expert craftsmanship and transparent planning. Explore our Inspiration Gallery to see how we transform spaces in Kalamazoo, Portage, and beyond.

