
Before you start pinning dream kitchen islands on Pinterest, let's talk about what actually makes one work. A truly functional island isn't just about the countertop you choose; it's all about three core numbers.
Getting these kitchen island size guidelines right is the secret to a space that feels open, comfortable, and efficient—the difference between a beautiful hub and a beautiful roadblock.
The Three Foundational Numbers for Any Kitchen Island
Before you get lost in the details of cabinet styles or hardware, every great kitchen island design starts with three non-negotiable measurements. Think of them less as rules and more as the basic grammar of a well-designed kitchen. They're the foundation for safety, comfort, and a workflow that just makes sense.
Getting these core dimensions right is the first step. For a deeper dive into how they fit into the bigger picture, it's worth understanding the full scope of kitchen design measurements that create a truly cohesive layout.
1. The Rule of Clearance: Giving Yourself Room to Breathe
The single most important measurement has nothing to do with the island itself—it’s the space around it. This is your walkway, your work zone, and your safety lane. I've seen more islands fail because of cramped walkways than any other reason.
The absolute bare minimum clearance you should have between an island and another surface (like a counter or a wall) is 36 inches. But honestly, for a kitchen that sees any real action, that's going to feel tight.
A much more comfortable and practical clearance is somewhere between 42 to 48 inches. That extra space is a game-changer. It allows two people to walk past each other without turning sideways and lets you open the dishwasher or oven door without completely blocking the path. It makes the whole kitchen feel less congested, especially when you're in the middle of cooking a big meal.
2. The Seating Space Standard: Comfort is Key
If you're planning on adding seating to your island, you need to think about more than just adding a countertop overhang. People need to actually be comfortable sitting there. That means accounting for both elbow room and knee space.
-
Width Per Person: You'll want to plan for at least 24 inches of width for every seat. This is the magic number that keeps people from bumping elbows and feeling squished. So, if you're dreaming of three stools, you'll need an island that's at least 72 inches (or 6 feet) long.
-
Knee Room (Overhang): For a standard 36-inch counter-height island, the countertop needs an overhang of at least 15 inches deep. This gives adults enough room to tuck their knees in comfortably. If you opt for a taller, 42-inch bar-height island, you can get away with a 12-inch overhang.
3. The Height Hierarchy: Form Follows Function
The height of your island dictates how you'll use it. While there are a few options, one standard has become the go-to for a reason.
The standard height for a kitchen island is 36 inches, which perfectly matches the height of your other kitchen counters. This creates a seamless, uniform look and gives you one large, continuous work surface—perfect for rolling out dough or spreading out ingredients. You'll sometimes see taller, 42-inch bar-height islands, which are great for creating a separate, pub-like seating area that feels distinct from the main kitchen workspace.
We're definitely seeing a trend toward bigger, multi-functional islands that reflect how we actually live and entertain today. In many of the homes we remodel here in Southwest Michigan, islands are now stretching from 6 to 8 feet long to accommodate both prep space and casual dining.
And while 36 inches is the old baseline for clearance, many designers now push for 42–48 inches, especially in busy family kitchens or for homeowners who are planning to age in place. Those wider pathways are far more accommodating for walkers or wheelchairs, ensuring the kitchen remains a safe and accessible space for everyone for years to come.
How to Map Your Kitchen Work Zone Clearances
A kitchen island is never just an island; it’s the hub of your kitchen’s entire ecosystem. Getting the size right isn't just about the piece of furniture itself, but about the crucial space around it. Think of these clearances as the traffic lanes that keep your kitchen moving smoothly and safely.
Getting this part wrong is what makes a kitchen feel cramped and clunky instead of open and efficient. A common mistake is just picking one number—say, 36 inches—and applying it everywhere. But the reality is, the path between your island and the fridge needs a lot more breathing room than a walkway that just faces a blank wall.
This diagram lays out the foundational numbers you'll be working with for the island itself, including standard heights, seating space, and that all-important clearance.
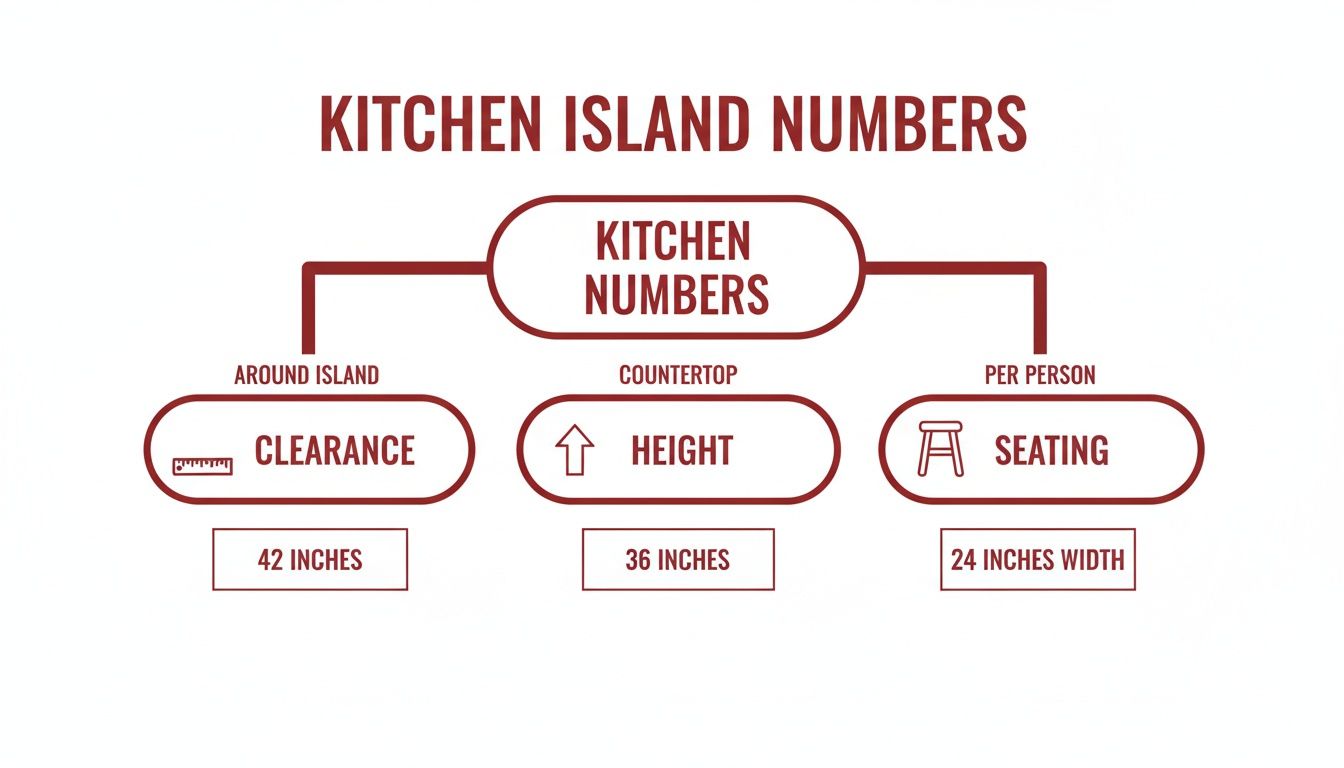
These core measurements are your starting point. They show how counter height, walkway clearance, and seating room all need to work together for your island to be truly functional.
The Different Types of Kitchen Walkways
Not every path in your kitchen is created equal. Your clearance strategy needs to match how each zone is used. A well-planned kitchen really has three different kinds of walkways.
1. Primary Work Aisles: These are your superhighways. They’re the busy corridors between the island and your main work areas—the sink, the stove, and the refrigerator.
2. Secondary Walkways: These are the quieter side streets. Think of the path behind your island seating or the side that faces a rarely used pantry door.
3. Pass-Through Lanes: This is a major artery that cuts through the kitchen to get to another part of the house, like the back door or the dining room.
Just identifying these zones is the first step to figuring out how much space you really need for each.
Calculating Appliance Door Swing and Clearance
This is the one detail that trips up so many people. You absolutely have to account for appliance doors. The swing of your oven, dishwasher, or refrigerator door can turn a walkway that looks perfect on paper into a frustrating bottleneck.
Picture this: you're pulling a heavy, hot roasting pan out of the oven. You need room to not only open the door all the way but also to stand there safely and maneuver. The same goes for your dishwasher—you have to be able to stand and load it without being pinned against the island.
A non-negotiable rule of thumb is to have at least 36 inches of clearance after an appliance door is fully open. If your main work aisle is 42 inches wide but your oven door sticks out 20 inches when open, you’re left with just 22 inches of functional space. That’s not enough.
To truly master these layouts, it helps to dig into space planning interior design techniques. Understanding these principles is what prevents those common, costly mistakes before they’re built.
Recommended Clearances for Each Zone
Once you’ve got a handle on your kitchen’s traffic patterns and appliance needs, you can start applying real numbers. These guidelines are the bedrock of a safe, functional, and enjoyable kitchen.
Here’s a practical breakdown to follow:
- Primary Work Aisles: You’ll want a comfortable minimum of 42 inches. If you often have two cooks in the kitchen or are planning for aging-in-place, bumping this up to 48 inches is a fantastic idea. It lets two people work back-to-back without bumping into each other.
- Secondary Walkways: For those less-traveled paths, 36 inches is usually plenty. It gives a single person enough room to walk by comfortably without making the kitchen feel unnecessarily vast.
- Pass-Through Traffic Lanes: If a walkway is a main thoroughfare for your family, give it more space. A minimum of 42 to 48 inches will prevent household traffic jams right when you're in the middle of cooking.
A great tip is to use painter’s tape to mark out these zones on your floor. You can physically walk the paths and test the clearances. For homeowners here in Southwest Michigan, this simple, hands-on step is the best way to feel how your new island will truly function in your space.
Sizing Your Island Based On Its Primary Function
So, what’s your island’s real job? Is it going to be a culinary command center, the go-to spot for homework and coffee, or the social hub of your home? Figuring this out is the single most important step in deciding its size. A beautiful island that doesn't fit how you actually live is just a stylish obstacle in the middle of your kitchen.
Think of it like buying a car. You wouldn't get a two-seater sports car for a family of five, right? And you wouldn't try to parallel park a giant SUV in a tiny city spot. Your island is the same—its dimensions have to match its purpose. This is where we move past generic advice and get into what will work for your life.
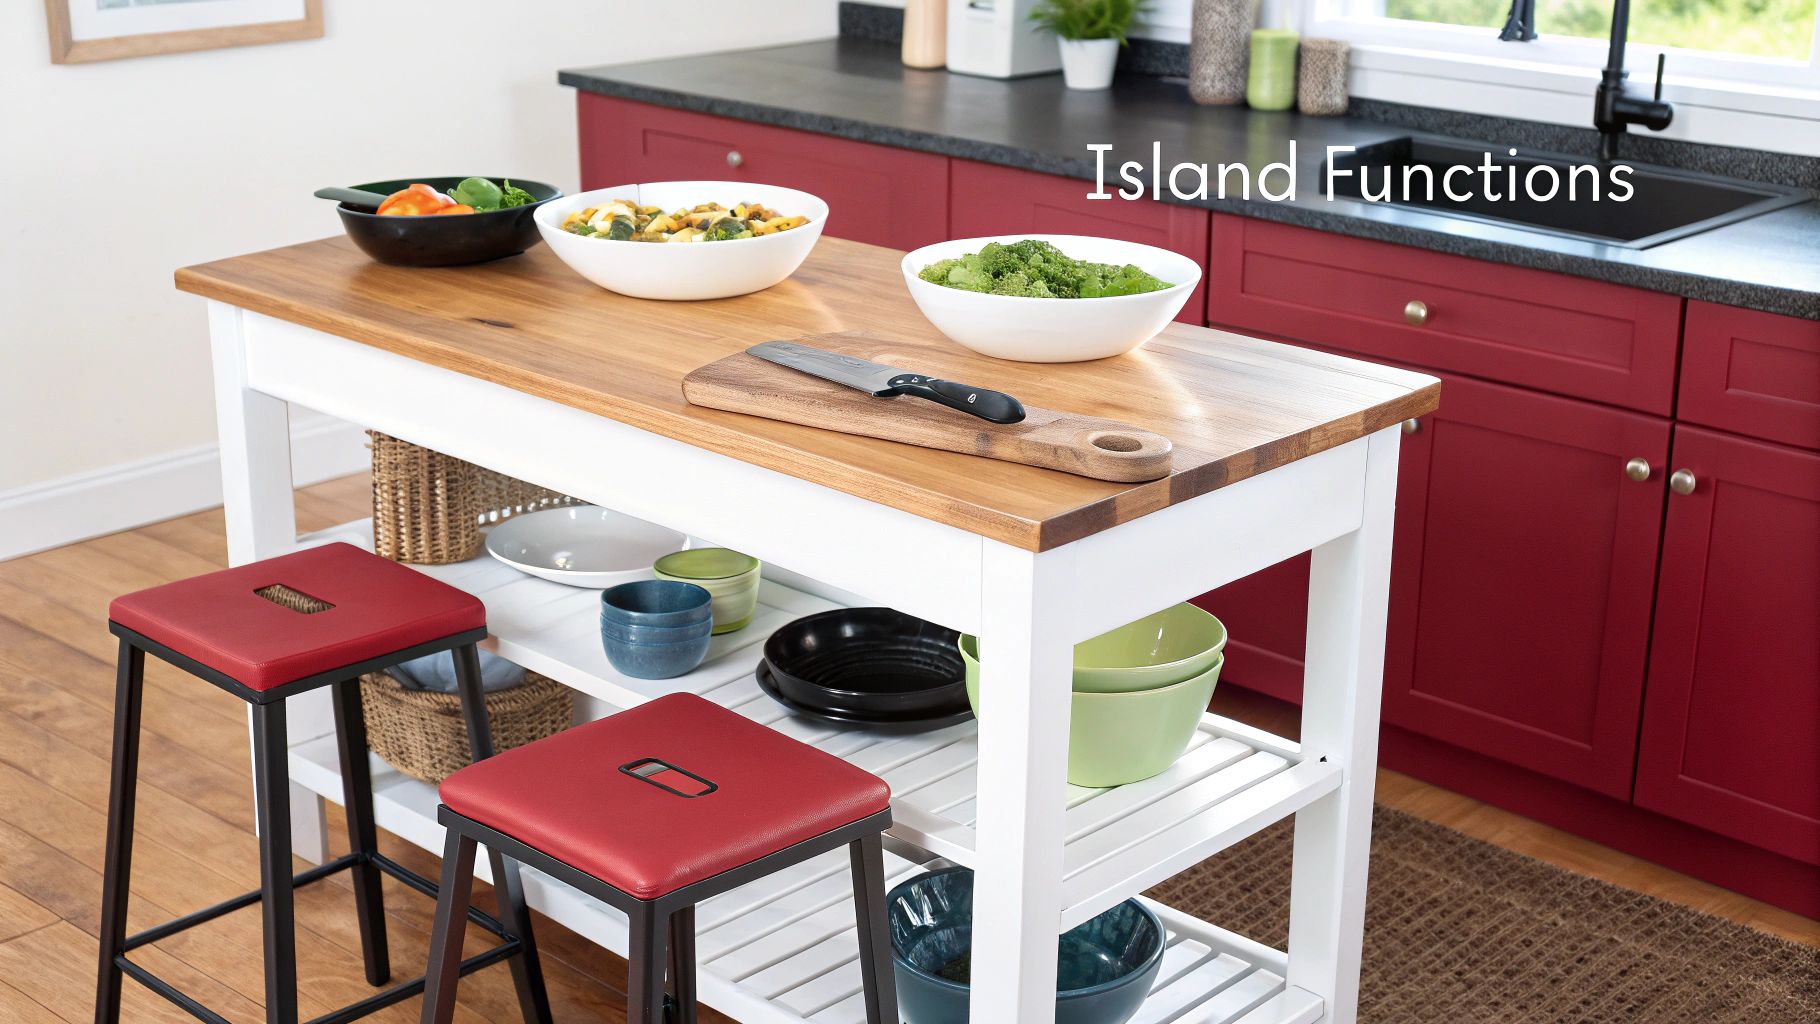
Let's look at a few common roles your island might play and the sizing rules that go with them.
Island Function and Recommended Dimensions
The role your island plays directly dictates its footprint. A simple prep station has very different needs than an island designed to host the entire family for breakfast. The table below breaks down the minimum starting points for different island functions.
| Island Function | Recommended Minimum Length | Recommended Minimum Depth | Key Sizing Consideration |
|---|---|---|---|
| Prep-Focused | 48 inches (4 feet) | 24-30 inches | Maximize clear, uninterrupted counter space for chopping and mixing. |
| Casual Seating | 24 inches per person | 39-42 inches | Requires a 15-inch countertop overhang for comfortable knee room. |
| Cooktop-Equipped | 57+ inches | 36-42 inches | Must include safety "landing zones" on both sides of the cooktop. |
| Sink-Equipped | 78+ inches | 36-42 inches | Needs space for the sink, dishwasher, and landing areas for dishes. |
These numbers are your foundation. From here, you can add more length or depth depending on your kitchen's layout and any extra features you want to include.
The Prep-Focused Island
For the serious home chef, the island is all about workspace. Pure, glorious, uninterrupted workspace. Its job is to give you tons of room for chopping, mixing, and plating. Seating takes a backseat here—if it exists at all—because the real priority is surface area and easy-to-reach storage for your gadgets and tools.
- Minimum Depth: A depth of 24 to 30 inches is a solid starting point. This gives you plenty of room for a big cutting board and mixing bowls without feeling hemmed in.
- Minimum Length: You'll want at least 48 inches (4 feet) of length. This ensures you have a dedicated prep zone that doesn’t immediately feel cluttered.
- Key Consideration: The whole point is a clear, open surface. Try to avoid putting a sink or cooktop here unless your island is massive, as they will eat up that precious prep real estate.
This streamlined approach creates a super-efficient workstation where your workflow from the fridge to the island to the stove feels natural and easy. It’s all about creating the perfect culinary canvas.
The Social Hub Island With Seating
If you picture your island as the spot for homework, morning coffee, or casual weeknight dinners, then seating is your number one priority. The dimensions have to be generous enough for people to sit comfortably while still leaving room for basic kitchen tasks. This is where so many people underestimate the space they really need.
To make sure everyone has enough elbow room, you need to plan for at least 24 inches of width per person. For comfortable knee room, you’ll also need a countertop overhang of at least 15 inches for a standard 36-inch-high counter.
Let's do the math. An island for three people sitting side-by-side needs a minimum length of 72 inches (6 feet). The depth also has to grow to at least 39-42 inches to fit that 15-inch overhang for knees while still leaving 24+ inches of cabinet space on the working side. This "social hub" island is a huge trend in kitchen remodeling, and it's easy to see why. People want their kitchens to do more, which is why manufacturers are designing larger islands to meet that demand.
The Appliance-Equipped Powerhouse Island
Dropping a primary sink or a cooktop into your island transforms it into a hardworking powerhouse, but it also means you’re going to need a much bigger footprint. You can't just stick an appliance in the middle; you have to plan for crucial "landing space" on both sides for safety and simple convenience.
- For an Island Sink: You’ll want at least 18 inches of counter space on one side and 24 inches on the other. This gives you a spot for a drying rack or for stacking dirty dishes before they go into the dishwasher (which you'll likely want to install right next to the sink).
- For an Island Cooktop: Safety is everything here. Plan for a minimum of 12 inches of landing space on one side and 15 inches on the other. This prevents pots from getting knocked over and gives you a safe place to rest hot handles.
When you add those landing zones to the width of the appliance itself (usually 30-36 inches), you can see how the required length adds up fast. An island with a 30-inch cooktop needs to be at least 57 inches long—and that’s without adding any extra prep space or seating. For a truly functional powerhouse island, you’re often looking at something 7 feet long or more.
Designing for Accessibility and Future Living
A truly great kitchen island isn't just designed for today; it's planned for all the tomorrows to come. Thinking about accessibility and future living isn't about ticking boxes on a clinical checklist—it's about smart, inclusive design that makes your kitchen more comfortable and functional for everyone, at every stage of life. This approach, often called Universal Design, is what keeps your island the true heart of your home for the long haul.
The goal is to create a space that works just as well for a child helping with dinner as it does for a guest in a wheelchair, or even for yourself as you age in place. It’s a thoughtful strategy that adds immense long-term value and daily convenience, making your kitchen a truly welcoming hub.
Expanding Clearances for True Accessibility
While a 42-inch walkway feels comfortable for most, true accessibility demands more generous spacing. This is where planning for the future becomes a tangible measurement. For someone using a wheelchair or a walker, navigating a kitchen requires wider paths not just for moving straight, but for turning around.
- Wheelchair Pass-Through: The Americans with Disabilities Act (ADA) recommends a minimum clear width of 36 inches for a straight path. To be honest, in a real-world kitchen, you should really aim for 48 inches to avoid a cramped feel.
- Turning Radius: A wheelchair needs a 60-inch diameter circle of clear space to make a 180-degree turn. Planning for at least one T-shaped or 60-inch turning space in your layout, often at the end of the island, is a game-changer for genuine accessibility.
Planning for these wider clearances from the very beginning is one of the smartest long-term investments you can make in your home. It’s a feature that might seem minor now but provides freedom and independence for family members and visitors for years to come.
Multi-Level Countertops for Every Task
A standard 36-inch high counter is great for standing prep work, but it’s not comfortable or even usable for everyone. A multi-level island is a brilliant Universal Design solution that accommodates different people and tasks simultaneously, making the whole space far more versatile.
Think about creating zones with different functional heights:
- Standard Prep Height (36 inches): This is your main workhorse section for most cooking tasks.
- Seated Work Height (30-34 inches): A lowered section is perfect for someone who is seated, whether in a wheelchair or just on a stool. This height is also fantastic for kids who want to help or for tasks like kneading dough that benefit from a lower angle.
- Bar Height (42 inches): A raised section can create a distinct social area, keeping guests out of your primary work zone while still feeling part of the action.
Thoughtful Details That Enhance Safety and Comfort
Beyond the big dimensions, several smaller details can make or break an accessible and future-proofed island. These subtle adjustments make a huge difference in daily use and safety.
One of the most important is ensuring proper knee clearance at any seating area. For a wheelchair user, this is absolutely critical. ADA guidelines recommend a clear space that is at least 30 inches wide, 27 inches high, and 19 inches deep. This gives enough room for a person’s knees and feet to fit comfortably underneath.
Another simple yet highly effective safety measure is rounding the corners of your island countertop. Sharp, 90-degree corners are a common hazard, especially for small children or anyone with mobility challenges. A softly rounded or "bullnose" edge is much safer and also creates a softer, more inviting look. These thoughtful kitchen island size guidelines transform a good design into a great one that will serve your family for a lifetime.
Real-World Island Solutions for Different Kitchen Layouts
Theory and numbers are a great starting point, but the real test is how an island actually fits into your home. Sizing an island isn't about chasing a single "perfect" dimension; it’s about adapting the core principles to your specific layout. An island that feels grand and spacious in one kitchen would be a clumsy obstacle in another.
To bring these ideas to life, let's walk through three common kitchen layouts we see all the time here in Southwest Michigan—from a cozy galley to a sprawling open-concept space. Each example shows how the rules of clearance, function, and proportion come together to create a perfectly fitted island that makes daily life better.
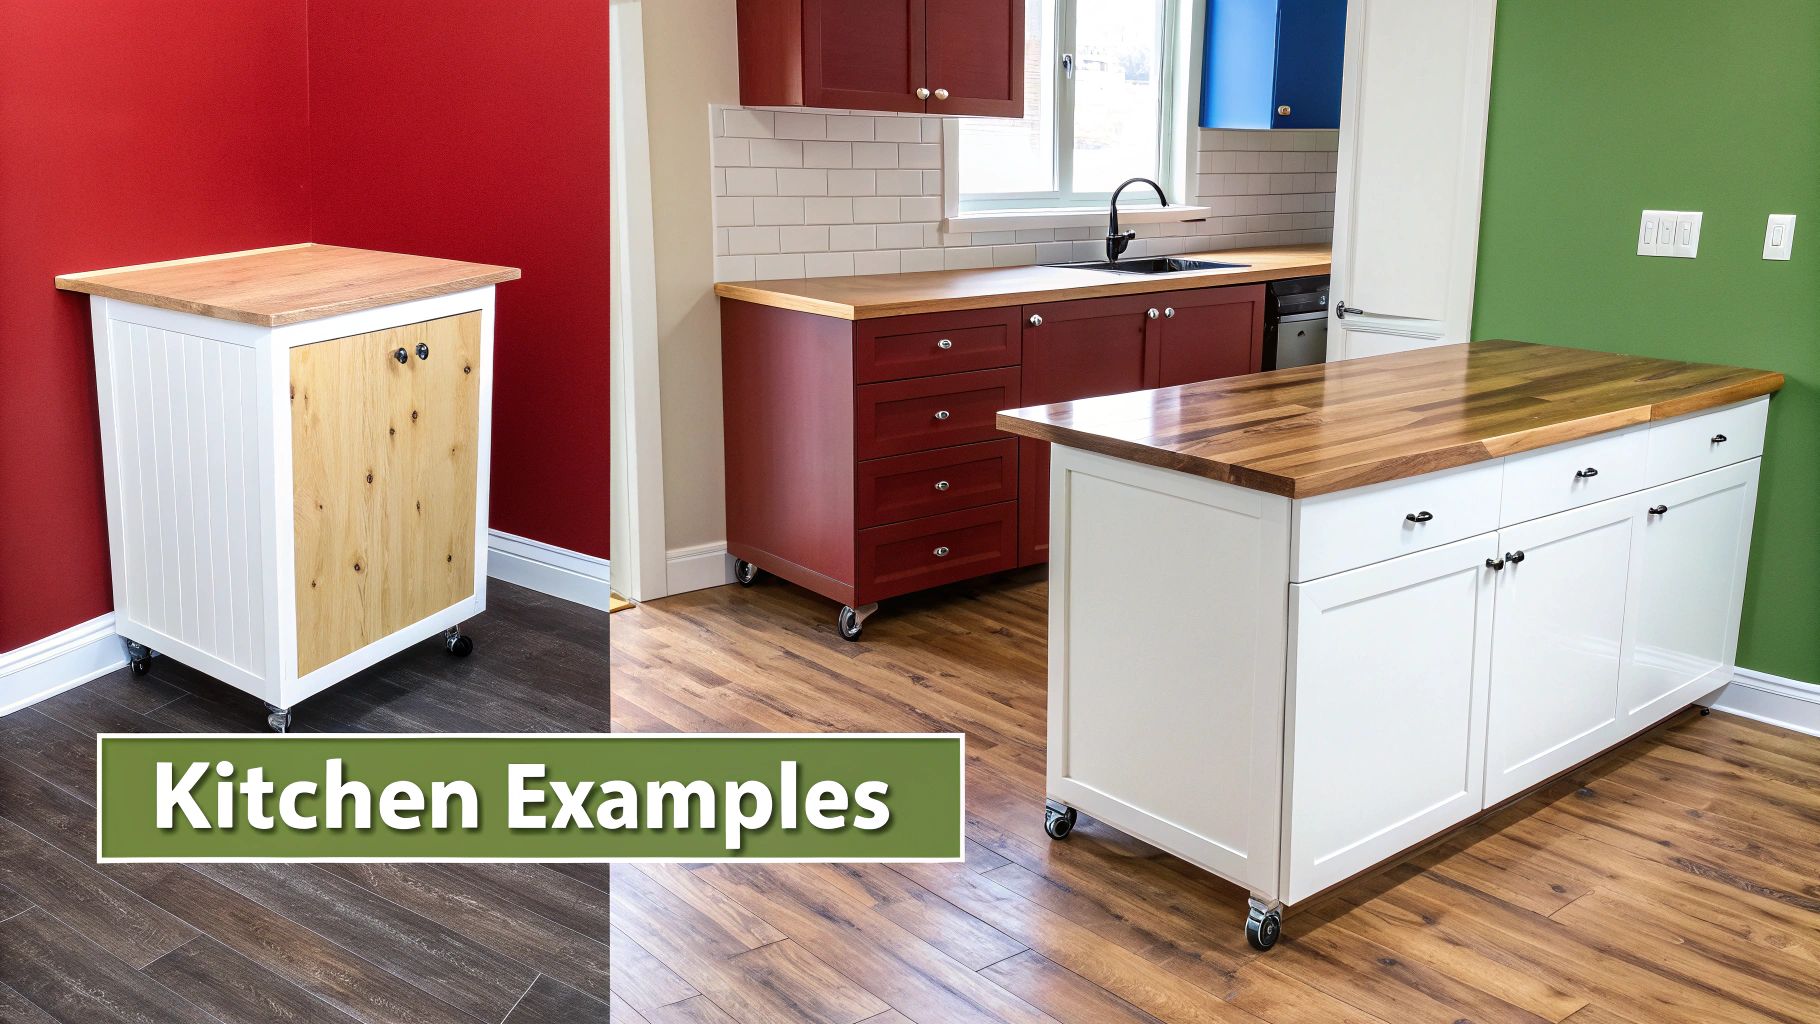
The Compact Galley Kitchen Solution
Older homes in areas like Kalamazoo and St. Joseph often have classic galley kitchens—long, narrow rooms with two parallel walls of counters. Trying to squeeze a permanent island in here is usually a non-starter. It would almost certainly violate the 36-inch minimum clearance rule and create a frustrating bottleneck.
But that doesn't mean you have to give up on having that extra workspace. This is where a movable or rolling island becomes the hero of the story. These clever pieces are often narrower and shorter than built-in islands, giving you incredible flexibility.
- Typical Dimensions: Look for something around 24 inches deep by 36 to 48 inches long.
- Key Advantage: It offers a much-needed prep surface that can be pushed to the side or even rolled out of the room when you need the floor space.
- Functionality: A small, mobile island is perfect as a coffee bar, a dedicated baking station, or just a landing pad for groceries.
In an 8-foot-wide galley kitchen, a 24-inch deep rolling cart still leaves you with 36 inches of clearance on either side. You get the function you need without the permanent commitment.
The L-Shaped Family Kitchen Solution
The L-shaped layout is a favorite in family homes for a reason—it strikes a wonderful balance between an efficient work triangle and an open, connected feel. This layout is practically begging for a multi-purpose, medium-sized island to act as the central hub of the kitchen.
The island naturally bridges the gap in the "L," creating a perfect spot for homework, casual meals, and helping with dinner prep. The goal here is to balance comfortable seating with plenty of clear workspace.
For a typical L-shaped kitchen, an island around 42 inches deep by 72 inches long (6 feet) is a fantastic size to aim for. It's big enough to comfortably seat three people while leaving a generous prep area on the other side.
Let’s break that down:
- Depth: A 42-inch depth gives you 24 inches for standard cabinets on the work side and a 15-inch overhang for knees and stools, plus a few inches for the countertop structure.
- Length: At 72 inches long, you have enough space for three seats, allowing the recommended 24 inches of width per person.
- Clearance: For this kind of active kitchen, maintaining a 42-inch clearance in the main work aisle—usually between the sink and the island—is key to a smooth, uncrowded workflow.
The Spacious Open-Concept Kitchen Solution
With the big, open-concept floor plans we see in newer homes, the problem isn't a lack of space, but how to define it and use it wisely. A small island can look lost and out of scale, almost like a postage stamp in a giant room. This is your chance to install a grand, statement-making island that anchors the kitchen and handles multiple jobs at once.
For these expansive layouts, an island that is 8 to 10 feet long isn't just common; it's often necessary. It becomes a stunning architectural feature that can house appliances and be zoned for different activities.
- Example Dimensions: Picture an island measuring 48 inches deep by 9 feet (108 inches) long.
- Zoned Functionality: This generous footprint allows for distinct zones. You could easily have a prep sink at one end, a huge, uninterrupted prep surface in the middle, and a beverage fridge or seating area at the other.
- Proportionality: In a large room, a substantial island grounds the space and prevents the work triangle from becoming a marathon. It acts as a convenient midway point between the fridge, range, and sink, making the kitchen feel more connected and efficient, even with its grand scale.
Your Next Steps to Plan with Confidence
Now that we’ve waded through all the numbers and guidelines, it’s time to bring your island concept off the page and into your actual kitchen. Honestly, the single best way to feel confident in your plan is to physically map it out in the space. This is how you catch those little "oops" moments before a single cabinet gets ordered.
You don't need any high-tech tools for this. Just grab some painter's tape or flatten a few cardboard boxes. It’s a simple trick designers have used for years because it turns abstract dimensions into a tangible experience you can walk around.
Create a Physical Template
The idea is to create a full-scale footprint of your island right on the kitchen floor. This isn't just about visualizing the size—it's about feeling the flow of the room.
- Measure and Mark: Using your planned dimensions, get a tape measure and mark out the corners where your island will sit.
- Outline the Shape: Connect the dots with painter's tape to create a clear perimeter. If you want an even better sense of its mass, cut cardboard to size and lay it down.
- Live with It: This is the most important part. Leave your template on the floor for at least a few days. Go about your normal life—cook dinner, unload the dishwasher, let the kids grab snacks from the fridge.
This real-world test drive is incredibly revealing. You'll immediately notice if the path to the pantry feels cramped or if you can't fully open the oven door without bumping into your "island." It’s the kind of practical feedback that blueprints just can't give you.
Navigating Common Layout Challenges
As you live with your template, you’ll probably spot a few potential roadblocks, especially in the kinds of homes we see all over Southwest Michigan. An older farmhouse in St. Joseph has different quirks than a newer build in Stevensville.
- Older Homes: Watch out for things like radiators, old cast-iron plumbing in the floor, or structural posts that are non-negotiable. Your template will show you right away if your dream placement is going to clash with one of these unmovable features.
- Newer Builds: In a big, open-concept space, the main challenge is often getting the scale right. An island that’s too small can look like a tiny boat lost at sea. Your floor template helps you see if the island feels substantial enough to anchor the entire room.
This hands-on planning process is invaluable. It’s the bridge between a good idea on paper and a truly functional kitchen you’ll love using every day. It gives you the power to sign off on a final design with total certainty.
Once you’ve tested the footprint and feel great about your kitchen island size guidelines, you’ve got a solid, proven vision. You're no longer just guessing.
The next step is turning that well-measured plan into a beautifully crafted reality. With a layout you've already walked through, you're perfectly prepared to have a productive conversation with a professional remodeler who can bring it all to life. That initial prep work makes for a much smoother project and a final result you'll be happy with for years to come.
Your Kitchen Island Questions, Answered
Even after you've got the basic rules down, a few specific questions always seem to pop up during the design process. Let's tackle some of the most common ones we hear from homeowners trying to nail down their kitchen island dimensions.
Is My Kitchen Just Too Small for an Island?
Maybe not! The real question isn't about the total square footage of your kitchen, but about the usable, open floor space you have to work with. You absolutely need to maintain a walkway of at least 36 inches all the way around the island. Honestly, 42 inches is a much more comfortable reality for a busy kitchen.
If you can't hit that minimum clearance, a permanent island is going to make your space feel tight and frustrating. For long, narrow galley kitchens, a peninsula is almost always a smarter solution. In a smaller, more square-shaped kitchen, consider a compact, movable cart—something around 24 by 36 inches. It gives you extra prep space when you need it and can be pushed aside when you don't.
How Many People Can I Actually Seat at My Island?
The key here is to think about comfort. No one likes bumping elbows with their neighbor while they're trying to eat. A good rule of thumb is to plan for at least 24 inches of width for every person. Just as crucial is providing enough knee room, which all comes down to the countertop overhang.
- For standard 36-inch counter-height stools, you'll want a 15-inch overhang.
- For taller 42-inch bar-height seating, you can get away with a 12-inch overhang.
So, if you're dreaming of seating three people in a row, you'll need an island that's at least 72 inches (or 6 feet) long, with the proper depth to support that overhang without tipping.
Should an Island Be the Same Height as My Counters?
Most of the time, yes. The standard height is 36 inches, which matches the rest of your kitchen counters. This creates one long, seamless work surface, which is fantastic for big baking projects or spreading out holiday meal prep.
That said, a multi-level island can be a brilliant design move. You could have your main prep area at the standard 36-inch height and then add a raised 42-inch bar for seating. This visually separates the "work" zone from the "social" zone. Another great idea is to drop a section down to 30 inches—standard table height. It’s perfect for rolling out dough or creating an accessible spot for kids or a wheelchair user.
How Does a Cooktop or a Sink Change the Size I Need?
Adding a major appliance to your island instantly increases its required footprint. It's no longer just a countertop; it's a workstation, and every good workstation needs "landing space" on either side for safety and practicality.
The National Kitchen & Bath Association (NKBA) has some solid guidelines here: they recommend at least 12 inches of counter on one side of a cooktop and 15 inches on the other. For a sink, you'll want a minimum of 18 inches on one side and 24 inches on the other, which is where the dishwasher usually goes.
To figure out your minimum island length, just add these landing space numbers to the width of the sink or cooktop you’ve chosen. That's your starting point for a truly functional powerhouse island.
Feeling confident about your island plan is the first step. When you're ready to turn those ideas into a beautifully crafted reality, the team at Trademaster Construction is here to guide you through every detail. Start planning your Southwest Michigan kitchen remodel by exploring our Inspiration Gallery.

