
So, how long does a kitchen remodel actually take? It's the million-dollar question, and the honest answer is: it depends.
Generally, you can expect a timeline of anywhere from 6 to 12 weeks for a smaller project that’s mostly cosmetic. For a full-gut renovation where you’re tearing down walls and starting from scratch, you’re looking at 3 to 6 months from initial planning to the final walkthrough. The on-site construction part of that—the noisy, dusty, exciting part—typically eats up about 8 to 12 weeks of the total time.
Setting Realistic Expectations for Your Remodel
Getting a new kitchen is thrilling, but I’ve seen enough projects to know that grounding your dreams in reality from the very beginning is the secret to a smooth, low-stress experience. Before you set your heart on that perfect slab of quartzite, it helps to understand the real-world flow of a remodel. Knowing the timeline helps you plan your life, communicate effectively with your contractor, and feel in control of the process.
Every kitchen project moves through predictable stages—planning, demo, construction, and finishes—and each one needs its own slice of the calendar.
This visual gives you a great snapshot of the timelines for three common project types, from a simple facelift to a complete overhaul.
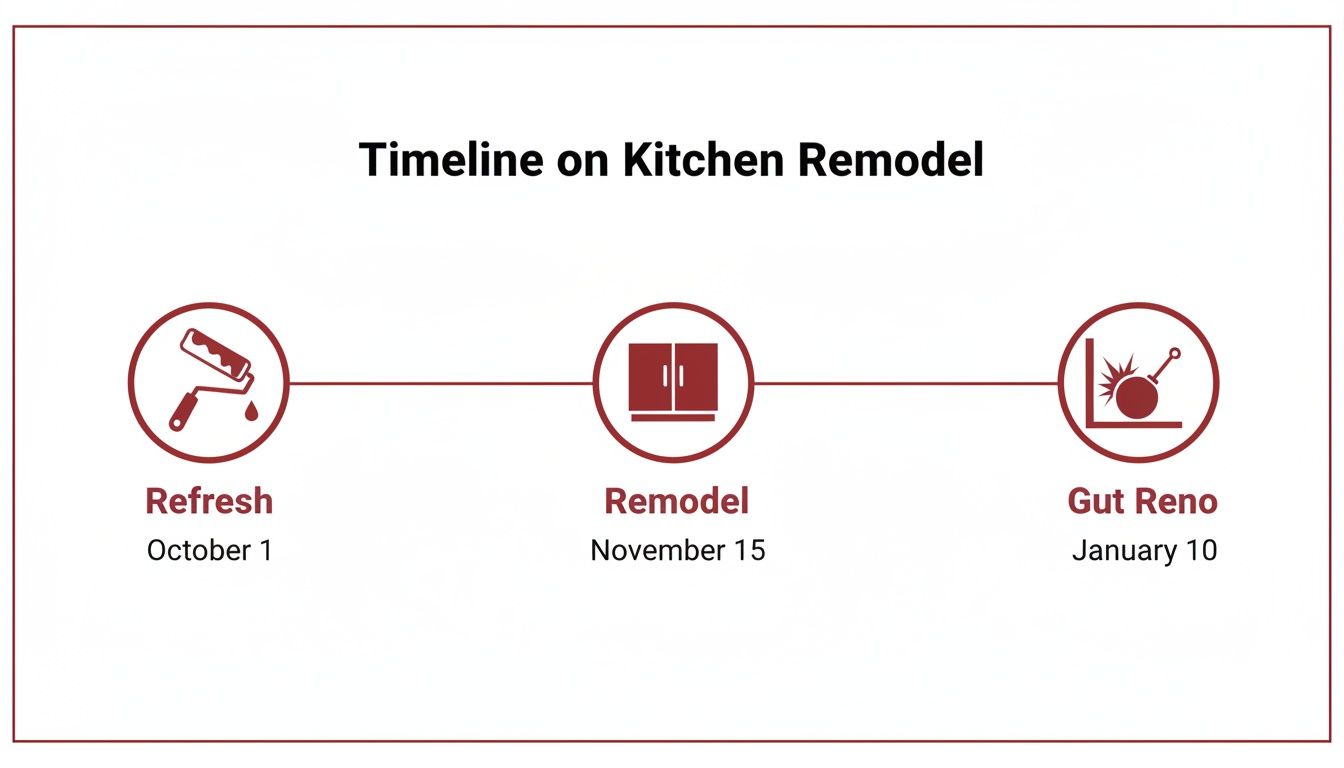
As you can see, the single biggest factor driving your timeline is just how much you plan on changing.
Understanding Project Scopes
Not all remodels are the same. Pinpointing where your project falls on the spectrum is the first step toward setting a realistic timeline and budget. Here’s a quick breakdown of what each level of renovation usually means.
-
Cosmetic Refresh (1-4 Weeks): This is your fastest option, focused purely on surface-level changes. We're talking about a fresh coat of paint, new cabinet pulls, a different faucet, or updated light fixtures. The disruption is minimal, and you can often knock it out over a few weekends.
-
Mid-Range Remodel (6-12 Weeks): This is a much more involved project where you’re replacing major elements but keeping the kitchen’s existing footprint. This usually involves installing brand-new cabinets and countertops, putting in a tile backsplash, and swapping out the flooring and appliances.
-
Full-Gut Renovation (3-6+ Months): This is the big one. It means tearing everything out down to the studs, often moving walls, and completely re-routing plumbing and electrical to create an entirely new layout. It’s the most complex and time-consuming path.
Here's a pro tip: The biggest delays almost always trace back to indecision during the planning phase. The single best thing you can do to keep a project on track is to finalize all of your material selections before the first hammer swings.
Kitchen Remodel Timelines at a Glance
To give you a clearer picture, I've put together a quick comparison of these project scopes. Think of this table as a high-level guide to help you match your expectations with the realities of a kitchen renovation.
| Project Scope | Estimated Timeline | Key Activities | Typical Budget Range |
|---|---|---|---|
| Cosmetic Refresh | 1-4 Weeks | Painting, hardware updates, new faucet/lighting | $3,000 – $10,000 |
| Mid-Range Remodel | 6-12 Weeks | New cabinets, countertops, appliances, flooring | $25,000 – $75,000 |
| Full-Gut Renovation | 3-6+ Months | Changing layout, moving walls, new plumbing/electrical | $75,000 – $150,000+ |
Use this framework as your starting point, but always remember that things like custom cabinet lead times, permit approvals from the city, or finding unexpected rot behind a wall can add time. A good plan always has a little wiggle room built in for the unknown.
The Critical Planning and Design Phase
Every successful kitchen remodel is built not on lumber and stone, but on a rock-solid plan. I've seen it time and time again: the projects that go smoothly are the ones where the homework was done upfront. This initial stage, which can easily take one to two months, is where you have the most influence over the final outcome, budget, and schedule. Rushing decisions here is the number one reason projects go off the rails later.

Think of this phase as creating the detailed blueprint for your entire project. It's so much more than just picking pretty finishes. This is when you define your scope, set a realistic budget, hire the right team, and lock in decisions that will guide every single step to come.
Defining Your Project Scope
Before you can even think about budgets or contractors, you need to get crystal clear on what you actually want to achieve. A great way to start is by creating two simple lists: your 'must-haves' and your 'nice-to-haves.' This little exercise is invaluable because it forces you to prioritize and gives you immediate clarity when you need to make tough decisions down the line.
Your 'must-have' list might include things like:
- More counter space for meal prep.
- Smarter storage solutions to finally kill the clutter.
- Durable flooring that can handle kids, pets, and life.
Then, your 'nice-to-have' list could feature the dream items:
- A high-end, six-burner gas range.
- A dedicated coffee bar with a built-in machine.
- Those custom pull-out pantry shelves you saw online.
This process gives you and your potential contractor a shared understanding of the project's core goals. If the initial quotes come in a little high, you can look right to your 'nice-to-have' list for areas to scale back without sacrificing what truly matters.
Creating a Realistic Budget
Your budget is the engine that drives this whole project. A common mistake I see homeowners make is budgeting only for the big, visible items like cabinets and countertops. A truly realistic budget, however, accounts for everything—labor, permits, and all the small details that absolutely add up.
The most critical part of any sound remodeling budget? A contingency fund. You should always set aside an extra 15-20% of your total project cost for the unexpected. This isn't a slush fund for upgrades; it’s a safety net for the surprises that are almost guaranteed to pop up, like finding old, faulty wiring behind a wall or discovering a hidden plumbing leak during demo.
A well-planned budget with a healthy contingency fund is the difference between a stressful, compromised project and a smooth, successful one. It turns unexpected problems into manageable bumps in the road.
Finding and Vetting Your Contractor
With your scope and budget getting clearer, it’s time to find the right partner for the job. Please, don't just collect three quotes and pick the cheapest one. You want a licensed and insured contractor with a strong portfolio of kitchen projects, like the ones in our Trademaster Inspiration Gallery.
When you get quotes, make sure you’re comparing apples to apples. A detailed quote will break down costs for materials, labor, and permits. A vague, one-page estimate is often a red flag. Dig into their reviews, ask for references, and actually talk to them to see if they understand your vision and communicate clearly.
The Power of Finalizing Selections Early
If you take only one piece of advice from this guide, let it be this: finalize and order every single material and fixture before demolition begins. This is, without a doubt, the most important thing you can do to protect your timeline. I'm talking about the exact cabinet style, the specific countertop slab, the faucet model, the dishwasher—everything.
Here’s a real-world scenario that happens all too often: the contractor tears out your old kitchen and the new cabinets are installed right on schedule. But that specific farmhouse sink you had your heart set on is on backorder for six weeks. Now, the countertop fabricator can't make a template. The plumber can't do the final hookup. The tile setter can't install the backsplash. Your entire project grinds to a halt, all because of one sink.
By ordering everything upfront, you turn a schedule full of potential delays into a predictable sequence of events. Sure, waiting for a custom appliance might add a few weeks to the planning phase, but it prevents months of costly downtime and frustration once construction is underway. This proactive approach is the secret to keeping the momentum going.
Taking Things Apart: Demolition and Structural Work
Alright, you've made your decisions and the materials are on their way. Now comes the part where things get real, fast. This is the demolition and construction phase, where the old kitchen disappears to make way for the new. Be prepared, as this can be the most disruptive stage of the entire project.
From the first swing of a sledgehammer to the moment the last wire is pulled, you can expect this phase to take anywhere from one to four weeks. A simple cosmetic update will be on the shorter end, while a full gut-job with wall removals will naturally take longer.
First things first, a good crew will meticulously prep the site. They’ll seal off the kitchen from the rest of your house with plastic sheeting and dust barriers, because believe me, the dust gets everywhere. Protecting your floors and nearby furniture is absolutely essential. After that, the real work begins as old cabinets, countertops, appliances, and flooring are ripped out.
All that old material has to go somewhere. As the demolition debris piles up, you'll see why it’s a smart move to line up a professional junk removal company ahead of time. Keeping the job site clear isn't just about tidiness; it’s a crucial safety step for the tradespeople who are coming in next.
Behind the Walls: The Rough-In Stage
With the slate wiped clean, the "rough-in" work begins. This is all the foundational stuff that gets hidden behind the drywall, but it’s arguably the most important part of the entire build. Getting this right is non-negotiable, because fixing a mistake once the walls are closed is a homeowner's nightmare.
This is where the skeleton of your new kitchen takes shape. It involves:
- Framing: This is when any walls are removed, moved, or built.
- Plumbing: Plumbers run the new water and drain lines for your sink, dishwasher, ice maker, or that pot filler you’ve been dreaming of.
- Electrical: Electricians place the boxes for all your new outlets, light switches, and dedicated appliance circuits. This includes wiring for things like under-cabinet lighting and island pendants.
- HVAC: If you’re relocating vents or installing a powerful new range hood, the ductwork is installed now.
It’s during this stage that we see many of today's big kitchen trends come to life. In fact, a recent study showed that 35% of homeowners are now enlarging their kitchen's size, often borrowing space from an adjacent room. It just goes to show how much the kitchen has become the true heart of the home, used for so much more than just cooking.
Don't Forget Permits and Inspections
Before a single sheet of drywall goes up, your project will hit a critical checkpoint: the rough-in inspection. A local building inspector will need to come out and sign off on all the new work. They’re there to confirm that the framing, electrical, and plumbing have been installed correctly and meet all current safety codes.
Passing your rough-in inspections is a huge milestone. It’s the official green light that confirms the bones of your new kitchen are solid, safe, and up to code. It's tempting to cut corners here, but skipping permits can cause major headaches, from safety risks to big problems when it comes time to sell your house.
Your contractor should have applied for permits during the planning phase, as just getting them approved can take several weeks. While the inspection itself is usually pretty quick, scheduling it can take a few days or even a week, depending on how busy your local municipality is. Once you pass, you can breathe a sigh of relief. The messy part is over, and you're ready to start putting your beautiful new kitchen back together.
Bringing Your New Kitchen to Life
Now for the fun part. With the rough-in inspections passed and the drywall up, you’re officially out of the dust cloud. This is where your vision finally starts to take shape, and honestly, it’s one of the most exciting phases of the whole project. The next three to five weeks are all about layering in the finishes and fixtures that bring your kitchen’s new personality to life.

From here on out, the sequence of events is absolutely critical. Any pro will tell you there’s a specific order to things, designed to protect newly installed materials and get that high-quality finish you're paying for. It all starts by creating a clean slate before the big stuff arrives.
Setting the Stage with Paint and Flooring
Before a single cabinet box enters the room, the walls and ceiling get their final coats of primer and paint. Trust me, it’s a thousand times easier to paint an empty room than it is to tape and cut in around thousands of dollars in brand-new cabinetry.
Once the paint is fully cured, the new flooring goes down. Whether you’ve chosen hardwood, tile, or luxury vinyl, installing it wall-to-wall at this stage gives you a clean, continuous surface that runs right under your cabinets and appliances. Not only does it look much more professional, but it also makes swapping out an old dishwasher for a new one down the road a breeze.
Installing Cabinets: The Skeleton of Your Kitchen
Cabinet installation day is a huge milestone. This is when the layout you agonized over on paper finally jumps into the third dimension. A skilled installer will spend their time meticulously leveling and securing each cabinet, making sure everything is plumb and square. This creates the rock-solid foundation for your countertops.
This process usually takes a few days, depending on how complex your kitchen is. Once the base cabinets are perfectly set, everything pauses for a crucial step: countertop templating. A specialist will come out to create a hyper-precise digital or physical template of your cabinet layout, which ensures your new counters will have a perfect, glove-like fit.
It's no surprise kitchen updates are so popular. In 2023, an incredible 45% of American homeowners took on a kitchen remodel, making it the top home improvement project. With homeowners often renovating every 3-5 years, the drive for a fresh, functional space is undeniable. In fact, 40% of renovators said their main motivation was simply being tired of their kitchen's old look.
Countertops, Backsplash, and Appliances
After the template is made, you can expect it to take one to two weeks for the countertops to be fabricated and delivered. The installation itself is usually a one-day affair, but it completely transforms the room. All of a sudden, you have actual surfaces.
With the counters in, the backsplash can be installed, followed by sliding the major appliances like the range, refrigerator, and dishwasher into place. These are the moments the space really starts to feel like a functioning kitchen again.
Insider Tip: Avoid scheduling your plumber and electrician for their final hookups on the same day your appliances are delivered. Give the crew a day to get everything unboxed and positioned just right before making the final connections. It prevents a scheduling traffic jam.
The Final Connections and Finishes
Now it’s time for the trades to come back for their final pass. This is when a flurry of activity happens, and your kitchen officially comes to life.
- Plumbing Finals: The plumber returns to connect the sink faucet and drain, hook up the dishwasher water and drain lines, and install the garbage disposal.
- Electrical Finals: The electrician is back to install all the light fixtures—pendants, under-cabinet lighting, and recessed cans—along with every outlet, switch, and cover plate.
These last steps are where the attention to detail really pays off. If you’re still weighing your options, you might even explore options for resurfacing kitchen cabinets to get an updated look without a full replacement.
Finally, the little things that make a big difference are handled. All the cabinet hardware—the pulls and knobs—are installed, and any last-minute paint touch-ups are completed. After weeks of construction, you can finally step back and see your new kitchen, fully assembled and ready for you to enjoy.
Managing Delays and the Final Punch List
Even with the best-laid plans, a kitchen remodel can hit a few bumps. The simple truth is that once you start opening up walls and coordinating different trades, surprises are not just possible—they're practically part of the process. Getting through the last stretch of your project is all about knowing what to look out for and having a solid game plan for the finish line.
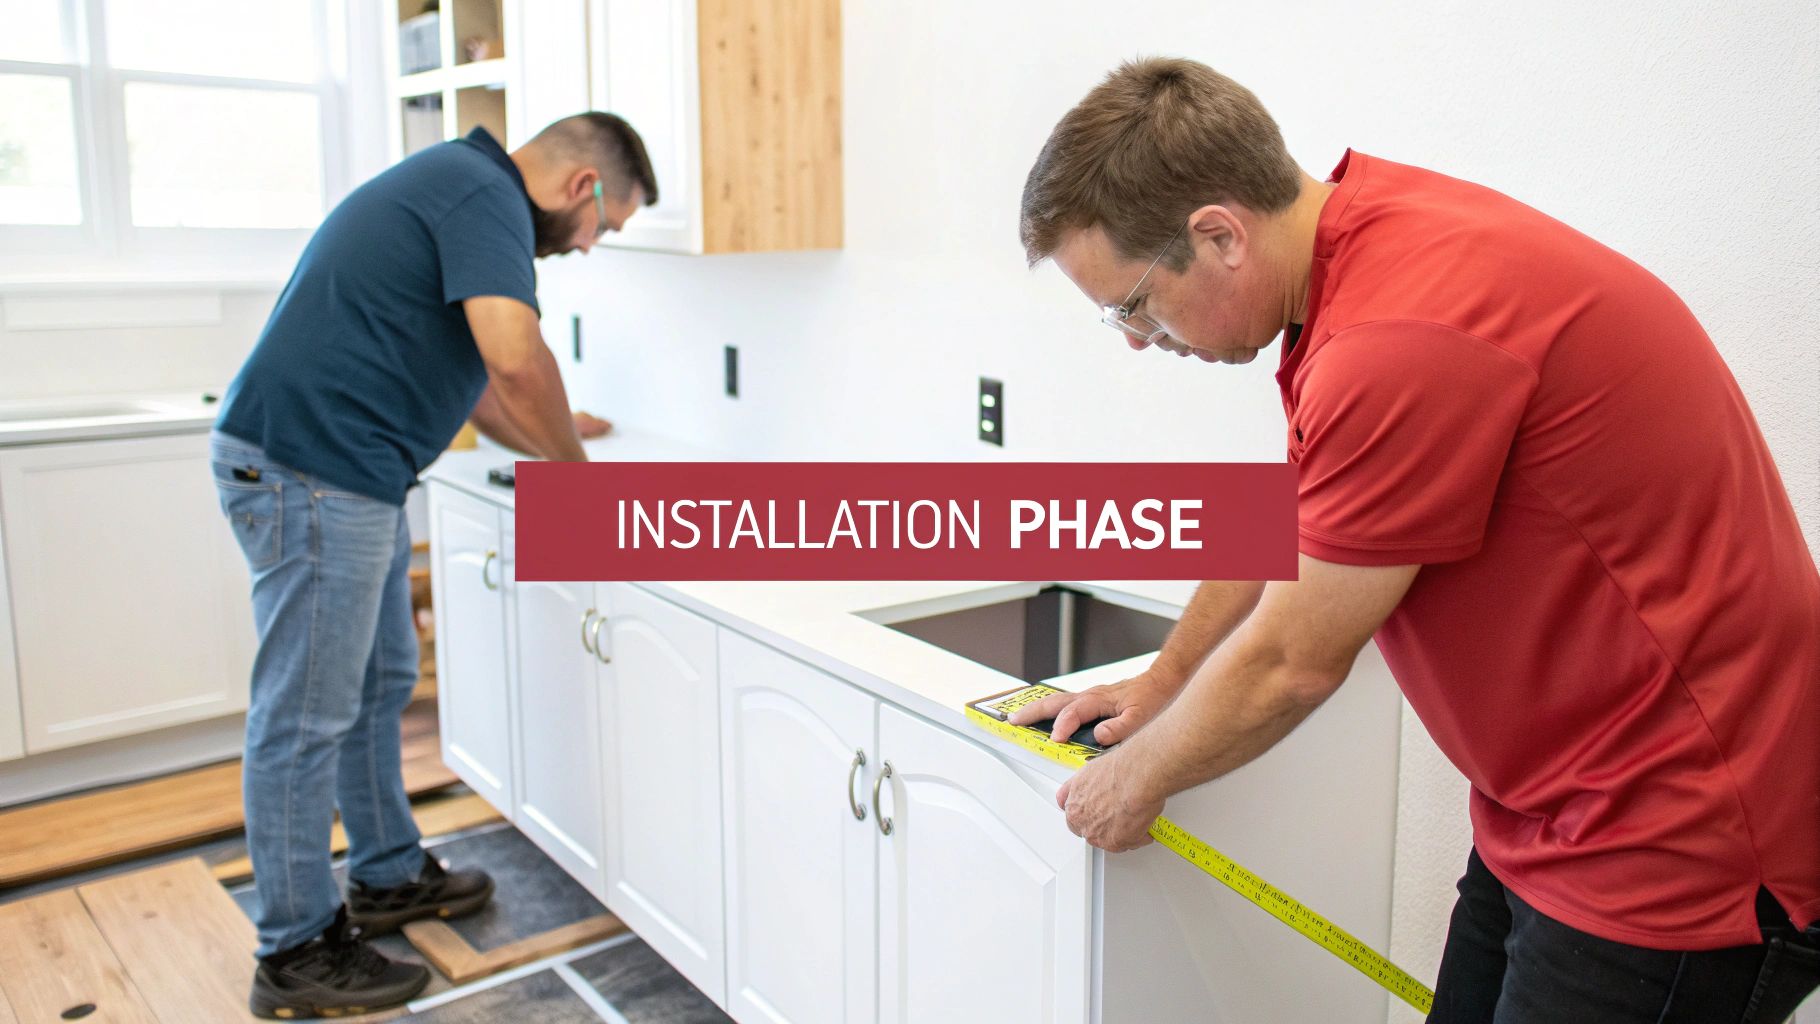
This final phase isn't a passive waiting game. It requires proactive management to ensure you cross the finish line with a kitchen you absolutely love, free of any lingering frustrations.
Navigating Common Timeline Delays
Delays are, without a doubt, the biggest source of stress in any renovation. While some things are simply out of your control, a little foresight goes a long way in minimizing most of them. Understanding the usual suspects is the first step to keeping your project on track.
Keep in mind, these issues are often linked. A backordered appliance, for instance, can throw your plumber’s schedule into chaos, creating a domino effect that impacts every trade that follows.
Common Culprits for Delays:
- Material Backorders: This is the classic project-stopper. A specific tile, a faucet, or that perfect light fixture being out of stock can bring everything to a grinding halt. It's easily the most common and disruptive issue we see.
- Subcontractor Scheduling: A great contractor is also a master juggler, coordinating a complex schedule of electricians, plumbers, and painters. If one of their crews gets held up on another job, it can create a bottleneck for yours.
- Hidden Surprises: This is the great unknown. When you tear out old cabinets, you might find anything from termite damage and outdated wiring to a hidden plumbing leak that has to be fixed before anything new can go in.
- Inspection Failures: If the work doesn't pass a rough-in or final inspection, all work must stop. The issue has to be corrected and re-inspected, which can easily add days or even weeks to your timeline.
The kitchen remodeling industry, valued at USD 11.86 billion in 2025, is always in motion and can be influenced by global factors. Something like trade tariffs on imported stone can lead to unexpected price hikes or shipping delays for countertops, eventually trickling down to affect your local project. You can discover more about these market trends and how they might impact your timeline.
Proactive Strategies to Stay on Track
You can’t control everything, but you can build a resilient plan. The most effective way to manage your timeline is to make smart decisions and build in some buffers long before the first wall comes down.
My number one piece of advice for avoiding delays is to order every single item—from the cabinet pulls to the range hood—before the first hammer swings. Having all your materials sitting on-site eliminates the biggest variable in the entire construction schedule.
Beyond ordering early, a few other tactics can make a huge difference:
- Build in Buffer Days: Never schedule your project down to the day. A realistic timeline always includes a 10-15% buffer for those "just in case" moments.
- Maintain Clear Communication: Set up a weekly check-in with your contractor. Simply knowing what’s happening and what’s next helps you spot potential problems before they escalate.
- Resist Mid-Project Changes: It might seem like a "small" change, but moving an outlet after the drywall is up can have a surprisingly big impact on both the schedule and your budget.
The Final Inspection and Your Punch List
The cabinets are in, the appliances are shining, and your new kitchen looks amazing. You’re almost there, but two crucial steps remain.
First is the final inspection from your local building department. An inspector will come out to verify that all the electrical, plumbing, and structural work is up to code and, most importantly, safe.
Once you have that official green light, it’s time for the final walkthrough with your contractor. This is your chance to create a punch list—a detailed list of every little thing that needs a final touch-up before you hand over that last check. Be thorough and don't be shy.
Your Punch List Checklist:
- Functionality: Open and close every single cabinet door and drawer. Do they close softly? Do they line up perfectly?
- Finishes: Look closely for any paint drips, scuffs on the walls, or tiny scratches on the cabinet faces.
- Fixtures: Flick every light switch on and off. Run the faucet and test the garbage disposal.
- Details: Check for clean, straight grout lines, smooth caulk beads around the sink, and properly installed hardware.
A detailed punch list ensures the final product meets your expectations. Any true professional will welcome this feedback and work to get every last item perfect, delivering the flawless kitchen you’ve been dreaming of.
Navigating the Day-to-Day of a Kitchen Remodel
So, you have a timeline on paper, but what does it all really mean for your daily life? This is where the practical questions come in—the ones we hear from every single client before we start.
Knowing how to handle life without a sink or what to do when something unexpected pops up is key. Let's get into the real-world advice that will help you manage the disruption and keep your stress levels in check.
How Can I Get a New Kitchen as Fast as Possible?
If your main goal is speed, the answer is simple: keep the project focused on cosmetics. The quickest kitchen updates, often wrapping up in just a few weeks, refresh the space without touching the underlying structure.
The number one way to save time? Don't change your kitchen's existing layout. The moment you start moving walls or relocating plumbing and electrical, you're adding significant time for demolition, new construction, permits, and multiple inspections. It’s a guaranteed way to stretch your schedule by weeks, if not months.
For a remodel on the fast track, here’s what we recommend:
- Work with your current footprint. Keep the sink, dishwasher, and stove right where they are.
- Pick materials that are in-stock. Custom cabinets and special-order tiles are notorious for long lead times. Choosing items your supplier has on hand can shave months off your wait.
- Refinish instead of replacing. A professional paint job on your existing cabinets can completely transform the room in a fraction of the time it takes to tear out and install a new set.
How Long Will I Really Be Without a Working Kitchen?
This is the big one, isn't it? For a standard, full remodel, you should realistically plan on being without a fully operational kitchen for four to eight weeks. This is the active construction window, from the day we start demolition until your new faucet is running and the major appliances are hooked up.
The trick to surviving this period is setting up a solid temporary kitchen elsewhere. Find a corner in the dining room, basement, or even the garage and equip it with the essentials:
- A microwave is a must. An electric skillet or toaster oven is a huge bonus.
- The coffee maker. For most of us, this is non-negotiable.
- A mini-fridge for milk, snacks, and leftovers.
- A good supply of paper plates and disposable utensils. Trust me, you don't want to be washing greasy plates in your bathroom sink.
Think of it like a camping trip, but in your own house. A little prep work makes the whole experience far more manageable and helps keep some sense of normalcy in your daily routine.
Can We Actually Live in the House During the Remodel?
Yes, absolutely. Most people do. But it's important to go in with your eyes open. Even with our crew taking every precaution to seal off the work zone, dust is inevitable during demolition and drywall phases. You can also expect a fair amount of noise and a steady flow of tradespeople coming and go.
The first week is usually the most intense, with demolition and the initial rough-in work. If you have small children, pets, or work from home, you might consider arranging to stay with family or at a hotel for those first few days. It can make a world of difference.
What Happens If I Change My Mind About Something Mid-Project?
It happens. You can definitely make changes once work has begun, but it’s important to understand it will affect both the kitchen remodeling timeline and your budget. We handle this formally with a document called a change order.
A change order clearly spells out the new scope of work, the added cost for labor and materials, and—most importantly—how it will extend the schedule.
Let's say the drywall is up, and you suddenly decide you want three pendant lights over the island instead of the single fixture you'd planned. That means the electrician has to come back to run new wiring, the drywaller has to return to patch the ceiling, and the painter has to follow them to touch everything up. Each step adds time and cost.
This is exactly why we spend so much time nailing down every last detail in the planning phase. Making firm decisions upfront is the best way to protect your timeline and your wallet from those frustrating, last-minute delays.
Ready to stop wondering and start planning? The team at Trademaster Construction is here to guide you through every phase of your project. Use our online Pricing Tool for an initial estimate and get inspired by our work.

