A tile order can feel like progress, until the contractor tells you the permit hasn't been approved and the delivery is sitting in the garage while the project waits. Bathroom renovation steps work best when the decisions that affect plumbing, permits, moisture protection, and accessibility are settled before demolition, not after the walls are open.
The sequence below is a practical planning guide for homeowners in Portage, Kalamazoo, and nearby communities. Use it to see where inspections, material choices, and hidden conditions affect both the schedule and the budget.
The Full Renovation Sequence at a Glance
A bathroom remodel runs more smoothly when each phase has a clear start, finish, and approval point. The durations below are planning ranges, not promises. A permit review, a delayed fixture, or concealed water damage can extend the schedule, so confirm timing with your contractor and local building department.
Renovation phases, typical durations and decision checkpoints
| Phase | Typical Duration | Decision Checkpoint |
|---|---|---|
| Planning, scope and budget | 4 to 8 weeks | Signed scope, budget and contingency reserve |
| Permits and plan review | 1 to 4 weeks | Permits issued for regulated work |
| Demolition | 1 to 3 days | Concealed conditions documented with photos |
| Water damage and framing repairs | 2 to 5 days | Subfloor and framing confirmed dry and sound |
| Rough-in plumbing and electrical | 1 to 2 weeks | Rough-in inspections passed before walls close |
| Waterproofing and shower pan | 2 to 5 days | Flood test holds water without leaks |
| Backer board, tile and grout | 1 to 3 weeks | Substrate cured and dry before tile setting |
| Vanity, fixtures, trim and fan | 1 to 2 weeks | Final inspection and fan confirmed venting outdoors |
The order is deliberate. Demolition reveals the conditions that determine repair work; rough-ins need approval before they're covered; and the shower must be waterproofed and tested before tile makes the assembly difficult to access. If a leak, missed inspection, or poorly placed drain is discovered after finishes go in, fixing it can mean removing work that was already paid for.
A full remodel of a standard bathroom often runs three to four months from the first meeting to the final walkthrough, especially when planning, permits, material lead times, and construction are all included. Some phases can overlap, such as ordering approved fixtures while permits are in review, but don't treat overlap as permission to skip a checkpoint.
Start by printing this table and marking which phases your project skips or overlaps. That simple exercise makes it easier to spot whether a seemingly small change, such as moving a toilet or switching to a curbless shower, affects the schedule before materials are ordered.
Set Your Budget, Scope and Timeline First
Before comparing tile colors, write a one-page scope that says what stays, what gets replaced, and what moves. A toilet that stays on its existing drain is a different project from one that shifts across the room, even if the new toilet looks identical.
Define what changes
Take clear photos of the current bathroom, including the plumbing connections, fan, outlets, window, and areas with visible damage. On a simple sketch, mark the vanity, toilet, tub or shower, and any proposed changes. Then sort each item into keep, refresh, or relocate.
Refreshing finishes in place is usually the least disruptive route. Relocating plumbing or electrical work can add rough-in work, inspections, and repair needs, so decide early whether a layout change earns its added cost. Mark a tub-to-shower conversion or a curbless entry now, not after framing begins. Those choices can change the drain, floor structure, waterproofing, and wall backing.
Build the budget around the work
Make a separate line for each major cost rather than keeping one large “materials” figure. Include demolition and disposal, permits and inspections, plumbing and electrical rough-ins, waterproofing, tile, fixtures, vanity, ventilation, labor, and finish work.
Older homes can hide soft subfloors, leaking supply lines, or damaged framing. Set aside a contingency reserve for concealed repairs rather than spending the full budget on visible finishes. The reserve is useful only if it's kept available for actual surprises, not used to upgrade tile before construction starts.
For a first-pass estimate, Trademaster Construction's instant pricing tool can help you get a ballpark cost range before you choose materials. Treat that range as a planning aid, then compare contractor bids against the same written scope so you're evaluating equivalent work.
Work backward from the date you want the bathroom completed. List the expected lead times for tile, vanity, and custom fixtures, and ask your contractor which items must be on site before each phase. A signed scope, a realistic budget, and confirmed selections give the project a firmer start than ordering attractive materials before you know whether they fit the plan.
Which Bathroom Work Needs a Permit
Replacing a vanity in its existing location is usually cosmetic. Moving a drain changes the plumbing system and can affect inspections, the work sequence, and the finished layout. Check permit requirements before demolition, while changes to moisture protection, plumbing, or access are still straightforward to plan.
| Work Type | Permit Usually Required | Impact on Sequence |
|---|---|---|
| Replacing tile or a vanity in place | Often none for cosmetic work | Can start at any point in the schedule |
| Replacing a toilet or sink with existing connections | Plumbing permit may apply | Inspection needed if connections change |
| Relocating a toilet or drain | Plumbing permit and plan review likely | Rough-in inspection required before walls close |
| Converting a tub to a shower | Plumbing permit | Drain location and slope inspected before waterproofing |
| Adding or moving a circuit or heated floor | Electrical permit | Electrical rough-in inspection before drywall |
| Installing a new exhaust duct | Building or mechanical permit may apply | Fan must vent outdoors and be inspected |
| Changing walls or framing | Building permit | Structural review may add time before framing |
Michigan requires the appropriate permit before plumbing work begins. Bathroom remodels can also require building and electrical permits, depending on the work and the local building department. Requirements differ by municipality, so check with your own department before demolition and confirm rules for each layout or system change. The Michigan plumbing permit information page explains the state's plumbing-permit requirement.
Make permit checks part of scheduling
- Call the city building department. Portage, Kalamazoo, and Grand Rapids may apply requirements differently. A neighbor's past project is not a reliable permit decision for yours.
- Separate cosmetic from regulated work. List plumbing, electrical, ventilation, wall, and waterproofing changes for the department to review.
- Ask about drawings and plan review. A layout change may need more documentation than a like-for-like replacement.
- Schedule inspections before they become bottlenecks. Book rough-in inspections before walls close, then plan the final inspection after fixtures are installed.
A small drain move can seem minor beside custom tile, yet it may trigger plan review and corrections to concealed work. For DIY plumbing, Encano Plumbing & Drainage on DIY permits discusses permit and insurance responsibilities. Local Michigan requirements should guide the project.
Put each permit application and inspection on the project calendar. Do not close a wall or order a critical material on the assumption that approval will arrive later. Plan moisture protection and access alongside permit checks, since changing either after waterproofing or walls are closed can mean redoing finished work.
How to Demolish Without Hiding Water Damage
Demolition is where hidden damage becomes visible, so the job isn't just to remove old finishes. The crew needs to document what's there, expose the structure carefully, and let wet materials dry before rebuilding.
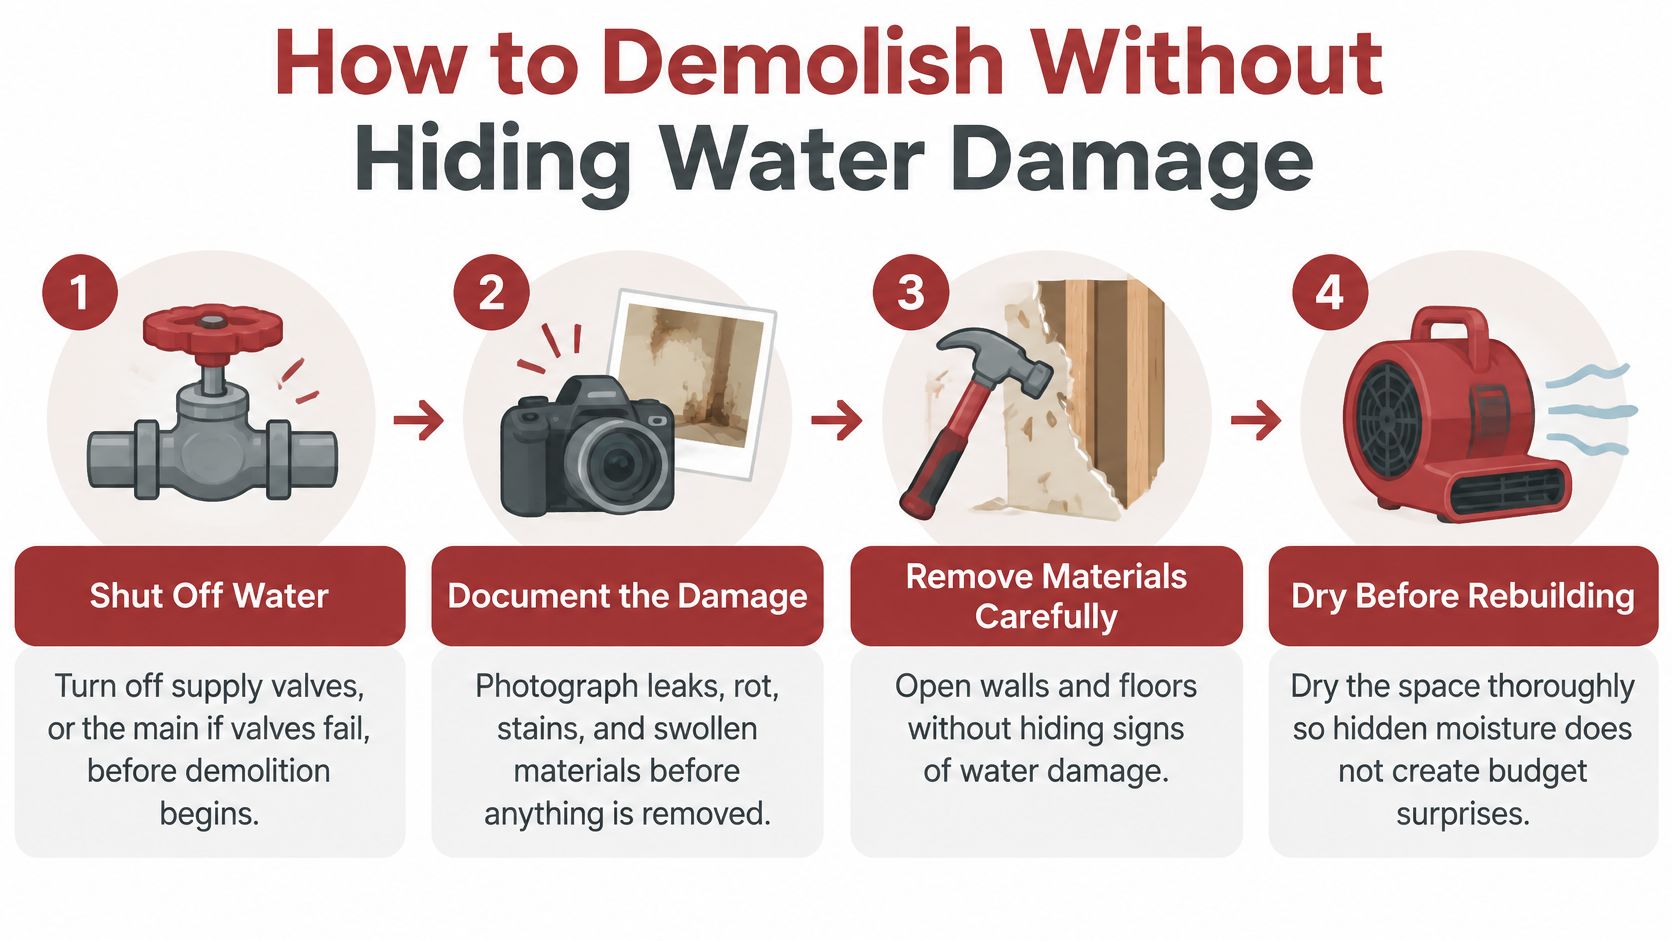
- Shut off water and power. Close the fixture supply valves, or the main water valve if they don't work, and switch off the bathroom circuits at the breaker. A shutoff that won't seal can turn a controlled tear-out into an active leak.
- Record the existing conditions. Photograph plumbing, wiring, and vent locations before opening the walls, then take additional photos of stains, rot, and swollen materials as they appear. Those records help the trades understand what was concealed and where existing connections run.
- Protect the route through the house. Cover floors with rosin paper or Ram Board and hang a plastic dust barrier at the doorway. Controlled protection matters when workers are carrying out tile, drywall, and a bulky vanity.
- Remove materials in sections. Take out the vanity, toilet, tub or surround, tile, and drywall carefully. Keep cuts shallow near known pipes and wiring; a fast cut can create a repair that had nothing to do with the original remodel.
- Probe the framing and subfloor. Use a screwdriver to check suspicious wood for softness, rot, or dark staining. A surface can look sound while the wood beneath a leaking toilet or shower has weakened.
- Fix the source before the damage. Repair leaks and replace rotten subfloor before starting rough-ins. Covering a damp or unstable base with new material only hides the problem.
- Dry the room before rebuilding. The U.S. Environmental Protection Agency's mold guidance recommends keeping indoor relative humidity below 60%, ideally 30% to 50%, and drying wet materials within 24 to 48 hours to reduce mold risk. Use a dehumidifier or air movement where appropriate, and don't close the wall until the materials are dry.
- Check the exhaust route. Confirm the fan duct terminates outdoors, not in an attic or wall cavity, where moisture can collect.
Demolition usually takes one to three days, but one soft subfloor can add a week if the crew must frame and rebuild the area before rough-ins begin. That delay is frustrating, yet it's better to resolve the damage while the structure is open than to bury it under a new floor.
Choose Fixtures That Match Your Water Targets
| Fixture | WaterSense Limit | Standard Reference |
|---|---|---|
| Showerhead | 2.0 gallons per minute | Federal standard: 2.5 gallons per minute |
| Bathroom sink faucet | 1.5 gallons per minute | 2.2 gallons per minute |
| Toilet | 1.28 gallons per flush | 1.6 gallons per flush |
The EPA WaterSense supporting statement lists these certified limits and reference values. A WaterSense-labeled showerhead uses no more than 2.0 gallons per minute, which is 20% below the federal standard. WaterSense bathroom sink faucets and accessories are capped at 1.5 gallons per minute, compared with 2.2 gallons per minute for the standard reference; the program says they can reduce sink water flow by 30% or more without sacrificing performance.
Use the certified flow or flush rating as a concrete comparison point, not just a claim on packaging. Lower-flow fixtures can reduce water use and operating costs, but actual savings depend on household use, local water rates, and the model selected. If a low-flow showerhead feels weak, check whether it's compatible with your home's water pressure before assuming the product is defective.
Choose before rough-in
- Select the showerhead and faucet by certified flow rate. Ask for the product specifications before ordering.
- Check toilet flush volume and connection details. Confirm the model fits the planned rough-in and the bathroom's available space.
- Get the installation manuals. Verify that the shower valve, trim kit, and finished wall depth are compatible. A trim set that doesn't match the valve can force avoidable rework.
- Choose wet-area surfaces for traction as well as appearance. A polished finish can be slick underfoot; consider a slip-resistant tile for the floor and shower, especially when planning for aging in place.
- Check controls and service access. Locate lighting and fan switches where users can reach them, and avoid making valves difficult to access for future maintenance.
Hot-water capacity can also affect how a new shower performs, especially when fixtures or household routines change. For practical background on system choices, see hot water advice from Total Plumbing & Hot Water Systems. Lock in the valve, trim, and fixture models before the rough-in layout is finalized.
Rough-Ins, Blocking and Accessible Dimensions
Decide the shower layout before demolition and framing. A transfer shower, roll-in shower, or curbless entry affects the usable floor area, drain position, opening width, and wall reinforcement. Mark the finished shower, drain, valves, controls, and vanity on the framing and subfloor so plumbing and electrical work can be coordinated before walls close. Moisture management belongs in this early layout too: a curbless entry changes how the floor and drain must handle water, and those choices are costly to revise after waterproofing is installed.
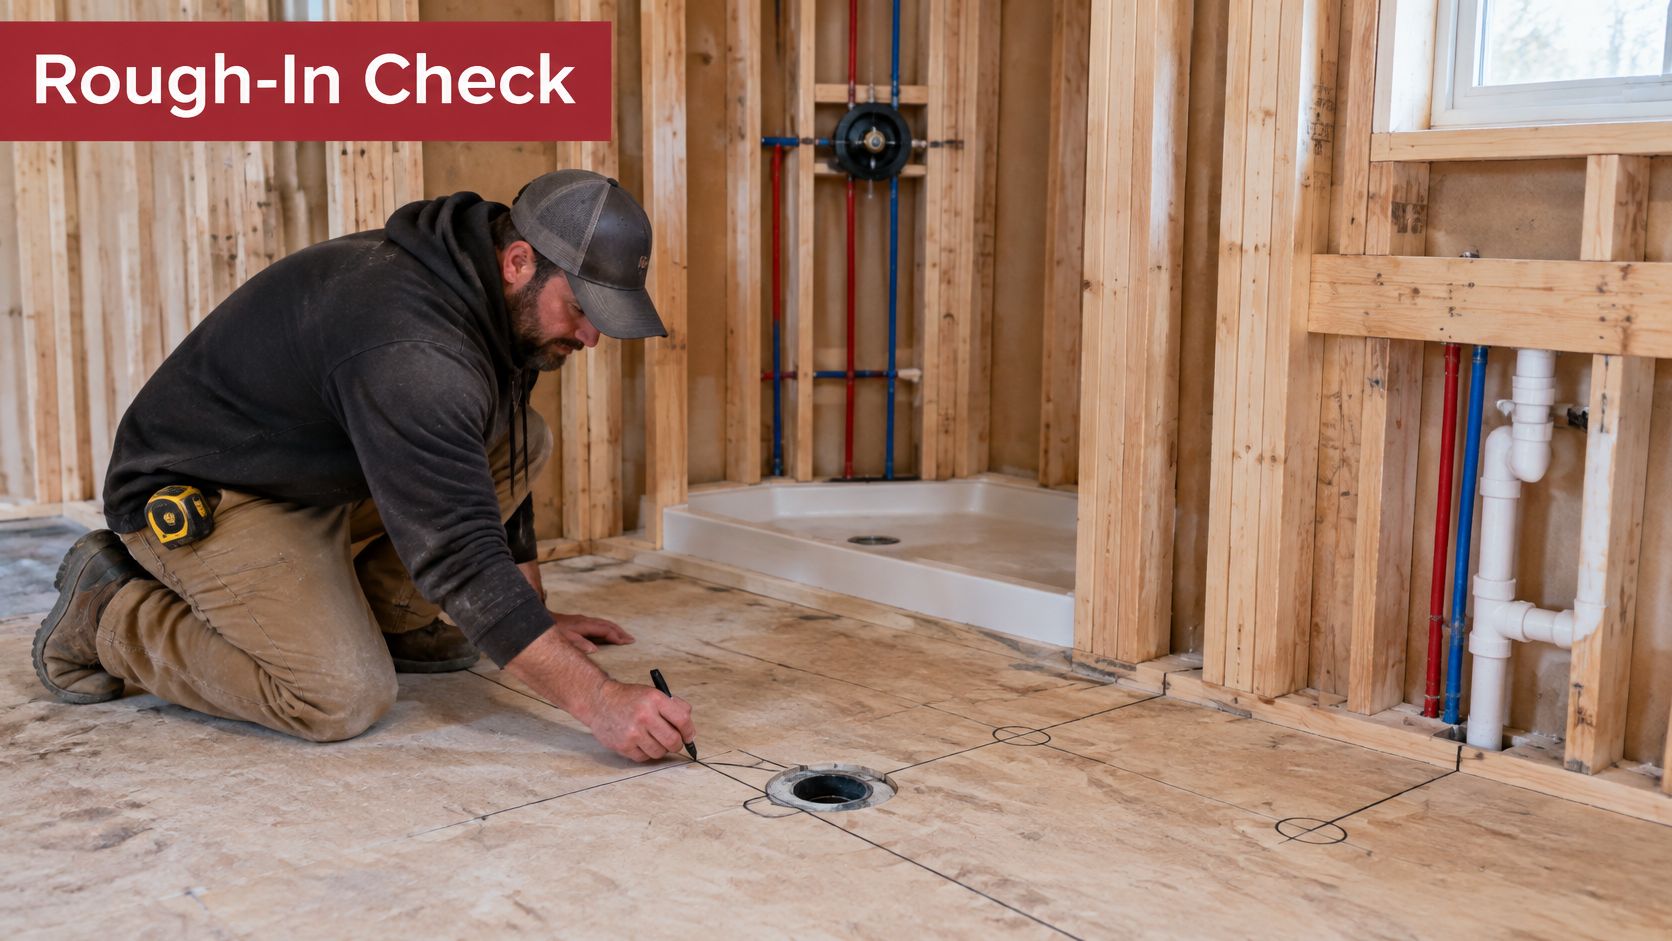
The 2010 ADA Standards for Accessible Design give measurable shower dimensions that can inform residential planning. They do not automatically determine which requirements apply to a private home. Check local code and permit requirements, and confirm the layout against the user's mobility equipment before construction.
| Element | Standard Requirement | Why It Matters |
|---|---|---|
| Transfer-type shower clear interior | 36 by 36 inches minimum | Gives room for a seated transfer |
| Transfer shower entry | 36 inches minimum | Sets the door or opening width |
| Roll-in shower compartment | 30 inches wide by 60 inches deep minimum, 60-inch-wide entry | Fits wheelchair approach and turning |
| Clear floor beside roll-in shower | 30 by 60 inches minimum | Supports approach and transfer movements |
| Controls and sprays in roll-in shower | No higher than 48 inches above shower floor | Keeps controls reachable from the floor |
| Controls when a seat is installed | No more than 27 inches from seat wall | Keeps controls reachable from the seat |
| Shower seat height | 17 to 19 inches above finished floor | Matches a comfortable transfer height |
| Shower threshold | 1/2 inch maximum, beveled, rounded or vertical | Limits trip hazards at entry |
| Shower floor slope | 1:48 maximum | Controls water without blocking accessibility |
Coordinate the hidden work
- Frame for grab bars and a seat. Add solid blocking at the planned mounting locations before closing the walls. For alternate roll-in showers, ADA provisions place bars on the back wall and the side wall farthest from the entry, no more than 6 inches from adjacent walls; bars can't go above a shower seat. Confirm positions against the chosen layout and applicable standards.
- Set the drain and slope together. A curbless floor needs a drainage plan that moves water toward the drain without obstructing the accessible route. Changing the drain after framing or waterproofing is closed can require rebuilding the floor.
- Rough in plumbing and test connections. Install supply lines, drain, and vent, then check connections for leaks before inspection. Keep access available until the rough-in work has been approved.
- Plan electrical and ventilation. Coordinate wiring for outlets, lighting, the fan, and any heated floor. Size the bathroom fan for the room, and route its duct outdoors, not into an attic or wall cavity.
- Pass the rough-in inspection before closing walls. Keep plumbing, wiring, and framing visible until required approvals are complete.
Blocking is inexpensive to plan before tile and difficult to add afterward. Missing it can mean opening finished walls and replacing surfaces to mount grab bars or a seat securely. Keep the layout, blocking locations, and rough-in work aligned before surfaces conceal them.
Waterproof and Flood-Test the Shower Before Tile
A shower's waterproofing is hidden once the finish goes on, so inspect and test it before tile covers the assembly. Grout and caulk finish joints, but they shouldn't be treated as the primary water barrier.
- Check the base and drain. Confirm the floor slopes toward the drain and that the drain flange sits at the correct height for the selected shower system.
- Install one compatible waterproofing system. A sheet membrane, liquid-applied membrane, or preformed pan can work when installed as a complete system. Seal corners and seams with the manufacturer's specified tape, primer, and detailing products.
- Protect penetrations. Keep fasteners out of the wet zone where possible. Seal pipes, valves, and niches according to the waterproofing system's instructions.
- Plug the drain and fill the pan. Fill to the appropriate test level, mark the water line with tape, and check below and around the shower for signs of leakage.
- Hold the flood test. Leave the water in place for at least 24 hours, then inspect the level and the ceiling or room below for drips. Don't proceed if the level falls or water appears outside the pan.
- Let the system cure. Follow the manufacturer's cure requirements before the next layer or tile goes in.
Make the test a documented checkpoint: ask the contractor to confirm that the pan or membrane drains correctly and the flood test passes before tile setting starts. Once tile is installed, a failed pan can be extremely difficult to reach without removing finished work.
Hire a Contractor and Confirm the Order Before Signing
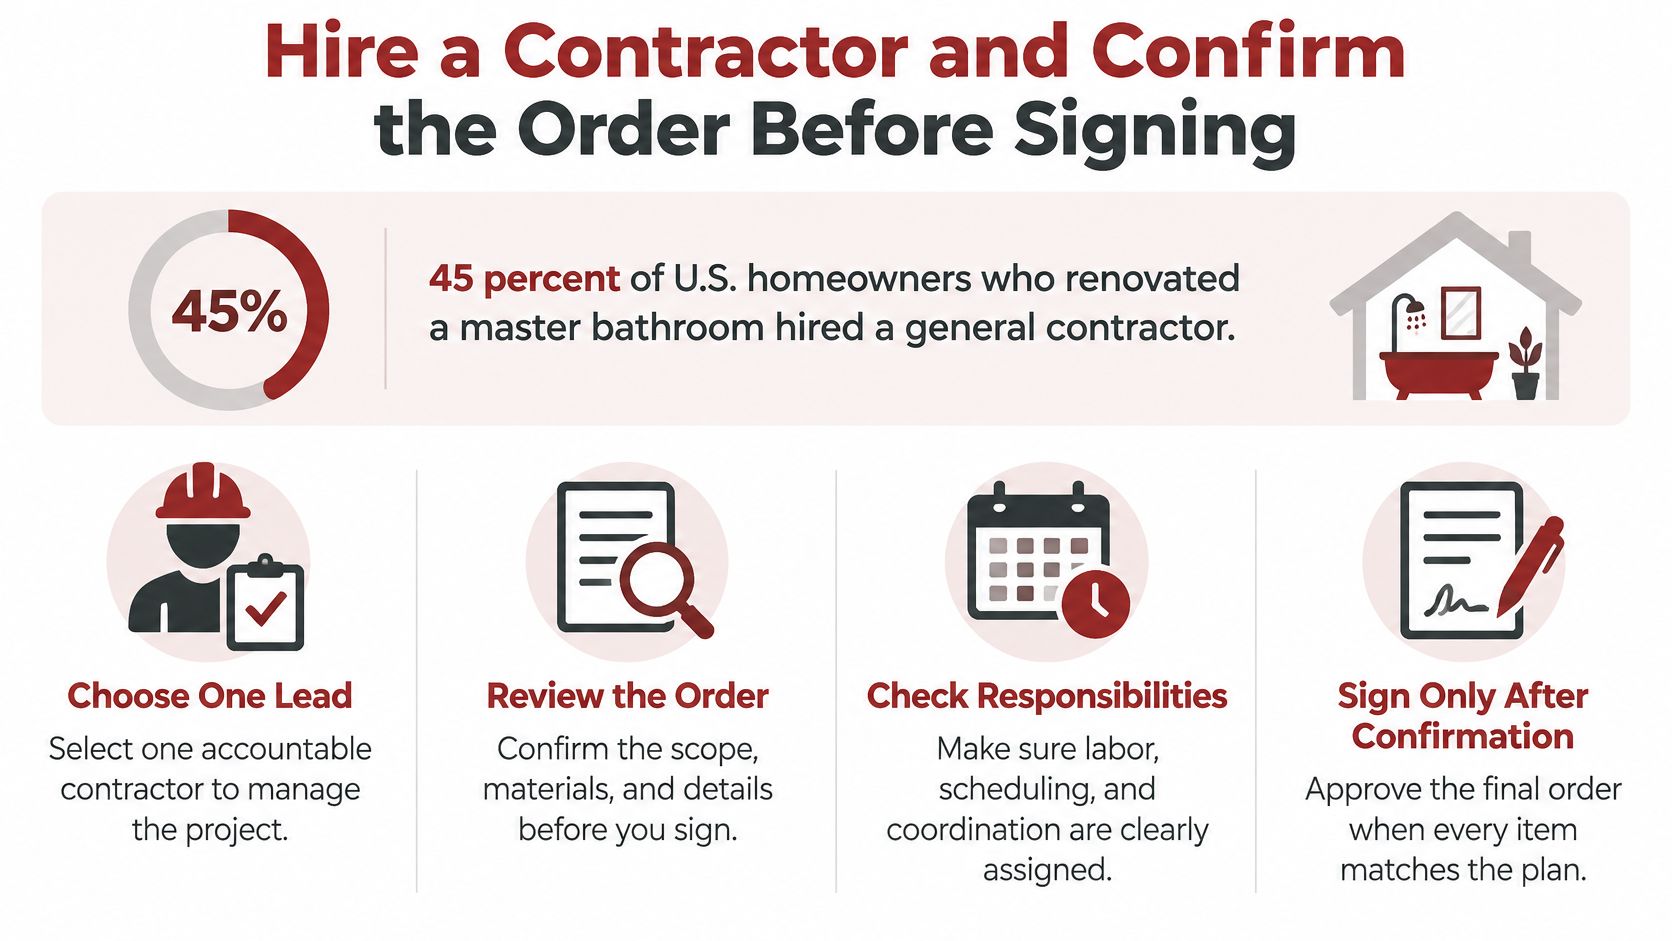
In 2025, 45% of U.S. homeowners who renovated a master bathroom hired a general contractor, according to Statista's analysis of Houzz survey data. One accountable lead can coordinate the trades, permit schedule, and decisions that need to happen before work gets covered.
Compare bids against one scope
- Request three written bids. Give each contractor the same scope and plans so the numbers reflect comparable work. A cheaper bid that excludes demolition disposal, permit coordination, or waterproofing isn't a true comparison.
- Verify qualifications and coverage. Check license and insurance status with the state and local building department. Ask who will perform plumbing and electrical work and who is responsible for inspection scheduling.
- Ask for relevant references. Request examples of bathrooms similar to yours, especially if you're planning an accessible or curbless shower. Ask how the contractor handles changes when demolition reveals damage.
- Clarify payment and changes. Review the payment schedule and avoid large upfront deposits. Put the change-order process in writing so a layout adjustment or concealed repair gets approved before work proceeds.
- Assign every checkpoint. Confirm who pulls permits, books inspections, orders materials, and verifies the shower test. The contract should state that walls don't close before required rough-in inspections and that tile doesn't cover an untested shower pan.
Before choosing a plumbing professional, review Engle Services' tips for hiring the right plumber. Use the conversation to clarify who handles permits, what work is included, and how the plumber coordinates with the rest of the crew.
Trademaster Construction serves Portage, Kalamazoo, and nearby communities, guiding homeowners through bathroom planning and construction with detailed scopes and transparent communication. Before signing, check that the contract follows the phase order in the opening table, from planning and permits through inspections and the final walkthrough. If the contract jumps from demolition straight to tile without showing how repairs, rough-ins, and waterproofing are approved, ask for a revised sequence.
Before scheduling a call, use the instant pricing tool to estimate a ballpark project cost and prepare questions about scope, materials, and timing.
For a bathroom renovation that keeps permits, moisture protection, and accessibility in the right order, Trademaster Construction can help plan the scope and coordinate the work from concept through construction. Visit Trademaster Construction to explore remodeling options and take the next step toward a bathroom designed for your home.