
If you remove the curb, what stops water from reaching the hallway? That question exposes the gap in how many people think about a curbless shower floor. It's not a missing curb. It's a system where slope, drainage, waterproofing, and floor structure do the job the curb used to do, and they have to be planned together before you pick tile.
What a Curbless Shower Floor Is and Why It Matters
A curbed shower is like a bathtub with a doorstep. You step over a raised edge, and that edge helps hold water in. A curbless shower floor is more like walking onto a beach instead of climbing into a pool. The bathroom floor runs flush into the wet area, and the shower floor itself tilts gently so water moves toward a drain instead of pooling against an edge.
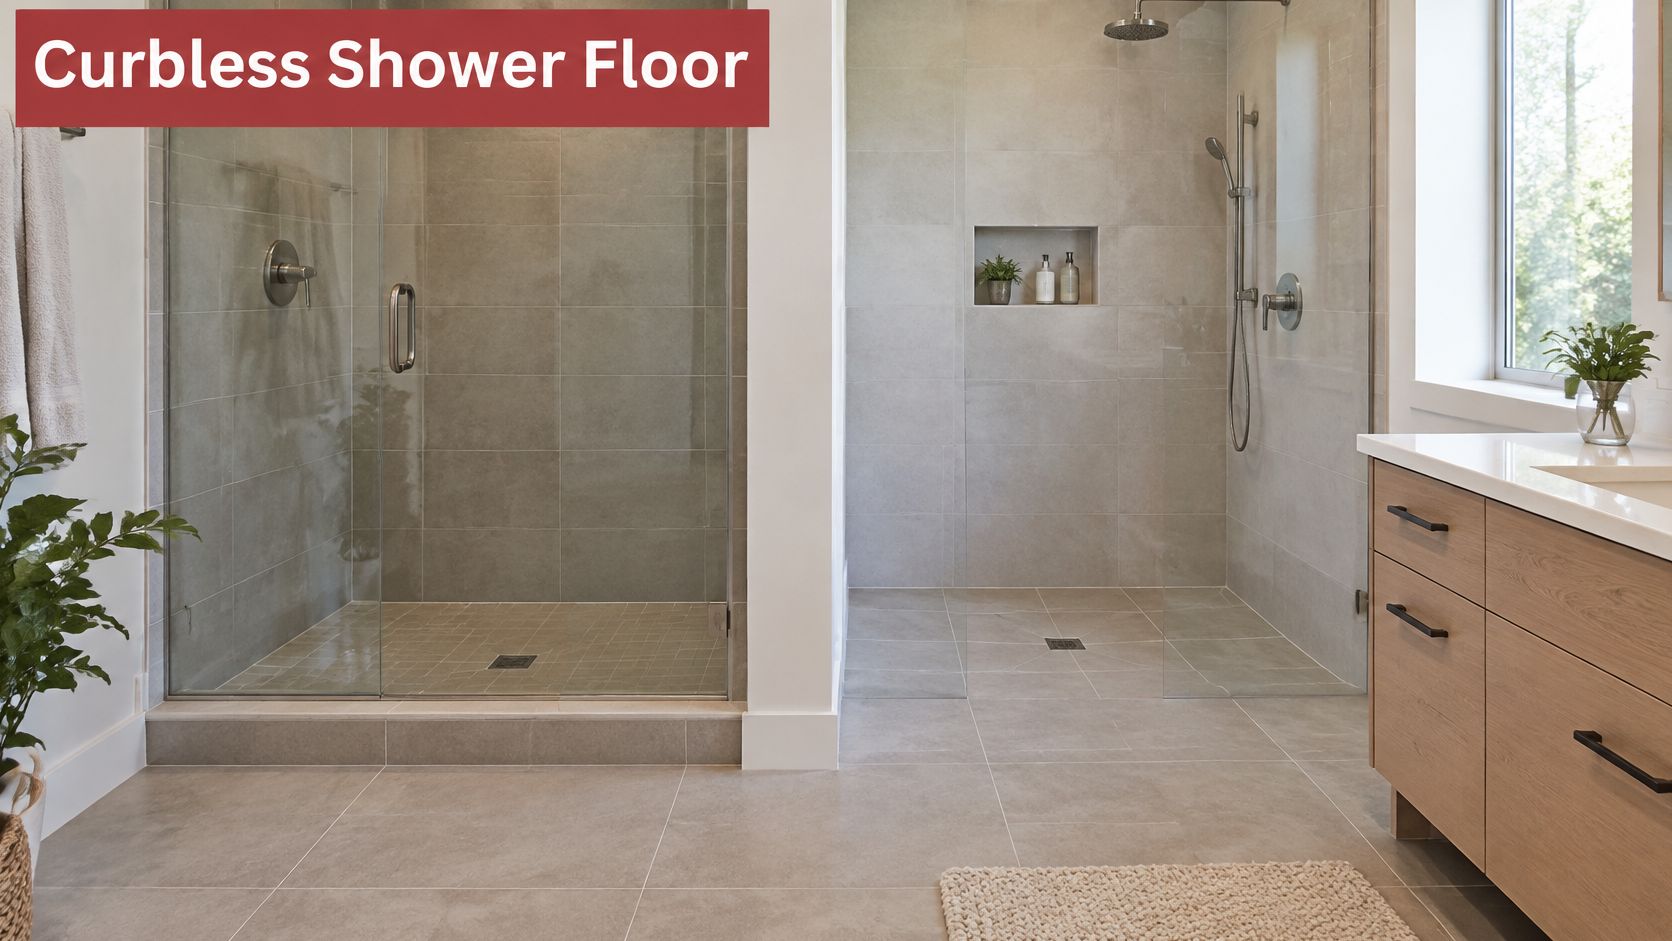
You'll hear several names for the same idea. Curbless, curb-free, and zero-threshold all mean there's no raised step at the entry. Roll-in is more specific. That's the accessible version sized and laid out so a wheelchair user can enter, turn, and shower, often with a seat and reachable controls. A shower can be zero-threshold without being a true roll-in layout, and that distinction matters when you're planning space.
Who Benefits and Why
The clearest benefit is for wheelchair and walker users, who don't have to lift wheels or feet over a ledge. It also helps someone recovering from surgery or an injury, a household planning to age in place, and anyone helping a family member bathe. The wider principle is universal design. Features work for everyone without looking institutional, so the bathroom reads as open and contemporary rather than clinical.
A curbless floor isn't a cosmetic upgrade layered on top of a normal shower. It's a structural and drainage change that happens to look clean when it's finished.
From here, you'll work through the code numbers first, then the trade-offs, accessibility beyond the floor, the feasibility checks before the build sequence, materials and maintenance, and finally costs and hiring a professional. That order is deliberate. Numbers and floor structure should drive your choices, not the drain style you saw in a photo.
Key Size and Slope Numbers at a Glance
Start with the numbers, because they set the room layout before design choices do. The 1991 ADA Standards specify a roll-in shower measuring at least 30 inches wide by 60 inches long with no curb, a transfer shower at 36 by 36 inches where a curb up to one-half inch is permitted, and a cross slope toward a drain that should not exceed 1:48, about 0.25 inch per 12 inches or 2.08 percent, per U.S. Access Board guidance cited there.
| Requirement | Value | Applies to |
|---|---|---|
| ADA roll-in shower, minimum size | 30 by 60 in, no curb | Accessible curbless floors |
| ADA transfer shower, size | 36 by 36 in, curb up to 1/2 in allowed | Transfer showers |
| Accessible maximum cross slope | 1:48 (about 1/4 in per ft, 2.08%) | Accessible curbless floors |
| Typical residential shower slope | 1/4 in per ft | Standard residential showers |
| Roll-in threshold, if used | 1/2 in maximum, beveled | Roll-in showers with a threshold |
| Michigan shower interior area | 900 sq in minimum | Residential plumbing code |
| Michigan shower interior dimension | 30 in minimum | Residential plumbing code |
| Michigan access and egress opening | 22 in clear minimum | Residential plumbing code |
| Michigan shower drain outlet | 1 1/2 in diameter minimum | Residential plumbing code |
| Michigan interior height above drain | 70 in minimum | Residential plumbing code |
| ICC A117.1 roll-in clear space (Michigan) | 60 by 30 in, entry 60 in wide | Accessible roll-in showers |
How to Read These Numbers
Michigan's residential rules add a separate floor for ordinary showers. Michigan's 2021 residential plumbing provisions require at least 900 square inches of interior area, a minimum interior dimension of 30 inches, a clear access opening of at least 22 inches, a drain outlet of at least 1 1/2 inches, and that space continuing to at least 70 inches above the drain outlet.
For a true roll-in layout, the requirement grows. Michigan accessibility provisions based on ICC A117.1 specify a minimum clear inside dimension of 60 inches by 30 inches with an entry at least 60 inches wide.
Measure finished interior surfaces, after tile, membrane, backer, and glass are in. Say your framed opening measures 30 inches on paper. Subtract wall thickness and tile on both sides and the usable space can fall short. Write down the three numbers that govern your room, finished size, entry width, and slope, before you choose tile or a drain.
Pros and Cons of Curbless Versus Curbed Showers
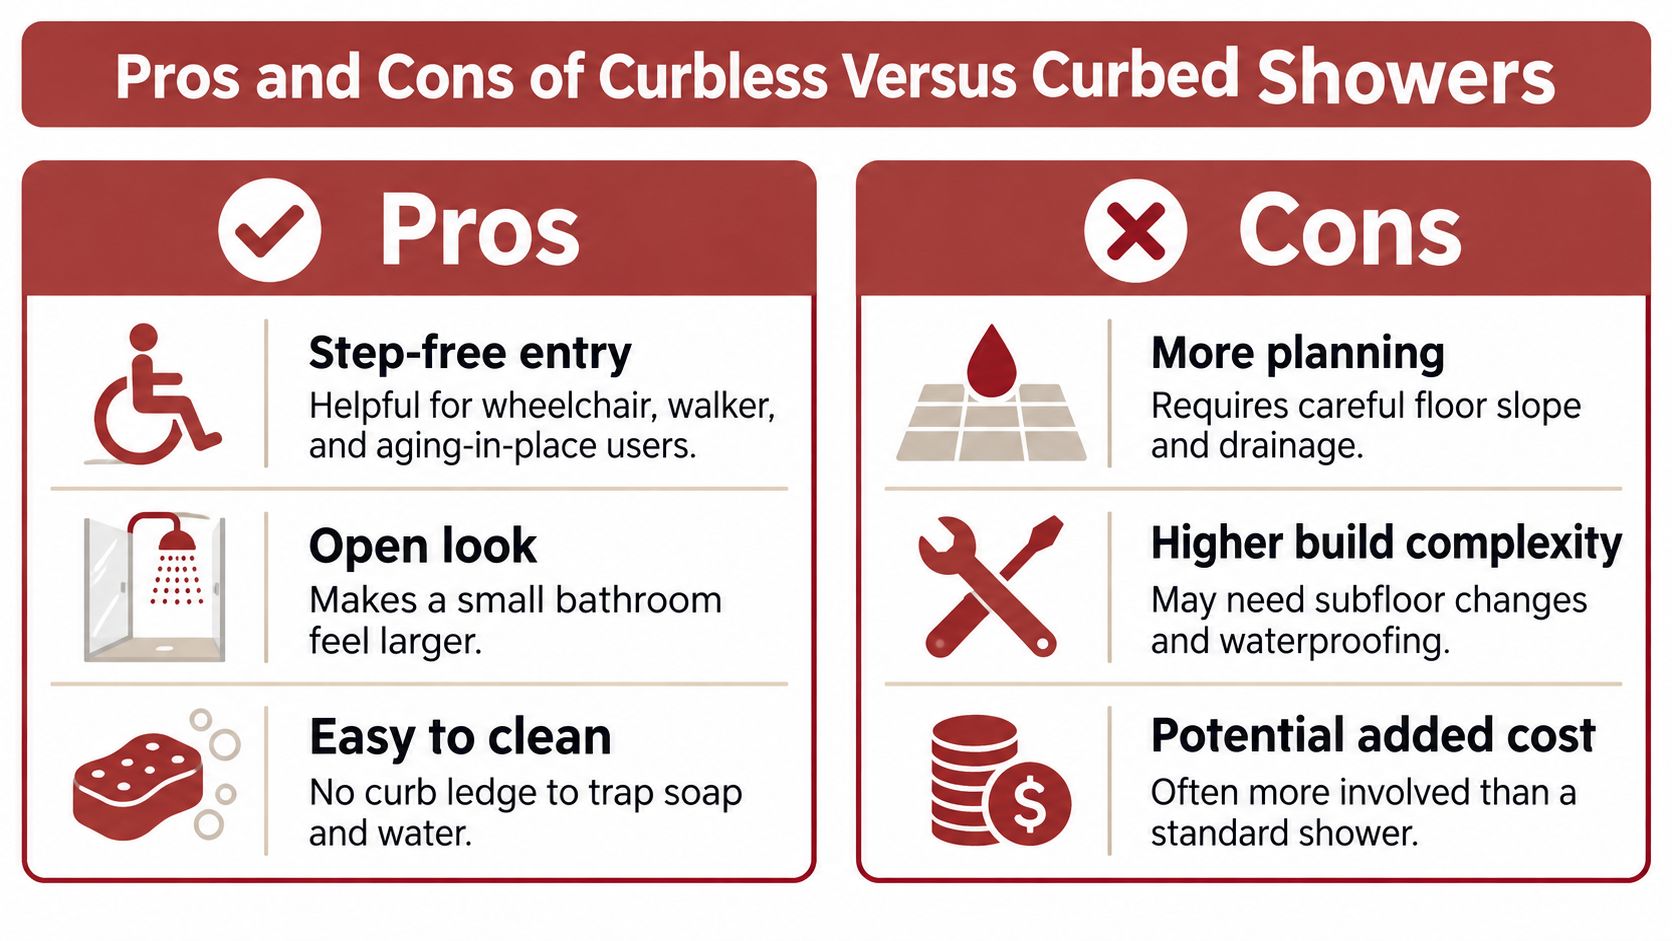
This comparison chart sums up the trade-off before you weigh it in detail.
Advantages of Going Curbless
- Step-free entry: Wheelchair, walker, and aging-in-place users can enter without lifting over a ledge.
- Open look: A continuous floor makes a small bathroom feel larger because there's no visual break.
- Easier cleaning: There's no curb ledge to trap soap scum and grime in a corner you have to scrub.
- Room to assist: Seated or assisted showering is more practical when a helper or a shower chair can move freely.
- Resale appeal: A well-executed accessible bathroom can attract buyers who value long-term usability.
Drawbacks to Plan Around
- Recessed floor: The shower often has to sit lower than the surrounding subfloor, which is hard to achieve in a retrofit.
- Precise slope: Slope and drain have to be coordinated or water stands on the tile instead of clearing.
- Splash control: Without a curb, you rely on shower length, glass placement, and drain position to contain spray.
- Wider waterproofing: The membrane usually extends beyond the shower into the adjacent floor.
- Complex tile work: A centered drain forces multiple sloped planes and more cuts.
- Higher total cost: Structural and waterproofing work can push the budget above a standard curbed build.
The video below walks through how these differences play out in a real installation.
Use a simple decision rule. Choose curbless when the bathroom can be reconfigured and you expect mobility needs now or later. Keep a curb when the floor can't be lowered or the budget won't stretch to structural work. Neither choice is wrong on its own. The wrong choice is forcing a curbless layout into a floor that can't support it.
Accessibility Goes Beyond the Floor Edge
Removing the curb doesn't, by itself, make a shower accessible. That's the assumption worth challenging first. A flush entry solves one barrier. Everything after entry, turning, reaching, sitting, seeing, and keeping your footing, determines whether the shower works for someone with limited mobility.
The 2025 U.S. Houzz Bathroom Trends Study found 68% of homeowners surveyed considered special needs in their bathroom projects, while 47% expected those needs to arise at least five years in the future, and among aging-in-place improvements grab bars ranked first at 61% and nonslip flooring at 55%, compared with 28% choosing curbless showers. Homeowners are voting for the supporting features, not just the floor.
Maneuvering Space and Seating
A wheelchair user needs turning room in the bathroom, not only inside the shower. Door swing, vanity depth, and toilet placement all affect whether someone can approach the shower, turn around, and exit without getting wedged. A generous shower in a cramped room still fails. Plan the whole path, from hallway door to shower seat, as one route.
Seat position matters for transfers. A built-in bench or a fold-down seat placed where a user can move from wheelchair to seat without crossing the spray makes assisted showering realistic. Put the seat too far from the controls and the user has to stand or stretch to adjust water temperature, which defeats the purpose.
Controls, Blocking, and Light
- Grab-bar blocking: Install solid wood blocking inside the walls during the remodel, even if you don't mount bars yet. It's inexpensive while walls are open and painful to retrofit later.
- Reachable controls: Place the valve where a seated user can reach it, and add a handheld shower on a slide bar so height adjusts for seated or standing use.
- Lighting: Use even, low-glare light. Glare bouncing off a wet floor hides the drain, the seat edge, and changes in slope.
- Traction everywhere: Specify a nonslip finish across the whole bathroom floor, not only in the shower, because wet feet travel.
If you're cutting access openings for blocking or trimming material during prep, these tips for using multi tool blades from EZARC Tools can help you make clean, controlled cuts without damaging surrounding framing.
Distinguish two goals. Universal-design preparation keeps future options open with blocking, space, and a curbless entry, while the bathroom still looks like a standard remodel. Full accessibility means the complete system works today for a specific user. Verify your checklist before walls close: turning space, seat location, blocking, controls, lighting, and traction.
Feasibility Check and Build Sequence
Most failed retrofits don't fail at tile. They fail because someone discovered a constraint after demolition. Work through feasibility while the bathroom is still intact, and be willing to hear that a low curb is the better answer for your floor.
The Pre-Design Feasibility Checklist
- Finished interior: Measure the space after tile and glass, not the raw framing, and confirm it still clears your target dimensions.
- Joist direction: Find which way joists run and how deep they are, because that sets how far you can recess the shower.
- Drain and waste pipe: Locate the existing drain and trace where the waste line can move without cutting structural members.
- Ceiling below: Check for ductwork, wiring, or a finished ceiling that limits how low plumbing can go.
- Code edition: Ask your local building authority which code edition and amendments apply, since some jurisdictions require waterproofing beyond the shower footprint.
If two or more answers come back unfavorable, a joist layout that blocks the recess plus a drain that can't move, for example, keep a low curb or plan a larger redesign. Forcing the recess usually means raising the surrounding floor instead, which just moves the step to the bathroom doorway.
Drain Position and Slope Trade-Offs
Compare drains by retrofit difficulty, not appearance. A linear drain at the wall edge lets the whole floor slope in a single plane, like a gently tilted sheet of paper. A centered drain needs several planes sloping inward from each side, which means more tile cuts and more chances for a low spot. If you're comparing hardware before you commit, it helps to compare floor trap drain types from Yasu Trading Co. LLC so you understand how trap style affects depth and servicing.
On slope, guidance associated with the 2021 Uniform Plumbing Code describes a uniform shower-floor slope between 1/8 and 1/2 inch per foot, while other published installation guidance commonly specifies approximately 1/4 inch per foot as the practical target. A shallower slope eases wheelchair transition but lowers drainage efficiency, so water lingers longer on the surface.
That trade-off is well documented in municipal guidance. One municipal curbless-shower guideline requires uniform drainage at 1/4 inch per foot and treats the entire bathroom floor as a wet location when no threshold is installed, with waterproofing extending beyond the shower area. Verify state and local provisions in Southwest Michigan before you finalize slope and membrane details, because your inspector's interpretation governs the build.
A longer shower, a showerhead aimed away from the opening, and a drain placed to intercept splash all reduce overspray. None of them replaces correct slope and waterproofing.
The Eight-Step Build Sequence
- Confirm floor structure and joist direction. This sets your recess depth and finished floor height. Guessing here means the tile surface won't meet the bathroom floor flush.
- Frame the recess and build the subfloor to slope. Shape the slope into the substrate at about 1/4 inch per foot, not into the thinset. Common slip: a slope that's too shallow to drain, leaving puddles at the entry.
- Install the drain. Set its height to match finished tile thickness. Common slip: choosing a centered drain late, which adds sloped planes and complicated cuts you didn't budget for.
- Apply a continuous membrane. It forms the pan, runs up the surrounding walls, and extends outward into the adjacent floor. Common slip: stopping the membrane at the shower edge, exactly where splash lands.
- Flood-test the membrane before tile. Fill the pan, mark the water line, and check it hours later. A leak found now costs a patch. A leak found after tile costs a teardown.
- Set tile on the slope. Work so the finished surface meets the bathroom floor height with no lip. Check each course with a level to confirm the fall stays consistent.
- Seal grout, install glass and fixtures, then verify. Run a level across the floor and do a water trial with a bucket poured at the far end. Water should travel to the drain without detouring toward the door.
- Run the first real shower. Watch where spray lands and confirm water clears the drain without standing on the tile. Adjust the showerhead angle now, while changes are still simple.
Sequence matters because each step locks in the next. Drain height determines tile height. Tile height determines whether the transition is flush. Decide those numbers on paper, in order, and the build becomes a matter of execution rather than improvisation.
Materials and Maintenance Compared
On a floor that drains across its surface, traction matters as much as looks. Every square foot is a walking surface and a drainage surface at the same time. A beautiful polished floor that turns slick when soapy is a fall waiting for a wet morning.
| Material | Slip and traction | Upkeep | Best fit |
|---|---|---|---|
| Textured porcelain tile | Good grip with a matte or textured finish | Low; seal grout | Most curbless floors |
| Ceramic tile | Good grip with a textured finish | Low; seal grout | Budget-conscious floors |
| Natural stone | Naturally textured, slippery when polished | Higher; regular sealing | Design-led bathrooms |
| Mosaic tile | Many grout lines improve footing on the slope | Higher; more grout to clean | Floors where traction is the priority |
| Acrylic or composite pan | Smooth; slippery when wet unless textured | Low | Retrofits where tile is not planned |
Reading the Trade-Offs
Textured porcelain is the default for good reason. It's dense, durable, and available in matte finishes that grip well, and upkeep is mostly about the grout. Ceramic behaves similarly at a lower material cost, though it's slightly less hard. Natural stone starts textured, but a polished finish removes that advantage, and stone needs regular sealing because it's porous.
Mosaic tile deserves special attention on a sloped floor. Small tiles mean many grout lines, and each grout line is a tiny ridge your foot can grip. Mosaics also follow a multi-plane slope toward a center drain without large tiles rocking on the folds. The cost is maintenance. More grout means more surface where mildew and staining collect. Acrylic or composite pans simplify installation, but choose a textured finish, because a smooth pan is slippery when wet.
A Maintenance Routine That Preserves Grip
- Daily: One squeegee pass after the last shower pushes standing water to the drain and slows soap film buildup.
- Weekly: Wipe the drain cover and empty the hair catcher so drainage stays at full speed.
- Monthly: Clean grout with a pH-neutral cleaner and a soft brush, working along the joints.
- Annually: Inspect sealant around glass and the drain, and reseal grout where water no longer beads.
Skip harsh acid cleaners. They can dull stone and etch glazed tile, and etched surfaces hold grime faster, which makes the floor more slippery over time. Pick the tile with the most grip that still suits your design, then set the routine before first use. A floor that's maintained from day one stays slip-resistant. A neglected floor slowly loses the traction you paid for.
Costs, Budget Drivers and When to Hire a Pro
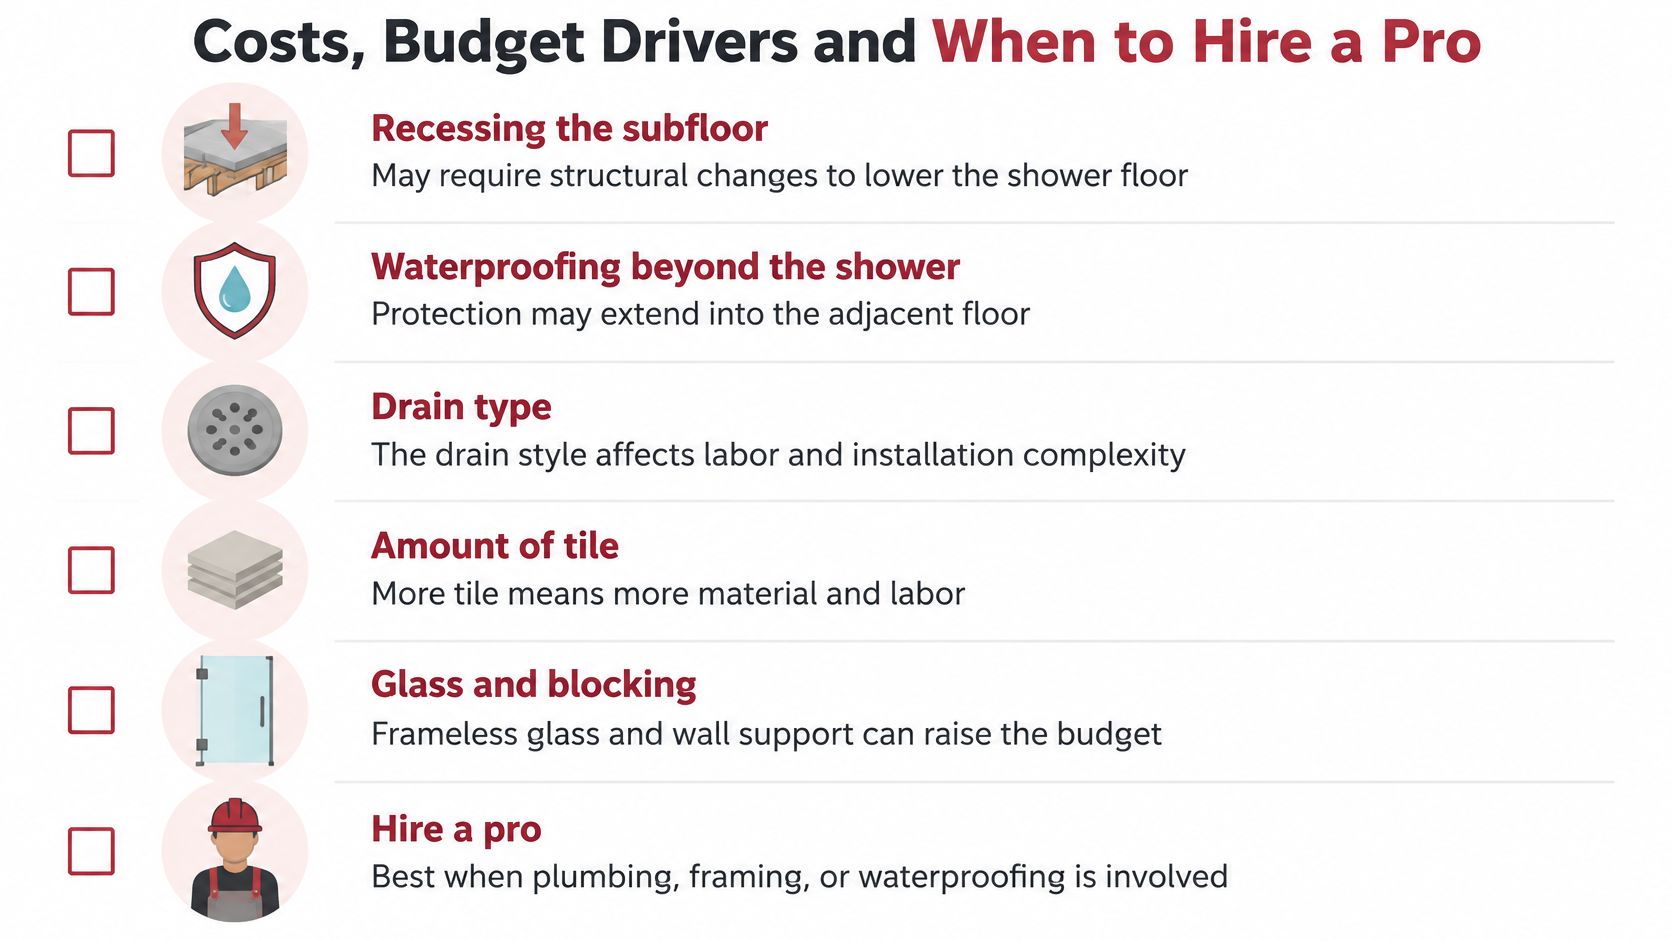
There's no honest single price for a curbless shower floor. The scope of a handful of drivers sets the budget, and two bathrooms with identical tile can cost very differently once you open the floor.
What Actually Drives the Budget
- Recessing the subfloor: Lowering the shower into the floor structure is carpentry and sometimes structural work, not a tile decision.
- Waterproofing beyond the shower: Extending the membrane into the adjacent floor adds material and labor across a larger area.
- Drain type: A linear drain and its single-plane floor change both plumbing and tile labor compared with a center drain.
- Amount of tile: A wet-room style layout tiles more floor and wall area than a contained stall.
- Glass and blocking: Frameless glass, wall blocking for grab bars, and a built-in seat each add their own line items.
- Relocations: Moving plumbing or electrical to suit the new layout often costs more than the fixtures themselves.
Because these drivers interact, start with a range rather than a guess. Use our instant pricing tool to develop an initial ballpark for your bathroom remodel before scheduling a consultation. That way the budget conversation begins with real numbers tied to your scope, and you can see which drivers you can adjust.
Budget planning works the same way in other rooms, where scope decisions made early control cost later. Homeowners researching a kitchen project alongside a bathroom can see that layout-first thinking in Interiors by DeX modular kitchens from Interiors by DeX, where cabinet configuration drives the budget before finishes do.
When a Professional Is the Right Call
Hire a pro when the floor must be recessed, when joist direction or the ceiling below is uncertain, when local code questions are still open, or when you need accessibility dimensions to be right the first time. A confident DIYer can set tile on a prepared, tested pan. Designing the recess, slope, and waterproofing system underneath it is where experience pays for itself, because failures hide below the surface until they're expensive.
We provide a full design-build experience for bathroom projects, and each consultation starts with questions about the current space, the challenges faced, design goals, and personal style. Your answers guide the plan, so the finished room fits how your household lives, whether that's a primary bathroom built for aging in place or a guest bath that needs to feel larger.
First-call checklist: Bring finished bathroom measurements, your planned drain location, accessibility needs now or within five years, a budget range, and the local code edition if your building department has confirmed it.
Your next step is concrete. Measure the room, note the three governing numbers for size, entry, and slope, run the pricing tool for a ballpark, then book a consultation to confirm feasibility before you choose tile. Feasibility first, finishes second. That order protects both your budget and your floor.
Ready to find out whether your bathroom can go curbless without raising the floor or disturbing the ceiling below? Trademaster Construction designs and builds accessible, zero-threshold showers across Southwest Michigan, coordinating slope, drainage, and waterproofing as one system from the first measurement. Visit Trademaster Construction to start with an instant estimate and book a design-build consultation for your project.

