
A kitchen remodel had a median cost of $60,000 in 2024, up from $55,000 in 2023, according to Houzz's 2025 U.S. Kitchen Trends Study. At that investment, the order of decisions matters. Layout, clearances, and appliance positions determine the cabinet order, electrical plan, and plumbing rough-in, so settle them before choosing finishes.
Kitchen design depends on getting the sequence right: establish how the room works, then choose materials and appliances that fit the plan. A layout can look tidy on paper yet leave too little room to work or put the sink too far from the main prep area. Check those practical details before ordering.
The Six Phases of Kitchen Design in Order
Every kitchen that goes sideways fails in the same place. A finish or an appliance gets chosen before the room is measured, and then the layout has to be bent to fit the purchase. Work the six phases below in order and each one hands a finished document to the next.
- Assess what frustrates you today. Walk the kitchen and write down every irritation, then rank the list by how often it happens. A refrigerator door that blocks the oven twice a day outranks a color you're tired of.
- Map how the room gets used. Log one weekday meal and one weekend meal with everyone who cooks. You're hunting for repeated trips, collisions, and the counter space that always runs out.
- Choose a layout type. One-wall, galley, L-shape, U-shape, or a plan built around an island. Sketch two or three options to scale instead of deciding in your head.
- Check clearances and the work triangle at full scale. Door swings, drawer pulls, two people working at once. This phase catches the expensive errors while they're still pencil marks.
- Select materials, fixtures, and appliances. Only now, against a layout that has passed the drawing test and the tape-measure test.
- Set the budget and schedule before hiring. A cost range with contingency, and a timeline you can live through.
The first four phases cost almost nothing to change and prevent most of the problems that appear later. Moving a plumbing line or a wall after the cabinets are ordered belongs to a different category of bill than erasing a line on a drawing.
Each phase produces an artifact worth keeping: a ranked frustration list, an activity map, scaled layout options, a verified full-scale drawing, a finish and appliance schedule, and a cost range with contingency. Carry those six documents into a consultation and the conversation stays on function instead of drifting toward door styles.
The rule that saves the most money: no finish or appliance gets chosen until the layout is settled.
A design/build process keeps those phases in one set of hands, which is how Trademaster Construction runs remodeling projects, so the drawing that gets approved is the drawing that gets built.
How to Measure and Map Your Kitchen Before Planning
An afternoon with a tape measure and a pad of graph paper does more for the finished kitchen than a month of browsing. Every later decision, layout choice, clearance check, appliance width, budget range, gets tested against this drawing, so an error here multiplies all the way through the project.
The checklist below covers the measurements that get skipped most often.
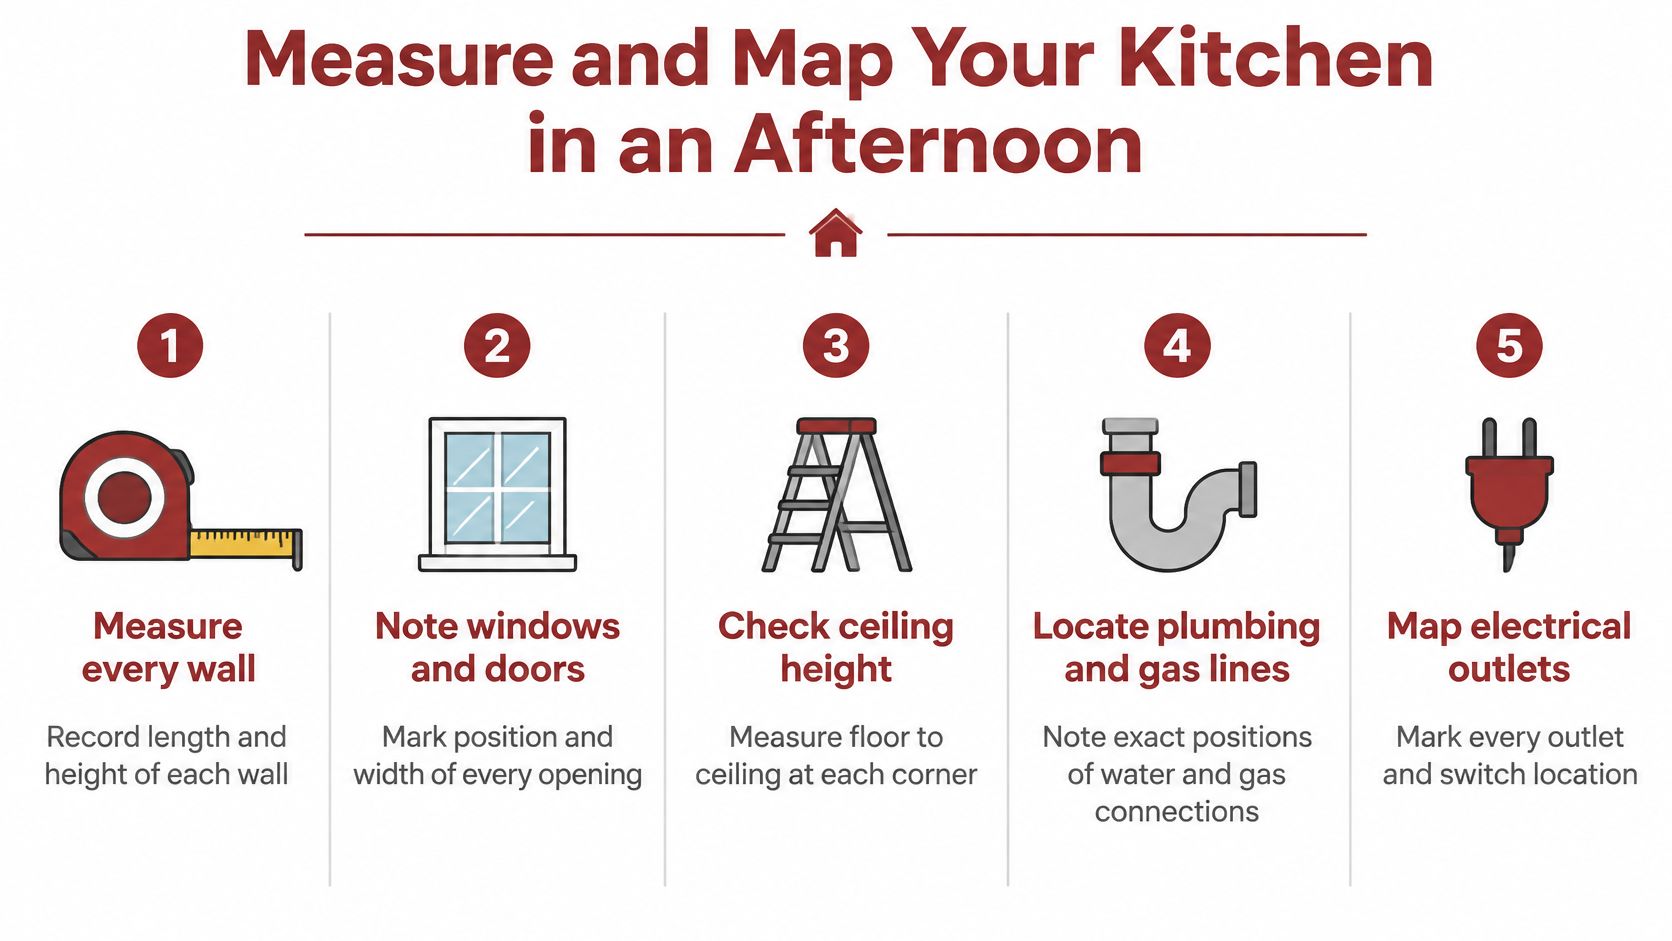
- Measure every wall to finished surfaces. Record the length and height of each wall, then every window opening, door opening, and ceiling height at each corner. Measure to the finished surface, meaning drywall, tile, or the existing backsplash, not to the studs, because cabinets and counters land on the finish.
- Locate the services. Note the exact position of water supply and drain, the gas connection, and every outlet and switch. These constraints decide where the sink and range can physically go.
- Sketch to scale and draw the door swings. One square to six inches on graph paper works, and so does a simple planning app. Draw every room door and every appliance door in its open position.
- Mark the activity centers. Refrigerator, sink, cooktop, dishwasher, pantry, and the main prep surface, each with the counter run it needs.
- Log two meals. One ordinary weekday, one weekend meal, noting which trips repeat and where two people have to step around each other.
- Write the ranked frustration list. "Fridge door blocks the oven" is a design instruction. "Kitchen feels cramped" is a mood.
The list usually rewrites the project. Say a homeowner is convinced the kitchen is too small and has a quote for an addition. The map shows one base cabinet sitting across the path to the back door, plus a dishwasher that blocks the main drawer whenever it's open. Removing the cabinet and reversing the dishwasher location solves the daily complaint without moving a wall, and the addition quote never gets used.
That assessment is what sets scope on our kitchen projects at Trademaster Construction, where scope follows how the current kitchen is used and where the frustrations or limitations occur. A brief built from measurements and a ranked list beats a folder of inspiration photos, and it costs one afternoon.
Choose a Layout That Fits Your Workflow
Layout is the last decision that costs almost nothing to change and the first one that makes everything else expensive. Get it wrong and cabinet sizes, appliance widths, lighting circuits, and ventilation routes all inherit the problem.
A one-wall kitchen shows the constraint clearly. Every task sits on a single run, so prep space and storage compete for the same inches, and there's nowhere to step out of a traffic path.
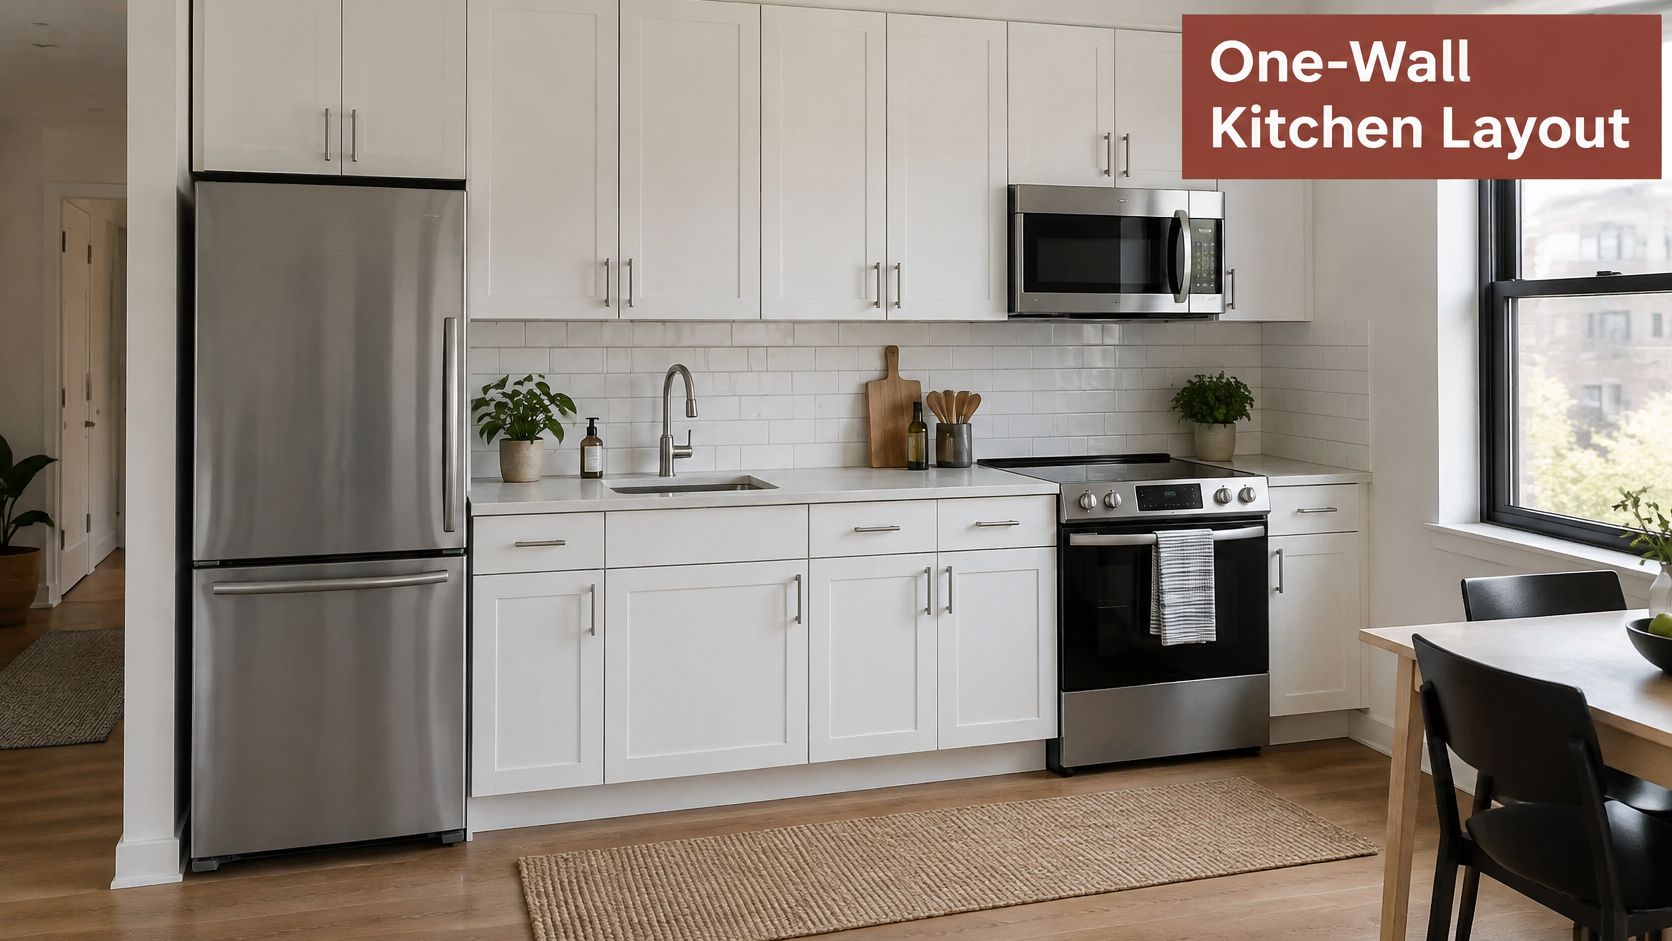
Here's how the common shapes compare.
| Layout | Best for | Main trade-off |
|---|---|---|
| One-wall | Small rooms and open-plan homes | All work on one line with little prep space |
| Galley | Narrow rooms used by one cook | Traffic passes through unless one end is closed off |
| L-shape | Medium rooms with an open corner | Corner dead space without a pull-out or lazy Susan |
| U-shape | Large or enclosed rooms needing maximum storage | Needs the widest aisle to avoid congestion |
| Island added to any layout | Rooms needing extra prep space and seating | Can block the work triangle if placed across a main path |
Test two options against your map
Take your top two candidates and walk each one against the activity map from your measured drawing. Look for two failures. A route that crosses an active work zone, and a layout that leaves one person without a counter while another cooks. Eliminate the option with more crossings, even when it photographs better.
The shortest path is not always the safest
The classic work triangle connects sink, cooking appliance, and refrigerator to cut down on unnecessary movement. An observational study of kitchen layouts and household food-hygiene practices found that cross-contamination events were associated with sink-to-countertop distances greater than 1 meter, and the researchers proposed a revised food safety triangle connecting the sink, the primary preparation countertop, and the cooking appliance, with the sink and prep area less than 1 meter apart, as set out in the study of kitchen layouts and food hygiene.
That finding changes what belongs next to the sink. A generous prep surface immediately beside it supports handwashing, produce cleaning, utensil handling, and separation of raw and ready-to-eat foods. The conventional sink-stove-refrigerator triangle doesn't necessarily support hygienic practice, while a layout that integrates prep combines ergonomics and safety.
A 36-inch prep run within arm's reach of the sink does more for food safety than a 10-foot island across the aisle.
For a second opinion on footprint shapes and how they fit awkward rooms, the RBA Home Plans kitchen layout guide is a useful companion to the table above, particularly where doorways and circulation decide the shape before preference does.
The walkthrough below shows how a layout reads in a real room, with the aisle widths and door swings that a flat floor plan hides.
Check Clearances and the Work Triangle Before Ordering
Approving the cabinet order is the point of no return. Before that signature, run every leg of the layout against published benchmarks and against a full-scale drawing of the room's worst moment, when two people are working and the dishwasher door is open. The NKBA Kitchen Planning Guidelines put numbers on the classic checks and treat the work triangle as a way to map refrigeration, preparation, and cooking around real workflows rather than a rigid rule.
| Check | Benchmark | Why it matters |
|---|---|---|
| Combined work triangle distance | No more than 26 ft (7.9 m) | Keeps total movement short |
| Each leg of the triangle | Between 4 and 9 ft (1.2 to 2.7 m) | Avoids cramped or stretched legs |
| Island or peninsula blocking a leg | No more than 12 in (305 mm) | Keeps the leg usable |
| Counter beside the cooktop | 12 in on one side, 15 in on the other | Provides landing space for hot pans |
| Major circulation through the triangle | Not allowed | Keeps traffic away from cooking |
Two of those checks do most of the work. A combined travel distance beyond 26 ft (7.9 m) means a cook walks the length of the room to move a pot, and a leg under 4 ft (1.2 m) means two people can't stand in the same zone at once. The landing zones get missed most often, because a cooktop with 12 in (305 mm) of counter on one side and 15 in (381 mm) on the other looks fine on a plan and feels hostile in use.
The full-scale pass that catches real conflicts
- Draw every door swing and pull-out at full scale. Appliance doors, the refrigerator pull-out zone, drawer fronts that conflict with an aisle or another open drawer.
- Walk each path with a tape measure. Mark the actual route from sink to cooktop to refrigerator, then the route from the kitchen door to each of them.
- Test two people at once. One at the sink and one at the cooktop, with the dishwasher open and the oven door down.
- Coordinate the trades only after the plan passes. Electrical, plumbing, ventilation, lighting, and structural requirements all follow the layout, not the other way round.
A common pitfall is optimizing cabinet capacity while ignoring circulation. The result is a wall of storage with a bottleneck in front of it, and every user ends up crossing an active work zone to reach the refrigerator or the sink.
Pass or fail, leg by leg
If a leg falls outside its range, or a walking path cuts through the cooking zone, move the island, the door, or the appliance and redraw. Don't adjust the numbers to fit the drawing you've already fallen for.
Benchmarks are not code. These are planning guidelines rather than universal building-code requirements, so local code, manufacturer installation instructions, and permit rules get checked before construction, and they do sometimes override a guideline.
Build In Ventilation, Access and Storage
Ventilation is the requirement that redraws the cabinet plan, because a hood needs a duct route and often an exterior wall. The U.S. Department of Energy's Building America guidance identifies ASHRAE Standard 62.2-2016 as requiring either a vented kitchen range hood with a minimum intermittent exhaust rate of 100 cubic feet per minute or local kitchen-area intermittent ventilation at 5 air changes per hour, per the Building America ventilation guidance.
The same guidance recommends introducing makeup air below the cooking surface and choosing a hood wider and deeper than the cooking surface. Both recommendations change dimensions you'll live with for years: the depth of the upper cabinet run, where the duct chase runs, and whether the range can move off an exterior wall at all.
Access dimensions belong in the first draft
Accessibility is far cheaper to plan than to retrofit, and the 2010 ADA Standards give the numbers that matter in a private home whether or not your local code requires them. Write them into the plan while the cabinets are still a line on paper.
| Requirement | Minimum | Source |
|---|---|---|
| Range hood intermittent exhaust | 100 cubic feet per minute | ASHRAE 62.2-2016 via DOE guidance |
| Local kitchen ventilation alternative | 5 air changes per hour | ASHRAE 62.2-2016 via DOE guidance |
| Pass-through kitchen clearance | 40 in between opposing surfaces | 2010 ADA Standards |
| U-shaped kitchen clearance | 60 in when enclosed on three sides | 2010 ADA Standards |
| Accessible work surface | 30 in wide, no higher than 34 in | 2010 ADA Standards |
| Knee clearance width | 30 in | 2010 ADA Standards |
Those figures affect cabinet depth, counter height, and the position of the work surface relative to the wall. A work surface 30 in wide and no higher than 34 in has to sit on clear floor space with compliant knee and toe clearance, which rules out a standard deep base cabinet full of drawers in that exact spot.
Storage and light that keep working
- Drawers over deep base cabinets. Full-extension drawers put the back of the cabinet in reach. Spend the upgrade money on the runners, since a drawer loaded with cast iron lives or dies by its hardware.
- Pull-out pantry shelving. Narrow pull-outs beside the cooktop hold oils and spices; a tall pantry with adjustable shelves beats a corner cabinet nobody can reach into.
- Landing zones at every activity center. A clear 15 in of counter beside the refrigerator and beside the oven handles hot trays and grocery bags without a shuffle.
- Layered lighting. Ambient light for the room, task light over the counter run, and under-cabinet strips that light the cutting board instead of your shadow.
Every one of those features helps a household that isn't thinking about accessibility at all, which is why they're worth specifying early rather than treating as a specialty add-on. Verify all of it in the open-door condition. A 48-inch aisle that becomes 20 inches when the oven door drops isn't a 48-inch aisle.
Pick Materials and Set a Realistic Budget
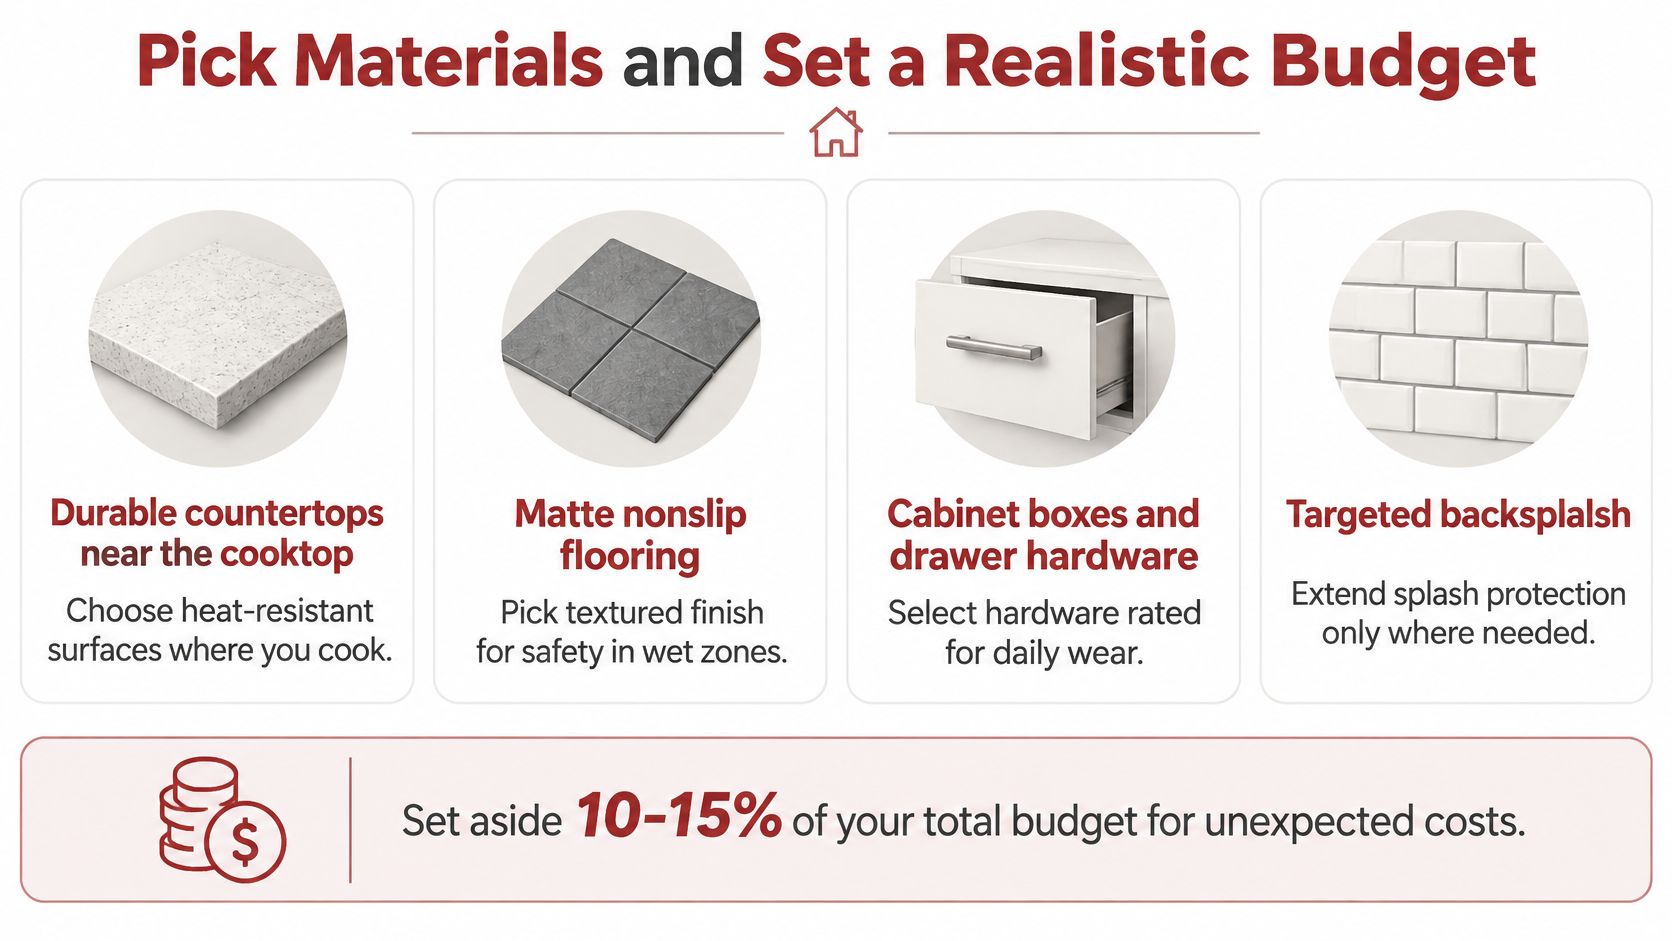
A countertop sample can look right under showroom lights and still be a poor fit beside a cooktop or sink. Choose finishes after the layout and clearances are settled, then judge each material by the heat, moisture, wear, and cleaning it will face. A matte floor can reduce slipping in wet areas; durable drawer hardware matters more than decorative pulls on drawers used every day. Extend backsplash tile where splashes land rather than paying to cover walls that do not need it.
Price three scenarios, not one
- Same footprint. Replace doors, counters, sink, or appliances while keeping plumbing and circuits in place. This is often the least disruptive option and can deliver substantial improvement without expanding the room.
- Minor refresh. Keep the layout and make one functional change, such as adding a pantry cabinet, relocating a dishwasher, or adding a prep sink. Confirm plumbing and electrical scope before comparing prices.
- Full reconfiguration. Moving walls, plumbing, circuits, or ventilation brings more trades into the project and can increase cost. Price this separately from work that keeps those systems in place.
Compare the scenarios before choosing finishes or committing to a larger room. A bigger footprint is not automatically the answer: improved storage, circulation, lighting, or ventilation may address the problem without adding square footage.
In 2024, 58% of renovating homeowners added a kitchen island or upgraded an existing one, split between 30% adding and 28% upgrading, according to Houzz's kitchen remodeling trend reporting.
| Benchmark | Value | Source |
|---|---|---|
| Median U.S. kitchen remodel spend, 2024 | $60,000 | Houzz 2025 U.S. Kitchen Trends Study |
| Median U.S. kitchen remodel spend, 2023 | $55,000 | Houzz 2025 U.S. Kitchen Trends Study |
| Renovators who added or upgraded an island | 58% (30% added, 28% upgraded) | Houzz 2025 U.S. Kitchen Trends Study |
| Homeowners who increased the kitchen footprint | 35% | Houzz 2025 U.S. Kitchen Trends Study |
| Homeowners who kept the footprint about the same | 64% | Houzz 2025 U.S. Kitchen Trends Study |
Set aside contingency for conditions hidden behind existing cabinets or walls. Plumbing relocation, electrical work for new appliances, water damage, and ventilation changes can add scope after demolition. Ask the remodeler how changes to the scope will be priced and approved.
A standard kitchen remodel typically takes eight to twelve weeks, depending on scope. Ask for a schedule by phase so you know when demolition, rough-in work, and installation are planned, and when selections must be final.
If the design moves the sink or adds a prep sink, confirm the plumbing scope with the remodeler before setting the budget. Drain cleaning price ranges cover drain-cleaning services, not the cost of relocating kitchen plumbing, so use the remodeler's project-specific assessment for that decision.
Before a consultation, use the Trademaster Instant Pricing Tool to get an online remodeling estimate for a kitchen project in Portage or the surrounding Kalamazoo area. Compare that estimate with the three project scenarios, not with a single hoped-for total.
Confirm Your Design Brief Before You Call a Remodeler
A useful design brief fits on one page. Include your ranked frustrations, the layout you prefer and the option you ruled out, specific features you want, your investment range, and the schedule you can accept. Note household access needs so they can be discussed during planning.
A design consultation is the second step in planning a kitchen project. Trademaster Construction evaluates the existing conditions and layout, reviews design ideas, identifies opportunities and constraints, and establishes a realistic investment range.
Bring the brief and ask how the project team will address the opportunities and constraints identified in the consultation. The answers can help clarify which decisions still need to be made before the project scope is set.
Trademaster Construction offers kitchen remodeling, bathroom upgrades, basement finishing, and custom tile installations in Portage, Kalamazoo, and surrounding communities. If your one-page brief is ready, bring it to a design consultation, where the team can review your existing kitchen and layout, discuss your ideas, and establish a realistic investment range. Visit Trademaster Construction to learn about its remodeling services.

