
Sealing tile grout is a pretty straightforward job. You give the grout lines a good, deep clean, let them dry out for at least 24 hours, and then meticulously apply a sealer with a small brush or applicator. The real trick, and the step people often miss, is to wipe away any excess sealer from the tile faces immediately, before it has a chance to dry and leave a hazy film. Do that, and you've got a solid shield against moisture, stains, and mildew.
Why Sealing Grout Is a Non-Negotiable Home Project
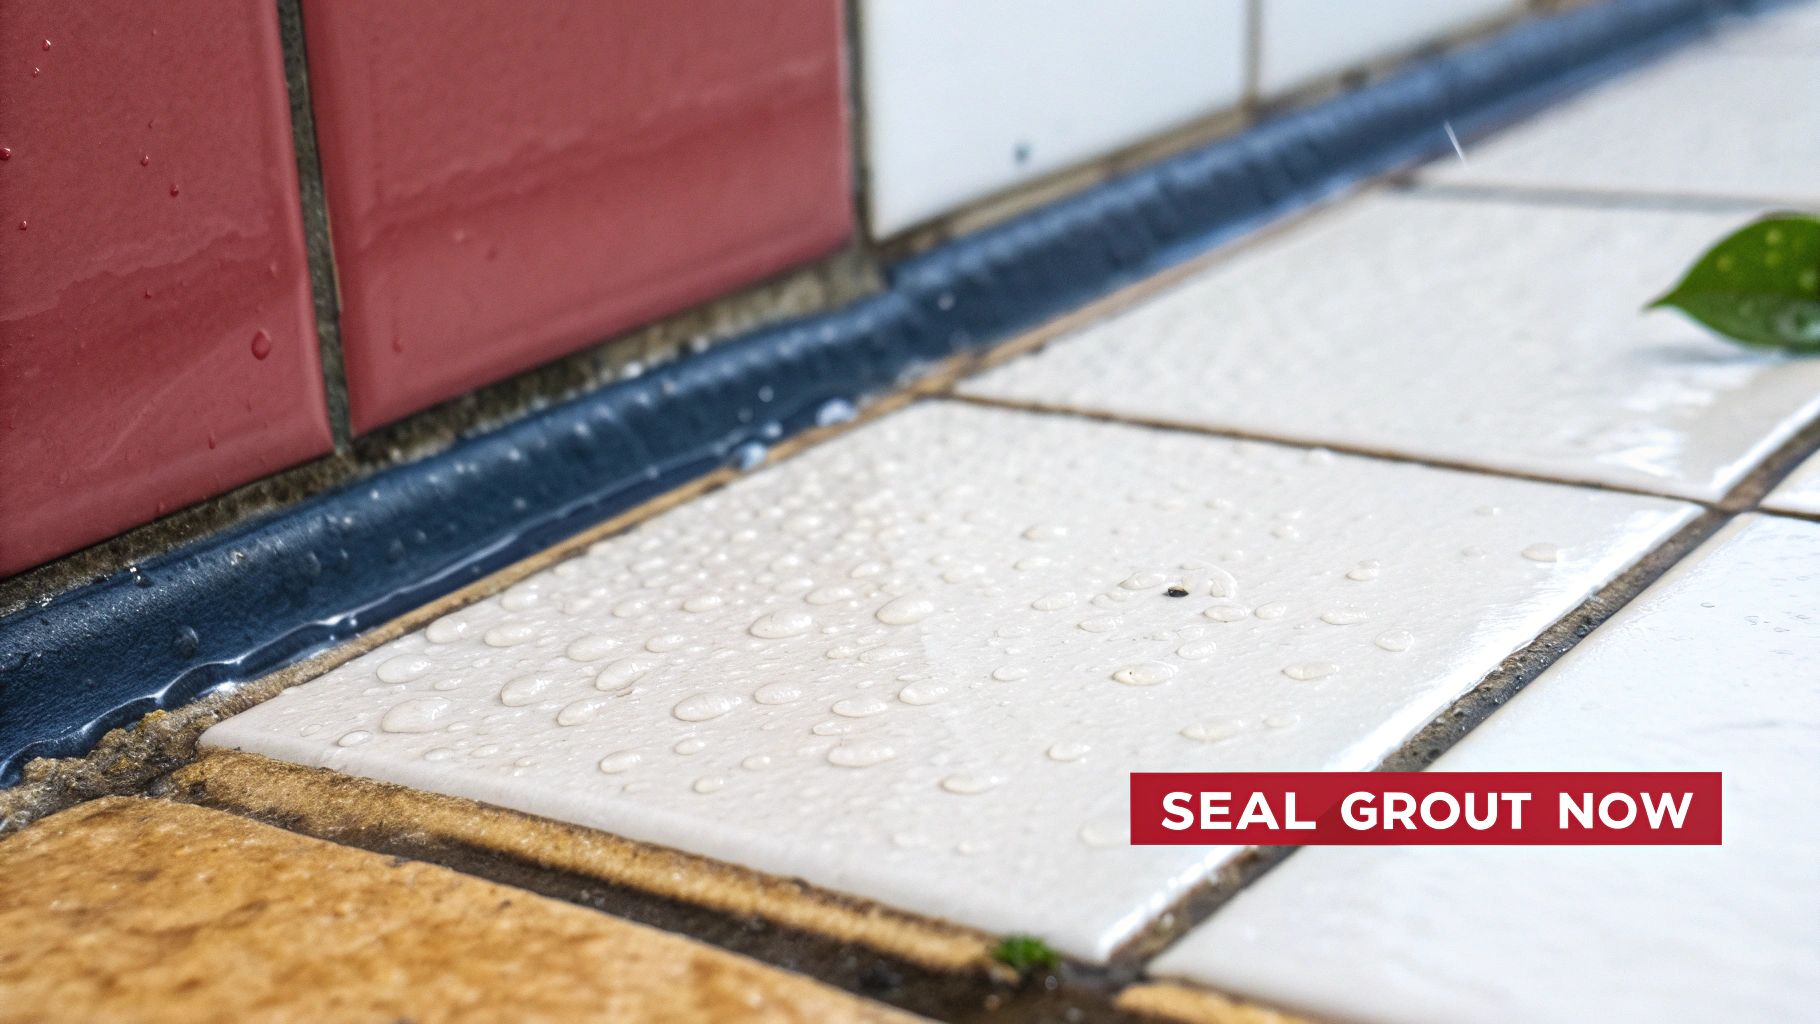
Before you even think about cracking open a bottle of sealer, let’s talk about why this task is so important. It’s easy to see grout as just the stuff that fills the gaps between your tiles, but in reality, it's the weakest link in the entire installation. Standard cement-based grout is incredibly porous—think of it as a tiny concrete sponge just waiting to soak up anything that touches it.
When you leave grout unprotected, that porosity becomes a huge problem. In a bathroom, it drinks up water, soap, and shampoo, creating the perfect breeding ground for that stubborn mold and mildew that always seems to come back. Worse yet, moisture can eventually work its way behind the tiles, leading to hidden water damage and serious structural repairs down the road.
The Benefits Beyond Water Protection
But the perks of sealing go way beyond just blocking moisture. A quality sealer acts as an invisible shield, locking in the true color of your grout and preventing it from looking dingy and discolored.
Picture it: a splash of coffee on the kitchen floor or a muddy footprint in the entryway. On unsealed grout, those are permanent stains. With a good seal, they just sit on the surface, ready to be wiped away. It makes your routine cleaning so much easier.
Here's what you're really getting with a good seal:
- Stain Prevention: It repels common culprits like wine, coffee, and dirt before they can set in.
- Easier Cleaning: Spills and grime wipe right off the surface, meaning less time on your hands and knees scrubbing.
- Color Preservation: Your grout stays looking crisp and new instead of turning dark or yellow.
- Mold and Mildew Resistance: By keeping moisture out, you eliminate the fuel for fungal growth in damp areas like showers and kitchens.
Ultimately, sealing grout shifts your maintenance from a reactive, frustrating chore to a proactive, protective investment in your home’s value and longevity.
Believe it or not, an estimated 60-70% of grout-related damages could be prevented with proper sealing, simply because unsealed grout is so vulnerable to moisture and oils that cause it to break down. For an even deeper look into protecting porous surfaces, this guide on how to seal natural stone has some great insights that are just as relevant for grout.
Choosing the Right Grout Sealer for Your Project
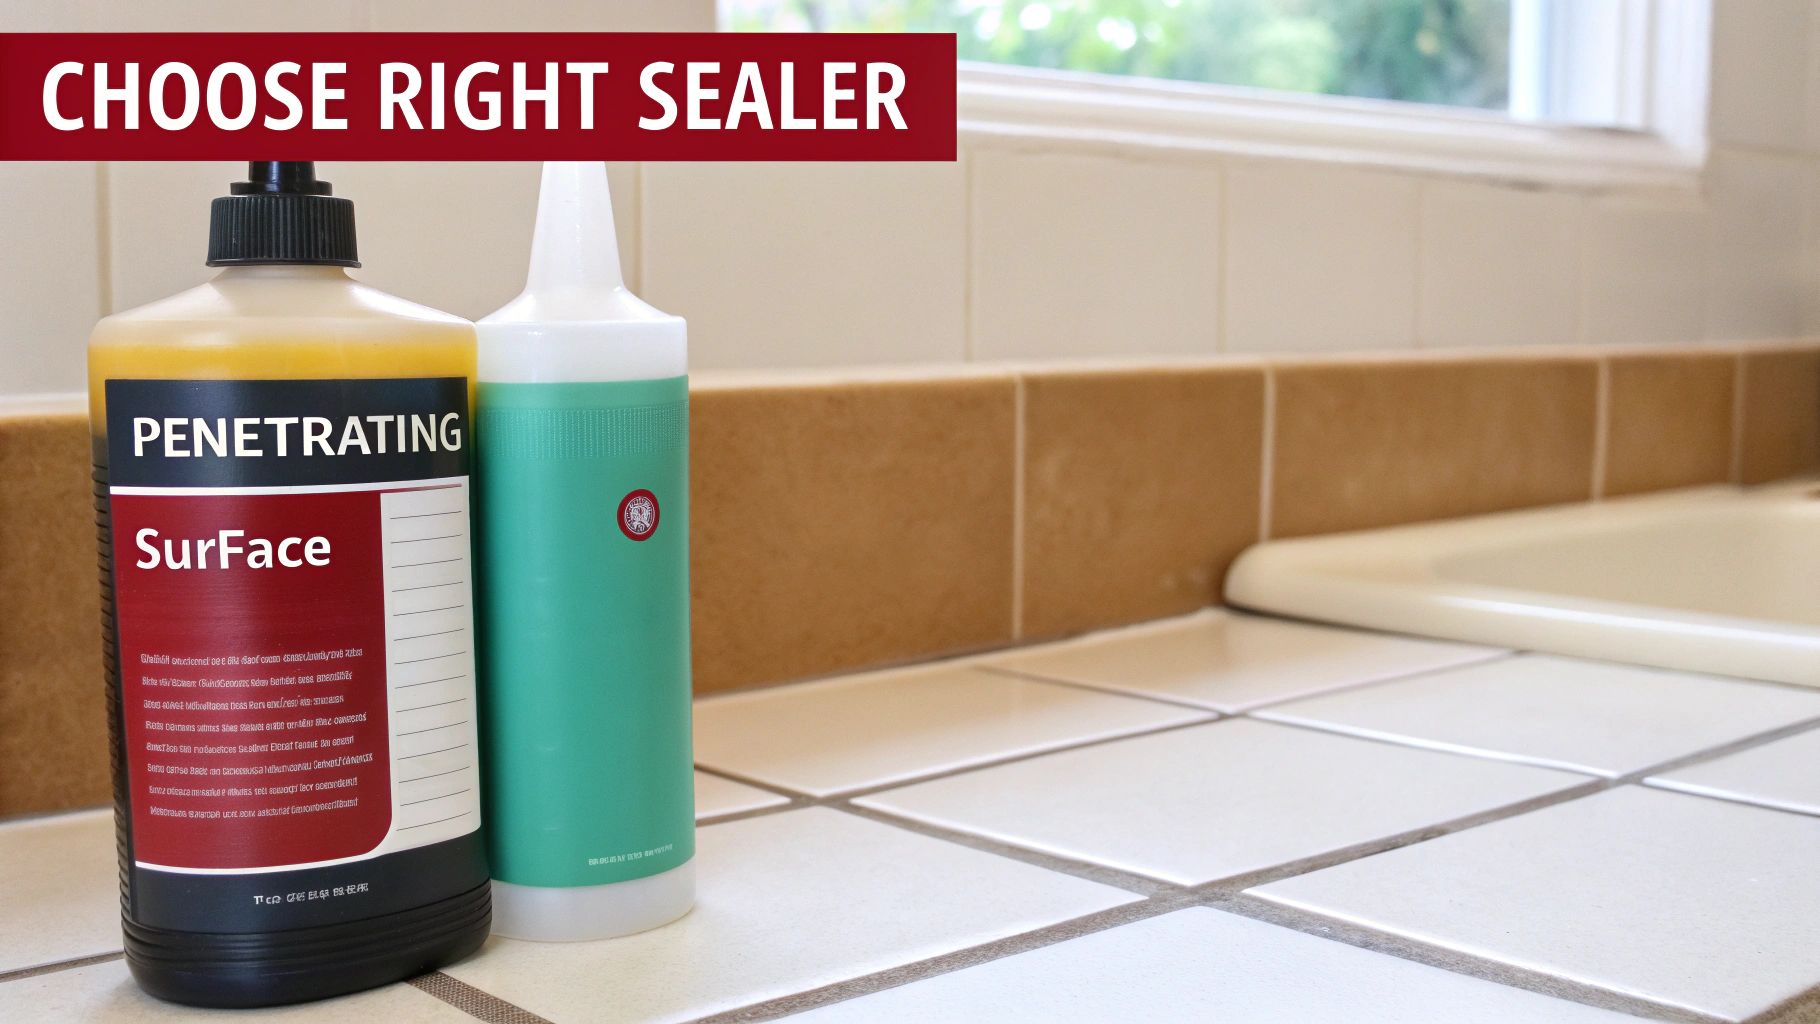
Walking into the sealer aisle at a hardware store can feel overwhelming. You’re faced with rows of similar-looking bottles, and picking the right one seems like a total shot in the dark. But it doesn't have to be.
The decision really boils down to two main categories: penetrating sealers and surface sealers. Each type works differently and is designed for specific situations. Getting this choice right is the key to a durable, long-lasting seal that actually does its job.
Let’s break them down so you can choose with confidence.
Penetrating Sealers: An Invisible Shield
Penetrating sealers, also known as impregnating sealers, are what I recommend for most homeowners. They are incredibly versatile and effective. Instead of sitting on top like a layer of paint, these sealers have tiny molecules that soak deep into the porous grout. They essentially become one with the grout, creating an invisible, water-repellent barrier from the inside out.
The biggest advantage here is that they don't change the look or feel of your grout at all. Your grout color and texture stay exactly the same. Because the protection is inside the grout, it's extremely durable and won't peel or flake away over time.
This makes it the perfect choice for the toughest spots in your home:
- Bathroom Showers: They stand up to constant water, soap scum, and steam without breaking a sweat.
- Kitchen Backsplashes: These sealers provide serious protection against grease, spaghetti sauce, and frequent scrubbing.
- Entryway Floors: They can handle muddy boots, tracked-in moisture, and heavy foot traffic year after year.
Surface Sealers: A Topical Barrier
Surface sealers, sometimes called topical or membrane-forming sealers, work in a completely different way. Just as the name implies, they form a protective film that sits right on the surface of the grout line. This physical barrier blocks stains and water from ever reaching the grout itself.
These sealers often add a bit of a sheen—from satin to glossy—and can even be used to enhance or change the grout’s color. This can be a real plus if you're looking for a quick visual refresh. However, that surface film is also their biggest weakness. In high-traffic or high-moisture areas, the film can eventually wear down, scratch, or peel, leaving your grout vulnerable.
Because of this, I generally recommend surface sealers only for dry, low-traffic areas where durability isn’t the main concern.
Pro Tip: If you're sealing grout next to unglazed tile, like terracotta or natural stone, a penetrating sealer is almost always the better choice. A surface sealer could accidentally create a slippery, hazy film on the tile face that's a nightmare to remove.
To make the choice even clearer, let's put the two head-to-head.
Penetrating vs Surface Grout Sealers at a Glance
This quick comparison table breaks down the core differences to help you zero in on the perfect sealer for your project.
| Feature | Penetrating Sealer (Impregnating) | Surface Sealer (Topical) |
|---|---|---|
| How It Works | Soaks into the grout's pores | Forms a protective film on top |
| Appearance | Invisible; does not change grout color | Can add a sheen or change the color |
| Best For | High-moisture, high-traffic areas | Dry, low-traffic decorative areas |
| Durability | Very durable and long-lasting | Can peel or wear down over time |
| Application | More forgiving during application | Requires careful application to avoid tile |
Ultimately, for most household jobs—especially in kitchens and bathrooms—a high-quality penetrating sealer is going to give you the best performance and peace of mind.
Flawless Prep Work for a Lasting Grout Seal
Applying the sealer is actually the easy part. The real secret to a durable, professional-looking finish—the kind that lasts for years—is all in the prep work. If you try to seal over dirty, damp, or damaged grout, you're just trapping grime and moisture. This is a surefire way to get a cloudy finish and a seal that fails in no time.
Think of it like painting a wall. You wouldn't just slap a new coat of paint over dirt and peeling patches and expect it to look good, right? Same principle applies here. The first order of business is a deep, thorough cleaning to create a perfect surface for the sealer to bond to.
Choosing Your Cleaning Arsenal
Having the right tools for the job makes a world of difference. A regular household sponge just won't cut it for this task.
- Grout Brush: Your best friend for this project is a stiff, narrow-bristled grout brush. It’s designed to get right into the grout lines with focused pressure, scrubbing out stubborn dirt that other tools simply can't reach.
- pH-Neutral Cleaner: Stay away from harsh, acidic cleaners or straight bleach. These can easily damage the grout itself and can be too aggressive for certain types of tile. A pH-neutral cleaner is almost always a safe bet for standard ceramic and porcelain tile.
- Steam Cleaner (Optional): If you want a truly deep clean without any chemicals, a steam cleaner works wonders. The high-pressure steam blasts away grime and sanitizes the surface, which is a fantastic bonus, especially in bathrooms.
In humid areas, a critical part of your prep work is tackling any existing mold or mildew. For an in-depth guide on this, check out this great resource on cleaning mold from caulk and grout in the shower.
The Critical Drying Phase
Once your grout is sparkling clean, you have to let it dry. Completely. This step is absolutely non-negotiable and requires a bit of patience. Sealing damp grout traps that moisture underneath, which can lead to new mold growth and cause the sealer to fail from the inside out.
Key Takeaway: The single biggest mistake I see people make is rushing the drying process. Your grout needs to be bone-dry before you even think about opening that bottle of sealer.
So, how long does that take? Plan on a minimum of 24 hours. If you're working in a humid space like a basement or a bathroom with poor ventilation, you might need 48 hours or even more. A good trick is to press a dry paper towel firmly against a few different grout lines. If it picks up even a hint of moisture, you need to wait longer.
This careful preparation is what separates a quick fix from a protective seal that will last for years. It's no surprise that the global tile and grout sealer market was valued at around USD 1.2 billion in 2023 and is expected to keep growing. Homeowners are catching on to how important proper application is. Your attention to detail during prep ensures you get the maximum protection for your investment.
Applying Grout Sealer Like a Professional
Alright, you’ve put in the hard work cleaning and prepping the grout. Now for the satisfying part: applying the sealer. This is where all that effort pays off, turning your grout into a fortress against stains and grime. The trick is to be methodical and choose the right tool for the job.
What works for a big, open floor won't be the best choice for a detailed backsplash. If you're sealing a large porcelain tile floor with wide grout lines, an applicator bottle with a roller or brush tip is your best friend. It lets you lay down a steady, even line of sealer and cover a lot of ground quickly.
But for those tight grout lines in a mosaic shower or an intricate tile pattern? Precision is everything. A small, inexpensive artist's brush will give you the control you need. It helps you avoid slopping sealer all over the tile, which just creates more cleanup work later.
Remember, getting the sealer on is the final step, but it only works if the foundation is solid.
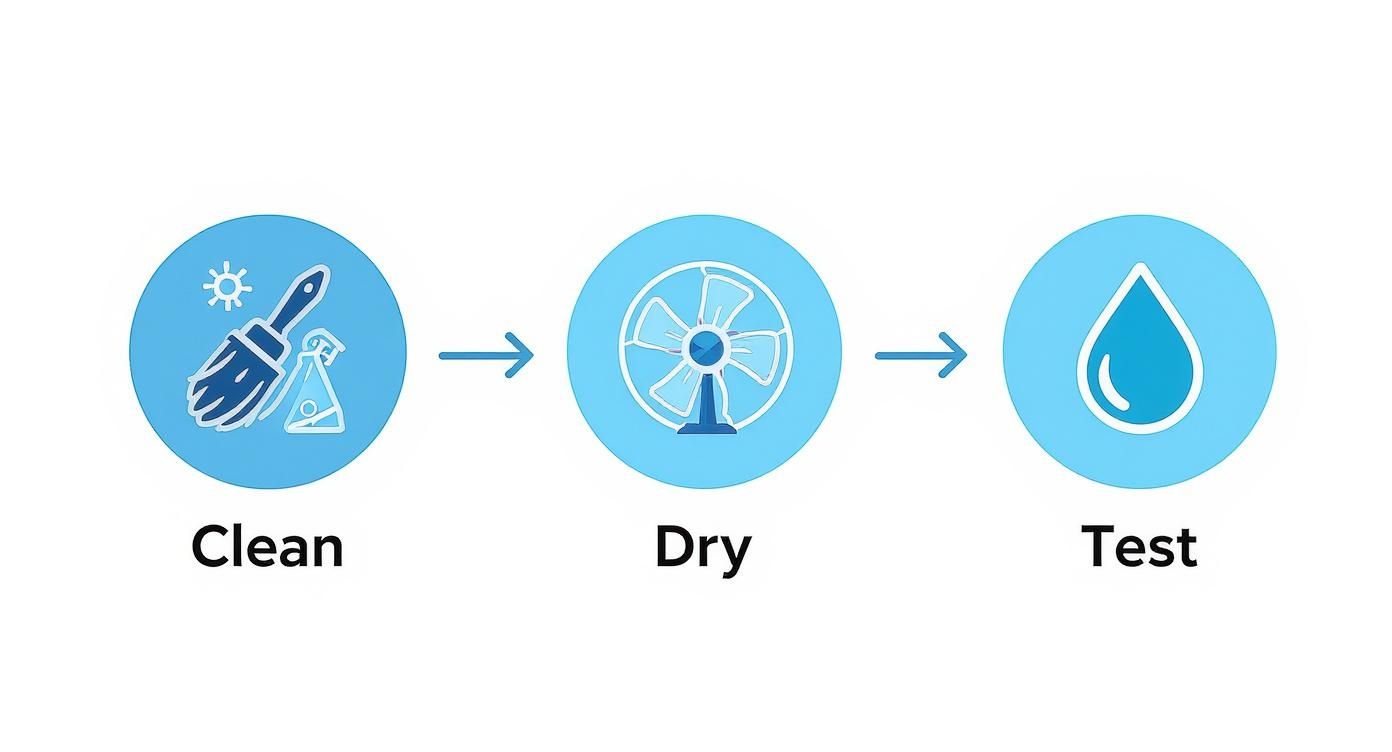
As this shows, the clean, dry, and test phases are absolutely non-negotiable. Don't skip them!
Mastering the Application Technique
No matter which tool you're using, the goal is the same: get the sealer into the grout line, not onto the tile.
Here’s the biggest piece of advice I can give you: work in small, manageable sections. Seriously. So many DIY projects go wrong when people try to seal a whole floor at once. The sealer inevitably dries on the tile, leaving a stubborn, cloudy haze that’s a nightmare to remove.
Stick to a 3×3 foot area at a time. This keeps you in complete control.
Carefully apply the sealer directly onto the grout, watching as the porous material soaks it up. Once you’ve covered the lines in your small section, it’s time to move, because the clock is ticking.
Don't let the sealer dry on the tile surface! Most quality sealers give you a 5 to 15-minute window to wipe away the excess. If you miss that window, you’ll be scrubbing haze off your tiles instead of admiring your work.
The Crucial Wipe-Down Process
As soon as you’re done applying sealer to your section, grab a clean, lint-free microfiber cloth and start wiping. You need to get all of the excess sealer off the face of the tiles. Remember, sealer is for porous grout—it does absolutely nothing for non-porous ceramic or porcelain except make a mess.
Wipe with firm pressure, but be careful not to drag sealer out of the grout lines you just filled. It’s smart to have a small stack of fresh cloths ready. As soon as one cloth gets saturated, toss it aside and grab a new one to prevent smearing.
A simple, effective workflow looks like this:
- Apply to Section 1: Carefully trace the grout lines in your first 3×3 foot patch.
- Wipe Section 1: Immediately and thoroughly wipe the tiles in that section clean.
- Move to Section 2: Start applying sealer to the next 3×3 foot area.
- Wipe Section 2: Once you’re done applying, wipe the tiles in the second section.
- Repeat: Continue this apply-then-wipe rhythm until the whole room is sealed.
Once you’ve finished the first coat, check the manufacturer's directions. For high-moisture areas like bathrooms, a second coat is almost always a good idea for maximum protection. Just wait the recommended time—usually 1-2 hours—and repeat the whole process. This patient, section-by-section method is the real secret to a perfect, long-lasting seal.
Aftercare and Maintenance for Long-Term Protection
You've done the hard part—the sealer is on and your grout lines look great. But don't break out the cleaning supplies just yet. What happens in the next 24 to 72 hours is absolutely critical for getting the long-term protection you're after.
This initial period is called the cure time. It's when the sealer transitions from a liquid to a tough, water-repellent shield by chemically bonding with the porous grout. During this time, you have to keep the area completely dry and, if it's a floor, free of foot traffic. Getting it wet or walking on it too soon can disrupt the bond, leading to a weak seal that fails prematurely.
Just think of it like waiting for paint to dry. If you touch it while it's still tacky, you’ll ruin the finish. The same principle applies here. Check the manufacturer's specific instructions and be patient; it’s a small wait for years of protection.
Establishing a Cleaning Routine
Once the sealer has fully cured, keeping your grout clean becomes so much easier. That said, you need to be mindful of what you clean with. Harsh chemicals are your new enemy. Acidic cleaners (like vinegar) and potent chemicals (like bleach) will actively eat away at the sealer, stripping it right off and undoing all your effort.
To keep that seal strong, adopt a gentler cleaning approach.
- For regular upkeep: A simple mix of a pH-neutral cleaner and warm water is all you need. It's effective enough to clean grime without damaging the protective barrier.
- For stubborn spots: Use a soft-bristled brush to gently scrub away any spills or stains. This gives you the friction you need without being too abrasive.
It’s all about protecting your hard work. Stay away from steel wool or aggressive scrubbing pads. They can physically scratch and wear down the sealer, and might even damage your tile in the process.
When to Reseal Your Grout
No sealer lasts forever. Foot traffic, cleaning, and daily use will eventually wear down that protective layer. The trick is to reapply a fresh coat before the grout becomes exposed and vulnerable to stains and moisture again. How often you'll need to do this really comes down to the location.
Here’s a good rule of thumb to follow for your resealing schedule:
- High-Moisture & High-Traffic Areas: Think shower walls, bathroom floors, and busy kitchen backsplashes. These spots need attention every 1 to 2 years.
- Low-Traffic Areas: A decorative tiled wall or the floor in a rarely used guest room can likely go 3 to 5 years between coats.
Not sure if it's time? There's a simple way to check. Just sprinkle a few drops of water onto a grout line. If the water beads up on the surface, your sealer is still doing its job. But if it soaks in and darkens the grout, that's your sign—it’s time to reseal.
Got Questions About Sealing Grout? We've Got Answers.
Even with the best instructions, a few questions always pop up. That’s a good thing—it means you’re thinking through the details, which is the key to getting a professional, long-lasting finish. Let's tackle some of the most common things people wonder about when they're getting ready to seal their tile grout.
How Can I Tell if My Grout Needs to Be Sealed?
There’s a super simple way to check this, and it only takes a minute. Just splash a few drops of water onto a grout line. Try it in a couple of different spots.
If the water beads up on the surface like rain on a freshly waxed car, your sealer is still doing its job. But if that water soaks in and darkens the grout within a minute or two, you’ve got porous grout. That's your signal—it's time to seal (or reseal) it to protect it from stains and moisture damage.
What About Sealing Old or Really Stained Grout?
You absolutely can, but there's a huge "if" attached: you have to get it spotlessly clean first. I can't stress this enough. If you apply a clear sealer over dirt, mildew, or old stains, you're essentially laminating them in place forever. It locks in the discoloration, often looks cloudy and gross, and you’ll never be able to scrub it clean again.
What if you've scrubbed until your arms are sore and the stains just won't budge? Don't give up. Look for a grout colorant and sealer in one. Think of it as a durable, epoxy-based paint made specifically for grout. It completely refreshes the color while also providing that protective seal you need. Whatever you do, don't just put a clear coat over stained grout and hope for the best. It only makes the problem permanent.
Expert Tip: Remember, sealer is a shield, not a magic eraser. The way your grout looks right before you seal it is how it's going to look for the next few years.
How Often Do I Really Need to Reseal Grout?
There’s no one-size-fits-all answer here. How long a sealer lasts really comes down to where it is, how much action it sees, and what you clean it with. But I can give you a solid rule of thumb.
- High-Traffic & Wet Areas: Think shower walls, bathroom floors, and the kitchen backsplash behind your sink. These areas get hammered with water and wear. Plan on resealing them every 1-2 years.
- Low-Traffic Areas: A guest bathroom floor or a decorative tiled wall won't need as much attention. You can probably go 3-5 years between coats.
Honestly, the best approach is to just do the water drop test once a year. It's quick, easy, and tells you exactly what you need to know, taking all the guesswork out of it.
Sealing grout is a totally manageable DIY project that makes a huge difference. But when it comes to larger renovations or complex tile jobs, getting a pro involved guarantees that perfect, durable finish. Here at Trademaster Construction, we specialize in custom tile installations for kitchens and bathrooms throughout Southwest Michigan. If you're dreaming bigger than just a reseal, get in touch with our team and let's talk about how to bring your vision to life.

