
You're standing in a kitchen that looks fine in the listing photos but feels wrong every morning. The sink sits beneath a small, fixed pane, the range sends heat toward a nearby wall, and opening the back door is the only way to clear cooking moisture. By afternoon, the room is either dim or full of glare. That's when a kitchen design with window stops being a decorating exercise and becomes a remodeling decision about light, airflow, safety, storage, and energy use.
A well-placed window can make prep work easier and the room more comfortable. A poorly placed one can eliminate cabinet space, create glare over the sink, complicate ventilation, or force expensive framing changes. The difference comes from treating the window as part of the kitchen's working equipment.
Rethinking the Kitchen Window Beyond Aesthetics
Most homeowners begin with the view. They picture a wide pane over the sink, a bright breakfast corner, or a black-framed window that gives the kitchen a modern focal point. Those ideas can work, but the view is only one job a window performs.
Consider a compact kitchen with a fixed window facing the yard. It may bring in pleasant daylight, yet it can't release steam from a stockpot or heat from an oven. If upper cabinets, countertop appliances, or exterior landscaping block the remaining openings, the room can still feel stagnant. Replacing that pane with an operable unit might improve the room, but only if the sash is reachable, the counter remains usable, and a mechanical exhaust path handles the heaviest cooking loads.
Four jobs, not one
I separate kitchen window planning into four functions:
- Daylight: How much useful light reaches the work surfaces without producing harsh reflections?
- Outlook: What do you want to see, and from which standing positions?
- Ventilation: Can the opening release heat and moisture from the kitchen itself?
- Passage: Does the window support a breeze path through the home, or is it isolated by walls and obstructions?
These functions overlap, but they aren't interchangeable. A large picture window can provide daylight and outlook without offering active airflow. A narrow awning window may ventilate during light rain but offer less expansive scenery. A carefully positioned opening near the sink can support daily comfort, while a second opening elsewhere may create a more effective breeze path.
Practical rule: Don't approve a window location until you can explain what it does during cooking, cleaning, and evening use.
A successful remodel also accounts for glare and privacy. A west-facing window may look attractive on a plan but shine directly across a countertop during afternoon prep. A lower sill might improve the seated view while exposing the kitchen to neighbors. The right answer depends on orientation, shading, glass selection, and the location of the sink, prep area, and range.
The strongest kitchen design with window plans treat glass as functional infrastructure. The frame, opening type, sill, exhaust strategy, and surrounding cabinetry should be designed together, before drywall and trim make changes difficult.
The Measurable Science of Daylight and Ventilation
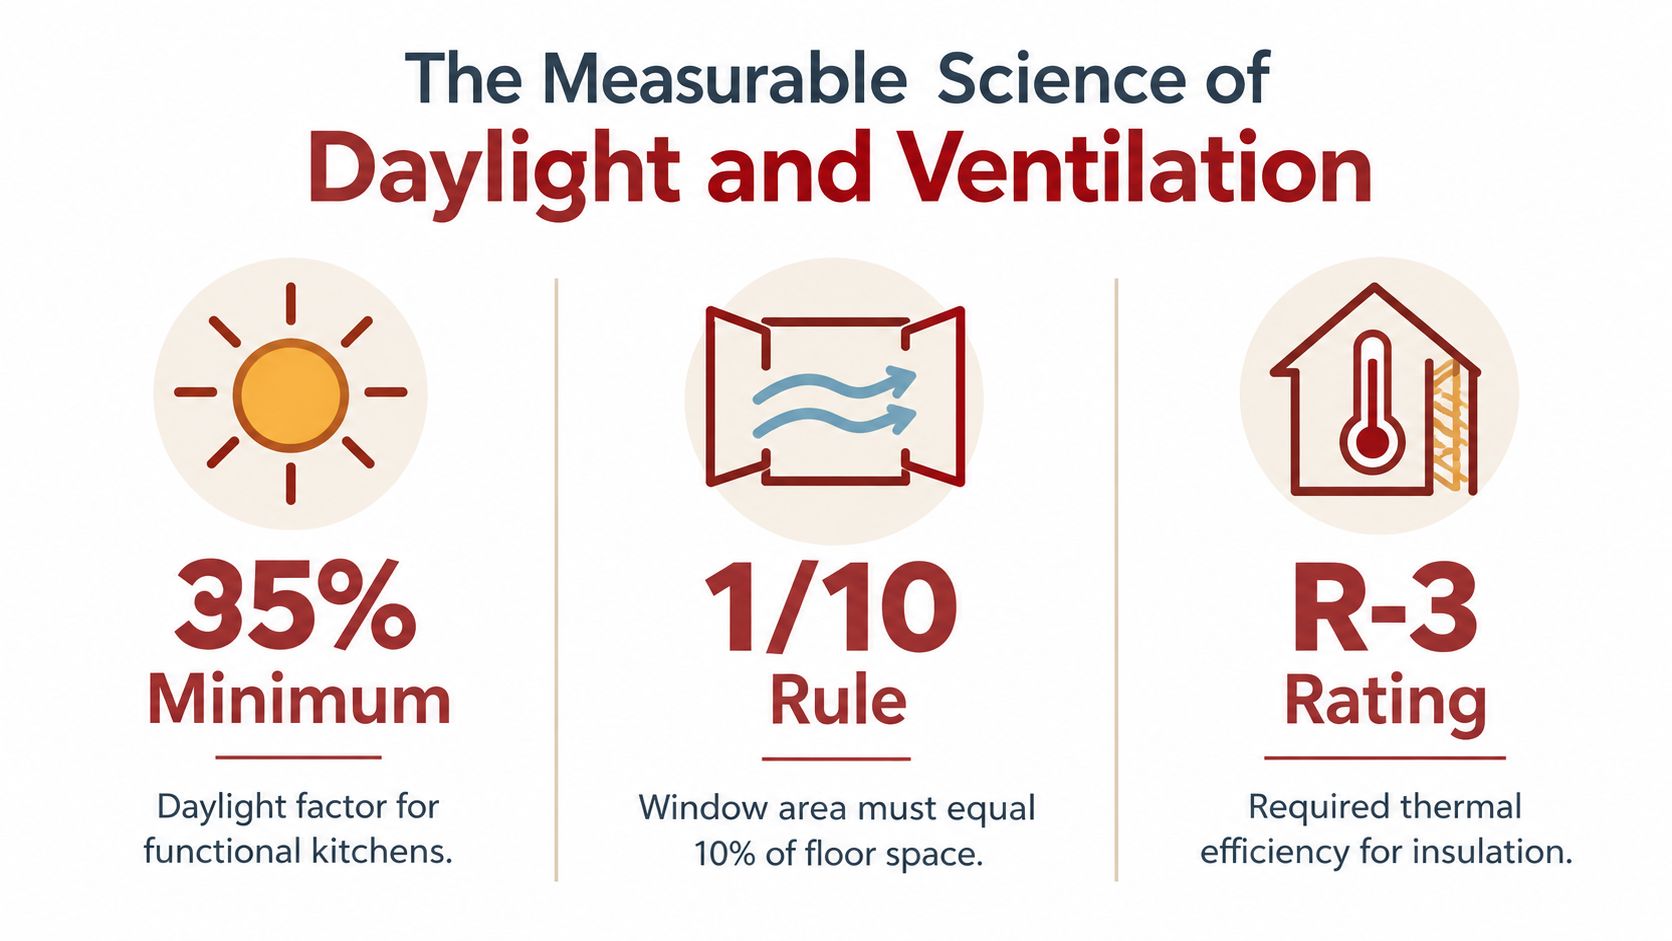
Style advice often says a kitchen should feel “bright” or “airy.” Those descriptions are useful for inspiration, but they aren't enough for planning. Daylight and ventilation can be evaluated through measurable relationships between openings, floor area, airflow, and the position of the operable sash.
Daylight is more than glass size
Hong Kong building practice notes provide a useful technical baseline for domestic kitchens. They identify a 4% vertical daylight factor, and state that total primary openings should be at least 1/16 of the room's floor area. The same document explains that when glazing reaches 10% of usable floor area, the window should provide 4% VDF on the vertical surface. These figures aren't universal substitutes for local code review, but they show why window planning works better when designers relate opening area to room size rather than choosing glass by appearance alone. ASHRAE's technical document provides the referenced guidance.
A small kitchen may need a different glass arrangement from a larger open-plan room. Reflective backsplash materials, dark cabinetry, deep overhangs, trees, and neighboring structures all affect how much daylight reaches the counter. Before selecting a larger unit, track sunlight at morning, midday, and afternoon. The useful question isn't “How big can the window be?” It's “Where will daylight land while someone is chopping, washing, or reading a recipe?”
For additional ideas on window types that can improve daylight, maximize daylight at home offers a useful comparison resource. Use it for product inspiration, then test those ideas against your wall orientation and task lighting.
Air changes and operable openings
Ventilation has its own performance language. ASHRAE guidance for naturally ventilated spaces calls for operable wall or roof openings equal to at least 4% of net occupiable floor area, and its interpretation says the operable window must be in the kitchen itself for kitchen ventilation credit to apply. A nearby living-room window doesn't automatically perform the same job. The ASHRAE interpretation explains that placement requirement.
Hong Kong practice notes also identify natural ventilation of at least 1.5 air changes per hour, plus 5 air changes per hour by mechanical means. Those targets demonstrate the central point: an open window and a dedicated cooking exhaust system solve different portions of the problem.
Boiling, baking, dishwashing, and simmering add moisture and sensible heat quickly. An operable window near a prep or sink zone can release some of that load, but small appliances, stacked dishes, blinds, or exterior obstructions can reduce the effective opening. Keep the sash clear, and don't position a decorative treatment where it prevents the window from opening fully.
A practical plan therefore combines three elements:
- Daylight placement, based on sun, glare, and work-surface needs.
- Operable ventilation, located inside the kitchen and kept unobstructed.
- Mechanical exhaust, sized and routed for peak cooking conditions.
The measurable baseline won't choose the design for you. It will expose weak proposals before you commit to framing, cabinetry, and finishes.
Strategic Placement and Sink Clearances
The sink is often the natural home for a kitchen window because the wall already has a work zone rather than upper storage. That doesn't mean every sink window should be low, wide, or operable. The counter, faucet, backsplash, sill, handle, and opening arc all have to work together.
Start with the finished counter
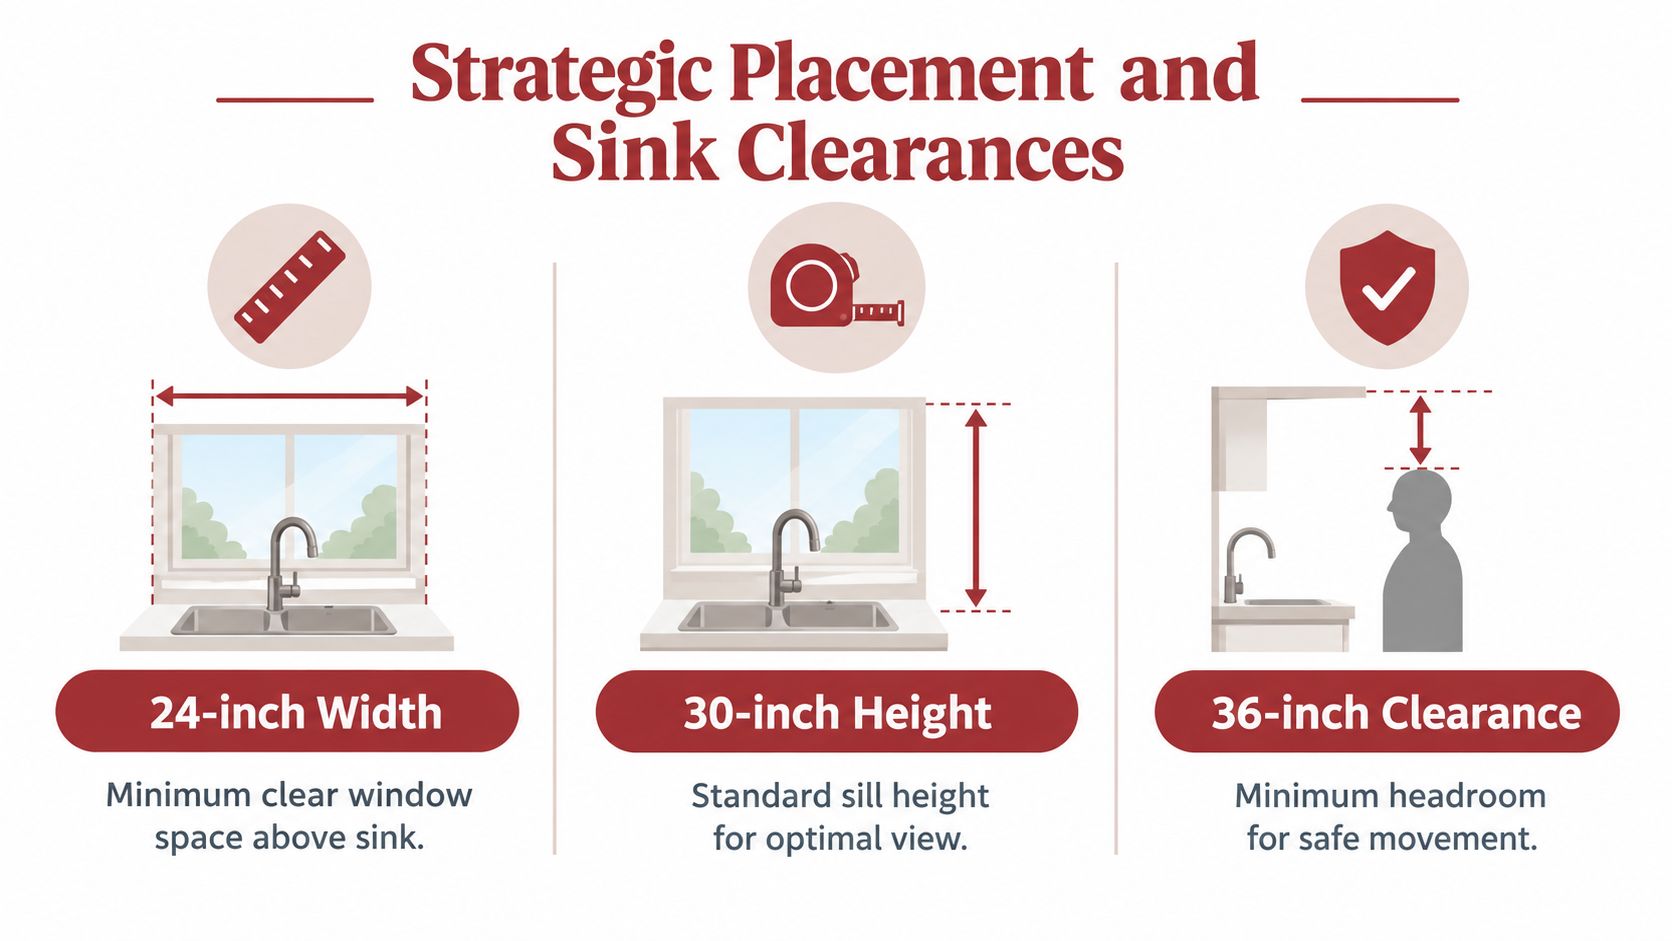
For a window above a 36-inch counter, kitchen-design guidance commonly targets a sill around 40 to 42 inches above finished floor. Single-sash widths around 24 to 36 inches are commonly used over a sink, while larger spans can be divided into two operable lights to improve circulation and avoid an oversized, awkward frame. The window geometry guidance covers these relationships.
The finished floor matters. So do the countertop thickness, backsplash depth, faucet height, and the window's interior trim. A drawing that shows only rough framing can make a window appear correctly positioned when the installed sill later collides visually with the faucet or leaves an unusable strip of wall.
Before finalizing the opening, mark the layout at full scale:
- Tape the counter height on the wall, including the intended backsplash.
- Mark the faucet centerline and swing or pull-down reach.
- Draw the sill and head heights from the finished floor.
- Check the sash operation with the faucet, dishes, and countertop appliances in place.
- Stand at the prep zone to test sightlines, privacy, and glare.
A large kitchen window over sink can create a strong focal point, but scale shouldn't replace usability. If the opening forces the sink too close to a corner or removes the only practical landing area, the view may cost more function than it adds.
Keep the range out of the danger zone
A window over a cooking surface requires special care. A kitchen window shouldn't be installed directly below an operable window unless the window is at least 3 inches behind the appliance and more than 24 inches above it, reducing heat and ignition risk near the cooktop. The JLC kitchen field guide provides the referenced clearance rule.
This is one reason the sink wall is usually easier than the range wall. A sink can sit below an operable sash with fewer heat concerns, while a cooktop introduces flame, hot cookware, grease, and rising vapors. Even when a design appears possible, confirm the appliance and window relationship with the contractor, manufacturer requirements, and the authority having jurisdiction.
Read the sunlight before selecting the wall
Map sunlight at different times of day, then compare it with the work zones. A south- or west-facing opening may need shading or solar-control glass to prevent overheating and glare. A north-facing opening may provide softer daylight but still require strong task lighting, particularly when the sill is high or surrounding cabinets shade the counter.
A window that looks balanced from the doorway can perform poorly where the cook stands. Prioritize the cutting board, sink basin, range controls, and landing spaces, then use the view to refine the composition.
Choosing Window Styles and Moisture-Resistant Treatments
Window style controls more than appearance. It determines how much air enters, whether the sash interferes with the faucet or walkway, how easily you can clean the glass, and whether the unit can remain open during light rain.
| Window Style | Best Use Case | Ventilation Quality |
|---|---|---|
| Casement | Capturing a cross-breeze where the crank remains reachable | Strong, because the sash projects outward and can direct airflow |
| Awning | Maintaining ventilation above a sink or in uncertain weather | Useful during light rain, provided the opening remains unobstructed |
| Sliding | Simple operation where projection into a walkway is a concern | Moderate, with only part of the opening available at a time |
| Fixed picture window | Maximizing outlook and daylight where ventilation is handled elsewhere | None, so pair it with a suitable operable opening and exhaust strategy |
Match operation to the work zone
Casements are effective when you want to catch a breeze and seal the opening tightly when closed. They need clear space for the crank and outward sash, so check exterior walls, shrubs, walkways, and neighboring structures before ordering.
Awning windows make sense where light rain is common and you still want some ventilation. They can work above a sink, but the handle must remain reachable and the open sash shouldn't interfere with exterior maintenance.
Sliding windows offer familiar operation and avoid an outward swinging sash. Their drawback is that only a portion of the total frame opens, and the track can collect dust, grease, and moisture. Fixed glass works well for a view, not for active air exchange.
Large assemblies deserve restraint. Guidance recommends splitting spans above 36 inches into two operable lights rather than creating one cumbersome unit. That approach can improve handling and circulation, though it adds frame lines and may change the visual character of the wall.
Choose finishes that tolerate kitchen conditions
Cooking environments expose treatments to grease, steam, splashes, and frequent cleaning. Natural-texture shades and softer organic finishes can preserve daylight and provide privacy, but fabric must be selected for cleanability and kept clear of the sink, range, and opening hardware.
Roller shades, cellular shades, Roman shades, and cafe curtains each create different maintenance demands. A low-profile roller can disappear visually and leave the sash accessible. A Roman shade can soften a hard window opening but may block the top of a casement when raised. Long drapery panels often collect dust and can obstruct operation in a busy kitchen.
Glass selection matters as much as the treatment. Low-E or multi-pane glazing can reduce heat transfer, while orientation determines solar gain and glare. Check the whole-window U-value, not only the center-of-glass specification. If a replacement unit is being considered because of condensation or failed seals, practical repair guidance such as windows double paned repair Columbus can help clarify whether repair or replacement is more appropriate.
Navigating Safety Codes and Energy Efficiency
A bigger window isn't automatically a better window. More glass can improve outlook and daylight, but it can also increase glare, heat transfer, cleaning effort, and the amount of wall available for cabinetry. In Southwest Michigan, winter performance deserves the same attention as summer appearance.

Safety glazing is location-specific
Glass near walking surfaces can require safety glazing. Tempered or laminated glass is required when the sill is under 18 inches above the adjacent walking surface and the glass is also within 36 inches horizontally of that surface. This IRC guidance on tempered glass explains the referenced condition.
That rule becomes relevant when a kitchen window reaches toward the floor, sits beside a door, or occupies a low wall near a passage. Don't assume a standard residential pane is acceptable because it looks similar to the existing glass. A contractor or building official should review the actual dimensions, glazing type, and location before ordering.
Specify performance, not just frame color
Black or warm-toned frames can give a kitchen a crisp, current look, but frame color doesn't tell you how the window performs. Ask for whole-window U-value information and compare Low-E coatings, multi-pane options, and, where appropriate, triple-pane assemblies. Guidance for colder or mixed climates increasingly emphasizes advanced glazing and U-factors below 0.25, so the specification should be evaluated alongside orientation and shading rather than chosen from a showroom sample alone.
South- and west-facing glass may need solar-control decisions to limit overheating and glare. North-facing glass can offer more even light but may need support from task fixtures. A window treatment that preserves daytime brightness while controlling privacy can be more effective than just increasing the glass area.
Have the opening inspected before finishes
Window replacement and new openings can affect framing, siding, flashing, insulation, trim, and electrical routes. A pre-finish inspection can catch an incorrect sill height, missing safety glass, poor drainage detailing, or a sash that cannot open because of the faucet. Fixing those issues before drywall and countertop installation is far less disruptive than correcting them afterward.
Real-World Layouts for Southwest Michigan Homes
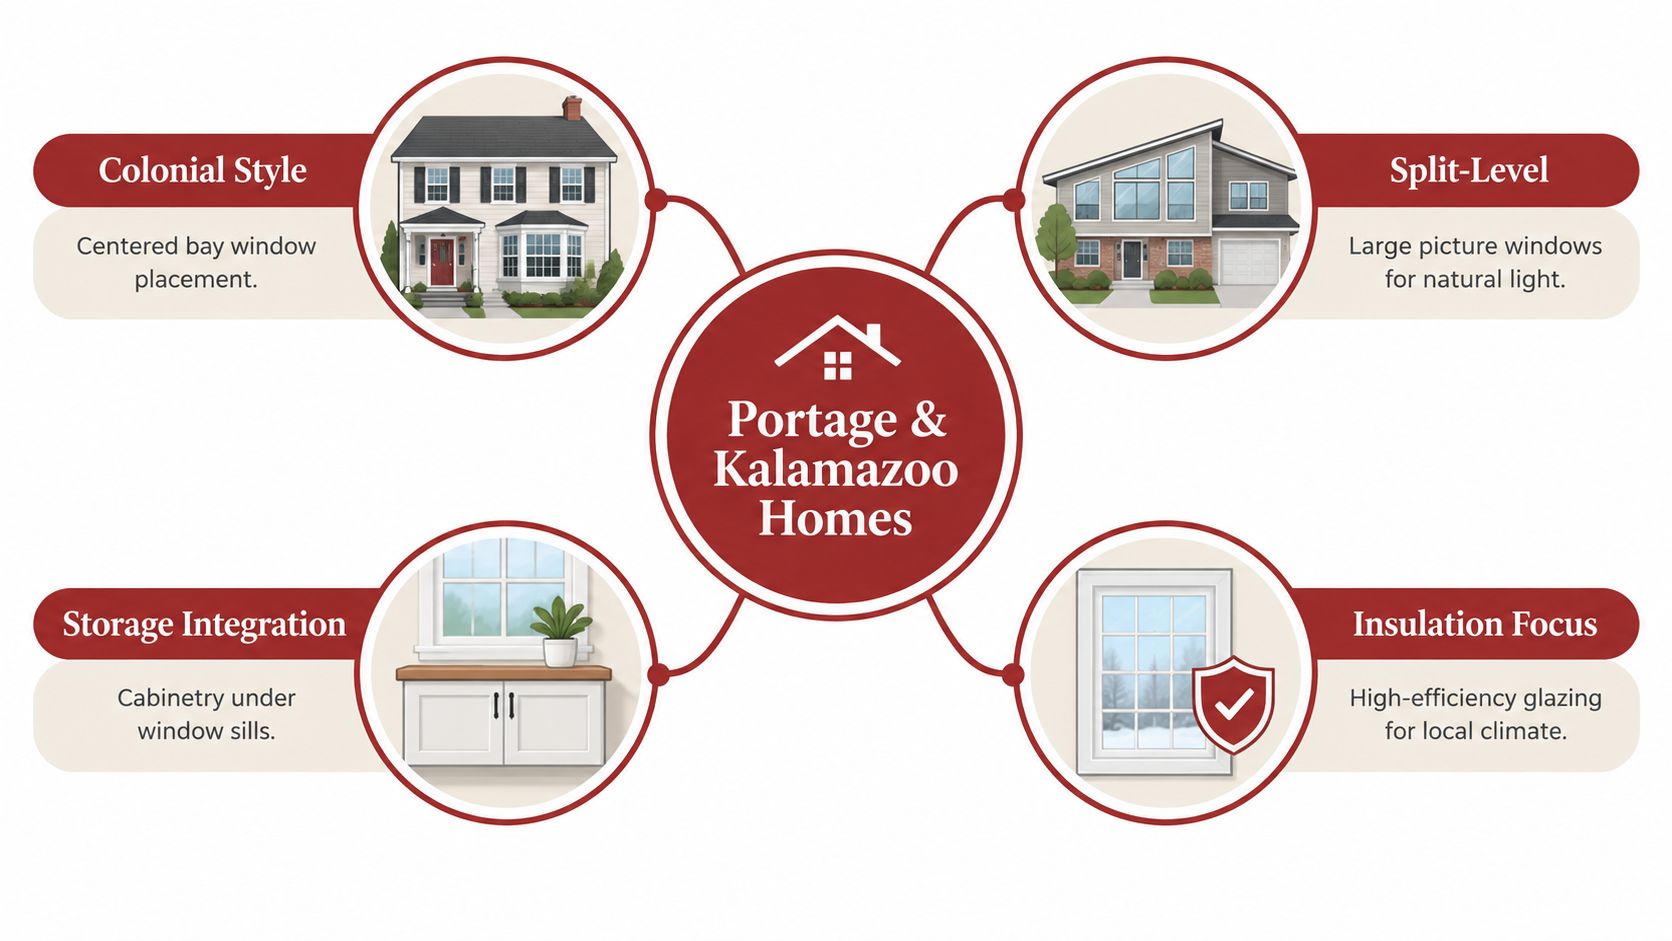
Portage and Kalamazoo kitchens often need to balance traditional room proportions with modern expectations for daylight and open views. A centered window may suit a Colonial-style elevation, while a split-level kitchen may need a larger picture opening to compensate for limited natural light. Neither solution works if it leaves the room without enough storage or usable counter frontage.
Protect the counter run
Kitchen planning standards call for 158 inches of countertop frontage, with the counter 24 inches deep and at least 15 inches of clearance above it. The NKBA kitchen planning guidelines show why a window cannot be evaluated independently from the rest of the cabinet plan.
A wide window above the sink may improve daylight but remove a section of upper storage. That loss can be acceptable when a pantry wall, island, tall cabinet, or adjacent run replaces it. It becomes a problem when the window consumes the only space for dishes, glasses, or everyday appliances.
Four patterns that work in local homes
Centered bay placement can reinforce a Colonial-style façade and create a clear visual anchor above the sink. Keep the interior projection useful rather than allowing the bay to crowd the faucet or reduce landing space.
A large picture window suits a split-level kitchen that needs more outlook and daylight. Pair fixed glass with an operable opening elsewhere in the kitchen, and preserve mechanical exhaust for cooking loads.
Storage integration may involve cabinetry on the adjacent wall, a pantry run, or lower storage beneath a sill where the window height allows it. Avoid forcing drawers or doors into a location where the faucet, trim, or open sash makes access awkward.
High-efficiency glazing becomes especially valuable in a local climate with demanding winter conditions. The window should contribute daylight without becoming a weak point in the thermal envelope.
Transoms can add light above cabinets without consuming as much wall area as a low, wide opening. Corner windows can brighten two directions at once, but they often complicate cabinet returns, trim, and exterior flashing. In both cases, draw the complete elevation before approving the concept.
The best local layout is rarely the one with the most glass. It's the one that keeps the kitchen's storage, work surfaces, ventilation, and winter comfort in balance.
Budgeting Your Kitchen Window Remodel
Window decisions affect the budget long before the glass arrives. Changing an existing opening can involve structural framing, siding repair, flashing, insulation, drywall finishing, trim, electrical rerouting, cabinetry adjustments, countertop changes, and new treatments. A larger unit may also require different delivery access and more involved installation.
Start by separating the project into decisions rather than asking for one broad allowance:
- Opening work: Is the existing footprint staying, shrinking, or expanding?
- Structural work: Will the wall require new framing or engineering review?
- Interior finishes: How will drywall, backsplash, casing, and countertop meet the window?
- Exterior repairs: Will siding, trim, or weatherproofing need to be rebuilt?
- Performance upgrades: Are Low-E, multi-pane, or triple-pane options appropriate?
- Kitchen revisions: Will the window remove upper cabinets or change the sink and counter layout?
- Treatments: Can the shade withstand moisture and remain clear of the operable sash?
A fixed replacement in the same opening is usually a different planning problem from enlarging a window over the sink. The latter can trigger several trades at once, and the lowest product price won't represent the finished project cost.
Use an early estimating resource before choosing between a picture window, divided casements, a bay configuration, or a transom. The Trademaster Construction instant pricing tool can help you establish a ballpark for the broader remodeling plan, then a detailed consultation can refine the scope around framing, cabinetry, glazing, and finishes.
A responsible budget also includes a contingency for conditions hidden behind existing walls. Older homes may reveal unusual framing, outdated wiring, or water damage around a previous window. You don't need to select every finish before starting, but you do need a clear scope for the opening, the kitchen layout, and the performance requirements.
The right kitchen design with window makes the room brighter without sacrificing the way people cook, clean, store food, and move through the space. Price the complete system, not just the window.
Trademaster Construction helps Southwest Michigan homeowners plan kitchen remodels that coordinate window placement with cabinetry, counters, ventilation, and durable finishes. Visit Trademaster Construction to review remodeling options, explore project inspiration, and take the next step toward a kitchen layout that fits your home and budget.

