
You're comparing cabinet colors, saving photos of islands, and trying to work out how much kitchen you can afford. Then you notice something in your current room: the refrigerator door already bumps the wall, the cookware barely fits in the drawers, and everyone walks through the cooking area to reach the back door.
New finishes won't fix those problems. A beautiful kitchen can still have a refrigerator that won't open fully, a dishwasher that blocks the walkway, and cabinets that leave the stand mixer permanently on the counter. Replacing those components without checking how they work together means paying for the same frustrations twice.
The cheapest time to correct a kitchen is while it's still a drawing. Moving a cabinet on a plan is straightforward. Moving it after installation can affect countertops, electrical work, flooring, and the schedule.
The kitchen remodel mistakes to avoid aren't limited to poor workmanship. They include decisions made without measuring, allowances accepted without checking, and details postponed until someone needs an answer on site.
Start with the activities your kitchen needs to support: preparing dinner, unloading groceries, cleaning up, and moving through the room. Then test the design against those activities before demolition. These checks help you decide what deserves your budget, what can stay, and which attractive ideas won't work in your space.
1. Ignoring the Kitchen Work Triangle and Traffic Flow
Cheapest to fix before approving the layout. The work triangle connects the sink, refrigerator, and cooking surface, but those connections only help when people can walk them without dodging furniture or household traffic.
A functional layout starts with clear routes between work areas.
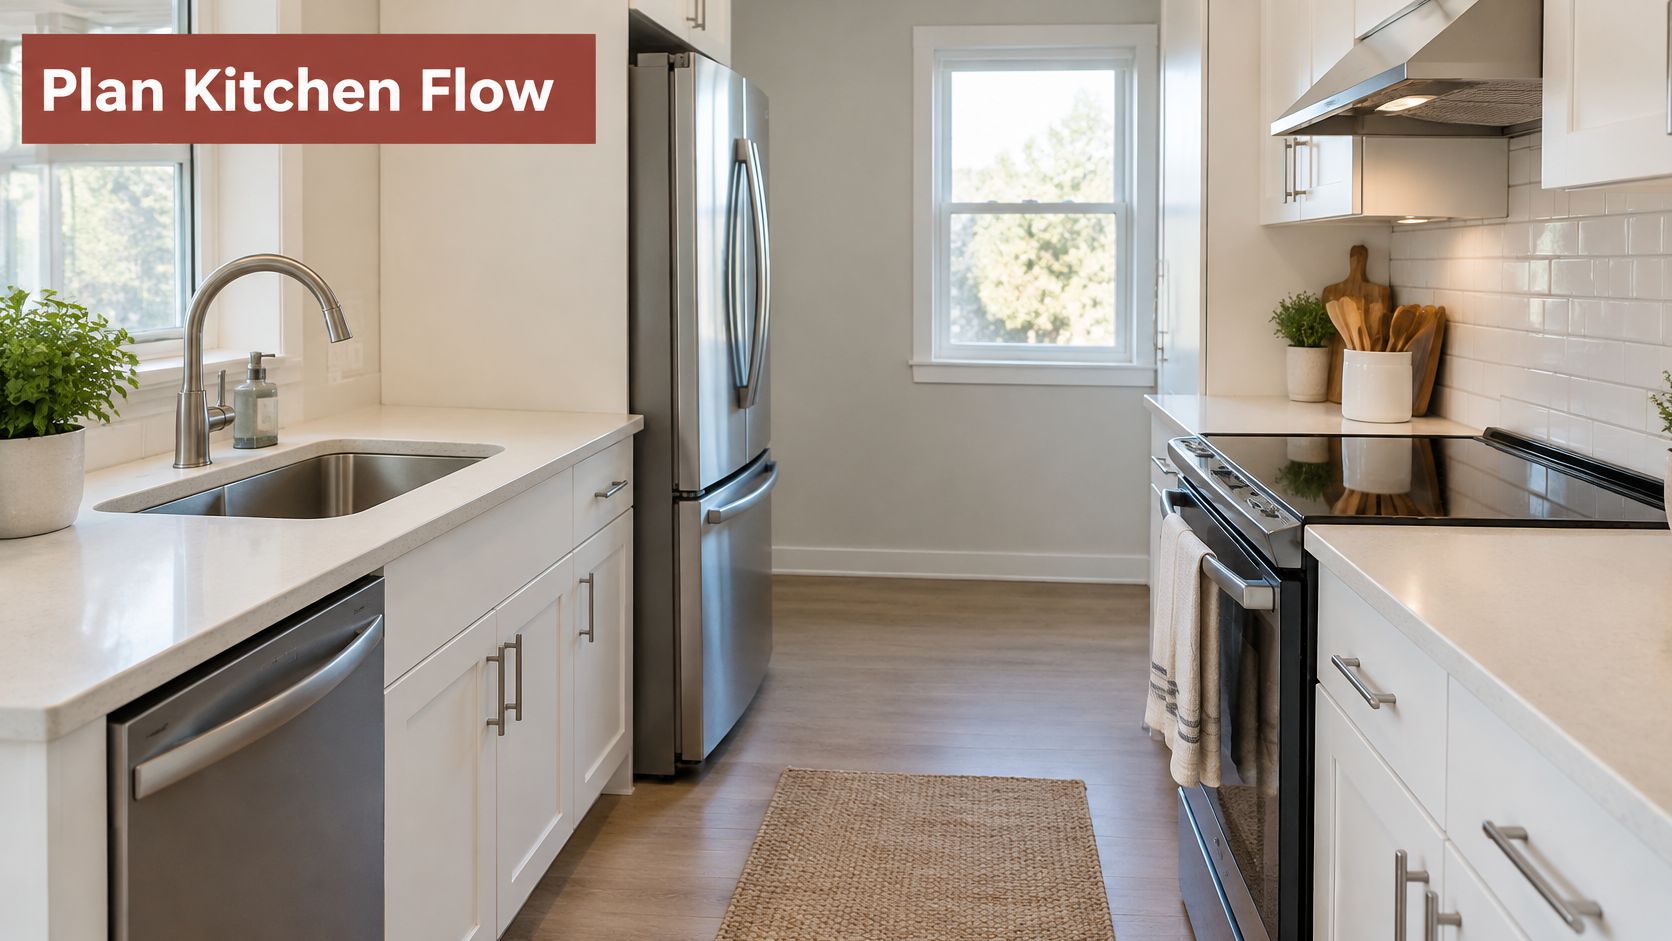
The National Kitchen & Bath Association kitchen planning guidelines recommend triangle legs of 4 to 9 feet, with a combined distance no greater than 26 feet. Treat that as a planning benchmark, not a reason to force every kitchen into the same arrangement.
Say a galley kitchen puts the refrigerator beyond the cooking area. Moving it toward the entrance may let someone collect a drink without squeezing past the cook, provided the open door doesn't obstruct the entrance.
Test the route, not just the drawing
Mark cabinet fronts and island edges with painter's tape. Walk through grocery unloading, meal preparation, and cleanup, including the route someone takes when they aren't cooking.
- Keep cleanup connected. Place the dishwasher beside the sink where practical, while checking access to dish storage.
- Separate through-traffic. Keep the route to the patio or hallway outside the active cooking zone.
- Challenge the island. A smaller island, peninsula, or no island can work better than a large centerpiece.
The kitchen design tips from Simply Hospitality offer a useful commercial-kitchen perspective on separating activities, although a home kitchen needs its own household-specific plan.
Use this layout walkthrough to consider how movement changes when the room is occupied.
2. Underestimating Storage Needs
A cabinet count won't tell you whether your kitchen has enough storage. Usable interior space and easy retrieval matter more than a wall full of doors. Make those decisions before cabinet sizes and internal fittings are ordered.
Start by emptying your existing cabinets and grouping what you plan to keep. Measure awkward items such as baking sheets, stockpots, serving platters, and countertop appliances, rather than assuming they'll fit somewhere.
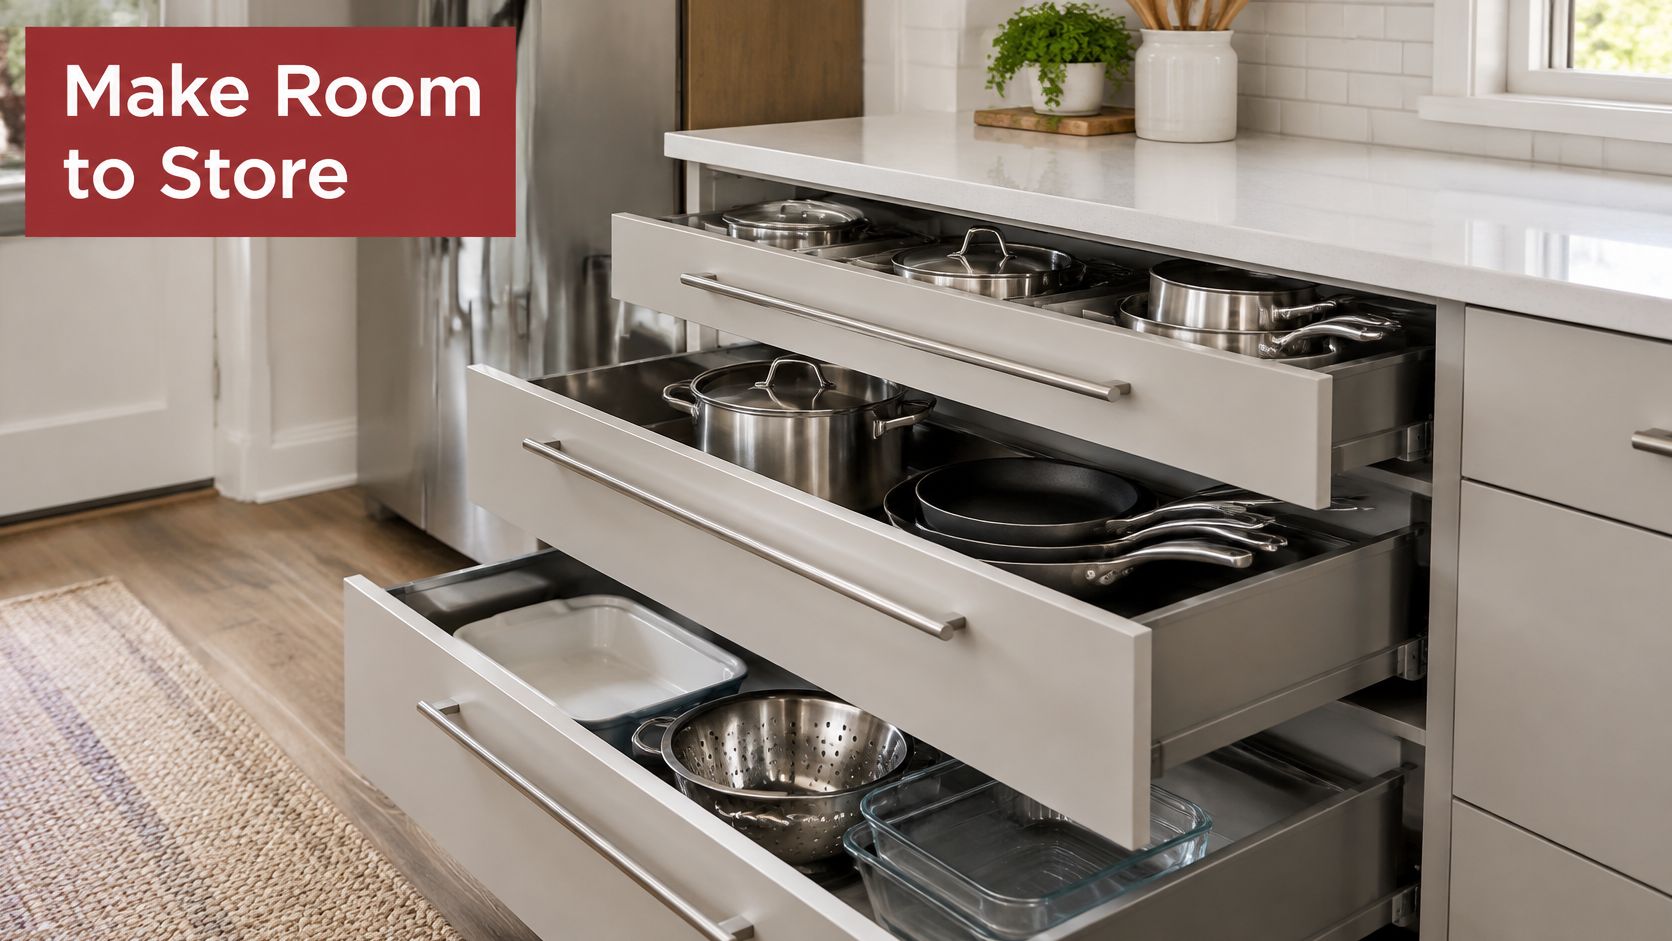
Storage planning should account for the cookware you own.
Assign contents before choosing fronts
For a household that cooks frequently, deep drawers near the range can be more useful than base cabinets with fixed shelves. A tall pantry near the refrigerator can collect breakfast supplies and small appliances, but its doors must open without blocking the neighboring work area.
Corner mechanisms deserve particular attention. A rotating unit can improve access, yet its trays may not accommodate your largest cookware, and the mechanism occupies space of its own.
- Measure the opening. Check the usable drawer interior and cabinet entrance, not only the outside dimensions.
- Plan waste storage. Locate trash and recycling where you scrape plates and prepare food without blocking the dishwasher.
- Reserve reachable space. Keep daily dishes and heavy cookware within comfortable reach; use high cabinets for lighter, occasional items.
Storage rule: Don't buy an organizer until you know what it needs to hold and whether you can retrieve that item comfortably.
Open shelving can suit frequently used dishes away from cooking splatter. It doesn't replace enclosed storage for pantry goods, appliance accessories, and the items you don't want on display.
3. Relying on a Single Overhead Light
Stand at your current prep counter after dark. If your body casts a shadow over the cutting board, another decorative ceiling fixture won't necessarily solve the problem.
Plan lighting before electrical rough-in and drywall closure. The layout needs general illumination, direct light on work surfaces, and separate control over decorative fixtures so you don't have to illuminate the entire kitchen to make coffee.
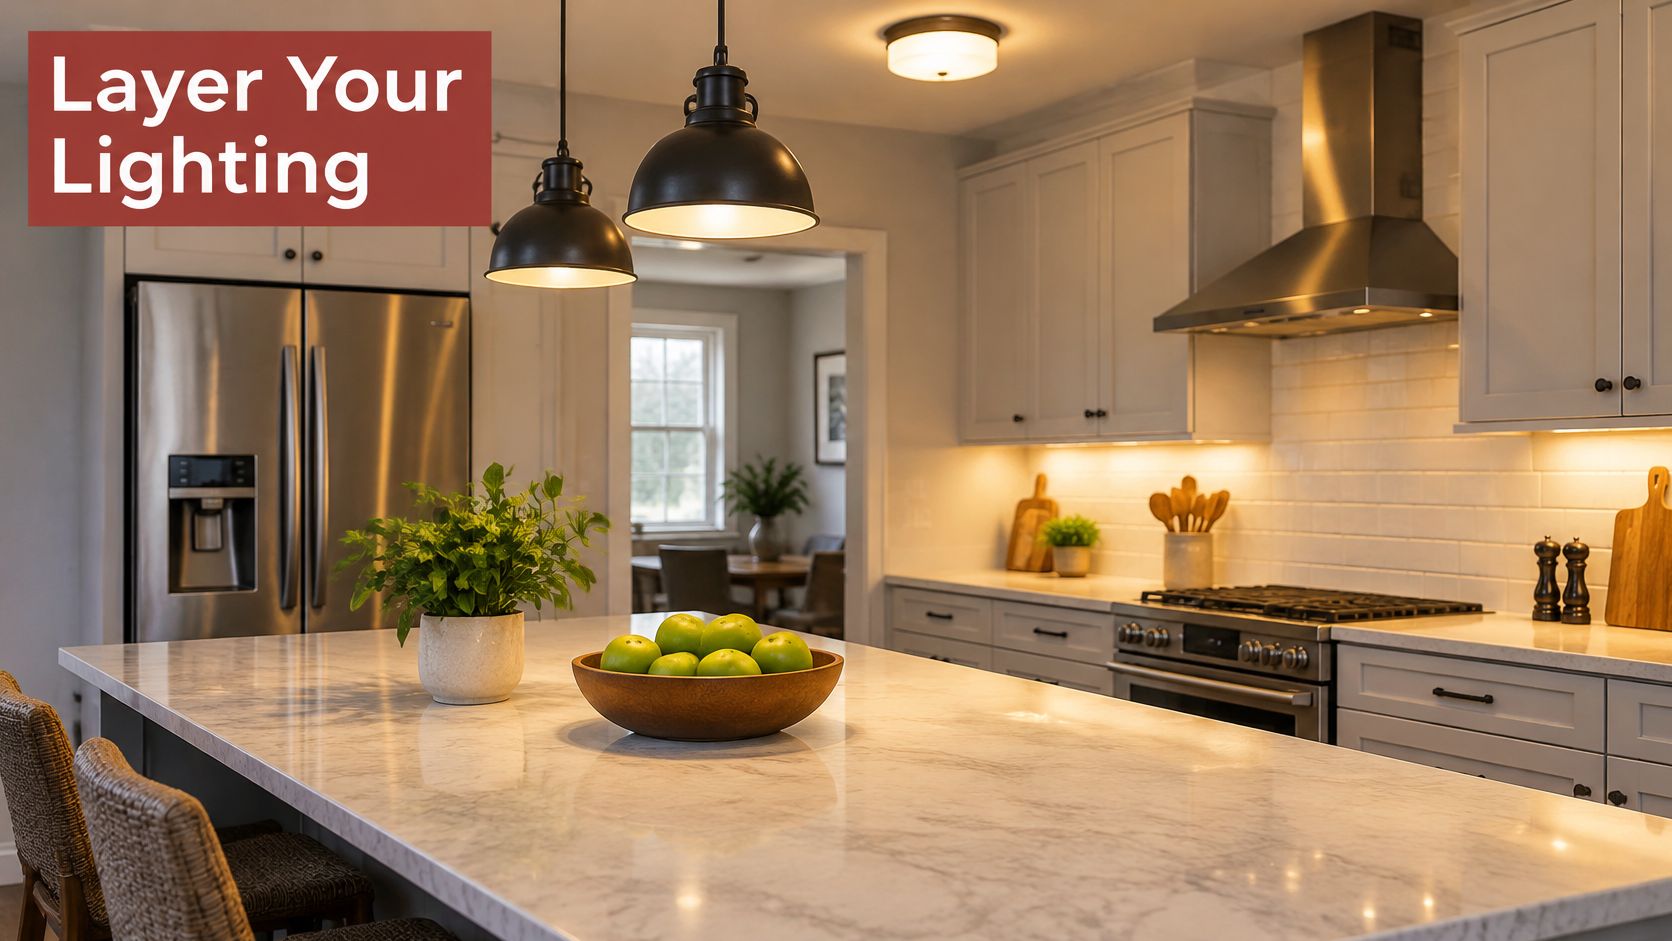
Layered lighting serves different tasks rather than adding more fixtures.
Put light where hands do the work
In a kitchen with upper cabinets, under-cabinet LED lighting can illuminate the prep surface without relying on light from behind the cook. Position and conceal the fixture carefully, especially above glossy countertops that can reflect individual light sources.
The DLG Electrical kitchen lighting guide is a useful companion when comparing under-cabinet options. Coordinate fixtures with cabinet construction, wiring access, and the location of drivers before installation.
For an island used for both chopping and evening meals, combine useful work lighting with dimmable pendants. A pendant that looks attractive from across the room may still create glare for someone seated beneath it.
- Compare actual samples. View cabinet, countertop, and backsplash samples under the proposed lights.
- Keep color consistent. Avoid mixing noticeably warm and cool fixtures across adjoining work areas.
- Check controls. Place switches at natural entrances and make task lighting usable independently.
Specify dimmer compatibility with the selected fixtures rather than treating all LED products as interchangeable. Keep drivers and serviceable components accessible so a lighting repair doesn't require dismantling cabinetry.
4. Not Planning Enough Electrical Outlets and Ventilation
Resolve electrical capacity and the hood duct route before cabinet approval. These aren't details to squeeze around a finished design.
List the appliances you use together, not just the ones you own. A coffee station with a kettle, toaster, and coffee maker needs an electrical plan based on simultaneous use, while built-in appliances need connections coordinated with their exact installation instructions.
Ventilation requires the same early coordination. The U.S. Environmental Protection Agency recommends range hoods that capture combustion products and exhaust directly outdoors, rather than relying only on recirculation.
Coordinate the systems before closing anything
Say you're replacing an electric range with a gas model beneath a decorative hood enclosure. Before ordering that enclosure, confirm the hood's capture area, manufacturer requirements, duct size, outdoor termination, and makeup-air implications.
A larger fan isn't automatically a better solution. Fan capacity, duct resistance, noise, and the home's pressure conditions need to work together; an oversized exhaust system can create problems around combustion equipment.
- Map appliance use. Mark everyday countertop appliances and occasional equipment on the electrical plan.
- Protect service access. Don't place a connection where an appliance body, drawer, or permanent panel makes it inaccessible.
- Confirm local requirements. Review the proposed electrical and mechanical work with the appropriate building department in Portage, Kalamazoo, or your municipality.
- Check hood usability. Compare controls, lighting, filter access, and sound before choosing primarily by appearance.
A quiet hood that captures cooking emissions effectively is more useful than a powerful hood you avoid switching on.
Keep the duct path practical and coordinate it with framing. Discovering an obstruction after the cabinetry arrives leaves fewer good choices.
5. Forgetting Appliance Clearances and Door Swings
A refrigerator can fit its opening and still fail the kitchen. If a nearby wall prevents the door from opening far enough to remove drawers, the nominal appliance width wasn't the measurement that mattered.
Select exact appliance models before finalizing cabinet dimensions. Gather installation documents, not just sales-page measurements, and identify hinge clearances, handle projections, ventilation spaces, and service requirements.
The NKBA kitchen planning guidelines recommend work aisles of at least 42 inches for a cook working alone and 48 inches for multiple cooks. Those recommendations concern usable space between opposing surfaces, not an optimistic measurement between unfinished cabinet boxes.
Open everything on the plan
Make cardboard templates for projecting doors and use tape to mark appliance fronts. Test the dishwasher while someone stands at the sink, the oven while someone passes behind, and the refrigerator while someone unloads groceries.
A refrigerator beside a corner wall may need a filler panel or a different location. A drawer dishwasher might suit a constrained layout, but compare its usable capacity and loading arrangement before treating it as a clearance shortcut.
- Test unloading. Confirm that an open dishwasher doesn't block the drawers holding everyday dishes.
- Include hardware. Appliance handles and cabinet pulls can collide even when the doors themselves appear clear.
- Allow removal. Check that finished flooring and countertop arrangements won't trap an appliance during future replacement.
Don't confuse a passageway with a working aisle. Someone may be able to walk through a gap that still leaves too little room to bend, lift a roasting pan, or load the dishwasher comfortably.
6. Choosing Low-Quality Cabinets and Hardware
Compare cabinet construction before signing the order, not after choosing the door color. Cabinets support countertops, store heavy cookware, and depend on accurate installation to keep drawers and doors operating correctly.
A plywood label alone doesn't establish quality, and a composite panel alone doesn't establish poor quality. Panel thickness, assembly, shelf spans, moisture protection, attachment details, and hardware all deserve inspection.
Test the parts you'll touch every day
Open a showroom drawer fully and check whether it moves smoothly without excessive sideways play. Inspect the drawer bottom and its connection to the box, then examine hinge adjustment, shelf supports, and the finish around edges.
For a kitchen that needs to hold cast-iron cookware, choose slides suited to the intended load. Full-extension hardware improves access to the back of a drawer, while soft-close hardware controls closing movement; neither compensates for an underspecified drawer box.
- Compare equivalent packages. Check whether finished ends, fillers, toe kicks, installation accessories, and internal fittings are included.
- Read warranty terms. Identify what covers the finish, hardware, and cabinet structure, including relevant exclusions.
- Inspect a sample. Examine joints, exposed edges, and the finish under ordinary room lighting.
- Keep hardware serviceable. Choose components with identifiable specifications so replacements aren't a guessing exercise.
Spend where replacement is disruptive. Simplifying a decorative door profile is usually a better compromise than weakening heavily loaded drawers.
If the budget is tight, reduce elaborate trim, decorative panels, or specialty organizers before sacrificing the basic cabinet system. A simpler cabinet with dependable hardware can serve the room better than an ornate cabinet that doesn't hold or open properly.
7. Overlooking Accessibility and Aging-in-Place Needs
Can someone prepare breakfast while seated, retrieve a heavy saucepan without kneeling, and move through the kitchen with a mobility aid? Answer those questions before fixing aisle widths, counter heights, and appliance locations.
Universal design principles, developed in part through the Center for Universal Design at North Carolina State University, encourage spaces that accommodate varied abilities. In a kitchen, that means planning reach, movement, grip, and visibility, not transferring bathroom accessibility features into another room.
The 2025 U.S. Houzz Kitchen Trends Study found that half of homeowners renovating kitchens address special household needs. Planning for future use doesn't have to make the room look institutional.
Distinguish easy upgrades from structural choices
Pulls and faucets are relatively straightforward to change later. Wider circulation routes, seated work areas, and appliance placement can require cabinet and countertop changes, so settle those during layout design.
For example, a household anticipating reduced mobility could include a lower prep surface, reachable drawers, and an accessible place to set down hot food. Test the arrangement with the intended user rather than assuming a standard height will work.
- Prioritize comfortable reach. Place frequently used dishes and controls where users can reach them without stretching.
- Try the hardware. Lever faucets and wide pulls may be easier to operate than small knobs; touch-latch systems aren't suitable for every user.
- Plan clear movement. Test turning paths with the actual mobility aid when possible.
- Coordinate future supports. Identify engineered support or wall blocking needed for planned adaptations before closing walls.
The DME Superstore home modification ideas can help prompt a broader household discussion. Kitchen accessibility still needs its own plan around cooking, carrying, and appliance safety.
8. Underestimating Costs and Skipping a Contingency Budget
Build the budget before choosing finishes, then refine it before authorizing demolition. An early estimate is a starting point, not proof that every detail of your preferred kitchen is covered.
In a Houzz survey of nearly 2,500 kitchen renovators, slightly less than one-third exceeded their budgets. Among those who went over budget, nearly half attributed the increase to choosing more expensive products or finishes than originally planned.
Put scope and selections together before comparing totals.

Separate the money by purpose
Use distinct categories for committed costs, allowances, optional upgrades, and concealed-condition reserves. An allowance is a placeholder for a selection, not a guarantee that the item you eventually choose will fit it.
Start estimating with our instant pricing tool, then develop a written scope that accounts for your room and selections. Compare bids against that same scope, including permits, demolition, disposal, repairs, installation, and finish carpentry.
- Protect essential work. Prioritize layout, electrical and plumbing needs, cabinet dimensions, and appliance specifications before aesthetic upgrades.
- Size the reserve to uncertainty. Unknown wiring, suspected leaks, and concealed flooring conditions call for a different discussion than a surface-only refresh.
- Document changes. Approve the price and schedule effect before authorizing added work.
Suppose demolition exposes water-damaged subflooring. A dedicated reserve lets you address the repair without immediately sacrificing necessary storage or ventilation; money already earmarked for upgraded countertops isn't a true contingency.
How each kitchen remodel mistake compares by main risk, best time to address it, and difficulty to fix later
| Mistake | Main Risk | Best Time to Address | Hard to Fix Later? |
|---|---|---|---|
| Ignoring the Kitchen Work Triangle and Traffic Flow | Inefficient movement, bottlenecks, and costly utility changes | Before demolition and layout finalization | Yes, especially after plumbing and utilities are installed |
| Underestimating Storage Needs | Cluttered counters and hard-to-reach items | Before choosing cabinet sizes and placing orders | Often; cabinet changes can be costly |
| Relying on a Single Overhead Light | Poor visibility and unsafe or uncomfortable work areas | During design, before walls are closed | Yes, if new wiring is needed |
| Not Planning Enough Electrical Outlets and Ventilation | Overloaded circuits, lingering odors, grease, and heat | During design, before walls are closed | Yes; adding circuits or ducting later can be costly |
| Forgetting Appliance Clearances and Door Swings | Blocked walkways, restricted appliance access, and costly changes | Before finalizing cabinet dimensions and ordering appliances | Yes, especially after cabinets are installed |
| Choosing Low-Quality Cabinets and Hardware | Sagging, wear, and premature hardware failure | Before selecting and ordering cabinetry | Yes; replacement is disruptive and expensive |
| Overlooking Accessibility and Aging-in-Place Needs | Reduced comfort, safety, and independence as needs change | During initial layout and design | Often; widening spaces or changing structures later is costly |
| Underestimating Costs and Skipping a Contingency Budget | Budget overruns, financing stress, and compromised project choices | Before design commitments and contractor agreements | Difficult once construction is underway |
Plan Before You Demolish Your Next Steps
The common thread across these kitchen remodel mistakes is making consequential decisions too late. Once cabinets are ordered, plumbing is moved, or countertops are fabricated, correcting the plan becomes more disruptive. The practical response isn't endless planning; it's resolving dependent decisions in the right order.
Begin with your current frustrations. Record where people collide, which items have no proper storage, where shadows cover the counter, and which appliances are awkward to use. Distinguish problems with the layout from problems with worn finishes, because they call for different scopes of work.
Turn preferences into buildable decisions
Map traffic flow and assign storage before approving the cabinet plan. Select appliances early enough to coordinate their openings, electrical connections, and ventilation requirements, then test their doors against nearby cabinets and walkways.
Bring lighting and accessibility into that same review. A discreet task light, easier-grip pull, or reachable drawer may improve daily use without changing the kitchen's character, while turning space and seated work areas need earlier dimensional coordination.
Keep the approval package specific:
- Dimensioned drawings. Show appliance openings, fillers, clearances, and the intended traffic routes.
- Selection records. Identify actual products, finishes, hardware, and any unresolved allowances.
- A scope-based budget. Separate included work, exclusions, optional upgrades, and the reserve.
- A construction plan. Coordinate procurement, inspections, temporary kitchen arrangements, and the process for approving changes.
We guide kitchen scope by assessing how the current room is used and where frustrations or limitations occur. Our design/build process connects those needs to the construction work rather than treating design as an isolated exercise.
We also don't start a renovation until materials have been ordered, inspected, and delivered. That policy doesn't remove every concealed condition, but it avoids beginning with known material gaps and hoping they resolve themselves after demolition.
Make the final review a working test
Before approving the start, walk through a normal meal on the plan. Where do groceries land, where does chopping happen, and can someone unload the dishwasher while someone else cooks? If an answer depends on moving an appliance, closing a drawer, or stepping out of the way, revisit that detail.
For homeowners across Southwest Michigan, including Portage and Kalamazoo, the next step is to connect a preliminary estimate to a measured, documented plan. Keep the features that solve daily problems, simplify the ones that don't justify their cost, and protect the budget for sound construction. A finished kitchen should work as well during cleanup as it does in the photographs.
Trademaster Construction offers kitchen remodeling through a design/build process that connects household needs, layout decisions, and construction planning. Visit Trademaster Construction to discuss your current kitchen's limitations and start planning a remodel around practical function, durable materials, and your budget.

