
You measured the alcove at 60 inches, the chair clears the doorway, and the first quote is still a tub swap with a curb. That quote answers a catalog size. It doesn't answer whether your wheelchair, your drain, and the bathroom floor can share one pan.
A wheelchair accessible shower pan has to work for the chair you own, the direction you enter, and the way water leaves the floor. In 2022, CDC disability measures reported that 1 in 4 U.S. adults had at least one disability involving hearing, vision, cognition, mobility, self-care, or independent living. Mobility disability was the most common category, affecting approximately 1 in 7 adults. Self-care disability, including serious difficulty dressing or bathing, affected roughly 1 in 27 adults.
If the person who bathes here uses a chair full time, a lip that looks almost flush is still a barrier. Measure the finished opening before you pick the pan.
Minimum Sizes and Clearances for Roll-In Showers
The footrests stop short of the valve, and the box still reads 60 inches. That stamp was the rough size. Backer, thinset, and tile took the rest, so the chair cannot square up in the finished bay.
Order the pan for the finished room, not the studs. A label of 60 inches often loses an inch or more once the walls are built out. The chair you own, the way it enters, and the clear floor beside the pan decide whether that remaining space is usable.
The 2010 ADA Standards require a standard roll-in compartment of at least 30 inches (760 mm) clear interior width by 60 inches (1,525 mm) clear interior depth, measured at the center points of opposing sides, plus a minimum 60-inch-wide entry on the open face. Those standards also call for clear floor space beside the shower of at least 30 inches deep by 60 inches long, room to reposition outside the pan rather than inside it. They allow an alternate roll-in shape, at least 36 inches wide by 60 inches deep, with a 36-inch opening on the long side. Controls need an on/off control, and delivered water is limited to 120°F (49°C).
| Requirement | ADA value | What to check |
|---|---|---|
| Roll-in standard clear interior | 30 in (760 mm) wide x 60 in (1,525 mm) deep | Measure finished clear space, not rough framing |
| Roll-in entry on open face | 60 in (1,525 mm) minimum | Confirm door or curtain does not reduce opening |
| Alternate roll-in compartment | 36 in wide x 60 in deep, 36 in opening on long side | Use when the long wall can take the 36 in opening |
| Roll-in threshold | 1/2 in (13 mm) maximum, beveled, rounded or vertical | Check the transition from the bathroom floor too |
| Shower floor slope | 1:48 maximum (about 1/4 in per foot) | Check slope with a level after the pan is set |
| Clear floor space beside shower | 30 in deep x 60 in long | Keep vanity and toilet clearances outside the pan |
| Shower spray control | On/off control, delivered water limited to 120°F (49°C) | Specify at the valve during rough-in |
The U.S. Access Board chapter on plumbing elements caps a roll-in threshold at 1/2 inch (13 mm). A lip at that height has to be beveled, rounded, or vertical, and the bathroom floor outside the pan counts. A sharp tile edge or a door track can add a second bump the catalog never showed.
Bathing-room guidance from the Access Board keeps shower-floor slope at 1:48 or flatter, about 1/4 inch per foot. Steeper than that and casters wander. On a minimum pan, that slope has to reach the drain without leaving the chair sitting on a ridge.
A worked example with tile
Say the rough opening is 32 inches between studs. Half-inch backer plus tile builds about another half inch, so each wall consumes about 1 inch. 32 minus 2 leaves 30 inches clear. That meets the minimum and nothing more. A thicker sill, a jamb, or a seat that sticks into the opening drops you under the line. I would not order a "30-inch" pan for that bay. Frame wider so the finished clear width still reads 30 after tile, or use the 36-inch alternate if the long wall can take the opening.
Three checks before you order
- Finished width and depth: Measure clear space at the center of each pair of walls, after the finish you plan to use.
- Entry width: Confirm a door, curtain, or glass panel doesn't cut the 60-inch face, or the 36-inch long-side opening on the alternate.
- Threshold height: Measure from the bathroom floor to the pan edge at the door, including any track.
Private homes aren't forced to follow every commercial bathing rule. If the chair doesn't fit the finished numbers, the pan doesn't work.
Choosing Between Roll-In, Transfer and Curb Pan Types
A couple in a 1970s ranch calls after one partner starts using a wheelchair full time. The first contractor prices a tub-to-shower conversion with a standard curb, same footprint, same drain. That quote fails the person in the chair. A curb of several inches is a wall. Rolling over it isn't possible, and lifting the chair in every day isn't a plan.
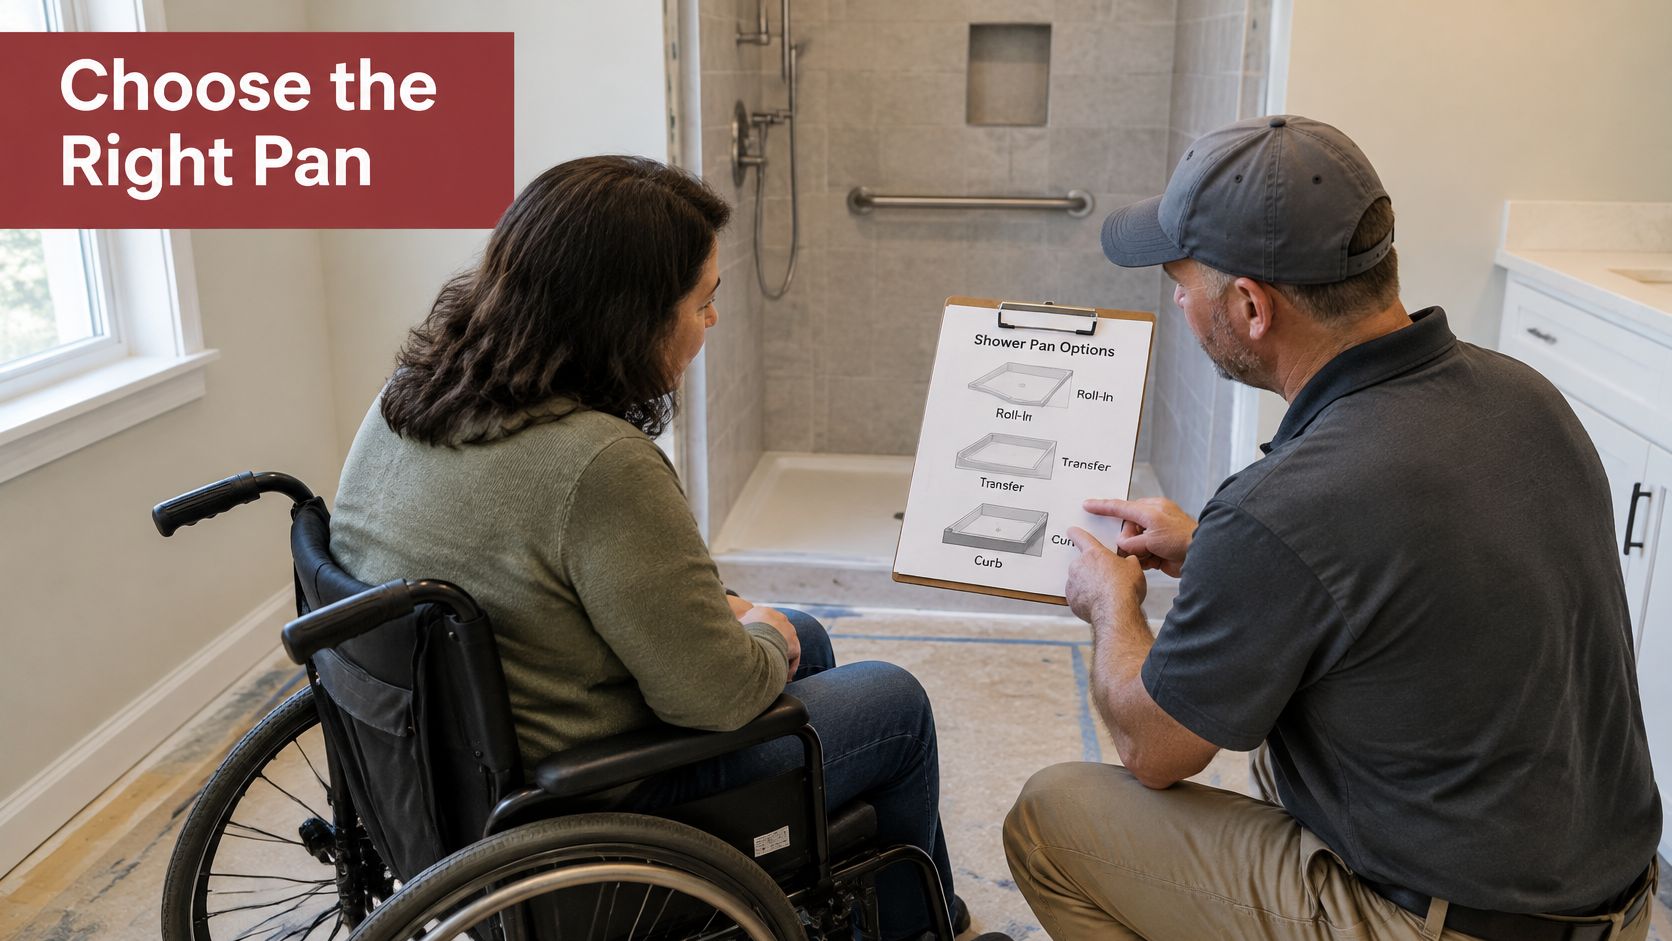
Ask one question before you pick a base. Does the user roll in, transfer to a seat, or stand?
| Pan type | Entry height | Best for | Main trade-off |
|---|---|---|---|
| Curbless roll-in pan | Flush or 1/2 in maximum | Full-time wheelchair users | Needs floor recess or raised floor and precise drain planning |
| Low-threshold transfer pan | Up to 1/2 in, beveled | Users who move from chair to seat | Holds less splash water than a curb |
| Raised curb pan | Several inches | Users who walk or stand | Blocks wheelchair entry, not roll-in accessible |
| Linear-drain roll-in pan | Flush transition at drain | Full-time wheelchair users | Higher install cost and tighter slope tolerance |
What each base actually does
A curbless roll-in pan stays flush or within a half inch. It suits someone who remains in the chair to bathe. You usually recess the shower subfloor or raise the rest of the bathroom so the entry stays level. Drain location has to be settled before anyone cuts joists.
A low-threshold transfer pan keeps a beveled lip. It fits someone who moves from the wheelchair onto a seat, then bathes seated. The lip holds less splash than a curb, so the floor outside gets wetter when a caregiver stands in the doorway.
- Raised curb pan: This is the ordinary walk-in. It works if the user stands and steps. It is not a wheelchair accessible shower pan.
- Linear-drain roll-in pan: The trench sits at the entry or along a wall so the floor can pitch one way. You pay more, and the slope has less room for error, but the wheels don't climb a crown in the middle.
In an older house, a transfer shower can keep a taller lip only when cutting it down would disturb structural reinforcement in the slab. Treat that as a last resort, not the goal of a new accessible bath.
The short clip below shows how a flush opening changes the roll compared with a lip the chair has to climb.
Practical rule: Roll-in for full-time chair use. A transfer pan when the user can move to a seat and the floor or the budget can't support a curbless build.
Pair the pan with fixtures for a coordinated bathroom so the valve, handheld, and seat read as one layout instead of parts from three catalogs.
Pan Materials and Their Trade-Offs
The material decides weight, how you form the slope, how slick the floor gets, and how often you reseal. Accessible pans are usually a site-built mortar bed or a prefabricated base. The entry you already chose should drive this, not the showroom sample.
| Construction | Slope control | Weight and install | Upkeep |
|---|---|---|---|
| Mortar bed with membrane | Custom on site, precise | Heavy, slow build | Seal grout regularly |
| Pre-formed foam base with tile | Set by manufacturer template | Light, quicker set | Seal grout, check edge caulk |
| Prefabricated acrylic or composite base | Fixed by the molded pan | Light, fast install | Low, but limited drain options |
Mortar, foam, or a molded base
A mortar bed with a waterproofing membrane is what I specify when the drain isn't centered and the entry has to stay flush. Crews pack the slope on site, then set tile or stone. It's heavy, it needs time to cure, and grout wants sealer on the maker's schedule. It also follows an odd bay that a molded pan won't.
A pre-formed foam base, such as a Schluter Kerdi tray or a similar foam pan, is light and goes down faster. The slope is whatever the template was molded to. If the joists or the chair's path don't match that template, extra thinset only creates a bump.
A prefabricated acrylic or composite base is the fastest. The floor is smooth and there's no grout to seal. Curbless choices are limited. Many of these pans still assume a curb or a fixed center drain, so they fight a true roll-in.
Slip and upkeep
- Textured tile: Pick matte, textured porcelain. Skip high-gloss pieces anywhere water can sit.
- Small grout joints: Keep joints narrow and sealed so they don't turn into slick grime lines.
- Monthly clean: Scrub grout before soap film builds.
- Reseal on schedule: Follow the sealer maker, not a guess every few years.
- Yearly caulk check: Look at the pan edge and corners. Recheck slope with a level if the floor has settled.
Match the build to the entry. A roll-in with a linear drain wants mortar or a foam tray made for that trench. A transfer user in a tight alcove can use a molded low-threshold base if the lip stays beveled and the seat lines up with the chair.
Slope, Threshold and Drain Layout That Keep Water In
A pan can meet a catalog dimension and still steer a wheelchair off course. The fit depends on the chair's path, the bathroom layout, and where the drain sits. Keep water moving toward the drain without making the floor hard to cross.
ADA bathing-room guidance limits shower-floor slope to 1:48, about 1/4 inch per foot, including where the bathroom floor slopes toward a drain. A steeper pitch can pull casters sideways and complicate transfers. Roll-in thresholds are limited to 1/2 inch (13 mm). A flush transition or linear trench drain is generally easier to cross than a raised edge.
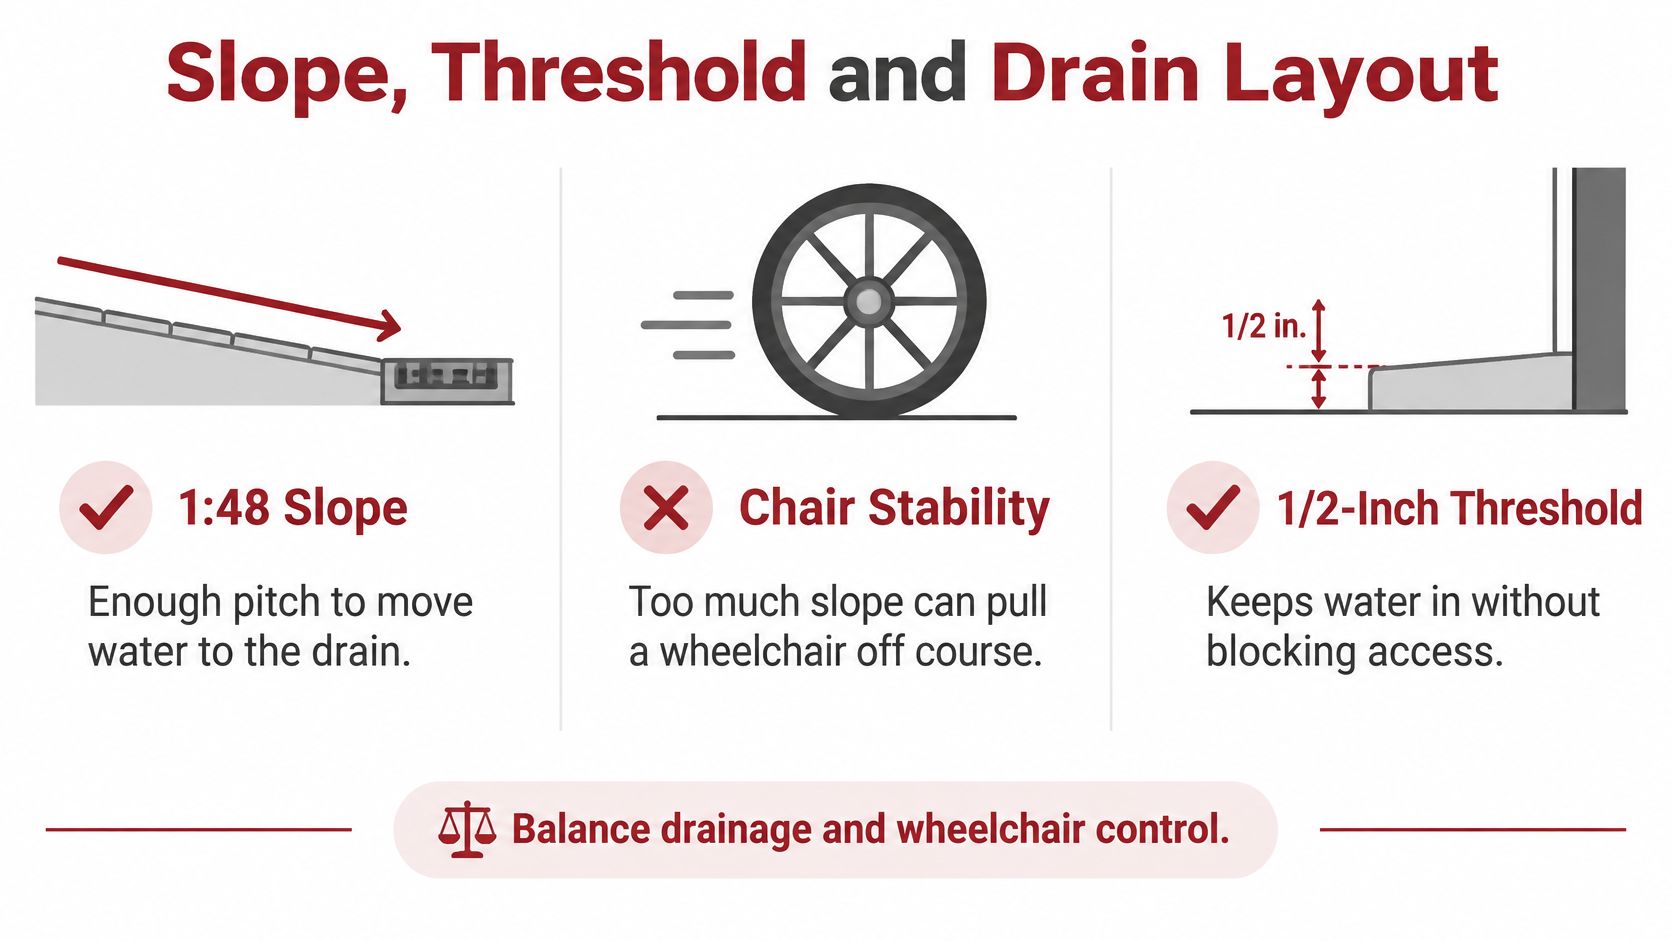
Why flush is not automatically safe
A zero-entry floor still needs a drain in the right place. An off-center drain can create a steep pocket on one side and a flat area on the other. Cross-slope, the side-to-side tilt, can pull a chair away from its intended path as someone reaches for the valve. If waterproofing does not continue to the pan edge, water can get beneath the tile and into the framing.
In an existing building, a transfer shower may require a taller threshold than the 1/2-inch target for a new accessible remodel. A poorly located drain can also leave a localized slope that a level check at the entry will miss. Check the floor in more than one direction.
Center drain or linear drain
A center drain can work in a small, simple alcove. Water approaches from four directions, creating a shallow pyramid that wheelchair wheels may track over unevenly. If the installer follows the outlet rather than maintaining a consistent plane, one area can become too steep.
A wall-to-wall linear drain allows the floor to slope in one plane toward the trench, supporting a wider flush entry. The grate, waterproofing flange, and tile need to meet at the same elevation. The channel and floor preparation add cost compared with a round drain.
Check the slope with a level before tile is installed, then confirm the drain can handle water from a handheld shower and rinsing at the entry.
Ask where water will go if the chair enters quickly with wet wheels. If the answer depends on a curb, but the design has no curb, the drain and floor layout need another look.
How to Install a Wheelchair Accessible Shower Pan
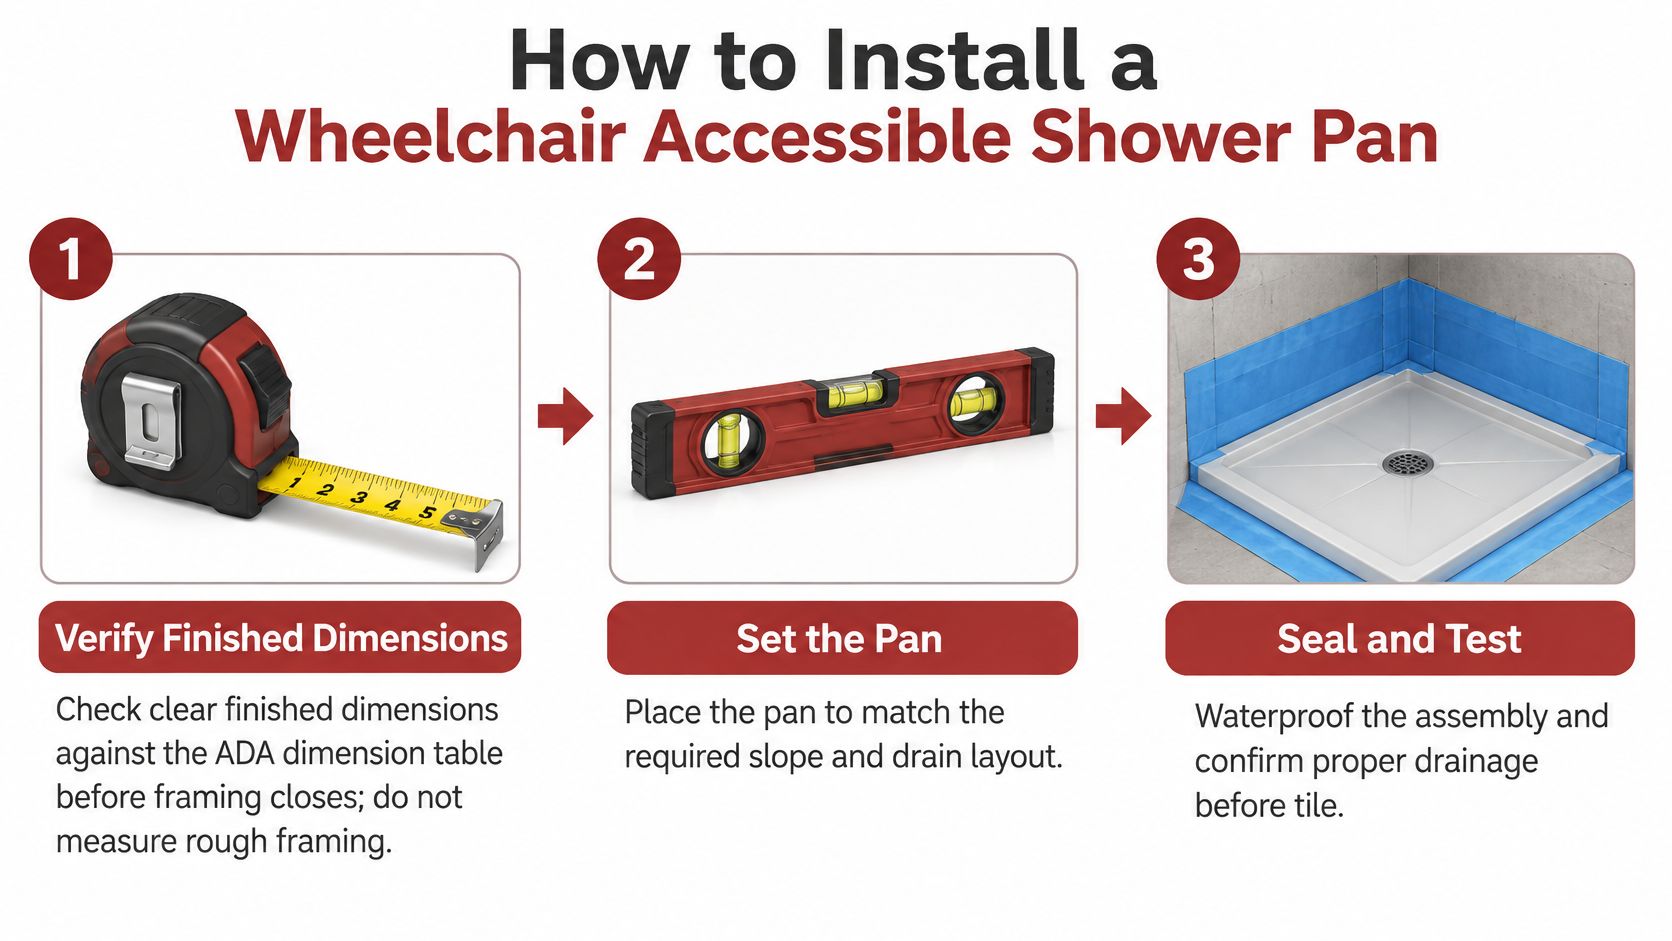
A pan can match a catalog's dimensions and still fail for the wheelchair, room layout, or drain it has to serve. The installation needs to preserve the clear entry after tile, send water to the drain, and keep it from spreading into the bathroom. Plumbing guidance on accessible showers explains that a 1/2-inch threshold retains little water, especially when a wheelchair enters and a caregiver stands outside. Pitch the surrounding floor toward the shower, or use a no-threshold detail that directs stray water to the drain. Flood-test the waterproofing before tile, following the membrane manufacturer's instructions for test depth and duration.
The sequence and the usual miss
- Verify finished dimensions before the walls close. Check clear width, depth, and entry against the intended roll-in setup, allowing for the thickness of the finish materials. Measuring stud-to-stud and treating that as the final opening can leave too little room once the walls are finished.
- Set the drain after confirming the floor elevation. The outlet height must work with the subfloor and existing plumbing. If the drain is set before checking whether the floor can be lowered, the finished pan may need a ramp at the entry.
- Build the bed at 1:48 or flatter and level the full pan. Check both directions, not just the line to the drain. An off-center outlet can create a steep pocket while leaving the entry flat.
- Run the membrane continuously up the walls and across the threshold. Keep the waterproofing connected through the floor transition. A gap there can let water pass beneath the tile and reach the wall plate.
- Flood-test before tile. Plug the drain, fill the pan to the manufacturer's specified depth, and mark the waterline. Follow the specified test duration. A falling waterline needs investigation before the finished floor conceals the problem.
- Set tile, grout, and bevel to preserve the finished entry. Tile thickness changes the edge height. Check that the completed transition does not become a bump that catches footrests.
- Recheck slope and clear dimensions after tile. Finish material on both walls can reduce the opening, and the completed floor should still direct water toward the drain without pooling.
A sound installation drains during testing and leaves a flush or beveled entry that the wheelchair can cross without a jolt.
Who runs the test
Before work starts, confirm who will fill the pan, record the waterline, and investigate a drop. Water escaping the low threshold can collect beside the toilet without showing as a ceiling leak. That still leaves the user with a wet floor.
If the existing floor cannot be recessed, raising the bathroom, moving plumbing, or changing to a linear drain can affect the transitions at the toilet, vanity, and hall. For a comparison with a one-piece stall, shower cost tips from Value Tools Co can help clarify what the stall option covers. Check separately whether the floor work needed for a roll-in entry is included.
Costs That Shape Your Accessible Shower Budget
The pan itself is rarely the big line. Floor recessing, the drain body, waterproofing, and blocking for bars move the budget more than the brand on the base. There isn't a universal dollar range. Quotes follow the scope these drivers set, so a scope-based ballpark is the right first step.
| Cost driver | How it changes the budget | Decide before quoting |
|---|---|---|
| Pan size and footprint | Larger roll-in pans use more material and tile | Clear width and depth from the finished opening |
| Drain type | Linear drains generally cost more than center drains | Drain location and slope plan |
| Floor recessing or raising | Adds labor and may affect nearby rooms | Subfloor and joist condition |
| Waterproofing and flood testing | Adds steps and time before tile | Membrane and test method |
| Grab bars and seat blocking | Adds framing and fixtures | Bar locations and seat type |
What to lock before anyone prices it
- Pan size: Sets tile area and glass. A wider roll-in isn't a luxury add-on if the chair needs the inches.
- Drain type: A linear channel means a longer cut, a different flange, and tighter elevation control than a round center drain.
- Floor work: Lowering joists in a crawl space, or building the bathroom up on a slab, can change the hall transition and the toilet flange.
- Waterproofing and the flood test: Add time before tile. That's cheaper than opening a finished wall.
- Grab bars and a seat: Need solid blocking. Screws in tile alone don't hold a transfer.
Size the layout, confirm the drain and the shape of the subfloor, then price it. Our instant pricing tool is a practical way to estimate project costs before you book a walk-through. The figure only means something after the clear dimensions and the drain plan are settled.
Confirm the Specs and Know When to Hire a Pro
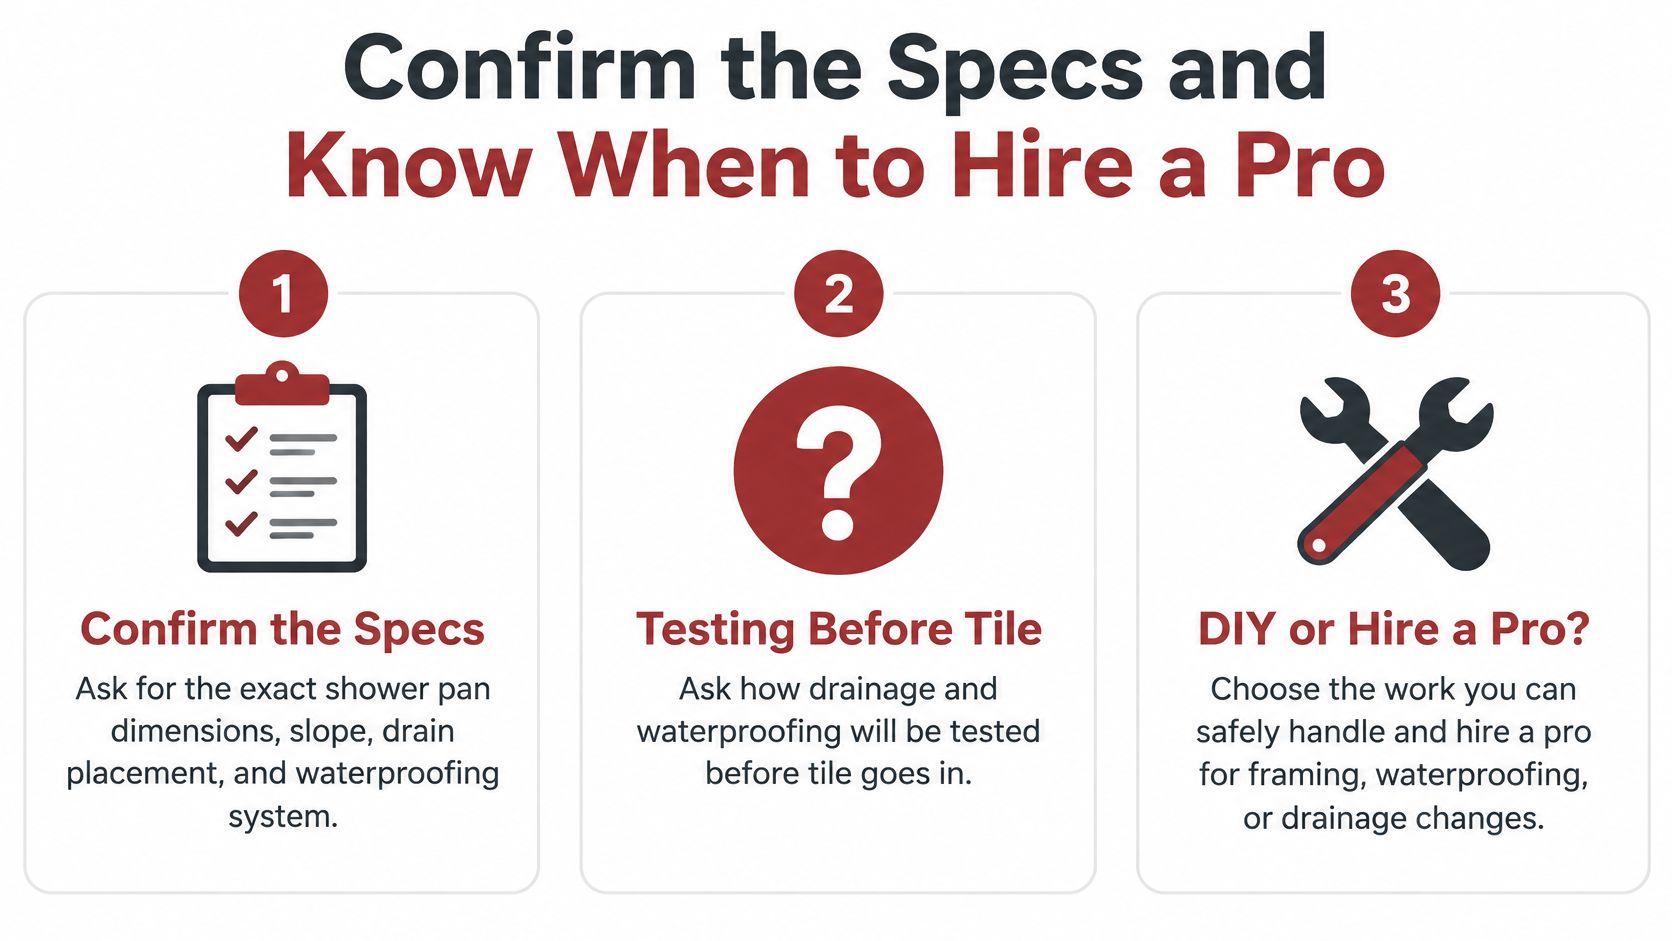
A pan only works if its clear interior, entry, and drain suit the wheelchair and the bathroom. Record the finished width and depth, and note the direction the chair approaches. Ask the installer to show those details on a sketch before settling on a product.
- Flood test: Ask how the installer will test drainage and waterproofing before tile, and who will fill the pan and monitor the water level.
- One lead: Confirm that skilled project managers and experienced artisans will handle the bathroom project from concept to completion.
- Finished size and lip: Get the clear interior dimensions, threshold height, and planned slope in writing. These details determine whether the chair can enter and the water can drain as intended.
- When you hire: Floor recessing, joist or subfloor changes, moved plumbing, and concealed membranes call for professional work. Mistakes can leave water outside the pan or require finished surfaces to be opened.
If you can't watch the flood test, don't be the person signing off on the membrane.
DIY may suit demolition, painting, or tile selection. Leave joist cuts and connections to plumbing hidden in walls to qualified professionals. In the consultation, Trademaster Construction asks about the current space, its challenges, design goals, and personal style. Your answers guide a bathroom plan that accounts for how the wheelchair enters and how the shower fits the room.
Gather the clear measurements and note the chair's approach. Use the instant pricing tool to get a ballpark estimate before scheduling a call.
Trademaster Construction plans and builds bathrooms for Southwest Michigan homeowners, including custom tile showers, and guides each project from concept through construction. If a wheelchair accessible shower pan is central to your remodel, start with the clearances and water path, not a tub-width guess. Visit Trademaster Construction when you're ready to discuss turning those measurements into a build.

